
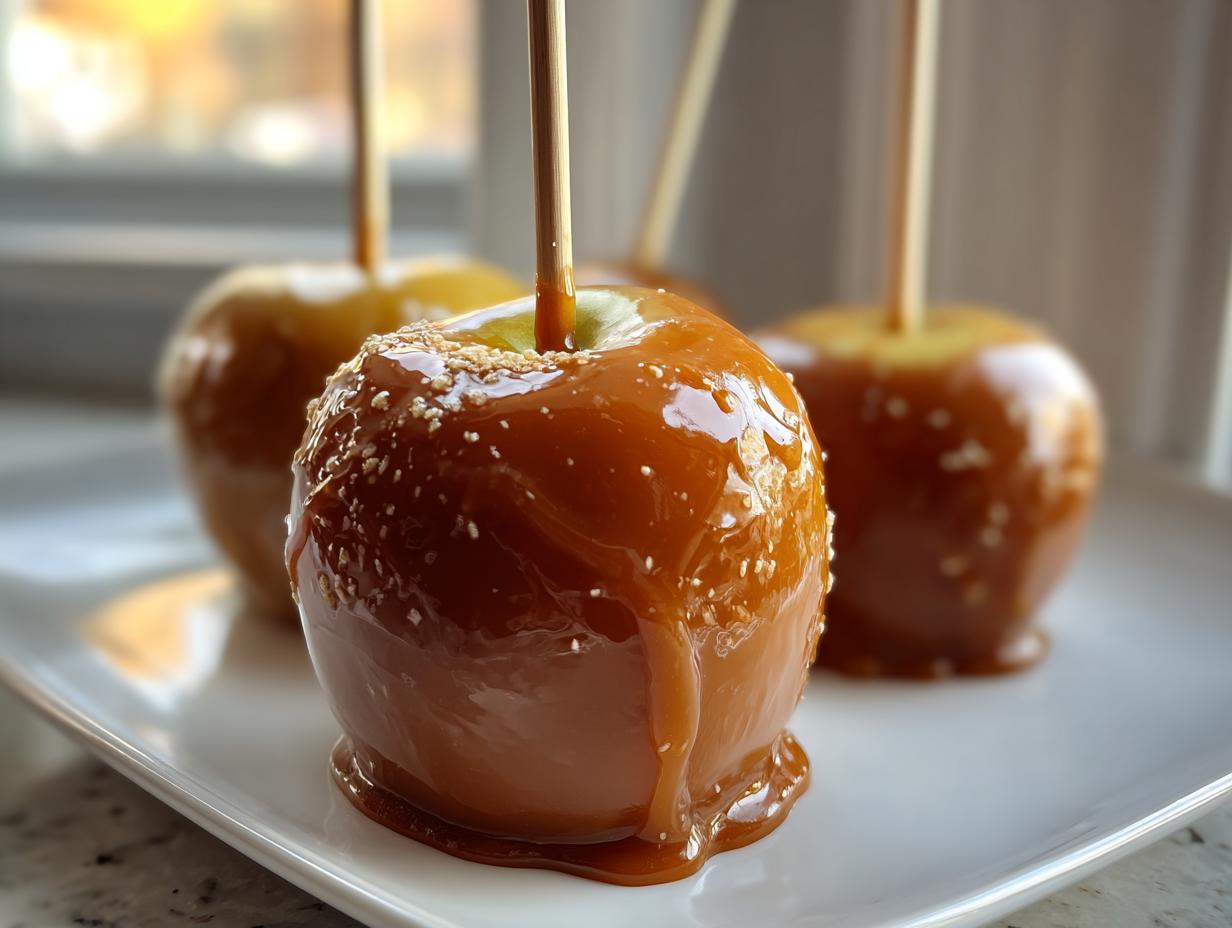
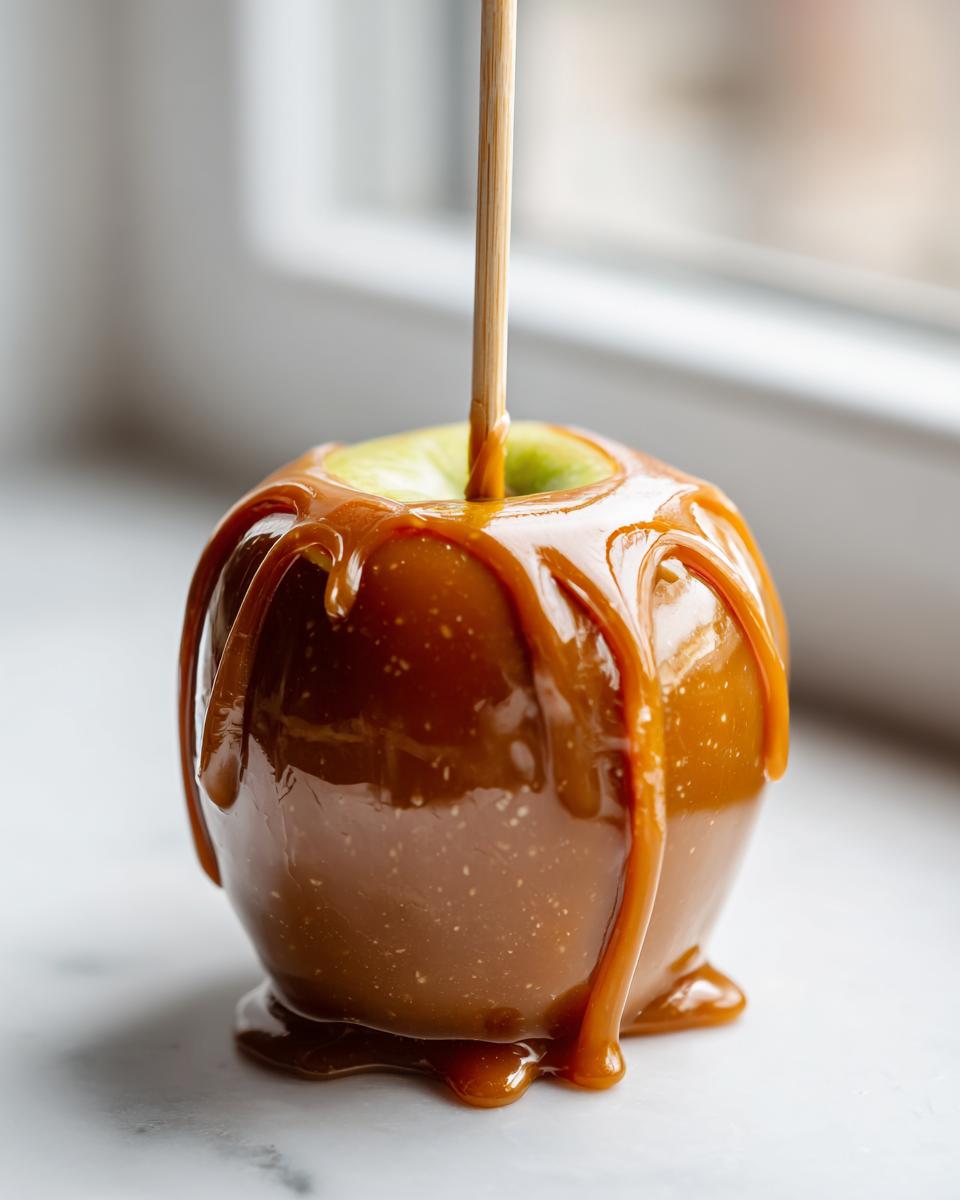
There is just nothing that smells more perfectly like fall than sweet, buttery caramel hitting a very crisp apple. Seriously, it takes me right back to my childhood kitchen in the Midwest, standing on a wobbly stool just trying not to spill anything! Store-bought versions? They usually fall apart after two bites, right? Trust me, I’ve cracked the code on making the best, foolproof caramel apple right here at home.
Why fuss over candy thermometers when you can use this simple method? My goal was to create a recipe where the caramel sauce is wonderfully chewy—not runny or brittle—and better yet, one that actually sticks to the apple, every single time. We’re skipping the stress and jumping straight to the fun part. If you need a reliable comforting dessert that wows people, this is it!
- Why This is the Best Homemade Caramel Apples Recipe
- Ingredients for Your Foolproof Caramel Apple Dipping Sauce
- Step-by-Step Easy Caramel Apple Tutorial
- Gourmet Caramel Apples: Topping and Finishing Touches
- Variations: Chocolate Caramel Apples and Other Autumn Sweet Treats
- Storage and Serving Suggestions for Caramel Apples
- Frequently Asked Questions About Making Caramel Apples
- Recipe Details and Times for This Caramel Apple Recipe
- Share Your Autumn Sweet Treats Experience
Why This is the Best Homemade Caramel Apples Recipe
I know what you’re thinking: caramel is fussy! And honestly, sometimes it is. But this recipe skips all those fussy problems by relying on one non-negotiable tool: a candy thermometer. That temperature check might seem intense, but it’s the absolute secret weapon that guarantees you get that perfect, gooey-yet-chewy coating on your caramel apple instead of thin syrup.
We use a ratio of butter, brown sugar, and condensed milk that balances perfectly. This combination, when cooked precisely, stops the caramel from turning hard in the fridge or running all over your plate by the time you serve it. It’s reliability in a pot, I promise!
Achieving That Perfect Chewy Caramel Apple Texture
The magic number here is hitting 245 degrees Fahrenheit. That’s technically the ‘firm ball’ stage in candy making. When the caramel hits that temperature, the sugar structure sets up just right as it cools. It won’t be rock hard like a candy apple, but it will hold its shape beautifully around the apple. If you pull it off the heat too early, it just gets floppy—we don’t want that!
Tips for Making Caramel Apples Stick
Here is where most folks lose the battle when making caramel apples! You absolutely must get the surface of the apple ready first. Don’t just take them out of the fridge and dip them. You need to wash off that waxy coating they naturally have.
Here’s the trick Jade taught me: wipe every single apple vigorously with a paper towel dampened with a tiny bit of white vinegar, or even dip them quickly in near-boiling water and then dry them *perfectly*. That dulls the wax just enough so your rich caramel coating grips on tight. Trust me, this step makes your homemade caramel apples look professional!
Ingredients for Your Foolproof Caramel Apple Dipping Sauce
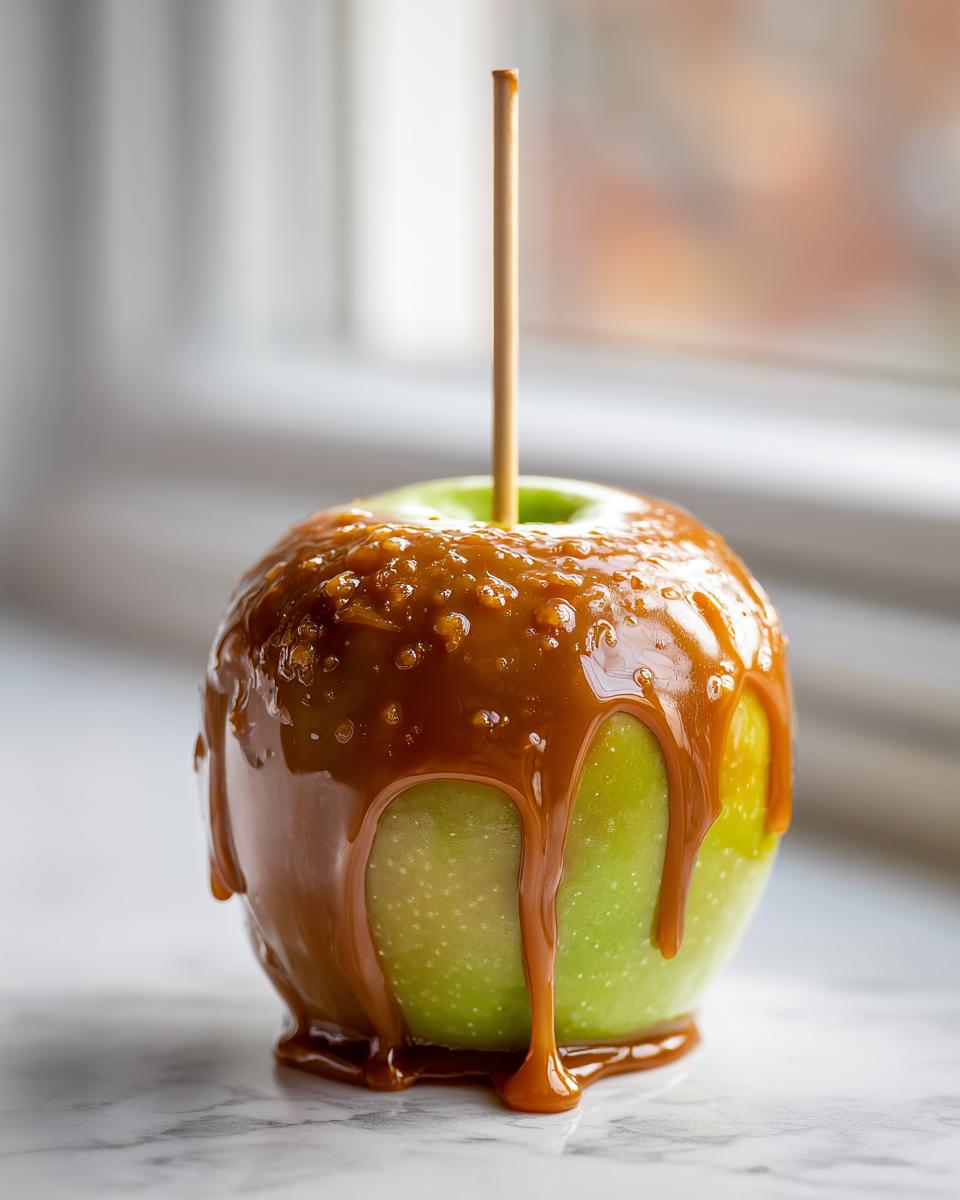
Gathering your ingredients is the next step toward making amazing caramel apple treats! You’ll need about a dozen crisp apples—I always lean towards Granny Smith because that tartness cuts right through the richness of the caramel, but Honeycrisp works wonderfully too. Oh, and don’t forget those wooden sticks; sturdy ones keep things neat!
For the sauce itself, we’re keeping it classic with butter, light brown sugar, salt, vanilla, and sweetened condensed milk. Yes, we need the corn syrup too, but I’ll tell you why in just a second. This mix makes a beautiful, deep-flavored caramel that sets up just right.
Ingredient Notes and Substitutions
The light corn syrup might seem like an extra step, but it’s essential for keeping that delightful chewiness in the final coating. It stops the sugar from crystallizing into something grainy. Make sure your light brown sugar is packed firmly into the cup; that molasses content is where a lot of the deep flavor comes from!
We’re using a full can of sweetened condensed milk—that’s the creamy base that prevents the caramel from getting too hard. You can’t really substitute that out if you want this specific texture. If you run out of brown sugar, you can technically use white sugar, but you’ll lose some of that wonderful, mellow flavor, so stick with brown if you can!
Step-by-Step Easy Caramel Apple Tutorial
Alright, time for the fun part! This is where we turn simple pantry staples into something amazing. We need to move with a little bit of purpose once the caramel is cooked, so make sure you have your apples ready to go before you start heating things up. If you want to see a fantastic visual guide on dipping techniques, check out this helpful run-through! They have some great tips.
Follow these steps carefully, and you’ll have a tray full of beautiful caramel apple beauties ready for setting up in no time at all. It’s really just a few stages: prep, cook, dip!
Preparing the Apples and Sticks
First things first, let’s get those apples ready. Make sure you wash them well and then dry them off completely—and I mean *bone dry*! Any lingering water will make the caramel slide right off. Pop your wooden sticks firmly into the core where the stem used to be. Set them all up on a baking sheet lined really well with parchment paper so they are just waiting for their cozy caramel coat.
Cooking the Best Caramel Apple Dipping Sauce
In a heavy pot, just combine your butter, sugar, condensed milk, and corn syrup. Turn the medium heat on and stir until everything melts smooth. Now, this is crucial: stick that candy thermometer in there! We must boil this mixture until it hits exactly 245°F. Don’t stir once it boils, or you risk crystallization—just let the thermometer do the hard work. Once it hits temperature, pull it off the heat immediately, stir in the vanilla and salt, and let it sit for about five to ten minutes until the bubbling calms down before you even think about dipping your caramel apple.
Gourmet Caramel Apples: Topping and Finishing Touches
Once that caramel has cooled down just a smidge—you know, when it stops aggressively bubbling but is still perfectly dippable—it’s time to make these caramel apple treats look next-level gourmet! I love working quickly here because the caramel firms up fast. Tilt that pan slightly so you get a nice pool of caramel, then dip your apple, giving it a nice swirl to coat everything up to the stick.
Let any extra drip off back into the pot—we want that perfect coat, not a huge puddle at the bottom of our apple. If you’re adding toppings, this is your one chance! Roll your sticky apple immediately into chopped peanuts, or go wild with mini chocolate chips or colorful sprinkles. I found the best list of topping inspiration if you want to get really creative!
This simple dipping and topping process is what elevates them from good to the best caramel apple you’ll ever make. Remember to set them gently back on that clean parchment paper so they can set up before you handle them too much!
Variations: Chocolate Caramel Apples and Other Autumn Sweet Treats
We’ve mastered the classic caramel apple, but why stop there? If you want to make these truly spectacular, you have to talk about chocolate! The secret is patience here. You must wait for the caramel layer to cool completely and feel firm to the touch—if you rush this, the chocolate melts the caramel right underneath it, and you’ll have caramel sliding down the stick.
Once the caramel is set, grab some good quality chocolate chips—milk, dark, or white—melt them carefully until smooth. Then you can either drizzle the chocolate dramatically over the top, which looks so gourmet, or you can dip the entire bottom half of the caramel apple into the melted chocolate. Check out this amazing guide for the **chocolate caramel apples** look they achieve!They have serious technique.
If chocolate isn’t your thing, try adding a little sprinkle of flaky sea salt right onto the caramel before it sets. That salty-sweet bite is just divine with the tart apple underneath. It instantly turns this into a high-end treat!
Storage and Serving Suggestions for Caramel Apples
Patience is a virtue, even after all that dipping! You absolutely must let these set. Give them a bare minimum of one hour at cool room temperature until the caramel feels firm and no longer tacky to the touch. Don’t be tempted to rush them into the fridge!
When it comes to storing them, keep them wrapped individually in plastic wrap—this stops them from sticking to each other if you make a big batch for the holidays. A cool spot on the counter is perfect; they stay nice and pliable that way. They’re best eaten within the first few days, but they hold up well for about a week.
For serving, skip the super sweet sodas. I love serving these next to something tart, like a fresh cup of apple cider or even some sparkling water with a little lime wedge. The sharp flavors really balance out all that buttery goodness you just worked so hard to create!
Frequently Asked Questions About Making Caramel Apples
It’s only natural to have a few questions when you’re making something this delicious, especially when temperatures are involved! Don’t stress if the first time isn’t perfect. We all need a little help smoothing out the process until we get to that perfect caramel apple.
What is the ideal temperature for caramel apple sauce?
If you want that beautifully chewy texture described through this Homemade Caramel Apples Recipe, you must hit 245 degrees Fahrenheit on your candy thermometer. That’s the firm ball stage. If you stop sooner, it’s too soft and will ooze right off the apple. If you go way past it, it gets too hard, which definitely isn’t what we’re aiming for here!
Can I make these Caramel Apples ahead of time for Halloween parties?
Yes, absolutely! Making them early is great, especially if you’re preparing for big Halloween Apple Treats gatherings. Just make sure they are completely set first—give them a good hour or two. Then, wrap each one individually in plastic wrap. Store them at cool room temperature, not in the fridge, for up to a week. They hold up great!
My caramel is too thin. How can I fix it?
Oops! If you pull the pot off the stove and realized you were maybe a little early, don’t panic. You can carefully put the whole pot back on very low heat and let it simmer gently until the thermometer creeps up just a few more degrees. Make sure you are stirring super gently while you do this. Sometimes, though, the best fix is just letting it sit on the counter for another ten minutes; it thickens dramatically as it cools down!
If you have any other questions about perfecting your Caramel Apple Dipping Sauce, feel free to reach out to me directly via my contact page. Happy dipping!
Recipe Details and Times for This Caramel Apple Recipe
I know sometimes you just need to know the nitty-gritty facts quickly before you jump in, especially if you’re trying to fit making these amazing caramel apple treats into a busy afternoon. I’ve organized all the details right here so you can see exactly what you’re committing to. Honestly, the prep time is mostly just washing and sticking the apples!
- Prep Time: 20 minutes
- Cook Time: 25 minutes
- Total Time: 45 minutes (not including setting time!)
- Yield: We get 12 lovely apples from this batch.
- Category: Dessert
- Diet: Vegetarian
Forty-five minutes of active work for a dozen gourmet caramel apple masterpieces? I’d say that’s a fantastic trade-off for the taste!
Share Your Autumn Sweet Treats Experience
Wow, I hope you’re getting ready to make these beauties! Seriously, once you nail this recipe, you’ll be making them all season long. It means the world to me when you come back and let me know how they turned out.
Right down below, give this recipe a shining 5 stars if it lives up to the hype! And please, share which toppings you chose in the comments—did you go for pretzels or chocolate chips? If you snap a photo of your finished haul, I’d love for you to tag me online so I can see your amazing work! Don’t forget to check out our privacy policy if you have any sharing concerns.
PrintThe Best, Foolproof Homemade Caramel Apples
Make classic, chewy caramel apples at home with this simple recipe. The caramel sauce adheres well to crisp apples, creating a reliable, gourmet fall treat perfect for parties or gifting.
- Prep Time: 20 min
- Cook Time: 25 min
- Total Time: 45 min
- Yield: 12 servings 1x
- Category: Dessert
- Method: Stovetop Cooking
- Cuisine: American
- Diet: Vegetarian
Ingredients
- 12 medium crisp apples (like Granny Smith or Honeycrisp)
- 12 wooden or parchment-lined lollipop sticks
- 1 cup (2 sticks) unsalted butter
- 2 cups packed light brown sugar
- 1 cup light corn syrup
- 1 (14-ounce) can sweetened condensed milk
- 1 teaspoon pure vanilla extract
- 1/2 teaspoon salt
- Optional Toppings: Chopped peanuts, mini chocolate chips, sprinkles, crushed pretzels
Instructions
- Wash and thoroughly dry the apples. Remove the stems and insert the sticks firmly into the core of each apple. Set the apples aside on parchment-lined baking sheets.
- In a heavy-bottomed saucepan, combine the butter, brown sugar, corn syrup, and sweetened condensed milk.
- Heat the mixture over medium heat, stirring constantly until the sugar dissolves.
- Attach a candy thermometer to the side of the pan, ensuring the tip is submerged in the caramel but not touching the bottom.
- Bring the mixture to a boil without stirring once it begins to bubble. Let it boil until the thermometer reaches 245 degrees Fahrenheit (firm ball stage). This usually takes 15 to 20 minutes.
- Remove the pan from the heat immediately. Stir in the vanilla extract and salt. Let the caramel cool in the pan for about 5 to 10 minutes until it thickens slightly and stops bubbling vigorously.
- Working quickly, tilt the pan and dip each apple into the caramel, turning to coat completely. Lift the apple out and let excess caramel drip off.
- If using toppings, immediately roll the coated apple in your chosen topping or sprinkle it over the caramel.
- Place the finished caramel apples back onto the parchment-lined sheets. Allow them to cool and set completely at room temperature for at least 1 hour before serving or wrapping.
Notes
- To help the caramel stick, wipe the apples with a small amount of white vinegar or boiling water before drying them completely. The slight residue helps adhesion.
- If the caramel becomes too stiff while dipping, return the pan to low heat briefly to loosen it, but avoid overheating.
- For chocolate-dipped apples, melt high-quality chocolate chips and drizzle over the set caramel layer.
- Store finished apples wrapped individually in plastic wrap at cool room temperature for up to one week.
Nutrition
- Serving Size: 1 apple
- Calories: 450
- Sugar: 65
- Sodium: 150
- Fat: 20
- Saturated Fat: 12
- Unsaturated Fat: 8
- Trans Fat: 0
- Carbohydrates: 70
- Fiber: 1
- Protein: 4
- Cholesterol: 50