
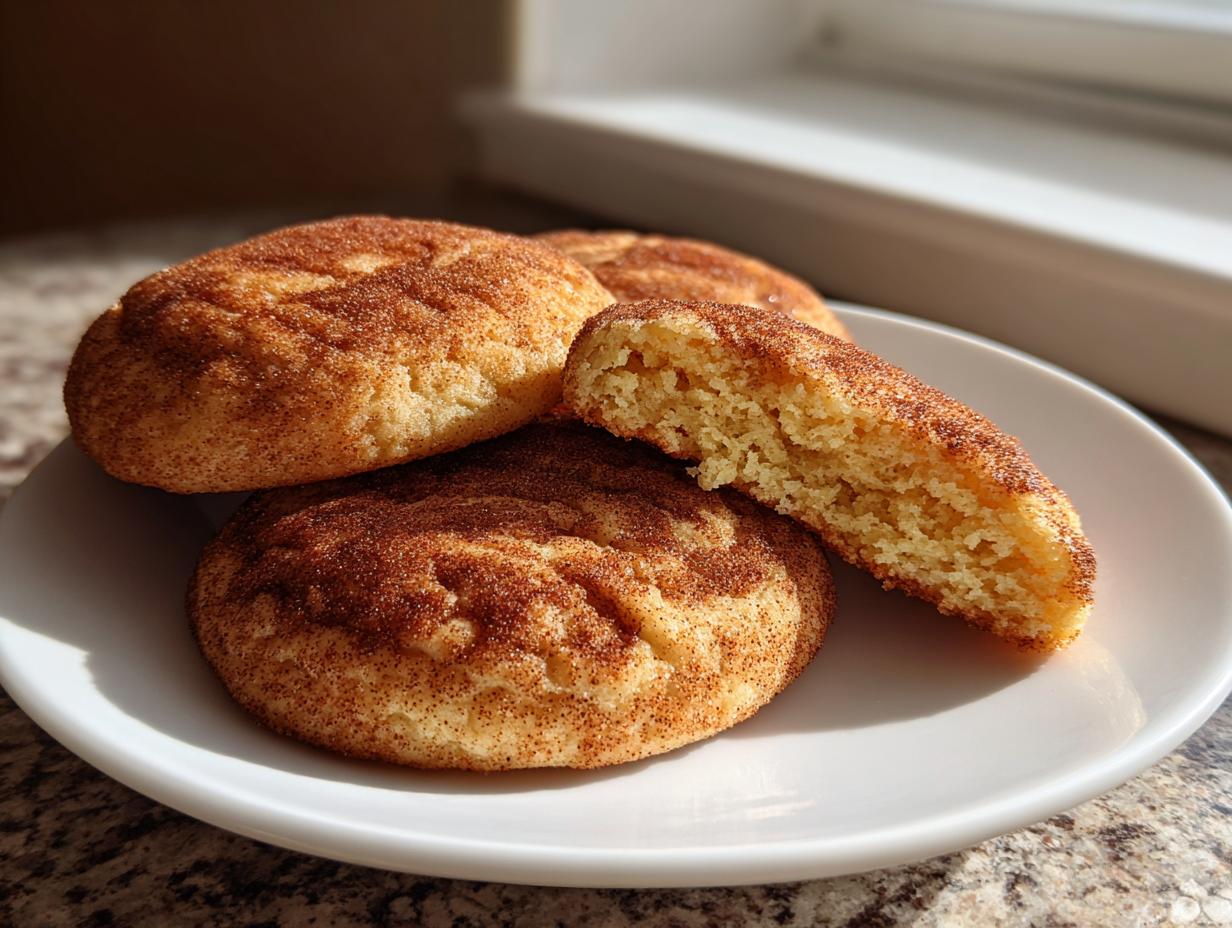
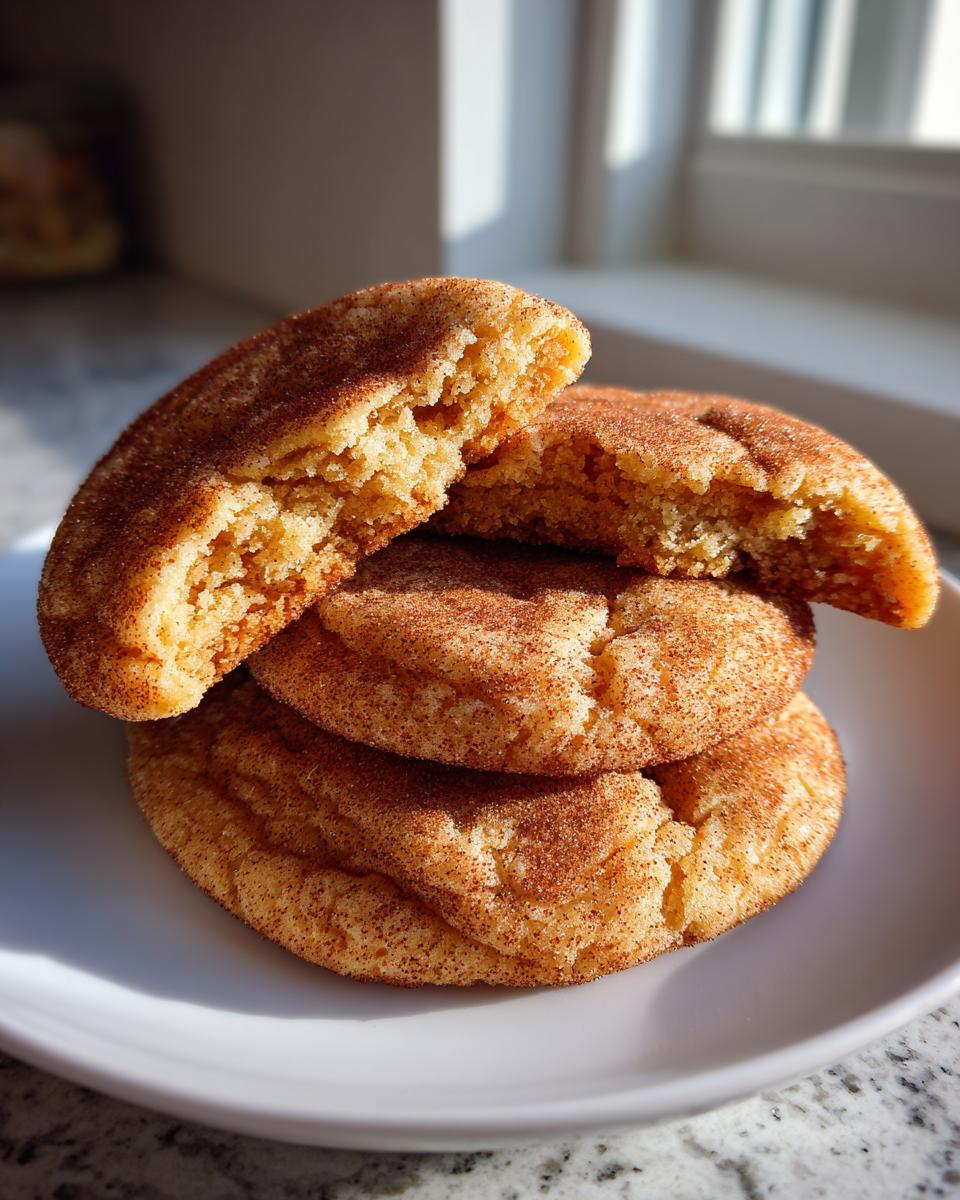
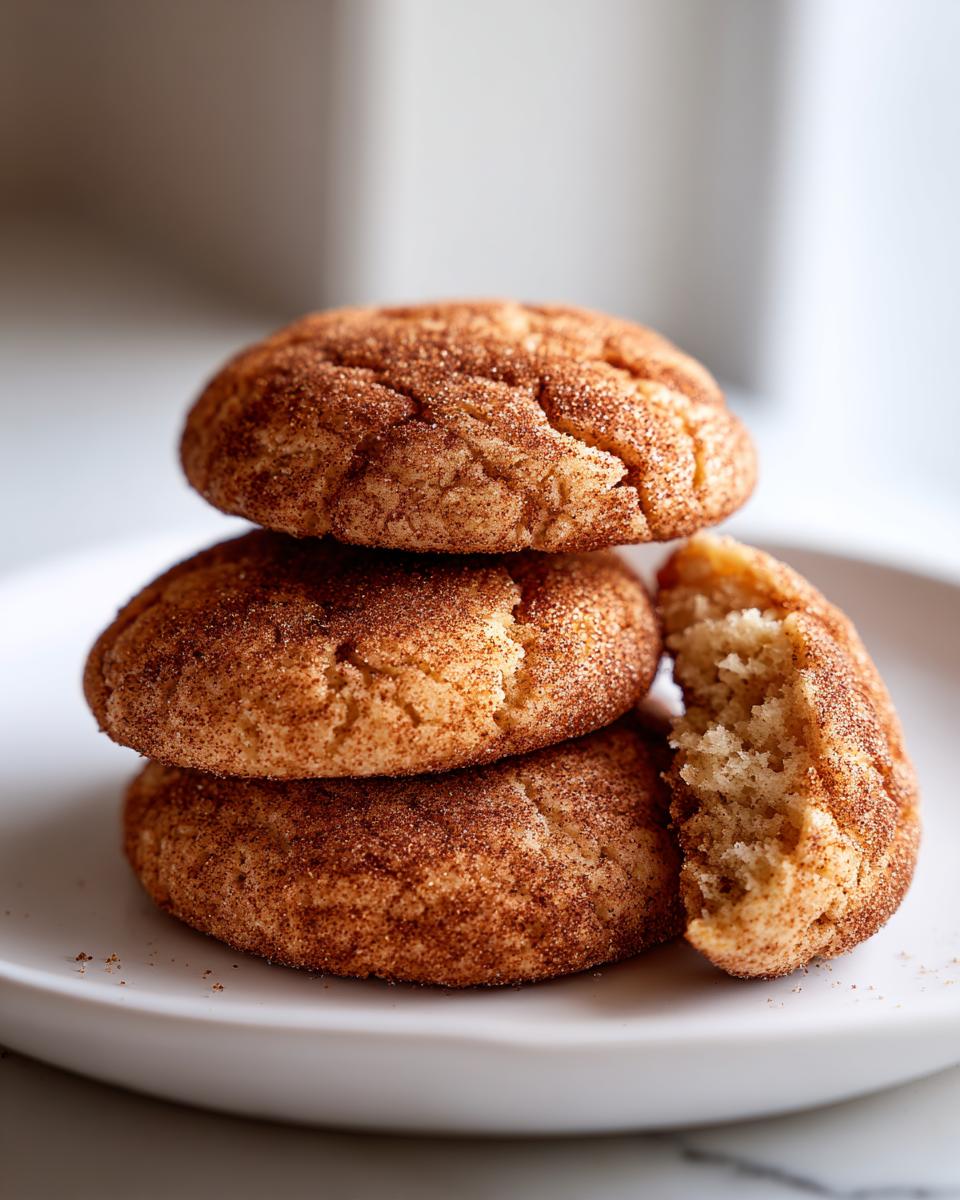
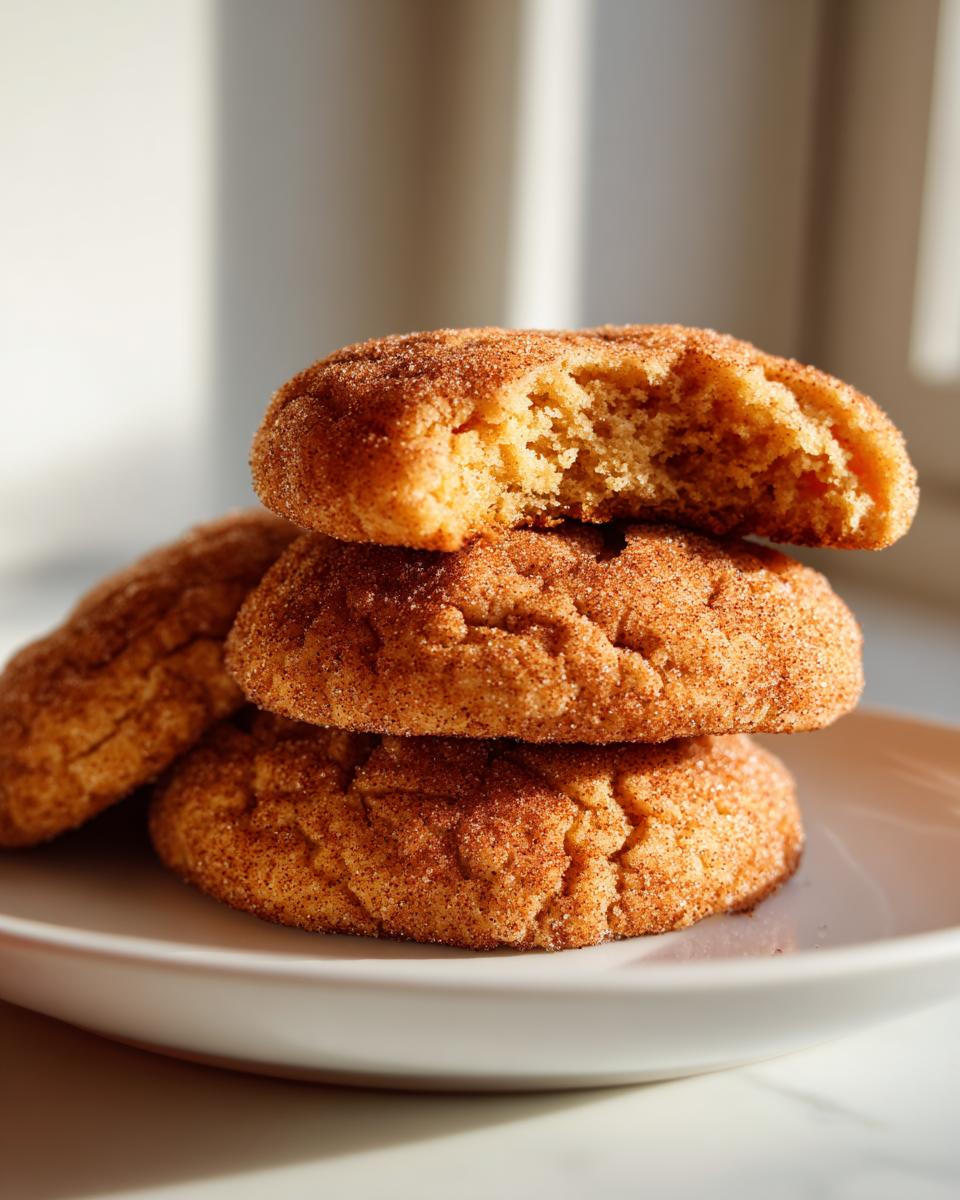
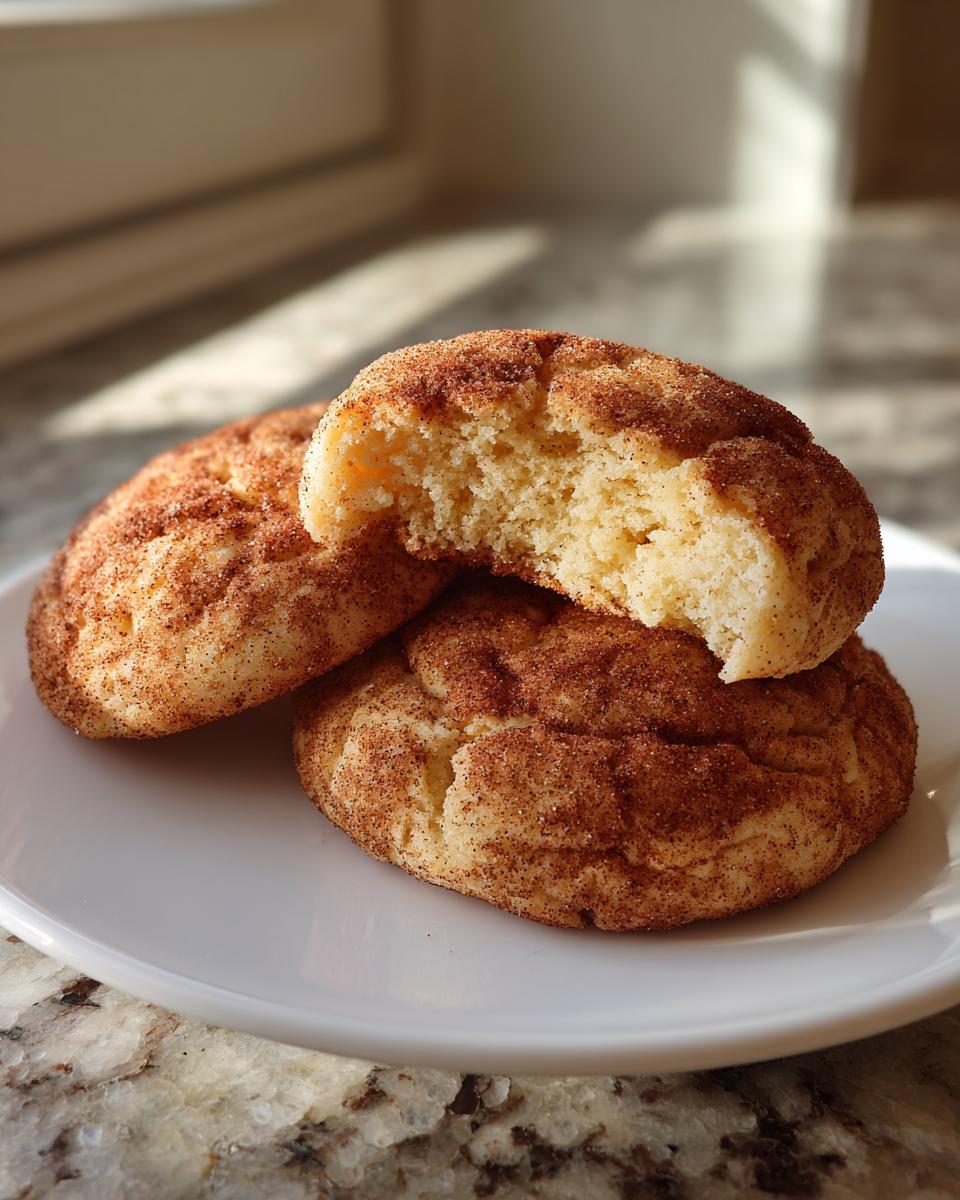
The holidays are here, which means one thing: cookie platter construction! You need variety, sure, but every platter needs that one perfect anchor cookie that everyone flocks to. Trust me, for our family gatherings, that cookie is always the Snickerdoodle. We’re talking soft centers, delightfully chewy edges, and that signature spicy coating that just screams cozy Christmas. Forget fussy shortbread; this is the essential cookie you need. Because I’ve worked in test kitchens refining recipes until they’re absolutely foolproof, I can promise you this Snickerdoodle recipe easy to manage is going to be your new go-to. It just works!
- Why This Snickerdoodle Recipe Easy is Your Holiday Baking Hero
- Gathering Ingredients for Your Classic Snickerdoodle
- Step-by-Step Guide: How to Make Snickerdoodles
- Tips for Perfect Holiday Baking Inspiration with Your Snickerdoodle
- Making Ahead and Storing Your Delicious Snickerdoodle Batch
- Serving Suggestions for Your Snickerdoodle Platter
- Frequently Asked Questions About This Snickerdoodle Recipe Easy
- Estimated Nutritional Data for One Snickerdoodle
- Share Your Holiday Baking Success
Why This Snickerdoodle Recipe Easy is Your Holiday Baking Hero
When you are building that epic holiday cookie spread, you need cookies that hold up and deliver flavor every single time. That’s exactly what this recipe does! It brings that warm, spicy comfort without making you stress out.
- Unbeatable softness—they stay perfectly chewy for days!
- Incredibly simple mixing process, perfect for busy afternoons.
- The quintessential holiday flavor that everyone expects and loves.
It’s reliable, dependable, and tests perfectly every time, which is why I trust it for big batches.
Texture Secrets: Achieving the Perfect Snickerdoodle
If you’ve ever had a Snickerdoodle that tasted flat or spread into a lacey disk, the answer is almost always the cream of tartar. This little ingredient? It’s the MVP! It reacts with the baking soda to give you that gorgeous, slightly tangy flavor. More importantly, it keeps the cookie from spreading too thin, guaranteeing that classic soft, pillowy look.
My favorite trick? Pop the dough balls in the fridge for thirty minutes before you roll them in the coating. Trust me on this one; chilling makes them bake up thicker—exactly how a holiday cookie ought to be!
Gathering Ingredients for Your Classic Snickerdoodle
When you’re ready to bake, grab these simple items listed below. This reliability is what makes this a fantastic snickerdoodle recipe easy for any holiday rush. We’re making about three dozen perfect cookies today, so make sure you have space on your counter!
Expert Tip: For the creaming step later, your butter absolutely must be softened—not melted! Also, make sure your eggs are at room temperature; they blend in so much better with the sugar and fat that way, making the base structure stronger.
Ingredient Notes and Substitutions for Snickerdoodle Success
Don’t just throw everything in! Pay attention to these details, because they matter for that perfect Snickerdoodle. You need that full 1 1/2 cups of sugar for the dough, and then *separate* that final 1/4 cup just for the coating. Consistency is key!
The cream of tartar is non-negotiable for that tangy perfection, but if you are truly in a bind and need inspiration right now, you can try replacing it with 2 teaspoons of white vinegar mixed with 1 teaspoon of baking soda. It’s not ideal, but it gets you close in a pinch! Just make sure that butter is right—sitting out until it’s perfectly soft.
Step-by-Step Guide: How to Make Snickerdoodles
Okay, now that we have our perfect ingredients ready, let’s talk technique! This is where my time spent pounding out reliable results in the test kitchen pays off. The order and the amount you mix these ingredients makes all the difference between a nice cookie and a spectacular, chewy homemade Snickerdoodle. We are aiming for perfection here, so grab your stand mixer or a sturdy wooden spoon!
Mixing the Snickerdoodle Dough Base
First things first: preheat your oven to 375 degrees F and line those sheets with parchment! Now, back to the bowl. You need to cream that softened butter with the 1 1/2 cups of sugar until it looks truly light and fluffy—I mean airy, like pale yellow cloud stuff. Beat in your eggs one at a time so they fully emulsify. Next, mix the cream of tartar, baking soda, and salt separately, and then add that powder mixture slowly to the wet ingredients. Be careful here! Mix only until it’s *just combined*. Seriously, stop mixing right when you don’t see any more flour streaks. Overmixing makes these tough, and we want soft cookies!
The Essential Cinnamon Sugar Coating for Your Snickerdoodle
While this dough is resting (if you took my advice earlier and chilled it for 30 minutes, great job!), quickly whip up your coating. In a small, shallow bowl, just toss together that remaining 1/4 cup of sugar with the two tablespoons of cinnamon. Mix it well so you don’t get clumps of pure cinnamon later!
Now grab your dough! You want to use a rounded tablespoon for each cookie—aim for consistency in size so they bake evenly. Roll each ball firmly between your palms until it’s perfectly round, and then give it a serious, thorough roll through that cinnamon-sugar mixture. You want it completely coated, like it’s wearing a festive winter coat!
Baking and Cooling the Perfect Snickerdoodle
Place those heavily coated balls about two inches apart on your prepared sheets. They spread a tiny bit, so give them space. Pop them into your preheated 375°F oven. This is key for that soft texture: you’re baking them for only 8 to 10 minutes. You are looking for the edges to look set, almost firm, but when you peer at the center, it should still look a little soft and puffed up. Do NOT let them turn golden brown all over; that means they are overbaked and crunchy!
When they come out, leave them right on the hot baking sheet for five minutes. This resting time sets the soft center layer. Then, gently slide them onto a wire rack to finish cooling completely. If you want the best results and chewy ones to enjoy later, check out the notes on chilling before you bake them!
Tips for Perfect Holiday Baking Inspiration with Your Snickerdoodle
You’ve mixed it, you’ve rolled it, and now you want them to look exactly like the picture, right? I totally get it! Achieving that perfect holiday look for your Snickerdoodles is all about tiny details that the pros know.
First, size consistency is huge for even baking. If you use a little cookie scoop, you guarantee every cookie gets the exact same exposure to the heat. Consistency really helps build that trust that this is a recipe you can rely on! Also, about spreading—if your cookies are looking flat, your butter was probably too warm when you creamed it. I know, it’s tricky! Try chilling your dough for that full 30 minutes next time, even if you feel rushed.
Oven calibration is another sneaky thing! If your oven runs hot, you absolutely must pull these cookies early—remember, soft centers mean chewy cookies later. Don’t be afraid to trust your eyes over the timer if you know your oven runs a bit hot when you are trying for that perfect batch for your platter.
Making Ahead and Storing Your Delicious Snickerdoodle Batch
One of the absolute best things about a good cookie like this Snickerdoodle is that it’s a fantastic baker for making ahead! If you’re building one of those massive holiday platters, you don’t want to be baking on Christmas Eve, right? I never do!
For cookies you’ve already baked, just let them cool completely—and I mean completely—before you even think about putting them in a container. Then, stack them in layers separated by small pieces of wax paper or parchment inside a sturdy, airtight container. Keep them at room temperature. They stay perfectly soft and delicious for nearly a week this way. Seriously, they hold up so well!
Now, if you want some real holiday magic, freeze the dough balls! This means you can bake fresh cookies on demand throughout December. After you roll them in that glorious cinnamon-sugar mixture, just set the coated balls on a parchment-lined tray. Pop that tray into the freezer until the balls are rock solid—maybe an hour or two. Then, transfer those frozen balls into a heavy-duty freezer bag. When you need an emergency batch, just pull them out and add about 2 to 3 extra minutes to the baking time. Voila! Fresh cookies!
If you happen to have leftovers (unlikely, I know), you can gently warm them up for just about 10 seconds in the microwave. That little blast of heat brings back that just-baked softness in a snap. Don’t even bother trying to reheat them uncovered; you’ll dry them out, and we worked so hard for that chewy texture!
Serving Suggestions for Your Snickerdoodle Platter
You’ve made the perfect batch of cookies, now how do you show them off on your big holiday platter? Keep it simple and focus on color and comfort! These Snickerdoodles look absolutely stunning nestled next to something chocolatey, like a dark fudge square, or maybe a bright red jam thumbprint cookie.
When it comes to drinks, nothing beats that cinnamon flavor like a big, steaming mug of hot cocoa—maybe with some tiny marshmallows floating on top! They are also fantastic alongside a robust cup of coffee for that much-needed afternoon break during all the holiday madness. These cookies are crowd-pleasers, so set them out early!
Frequently Asked Questions About This Snickerdoodle Recipe Easy
I know you might have a few last-minute questions pop up before you commit to your holiday baking marathon! That’s totally normal—everyone wants that perfect cookie. I’ve gathered the most common things people ask me about making these delightful Snickerdoodles.
Can I skip the cream of tartar in my Snickerdoodle?
Oh, I wish I could tell you that you could! You technically *can* skip it, but I wouldn’t advise it if you want that classic experience. The cream of tartar isn’t just there for flavor; it’s what gives the Snickerdoodle its unique, slight tang and helps develop that signature crackly, chewy texture when it interacts with the baking soda. If you skip it, you’ll end up with a slightly flatter, much sweeter sugar cookie that’s missing that unmistakable Snickerdoodle personality.
Why are my cookies spreading too much when I make Snickerdoodles?
This is the number one complaint I hear if someone deviates from the plan! Usually, when Snickerdoodles spread out into thin pancakes, it’s because your butter was too warm when you creamed it. Remember I insisted it should be “softened” but still slightly cool? If it’s greasy or too soft, it can’t hold those air bubbles properly during mixing. On the flip side, if your oven wasn’t fully preheated or is running cold, they don’t set fast enough. That’s why mastering the creaming step and checking your oven temp makes all the difference in knowing **how to make snickerdoodles** reliably!
What makes this how to make snickerdoodles guide so reliable?
Honestly? It’s because this recipe has been professionally obsessed over! When I develop a recipe, it goes through rigorous testing in a professional kitchen to ensure the ratios are balanced perfectly for the exact texture you want—soft, chewy, and perfect for stacking on a holiday platter. You’re not relying on guesswork here; you’re relying on tested science. That’s what makes this such a trustworthy, great snickerdoodle recipe easy for beginners to try for the very first time this holiday season!
Estimated Nutritional Data for One Snickerdoodle
I always like to give a little heads-up on what we’re working with nutritionally, especially when baking in big batches for the holidays! These Snickerdoodles are pure seasonal joy, so let’s look at the numbers we came up with during testing. Remember, this is based on standard ingredients and the size specified in the recipe—about 3 dozen cookies total.
It’s important to note that this breakdown uses data based on standard grocery store ingredients, so your exact numbers might shift slightly depending on what brand of butter or sugar you happen to have on hand. But this gives you a really solid ballpark idea for planning your holiday treats!
- Calories: Around 150 per cookie
- Sugar: About 14 grams
- Fat: Roughly 8 grams total
- Carbohydrates: Around 19 grams
- Protein: About 2 grams
- Sodium: Typically 75mg
If you ever have questions about ingredients or want to look into substitutions for dietary reasons that might change these values, feel free to check out our official nutrition guidance or reach out!
Share Your Holiday Baking Success
Now that you have tried this ultimate **Snickerdoodle** recipe—hopefully straight from your oven to a beautiful holiday platter—I really, truly want to know what you think! Baking should be a shared experience, and seeing what you create brings me so much joy.
Did they come out chewy? Did the kids devour them before you could get one? Don’t hold out on me!
Please jump down to the comments section below and leave a rating for this recipe. Your feedback helps other bakers feel confident trying this perfect classic recipe. If you snapped a picture of your finished treats piled high on your platter, please share it on social media! Tag us so we can see your beautiful holiday baking inspiration in action.
If you need the official guidelines on using this site, you can always check our Terms of Use, but mostly, just enjoy those warm, spicy cookies!
PrintClassic Snickerdoodle Cookies

Make classic, soft, and chewy snickerdoodles coated in cinnamon sugar. This reliable recipe is perfect for your holiday cookie platter.
- Prep Time: 20 min
- Cook Time: 10 min
- Total Time: 30 min
- Yield: 3 dozen cookies 1x
- Category: Dessert
- Method: Baking
- Cuisine: American
- Diet: Vegetarian
Ingredients
- 1 cup unsalted butter, softened
- 1 1/2 cups granulated sugar
- 2 large eggs
- 2 teaspoons cream of tartar
- 1 teaspoon baking soda
- 1/4 teaspoon salt
- 2 3/4 cups all-purpose flour
- 2 tablespoons ground cinnamon
- 1/4 cup granulated sugar (for coating)
Instructions
- Preheat your oven to 375 degrees F. Line baking sheets with parchment paper.
- In a large bowl, cream together the softened butter and 1 1/2 cups of sugar until light and fluffy. Beat in the eggs one at a time.
- In a separate bowl, whisk together the cream of tartar, baking soda, and salt. Gradually add this dry mixture to the wet ingredients, mixing until just combined.
- In a small bowl, mix the 2 tablespoons of cinnamon and the remaining 1/4 cup of sugar for the coating.
- Scoop rounded tablespoons of dough and roll them into balls. Roll each dough ball thoroughly in the cinnamon-sugar mixture until fully coated.
- Place the coated dough balls about 2 inches apart on the prepared baking sheets.
- Bake for 8 to 10 minutes, or until the edges are set but the centers are still soft. Do not overbake.
- Let the cookies cool on the baking sheets for 5 minutes before moving them to a wire rack to cool completely.
Notes
- For the best texture, chill the dough for 30 minutes before rolling and baking.
- If you want a chewier cookie, slightly reduce the baking time.
- This recipe makes a great base for other holiday cookie variations.
Nutrition
- Serving Size: 1 cookie
- Calories: 150
- Sugar: 14g
- Sodium: 75mg
- Fat: 8g
- Saturated Fat: 5g
- Unsaturated Fat: 3g
- Trans Fat: 0g
- Carbohydrates: 19g
- Fiber: 0g
- Protein: 2g
- Cholesterol: 30mg