
Oh, the holidays! If there’s one thing that can make or break a Thanksgiving or Christmas dinner, it’s the sauce you pour over everything. Forget standing on a stool trying to see over Uncle Bob’s shoulder—that was my early kitchen life before I learned the science behind the magic! As Jade Carter, I know things can feel intimidating, but making phenomenal, rich, homemade turkey gravy doesn’t have to be stressful. That’s why I developed this ultimate foolproof recipe. Trust me, whether you’ve got a big pool of pan drippings or you’re staring at a clean roasting pan, this recipe guarantees you end up with the best turkey gravy on the table. It’s ridiculously reliable! You can read a little more about my philosophy on making cooking simple over on our About page!
- Why This Foolproof Homemade Turkey Gravy Will Be Your New Holiday Staple
- Ingredients for the Best Turkey Gravy Recipe
- How to Prepare Foolproof Homemade Turkey Gravy
- Tips for Success When Making Turkey Gravy
- Make Ahead Gravy and Storage for Your Holiday Gravy Recipe
- Serving Suggestions for Your Turkey Gravy
- Frequently Asked Questions About Turkey Gravy
- Estimated Nutritional Data for Turkey Gravy
- Share Your Perfect Turkey Gravy Success
Why This Foolproof Homemade Turkey Gravy Will Be Your New Holiday Staple
Look, I get it—gravy can feel like the final hurdle before you can eat. But this recipe is designed to take all the guesswork out of that process. We’re aiming for incredible, comforting flavor that makes your mashed potatoes sing. This isn’t just any sauce; it’s pure comfort food gravy magic that you can rely on year after year.
- You’ll achieve that luxurious, velvety texture that never separates or leaves you with lumps. Hello, smooth gravy!
- It guarantees a deep, rich savory gravy flavor, even if you’re short on pan drippings.
- It’s genuinely foolproof gravy, meaning you can focus on brushing the rolls instead of worrying about the sauce.
The Secret to Rich Savory Gravy Every Time
It all comes down to the roux! We whisk the flour right into that fat (whether it’s butter or drippings) and let it cook for a minute or two until it’s light golden. That step is crucial because you’re developing flavor before you even add the liquid. If you rush it, your gravy tastes floury; if you cook it just right, it tastes deeply flavorful. When I was learning in the test kitchen, whisking that roux properly was the very first thing Chef made us practice!
Versatility: Making Turkey Gravy With or Without Drippings
This is probably my favorite part of this recipe! Not everyone gets that perfect pool of liquid gold in their roasting pan, right? This recipe handles that. If you have them, great! We use the turkey gravy from drippings for maximum flavor depth. But if you’re stuck with just stock, no problem! This recipe works perfectly as a standalone gravy without drippings too, using butter and good quality stock to build the flavor back up. Instant backup plan!
Ingredients for the Best Turkey Gravy Recipe
You don’t need a pantry full of fancy supplies here—just the good basics! Using quality stock is how we layer that deep, savory taste we love in a classic turkey gravy. That said, I always urge everyone to grab low-sodium stock when they shop. Why? Because when you’re working with drippings, you don’t know how salty they’ll be! Using low-sodium stock gives you total control over the saltiness, ensuring your final roast turkey sauce is seasoned perfectly, not just salty. When you’re serving this over potatoes, you want richness, not heartburn!
- 4 tablespoons unsalted butter
- 4 tablespoons all-purpose flour
- 2 cups turkey or chicken stock (low sodium preferred)
- 1/2 cup reserved turkey pan drippings (optional)
- 1/2 teaspoon salt, or to taste
- 1/4 teaspoon black pepper, or to taste
- 1/4 teaspoon poultry seasoning (optional)
Ingredient Notes and Substitutions for Perfect Turkey Gravy
Let’s talk specifics because ingredients matter when you’re aiming for the best gravy sauce!
For the liquid, if turkey stock isn’t around, chicken stock is your absolute best friend and works just as well. Don’t sweat it if you don’t have drippings either! If you skip the drippings completely, just use 8 tablespoons of butter total for your roux instead of mixing fat with the butter. That ensures you have enough fat to brown the flour nicely.
Poultry seasoning is optional, but I throw it in because it just boosts that comforting, fall-off-the-bone flavor! It usually has sage and thyme, which really brings that holiday vibe to your gravy for mashed potatoes. If you skip the drippings, you can also find some amazing ideas for making a great stock-based gravy when you check out these side dish recipes as well!
How to Prepare Foolproof Homemade Turkey Gravy
Okay, let’s get down to business. This is where the magic happens and you turn simple fat and flour into the perfect sauce! The key to this whole operation is controlling the heat and keeping your arm moving. I promise this easy turkey gravy recipe comes together faster than cleaning up the roasting pan!
First, make sure you’ve skimmed any excess fat off the drippings if you’re using them, reserving that fatty goodness. If you’re sticking to the butter-only route, just set aside 4 tablespoons of your required butter.
Making the Roux for Your Turkey Gravy
In your saucepan over medium heat, melt your butter. If you saved those drippings, add the reserved fat mixture right to the butter and melt it all together until you have about 4 tablespoons of total fat shimmering in the bottom of the pan. Now, whisk in your flour immediately to create the roux. Whisk, whisk, whisk! You must keep it moving constantly so it doesn’t scorch on the bottom. We want it to cook for about 1 to 2 minutes until it smells nutty—that means it’s just turning a lovely light golden brown. That’s our flavor base for the classic turkey gravy!

Thickening and Finishing Your Rich Savory Gravy
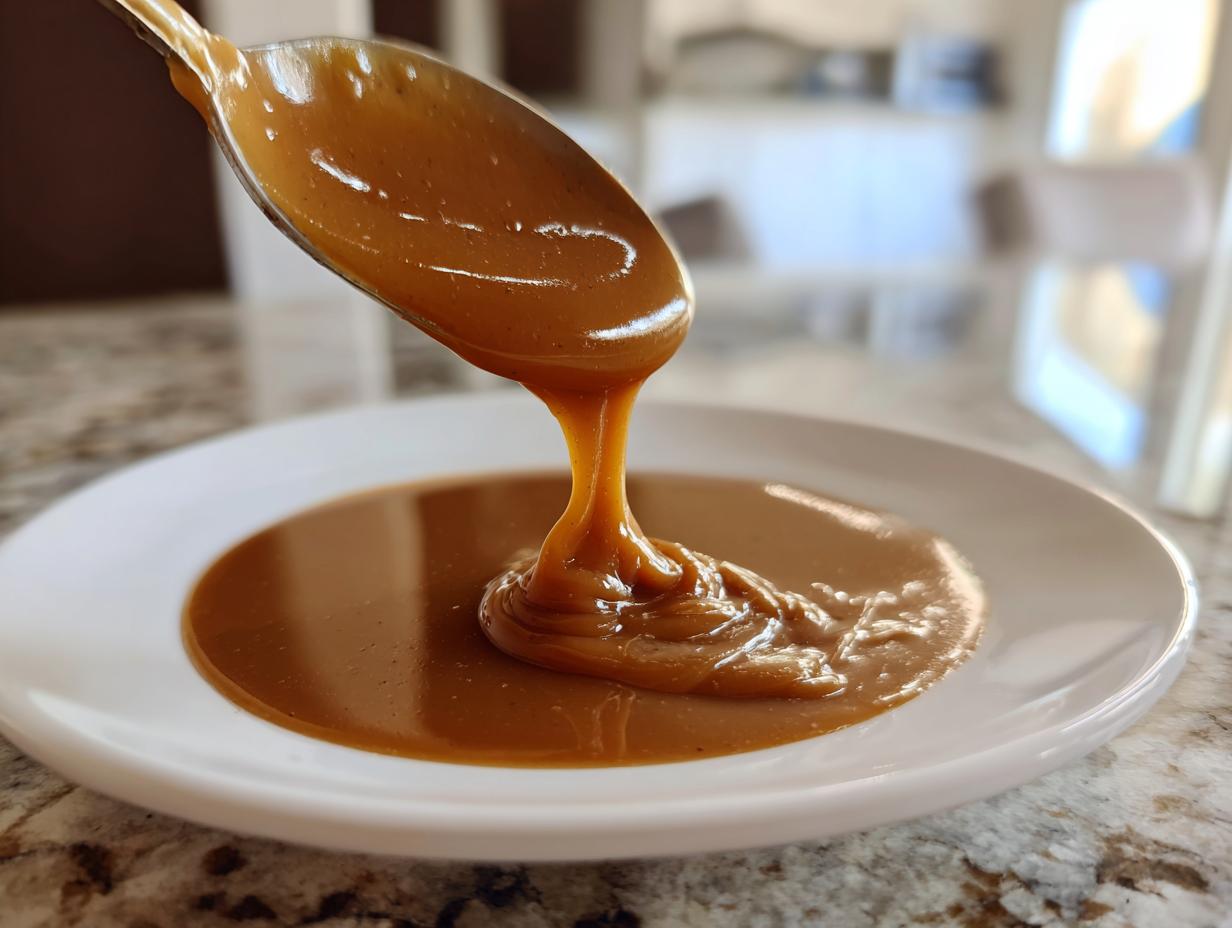
Once the roux is looking happy, start raining in that stock—slowly! Keep whisking as you pour to break up any clumps before they even have a chance to form. If you’re using the drippings, dump them in now for that ultimate flavor punch. Bring this whole mixture up to a gentle simmer. You need to let it hang out back there, simmering and whisking every so often, for about 5 to 8 minutes. How do you know it’s ready? When it coats the back of a spoon! That creamy texture means it’s thickening up beautifully. Just pull it off the heat and stir in your salt, pepper, and any seasoning you decided to use. Give it a taste before you move on—do you need more salt? Now’s the time to decide!
The Final Step for Smooth Gravy
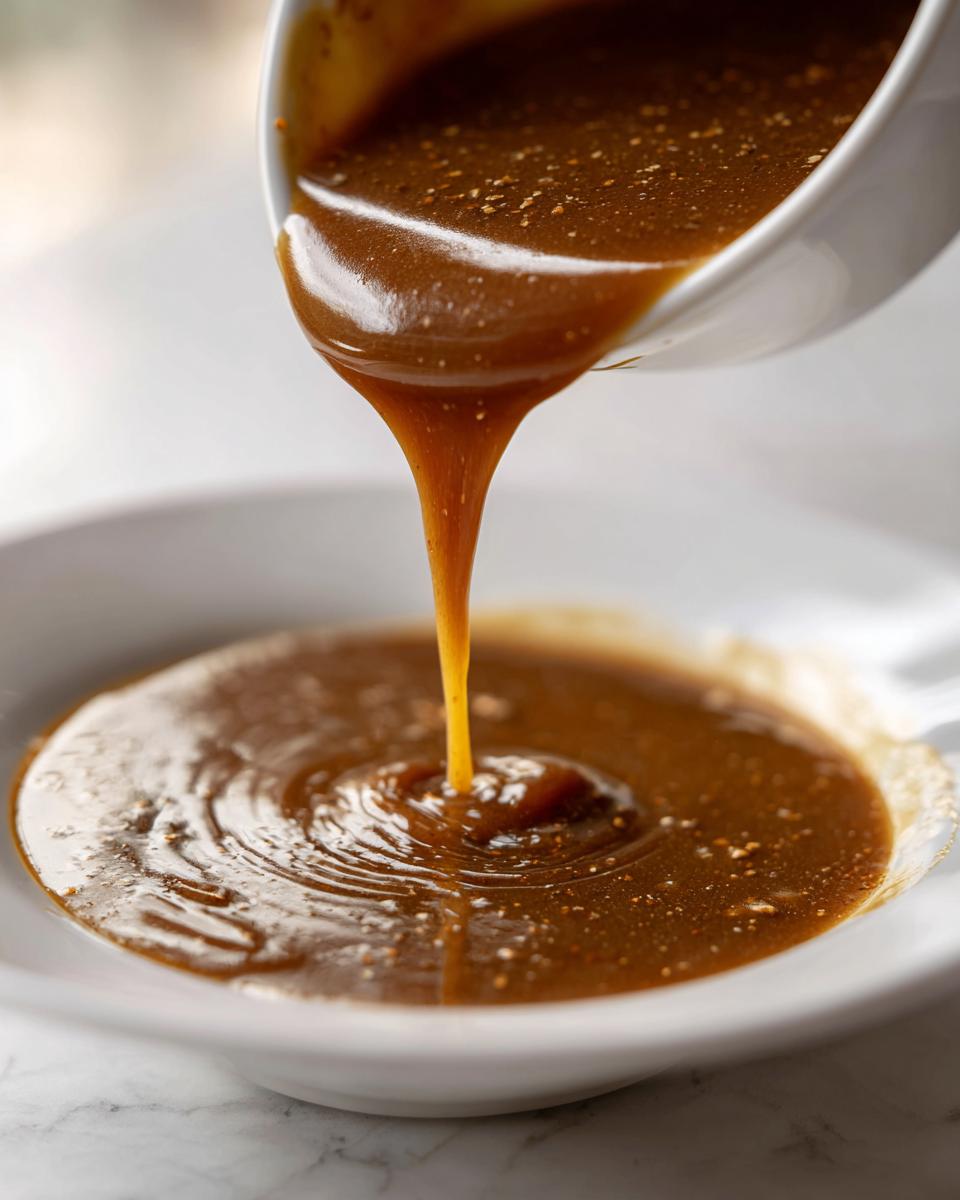
This is the non-negotiable step if you want truly professional results for your homemade turkey gravy. Take a fine-mesh sieve—the finer the better—and place it over a clean bowl or, better yet, right over the serving boat you plan to use. Pour that hot gravy right through the sieve. This simple move catches any tiny little cooked flour bit that didn’t dissolve, guaranteeing that silky smooth finish you want on your mashed potatoes. For more expert tips on keeping things smooth, check out this great article I found about making quick turkey gravy!
Tips for Success When Making Turkey Gravy
Even following the easy turkey gravy recipe perfectly, sometimes things get a little… bouncy. Who hasn’t had a gravy moment where it just doesn’t look right? That’s why I always keep these little tricks up my sleeve. We’re going for that deeply satisfying, rich savory gravy everyone craves, and sometimes that requires a quick save! These tips are what separate a good sauce from a restaurant-worthy one, which is what hosting the holidays is all about, right?
Troubleshooting Lumps in Your Turkey Gravy
Okay, the dread scenario: it’s simmering, but you see a rogue flour ball floating around. Don’t panic! This happens to the best of us, even professionals. The fastest trick for handling lumps is to remove the pan from the heat immediately. Then, grab a tablespoon of ice-cold water or cold stock and whisk it in like your life depends on it. Seriously, use aggressive vigor! If that doesn’t work, or if you really want that ultra-polished look, just strain the whole batch through that fine-mesh sieve we talked about. That sieve is your safety net for a guaranteed smooth gravy every single time.
Achieving Maximum Flavor in Your Classic Turkey Gravy
If you had a smaller bird or just didn’t get much fat drippings, don’t think you have to settle for thin, watery sauce! That’s where the quality of your stock really shines through in this classic turkey gravy. If you substitute drippings with butter, make sure your stock is the best quality turkey or chicken stock you can find. Don’t reach for the super salty stuff, remember what I said about sodium control!
For a real expert move that adds beautiful background depth—and this only works if you don’t mind a tiny bit of alcohol, which cooks off completely—whisk in just one teaspoon of dry sherry or even a splash of white wine right when you add the stock. It evaporates fast, but it leaves behind this incredible depth that makes people ask, “What *is* in your gravy?” It’s our little secret for amplifying that savoriness!
Make Ahead Gravy and Storage for Your Holiday Gravy Recipe
Can we just talk about how much sanity a good make ahead gravy saves you on the actual holiday? Seriously, I’m all about enjoying the day instead of frantically whisking right when everyone is starving! The good news is that this easy turkey gravy recipe loves being prepared early. You can finish the entire batch, let it cool down completely on the counter, and then pop it right into an airtight container in the fridge. It stays perfect down there for about three days, which is a lifesaver for any holiday gravy recipe!
If you’re planning way ahead (like a month or two!), you can even freeze it. It keeps beautifully in the freezer for up to three months. When you’re ready to serve it, just reheat it gently on the stovetop. Sometimes it thickens up *too* much when it thaws—don’t panic! Just whisk in a little splash of extra stock or water until you get that perfect drizzly consistency again. You can find some fantastic storage inspiration over on this site, but honestly, this foolproof recipe holds up so well. Now, doesn’t planning ahead for your amazing funeral potatoes feel less stressful?
Serving Suggestions for Your Turkey Gravy
If you’ve gone to all this trouble—and trust me, perfecting this homemade turkey gravy is worth celebrating—you cannot skimp on what you serve it with! Gravy isn’t just an accompaniment; it’s the delicious glue that holds the whole holiday plate together. This is where that rich, savory goodness really gets to shine!
The absolute holy trinity of gravy application, of course, starts with fluffy, creamy mashed potatoes. They are basically sponges designed specifically for soaking up this sauce. You want that pillow of potatoes absolutely drowning in that warm, flavorful gravy. Seriously, pile them high!
Next up, you need excellent stuffing. Whether you prefer a classic bread stuffing or maybe a wild rice blend, the stuffing needs that moisture. Drizzling this comfort food gravy over your sausage stuffing is almost mandatory. You can find my favorite recipe for sausage stuffing if you need a delicious companion piece!
And naturally, you have to give your star—the roasted turkey—a good soaking on the carving board before serving. A generous pour over the first few slices makes the meat taste ten times better. If you’re thinking about leveling up your potatoes, don’t forget you can try twice-baked potatoes sometime; they handle gravy like champions, too! You can see my recipe for those creamy bacon cheddar potatoes right here.
Honestly, once you have this gravy, you’ll find ways to put it on everything—biscuits, roasted vegetables, even the lonely leftovers the next day. It’s too good not to share!
Frequently Asked Questions About Turkey Gravy
I know you’ve got questions brewing while staring at your pan of drippings! That’s perfectly normal when you’re trying to nail that perfect holiday sauce consistency. I’ve pulled together the most common things people ask me about this homemade turkey gravy recipe. Seriously, you can ask me anything!
How long does it take to make this easy turkey gravy recipe?
One of the best things about this recipe is how fast it comes together. From start to finish, you’re looking at about 20 quick minutes total, and most of that time is just simmering! If you’re stressing about time on Thanksgiving day, you can breathe easy. This is definitely a quick gravy recipe that leaves you plenty of time to baste the bird or mash those potatoes until they’re perfectly fluffy.
Can I use chicken stock instead of turkey stock for this turkey gravy?
Yes, absolutely! Please don’t feel like you have to run out and buy special turkey stock if you can’t find it. Chicken stock is a fantastic, reliable substitute, and honestly, between the roux and the pan drippings, nobody is going to notice much of a difference—except that they are enjoying a wonderfully rich savory gravy, of course! Just make sure whichever stock you grab is low-sodium so you can control the salt level yourself.
What if I want a darker color for my homemade turkey gravy?
Ah, you’re looking for that deep, almost mahogany color! That’s achieved by pushing your roux further along. Remember when I said to cook the roux just until it’s light golden brown? If you want darker gravy, keep cooking that flour and fat mixture, whisking constantly, until it reaches the shade of hazelnut or even peanut butter. That deeper color means you’ve developed more caramelized flavor. Just be super careful right near the end—it goes from perfect brown to burnt and bitter in about ten seconds flat. You have to watch it like a hawk!
Estimated Nutritional Data for Turkey Gravy
I always like to keep a general idea of what we’re eating, but when it comes to holiday dishes like this amazing turkey gravy, I try not to stress too much! Because this recipe is so flexible—using drippings, different kinds of stock, or varying amounts of butter—what you see below is just a snapshot. It’s based on the standard recipe measurements laid out, but remember, tastes change, and so does the nutrition label!
- Serving Size: 1/4 cup (which is about right for drizzling over everything!)
- Calories: About 95 per serving
- Total Fat: Around 7 grams
- Saturated Fat: Roughly 4 grams
- Carbohydrates: About 6 grams
- Protein: About 2 grams
- Sodium: Around 250mg (Which is why I preach low-sodium stock!)
Please keep in mind that these values are just estimates based on the core recipe ingredients listed. If you add extra salt, use higher-fat stock, or maybe decide to sneak in some giblets for a Southern-style texture, the numbers will shift a bit. Enjoy this comfort food gravy knowing that it’s still light compared to some versions out there!
Share Your Perfect Turkey Gravy Success
Well, that’s it, friend! We’ve mastered the roux, we’ve beaten the lumps, and we’ve secured that rich, savory flavor that makes your entire holiday spread feel complete. I really hope you give this foolproof gravy a try, whether you stash it in the fridge for later or pour it piping hot right over your dinner plate!
I absolutely live to hear how things turn out in your kitchen. Did you try the make-ahead trick and save yourself precious oven time? Did you find that using sherry added that extra depth you were looking for in your homemade turkey gravy? Don’t be shy—head down to the comments and let me know! If you snap a picture of your beautiful, smooth sauce poured over your turkey or mashed potatoes, please tag me on social media. Seeing your success is seriously the best part of developing these simple, reliable recipes for you!
PrintFoolproof Homemade Turkey Gravy: Rich Flavor With or Without Drippings

Make rich, smooth, and savory turkey gravy every time, whether you have pan drippings or need a stock-based alternative. This easy recipe is perfect for Thanksgiving, Christmas, or any meal needing a classic comfort food sauce.
- Prep Time: 5 min
- Cook Time: 15 min
- Total Time: 20 min
- Yield: About 2.5 cups 1x
- Category: Sauce
- Method: Stovetop
- Cuisine: American
- Diet: Vegetarian
Ingredients
- 4 tablespoons unsalted butter
- 4 tablespoons all-purpose flour
- 2 cups turkey or chicken stock (low sodium preferred)
- 1/2 cup reserved turkey pan drippings (optional)
- 1/2 teaspoon salt, or to taste
- 1/4 teaspoon black pepper, or to taste
- 1/4 teaspoon poultry seasoning (optional)
Instructions
- If using drippings, skim off excess fat from the pan drippings, reserving 1/2 cup of the liquid fat/drippings mixture. If not using drippings, set aside 4 tablespoons of butter for the roux.
- In a medium saucepan over medium heat, melt the butter. If you have drippings, add the reserved 4 tablespoons of fat/drippings to the pan and melt with the butter until you have 4 tablespoons of total fat.
- Whisk the flour into the melted fat to create a roux. Cook, whisking constantly, for 1 to 2 minutes until the roux is light golden brown. Do not let it burn.
- Slowly whisk in the stock, ensuring no lumps form. If you are using pan drippings, add them now.
- Bring the mixture to a simmer, whisking frequently. Continue to simmer for 5 to 8 minutes, or until the gravy thickens enough to coat the back of a spoon.
- Remove from heat. Stir in the salt, pepper, and poultry seasoning, if using. Taste and adjust seasoning as needed.
- For the smoothest gravy, strain the finished gravy through a fine-mesh sieve before serving over mashed potatoes, turkey, or stuffing.
Notes
- To make ahead: Prepare the gravy completely, cool it, and store it in an airtight container in the refrigerator for up to 3 days or freeze for up to 3 months. Reheat gently on the stovetop, whisking in a splash of extra stock or water if it becomes too thick.
- If you do not have drippings and need a stock-based gravy, use 8 tablespoons of butter total for the roux (4 tablespoons melted, 4 tablespoons added with the stock if needed for thickening).
- To fix a lumpy gravy, remove it from the heat and vigorously whisk in a tablespoon of cold water or stock until smooth, or strain it through a fine-mesh sieve.
Nutrition
- Serving Size: 1/4 cup
- Calories: 95
- Sugar: 0.5
- Sodium: 250
- Fat: 7
- Saturated Fat: 4
- Unsaturated Fat: 3
- Trans Fat: 0
- Carbohydrates: 6
- Fiber: 0.2
- Protein: 2
- Cholesterol: 15