
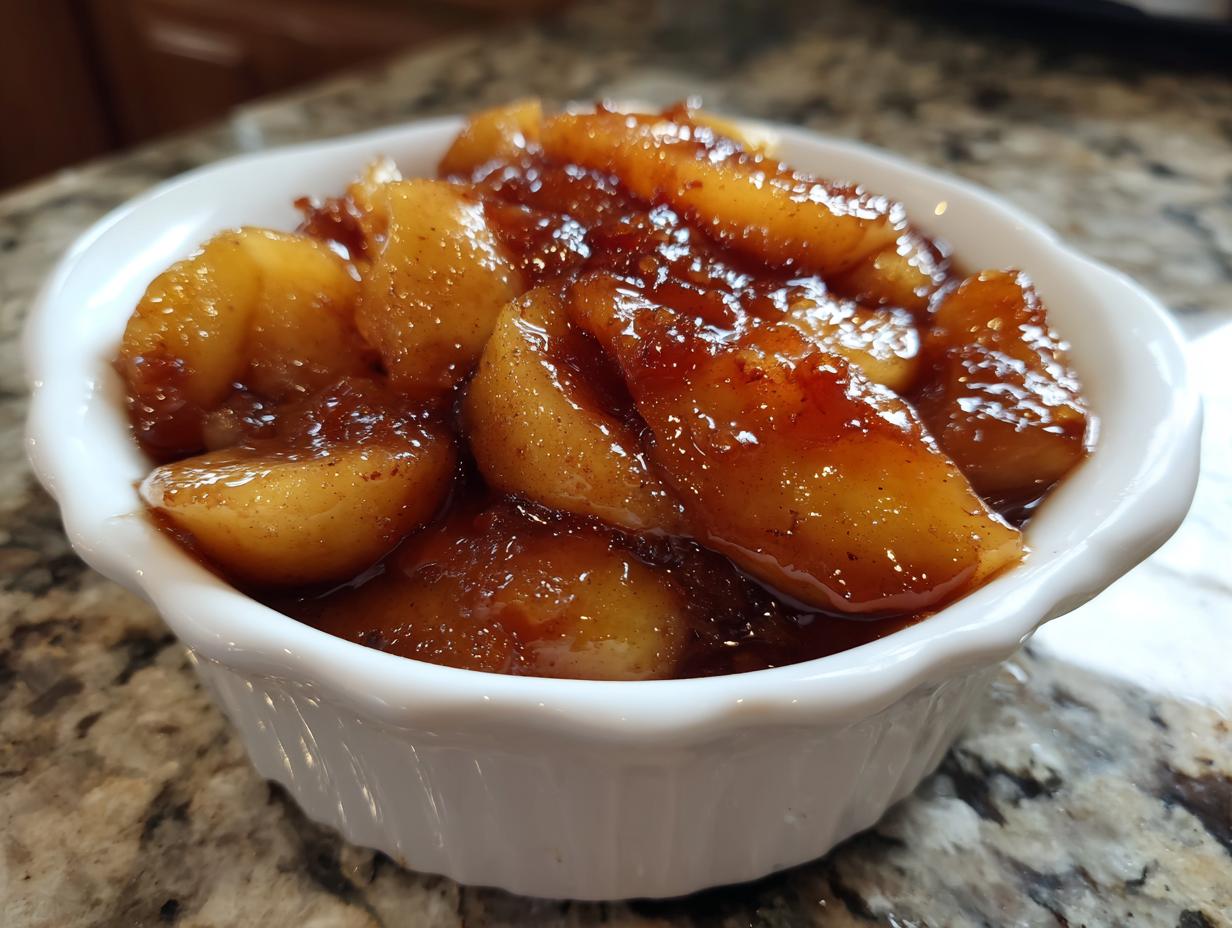
Honestly, if you’re still buying that jarred stuff, we need to talk! There is simply no comparison when it comes to homemade goodness. That sweet, spiced aroma that fills your whole house? That’s the real magic. This recipe makes what I truly believe is the best homemade apple pie filling—it’s thick, deeply flavored with brown sugar, and those apples cook up perfectly. For me, a great homemade apple pie filling just ties into all those cozy kitchen memories, like I learned when I was just starting out. Trust me, once you make this stovetop version, zero store-bought cans will ever cross your threshold again!
- Why This Homemade Apple Pie Filling Recipe Works So Well
- Gathering Ingredients for Your Apple Pie Filling
- How to Prepare Easy Apple Pie Filling Recipe (Stovetop)
- Tips for Success Making Perfect Apple Pie Filling
- Versatile Uses for Your Apple Pie Filling
- Storage and Make-Ahead Tips for Apple Pie Filling
- Frequently Asked Questions About Apple Pie Filling
- Estimated Nutrition for Apple Pie Filling
- Share Your Homemade Apple Pie Filling Creations
Why This Homemade Apple Pie Filling Recipe Works So Well
This isn’t just another recipe; it’s engineered for texture, which is where so many others fail, ending up soupy or chunky. We focus on getting that absolute perfect consistency—a truly thick apple pie filling that clings beautifully to every piece of fruit. The combination of deep, molasses notes from the brown sugar mixed with the spices makes all the difference in flavor depth.
Here’s what sets this creation apart from the rest:
- It delivers that sought-after flavor only found in good apple pie filling with brown sugar.
- The method ensures you get a substantial, rich result, which is crucial for any good dessert.
- It’s fast! You can have this done on the stovetop before your oven is even fully preheated for your crust.
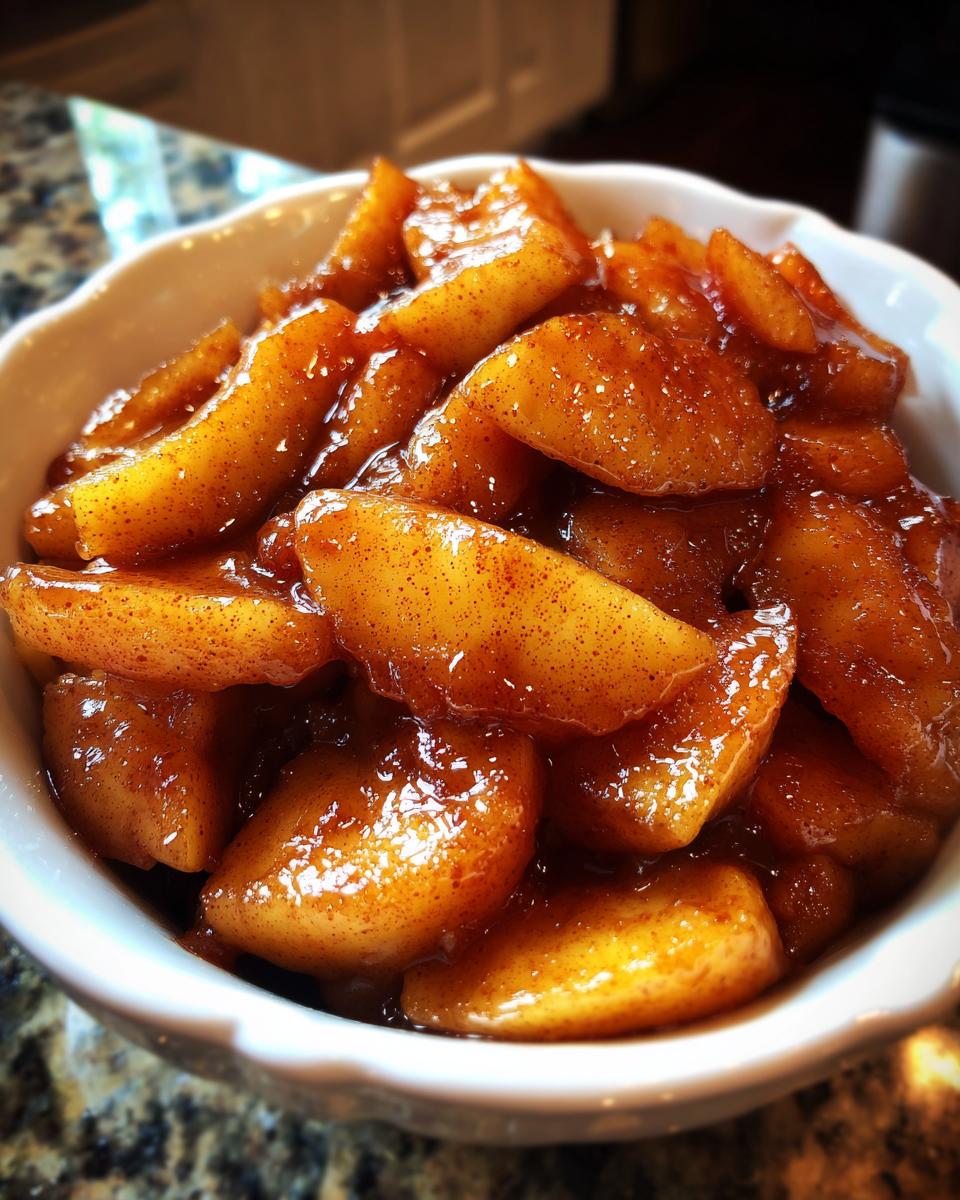
Achieving the Perfect Tender Apple Slices Dessert Texture
Listen, mushy apples ruin everything! We let them simmer gently first, just until they start to give a little under the pressure of your spoon. Slicing them uniformly at 1/4 inch—no skimping on precision here—ensures every piece cooks evenly. This initial gentle cook sets the stage so that when we thicken everything up, we end up with a tender apple slices dessert that has integrity, not sludge.
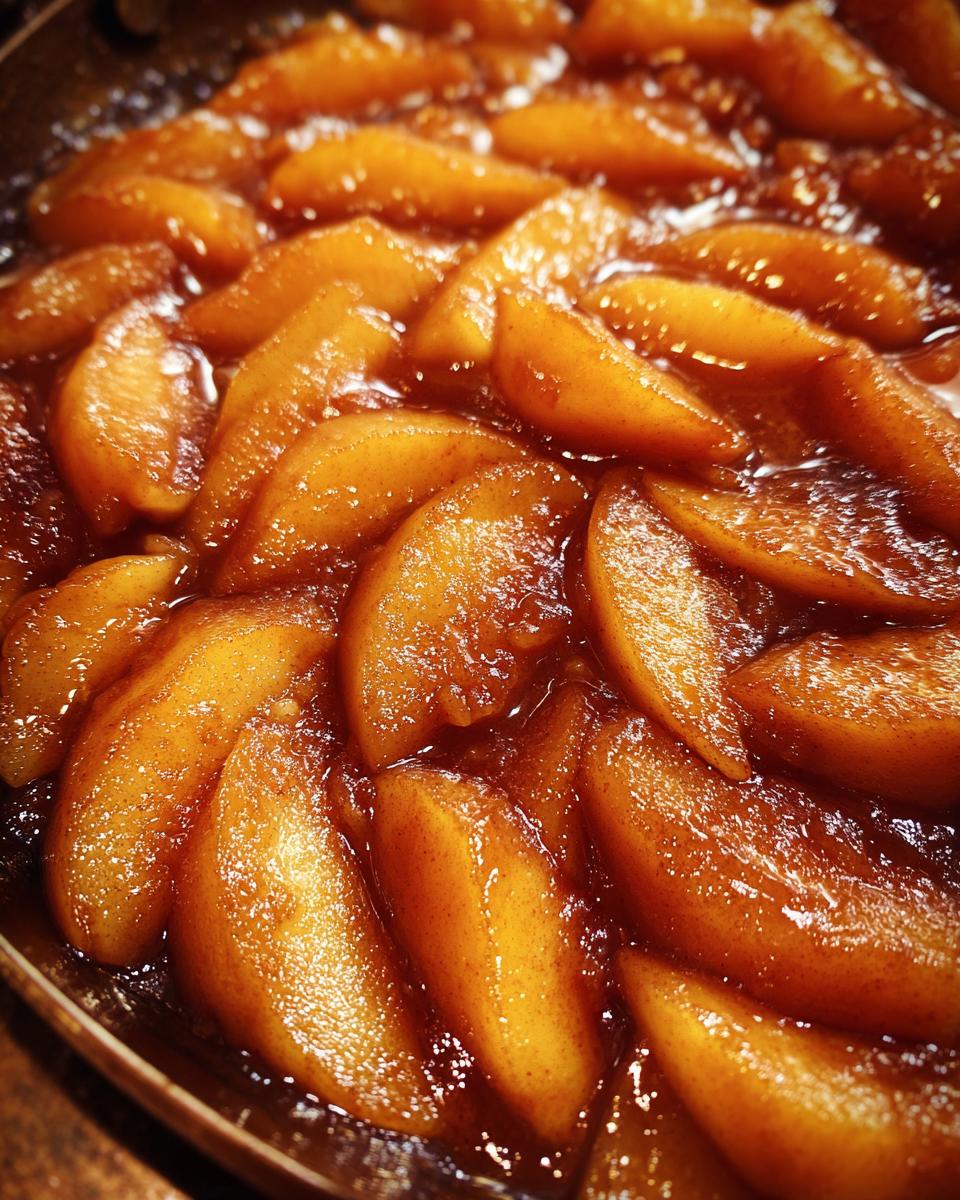
The Secret to Thick Apple Pie Filling: Cornstarch and Boiling
If you hate runny filling, this part is vital. We use cornstarch, but it only works if you bring the magic mixture to a full, rolling boil once the sugar is in. That bubbling action activates the cornstarch completely. This creates that glossy apple pie filling you always see in bakery windows—it’s shiny, it coats the spoon perfectly, and it won’t leak out the bottom of your pie! Seriously, don’t cheat that boil time.
Gathering Ingredients for Your Apple Pie Filling
Okay, before we grab the saucepan, let’s talk about what we’re putting in it. Because this is stovetop magic, the quality of your ingredients really shines through. I use the exact measurements you see below—don’t try to guess, especially with the thickeners and spices! This blend is what guarantees that signature sweet and spicy flavor without anything tasting artificial.
Best Apples for Pie Filling Selection
This is where you have to be smart! If you use only one type of apple, you risk ending up with something too tart or too grainy. My go-to strategy for the best apple pie filling is using a mix. I always grab some Granny Smith apples—they hold their shape beautifully and bring that necessary tartness to cut through the sugar.
Then, I balance that with something sweeter, like Honeycrisp or Fuji. It gives you a complex flavor and ensures you get that perfect texture. Slice them all the same, okay? Uniformity means uniform doneness!
Spice Blend for Cinnamon Apple Filling
We are leaning heavily into those warm, comforting fall dessert recipes here! You need the apple pie spice mix for that foundational flavor, but I always add extra cinnamon and a whisper of nutmeg. Those aren’t optional, they are required for a truly phenomenal cinnamon apple filling.
When measuring your apple pie spice mix, make sure to measure it level; you want the flavor to be present, but we don’t want the spices to overpower the apples. Trust me on the nutmeg—it adds a warmth you can’t quite place!
How to Prepare Easy Apple Pie Filling Recipe (Stovetop)
If you’re looking for that perfect, reliable, easy apple pie filling recipe, this stovetop method is the one you need. Forget trying to calculate oven space or juggling a soggy bottom crust; we build this flavor profile right in a pot! This is genuinely the best stovetop apple pie filling because we control the moisture and the thickness right from the start. Grab your biggest saucepan—we’re getting to work!
Step 1: Apple Prep and Preventing Browning
First things first: your preparation has to be spot-on. Peel, core, and slice those gorgeous apples exactly 1/4 inch thick. Don’t eyeball it—uniformity is how we guarantee tender apple slices dessert, not uneven chunks! As soon as you finish slicing a batch, toss them right into a large bowl and sprinkle that tablespoon of lemon juice over everything. That acid is critical; it keeps our beautiful apples from turning sad and brown while we prepare the dry stuff.
Step 2: Combining Dry Ingredients for the Glaze
Now, we need to make sure that thickening agent plays nicely! In a separate, completely dry bowl—and I mean dry—whisk together your sugars, cornstarch, spices, and salt. Whisk it like you mean it! If you skip this step, you end up with pockets of dry cornstarch later, which ruins the texture of the final apple pie filling. We need everything evenly distributed so it dissolves smoothly into that beautiful glaze we’re targeting.
Step 3: Cooking Down the Apples and Thickening the Apple Pie Filling
Time to turn on the heat! Dump your apples and the water into the saucepan over medium heat. Let them bubble gently for about five to seven minutes until they just start giving a little when poked. That’s our cue! Now, slowly sprinkle in that whisked dry mixture and stir it all around the apples. Keep stirring, and watch the magic happen as it starts to boil. See it bubble? That boiling action is what activates the cornstarch and starts the thickening process for your filling for apple pie. This usually takes another five to eight minutes of patient stirring.
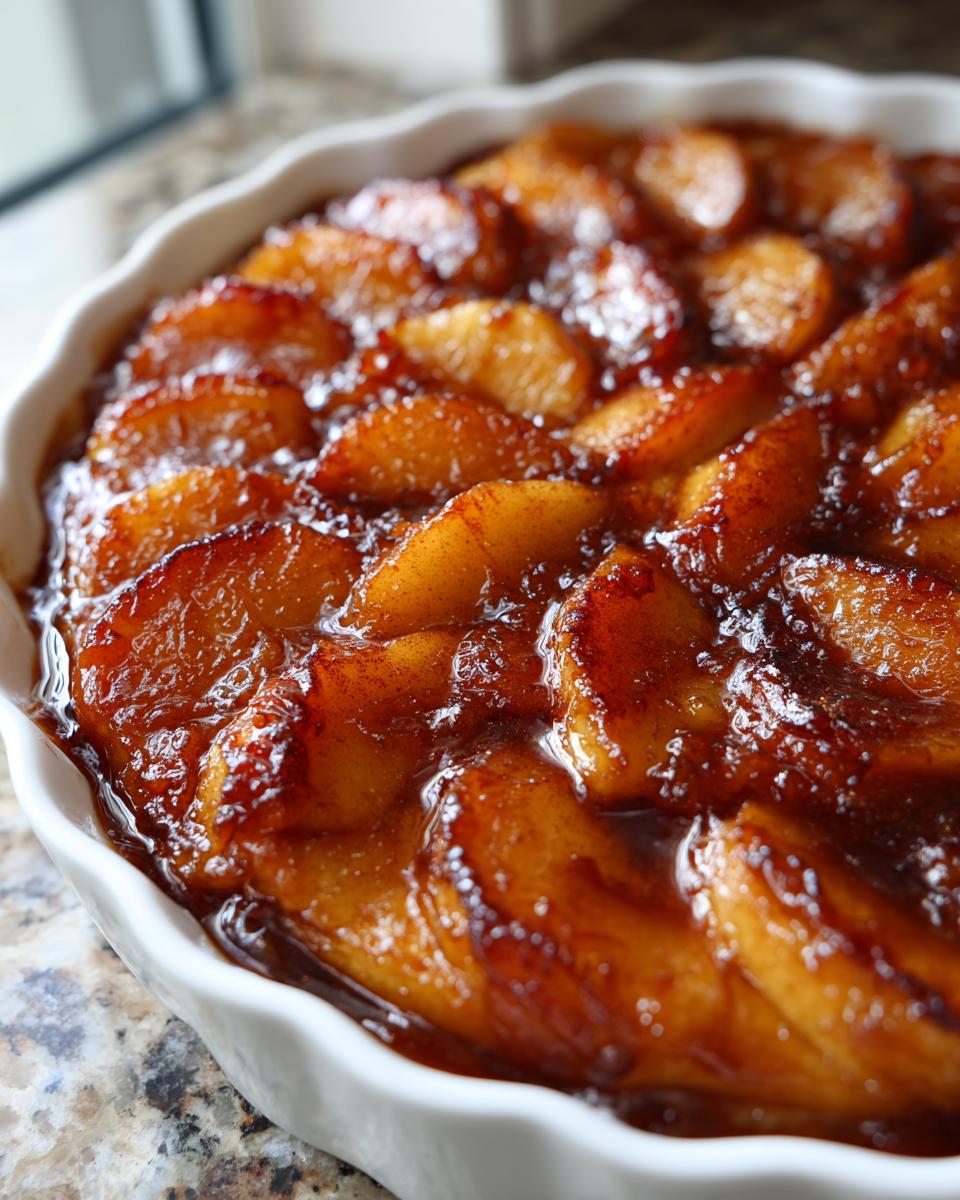
Step 4: Finishing Touches and Cooling for Perfect Filling for Apple Pie
Once the mixture is bubbly and thick enough that you can drag a wooden spoon through it and leave a distinct trail, take it *off* the heat immediately. Don’t let it keep cooking! Now, stir in those last two tablespoons of butter. It melts right in, bringing an amazing silkiness and richness. This step is non-negotiable for great flavor! Then comes the hardest part: you must transfer the apple pie filling to a separate bowl and let it cool completely to room temperature. Seriously, if you put hot filling into a pie crust, it will be soupy. Patience here guarantees that wonderful thick set you want!
You can check out more of my stovetop favorite recipes if you want some more one-pan wonders!
Tips for Success Making Perfect Apple Pie Filling
Making applesauce is great, but getting that perfect filling consistency takes a little nuance. Since we’ve already done the heavy stirring, these final tweaks ensure your apple pie filling is exactly how you want it. Don’t stress if your apples were on the super-tart side this week; we can adjust!
Adjusting Sweetness in Your Apple Pie Filling
If you used all Granny Smith apples, your mixture might taste a tad sharp even with the sugar we added. If that happens, I usually let the filling cool for five minutes off the heat, then whisk in another tablespoon of brown sugar. Taste it! See? It’s adjustable! On the flip side, if you used Red Delicious and it tastes too sweet, you can fight sweetness with acidity.
A tiny splash—maybe 1/2 teaspoon—of extra lemon juice helps balance a overly sweet apple pie filling without making it taste sour. This is all about tasting as you go. If you’re making a big batch of this cinnamon apple filling, you might need to double the adjustment, so taste frequently before the final cool down. If you love tweaking spices, you should check out my thoughts on spice adjusting in snickerdoodles—same principle applies here!
Versatile Uses for Your Apple Pie Filling
I know we lovingly call this apple pie filling, but honestly, if you think this rich, spiced mixture only belongs under a lattice crust, you’re missing out! I always make a double batch just so I have leftovers to play with throughout the week. It’s so much better than any jarred stuff you could buy—it instantly elevates anything you put it on.
Once this thick apple pie filling cools down, it becomes the perfect base for so many other fall dessert recipes. It’s a complete flavor bomb ready to go!
Using Apple Pie Filling for Turnovers and Crisps
If you want an amazing quick treat, this filling is sublime in little puff pastry turnovers. Just scoop two generous spoonfuls onto a square of dough, fold it over, crimp those edges tight, and bake until golden. You get that rich flavor without rolling out a full pie! It’s fantastic folded into the batter right before baking a batch of sweet scones, too.
But my real favorite lazy treat is using it as a decadent apple dessert topping. Spoon it warm over vanilla ice cream—instant sundae perfection! And for breakfast? Stir a dollop into your pancake batter next time you’re making those apple pie filling for pancakes. It makes even the simplest morning feel special. It truly is the best way to use up those extra apples!
Storage and Make-Ahead Tips for Apple Pie Filling
Since this recipe makes about six cups, you might not use it all in one go, and that’s okay! The best part about making this stovetop filling is that it instantly becomes a quick recipe for apple pie filling you already have ready next week. If you’re storing it, make sure it’s completely cool first. Pop it into an airtight container straight away.
In the fridge, this homemade apple pie filling lasts beautifully for about five days, which is great for topping waffles on a Tuesday morning. If you want to keep it longer, it freezes like a dream! Just use freezer-safe containers, leaving about an inch of headspace because liquids expand. I’ve kept this frozen for up to three months with no flavor loss whatsoever.
Frequently Asked Questions About Apple Pie Filling
I get so many questions about the process, and honestly, that’s how we learn to trust a recipe completely! When you have a fantastic base like this, people naturally wonder how flexible it is. Here are a few things I hear pretty often about getting this apple pie filling just right for whatever dessert you’re whipping up next.
Can I make this apple pie filling without cornstarch?
That’s a great question, especially if you’re out of cornstarch or just prefer not to use it. You absolutely can! Flour works, but you’ll need a bit more—maybe about double the amount—and the final texture won’t be quite as clear or glossy. I find that if you prefer not to use cornstarch, tapioca starch is the next best thing for that beautiful sheen. However, I still recommend the cornstarch because it gives you that classic thickness without dulling the color of the brown sugar glaze.
What is the best way to can apple pie filling?
Okay, this recipe is designed for immediate use or refrigeration, and I’ll be upfront—it’s not perfectly balanced for safe water bath canning as written. Canning requires specific acid levels and pressure adjustments to be shelf-stable year-round, and that’s a science I don’t mess around with! If you want to properly can your homemade apple pie filling, you absolutely must follow tested, modern canning guidelines from your local extension office or government resources. Do not try to guess the liquid ratios when pressure canning fruit mixes like this.
How do I get a more intense spice flavor in my apple pie filling?
If you love that spicy kick—which I totally do, especially in the cooler months—you have a couple of tools in your belt! First, you can gently toast your ground spices, like the cinnamon and nutmeg, in a dry skillet over low heat for about 30 seconds before mixing them into the dry ingredients. Toasting unlocks all those aromatic oils! Or, if you’re feeling bold, you can simply increase your tablespoon of apple pie spice mix by another half teaspoon. That usually does the trick for a really intense flavor profile in your final apple pie filling.
Estimated Nutrition for Apple Pie Filling
I always like to include these numbers because, hey, we’re feeding our families and it’s good to know what we’re working with! Now, remember this is just an estimate based on the ingredients listed—like the sugars and butter we use for flavor. If you swap apples or use less sugar, those numbers will change slightly. This estimation is based on a single cup serving of the final, cooked apple pie filling.
Here’s the rough breakdown:
- Serving Size: 1 cup
- Calories: 305
- Sugar: 55g (Yes, we use real sugar, but wow, it’s worth it!)
- Sodium: 150mg
- Fat: 3g
- Saturated Fat: 2g
- Unsaturated Fat: 1g
- Trans Fat: 0g (Thank goodness!)
- Carbohydrates: 72g
- Fiber: 4g
- Protein: 1g
- Cholesterol: 8mg
It’s important to remember that these figures reflect just the filling, not a slice of pie which includes that buttery crust! We’re prioritizing comfort and incredible flavor here, knowing we use these ingredients with care. This just shows you transparency upfront—that’s how we build trust in the kitchen!
Share Your Homemade Apple Pie Filling Creations
Wow, we did it! We took simple apples and turned them into the most incredible, thick, spicy, brown-sugar-infused apple pie filling you could dream up. Now that you’ve tried this stovetop magic for yourself, I absolutely want to hear about it!
Did you use it for a classic double-crust pie? Did you end up spooning it warm over a mountain of vanilla ice cream? Don’t keep those delicious results to yourself!
Please hop down to the comments below and leave a rating so other people know this recipe is the real deal. Tell me which apples you chose and how you enjoyed your filling for apple pie. If you snapped a picture of your finished holiday bake or pancake stack, I’d love to see it! Feel free to reach out to me through my contact page if you run into any snags or just want to share a raving review. Happy baking, friend!
PrintThe Best Homemade Apple Pie Filling (Thick & Spiced with Brown Sugar)
Make a thick, sweet, and perfectly spiced apple pie filling on the stovetop. This recipe uses brown sugar for deep flavor and results in tender apple slices perfect for pies or as a dessert topping.
- Prep Time: 20 min
- Cook Time: 15 min
- Total Time: 35 min
- Yield: About 6 cups of filling (enough for one 9-inch pie) 1x
- Category: Dessert
- Method: Stovetop
- Cuisine: American
- Diet: Vegetarian
Ingredients
- 6 large apples (Granny Smith or a mix), peeled, cored, and sliced 1/4-inch thick
- 3/4 cup packed brown sugar
- 1/4 cup granulated sugar
- 1/4 cup cornstarch
- 1 tablespoon lemon juice
- 1 tablespoon apple pie spice mix
- 1/2 teaspoon ground cinnamon
- 1/4 teaspoon ground nutmeg
- 1/4 teaspoon salt
- 1/2 cup water
- 2 tablespoons unsalted butter
Instructions
- Prepare your apples: Peel, core, and slice the apples into uniform 1/4-inch pieces. Place them in a large bowl and toss with the lemon juice to prevent browning.
- Combine dry ingredients: In a separate medium bowl, whisk together the brown sugar, granulated sugar, cornstarch, apple pie spice mix, cinnamon, nutmeg, and salt until fully combined.
- Cook the apples: Place the sliced apples in a large saucepan or Dutch oven over medium heat. Add the water. Cook for 5 to 7 minutes, stirring occasionally, until the apples begin to soften slightly.
- Thicken the filling: Sprinkle the sugar and spice mixture evenly over the apples. Stir gently to coat. Continue cooking, stirring often, for another 5 to 8 minutes. The mixture will bubble and thicken significantly as the cornstarch activates.
- Finish the filling: Once the filling is thick and glossy, remove the pan from the heat. Stir in the butter until it melts completely.
- Cool: Transfer the apple pie filling to a heatproof bowl. Let it cool completely to room temperature before using it in a pie crust or storing it. Cooling allows the filling to set to the correct thickness.
Notes
- For the best texture, use a mix of apples, such as Granny Smith for tartness and Honeycrisp for sweetness.
- If you prefer a less spiced flavor, reduce the apple pie spice mix to 2 teaspoons.
- This filling can be used immediately in an unbaked pie shell or stored in an airtight container in the refrigerator for up to 5 days.
- For a glossy apple pie filling, ensure you cook the mixture until it reaches a full boil and holds its shape on a spoon.
Nutrition
- Serving Size: 1 cup
- Calories: 305
- Sugar: 55
- Sodium: 150
- Fat: 3
- Saturated Fat: 2
- Unsaturated Fat: 1
- Trans Fat: 0
- Carbohydrates: 72
- Fiber: 4
- Protein: 1
- Cholesterol: 8