
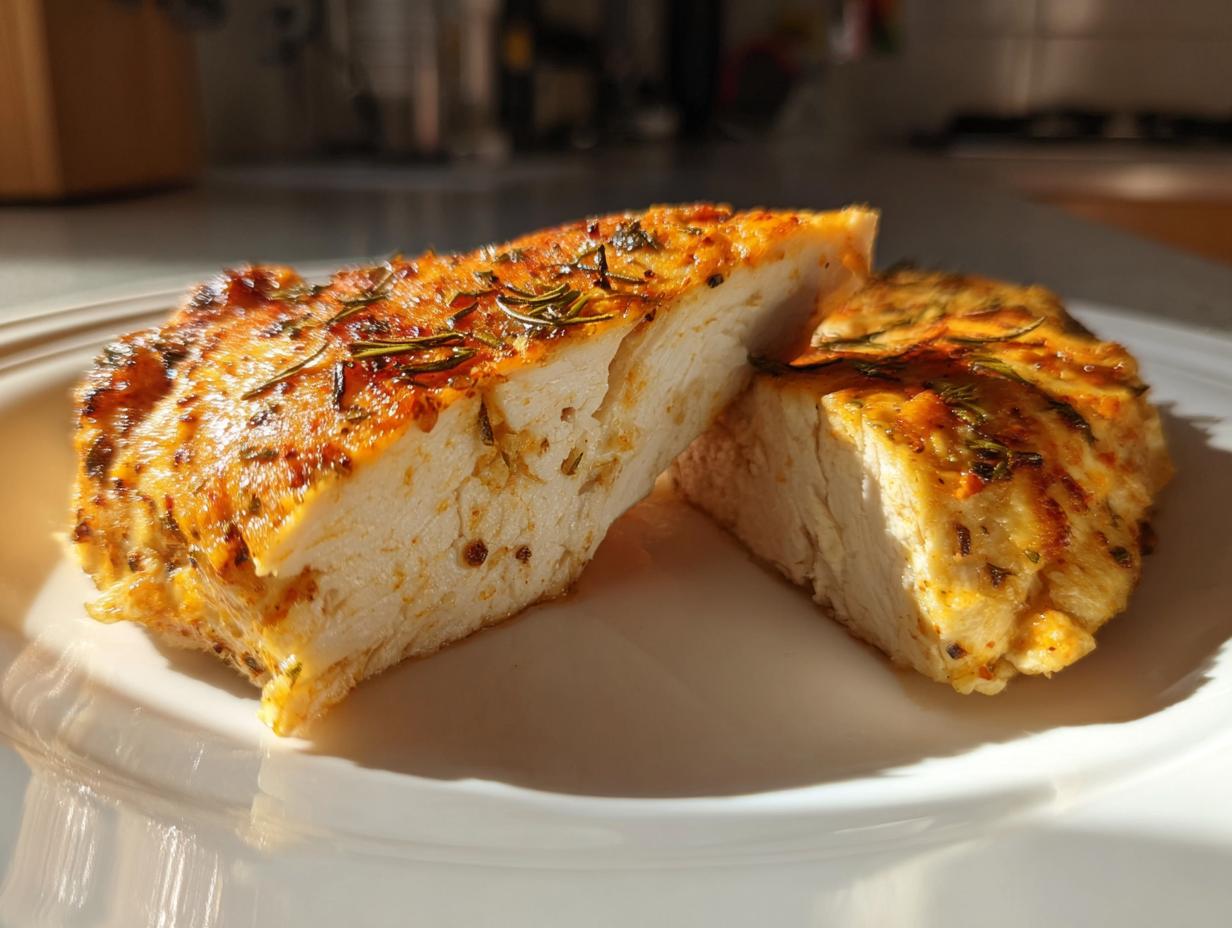
Oh, chicken breast. We need to talk about this staple cut of meat because, honestly, dry baked chicken breast is my absolute nightmare! Seriously, you follow a recipe, religiously watch the timer, and somehow you pull out something tough enough to resole a shoe. I spent years in professional test kitchens understanding the science behind tenderness, and let me tell you, it’s not accidental—it’s technique. That’s why I’m sharing my ultimate foolproof method for the most juicy baked chicken breast you’ll ever make. This simple approach guarantees tender results every single time, transforming a boring weeknight protein into something worth raving about. It’s fast enough for when you need easy oven baked chicken breast, but reliable enough to trust completely.
- Why This Is The Best Baked Chicken Breast Seasoning Method
- Ingredients for Your Foolproof Baked Chicken Breast
- Step-by-Step Instructions for Easy Oven Baked Chicken Breast
- Tips for Success with Your Baked Chicken Breast
- Making Baked Chicken Breast for Meal Prep Ideas
- Serving Suggestions for This Chicken Breast Main Dish
- Storing and Reheating Your Baked Chicken Breast
- Understanding the Science Behind Juicy Baked Chicken Breast
- Frequently Asked Questions About Baked Chicken Breast
Why This Is The Best Baked Chicken Breast Seasoning Method
If you are looking for a recipe that delivers flavor without demanding your entire evening, this is it! My method focuses squarely on results: pure juiciness and incredible flavor with absolutely minimal effort. We aren’t dealing with complicated marinades here; this is about respecting the meat using simple spices. You get a truly satisfying, tender oven chicken that is perfect for a quick weeknight chicken dinner. If you love simple, comforting flavors like this, check out my classic chicken noodle soup recipe too!
- It’s fast! You’re only about 35 minutes away from dinner time.
- The seasoning blend is foolproof—it works every time.
- We focus heavily on temperature control, which is the real secret to never overcooking this simple chicken breast dinner.
Key Secrets for Juicy Baked Chicken Breast Recipe
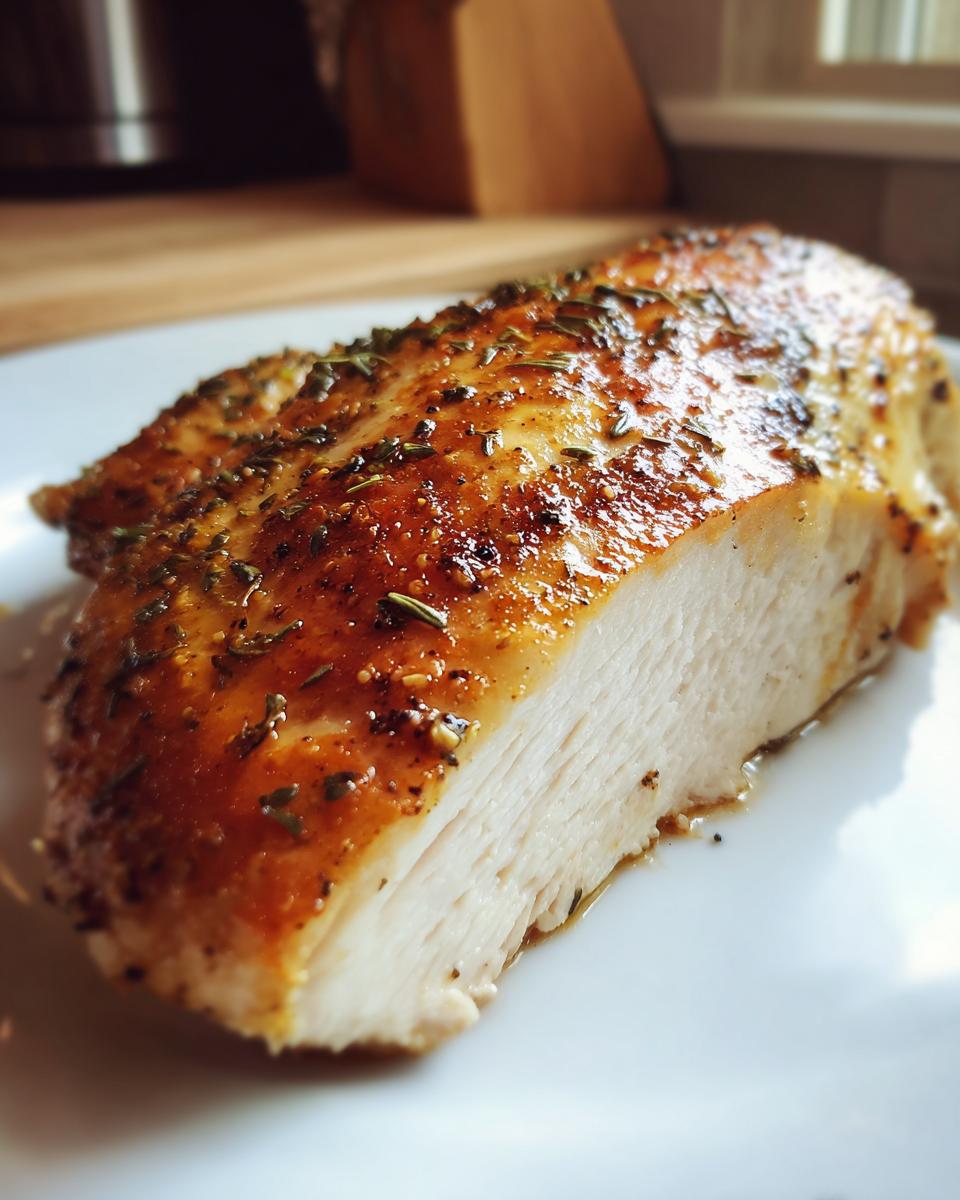
To make sure you master how to bake chicken breast without drying it out, remember these three things. First, you absolutely must pat the chicken completely dry with paper towels before seasoning. Wet chicken steams instead of searing, and we don’t want that! Second, we use a little bit of fat, plus that tiny pat of butter right on top to create a self-basting environment. And finally, the resting period is non-negotiable—step away from the chicken for five minutes after it comes out of the heat. Trust me on this; those juices redistribute beautifully!
Ingredients for Your Foolproof Baked Chicken Breast
Okay, let’s talk about what you need for this foundational recipe. Because we are aiming for a healthy baked chicken recipe that packs a huge punch with minimal fuss, we keep the ingredient list short and impactful. I sourced these measurements after testing batches rigorously in the test kitchen, so please stick to them for the best results! Remember, quality matters, especially since this is such a simple combination. If you want to see how I incorporate baked chicken into my packed lunches, check out my healthy lunch ideas post!
- 4 boneless, skinless chicken breasts (aim for 6-8 oz each—thickness matters!)
- 1 tablespoon olive oil
- 1 teaspoon salt
- 1/2 teaspoon black pepper
- 1 teaspoon garlic powder
- 1/2 teaspoon dried oregano
- 1/4 teaspoon paprika
- 1 tablespoon unsalted butter, cut into 4 small, equal pieces
Ingredient Notes and Substitutions
The size of your chicken breast is actually super important here. If you use really huge, thick ones, you risk drying out the thinner ends before the center cooks through, so try to keep them around 6 to 8 ounces each. That little piece of butter placed right on top of each breast is crucial! It melts down slowly, creating that moist, flavorful layer that keeps the surface from drying while the inside stays juicy. This is the simplest way to elevate a basic, healthy baked chicken recipe to something special.
Step-by-Step Instructions for Easy Oven Baked Chicken Breast
We’re not going to let this process look intimidating! If you’ve got about 10 minutes to prep, you can nail this easy oven baked chicken breast. Think of this as a simple assembly line. My goal here is to make sure you feel confident walking through every stage, especially the part where we build flavor right onto the meat. Don’t worry if you aren’t huge on measuring spices; we’re doing a straightforward mix that smells amazing right away. If you need something super quick later in the day, this method tastes just as good cold, perfect for quick snacks or check out my quick and easy breakfasts!
Preparing the Chicken and Seasoning Mix
First things first: turn that oven on to 400 degrees Fahrenheit so it has time to get properly hot. Grab your baking dish and either lightly grease it or line it with parchment paper—I always cheat and use the paper! Now, for the secret to the best baked chicken breast seasoning flavor to stick: blot every bit of moisture off the chicken using paper towels. I mean bone dry! While that’s happening, whisk together your salt, pepper, garlic powder, oregano, and paprika in a tiny bowl. That simple mixture is going to coat your chicken beautifully and help form a nice texture on the outside.
Baking Time and Temperature for Tender Oven Chicken
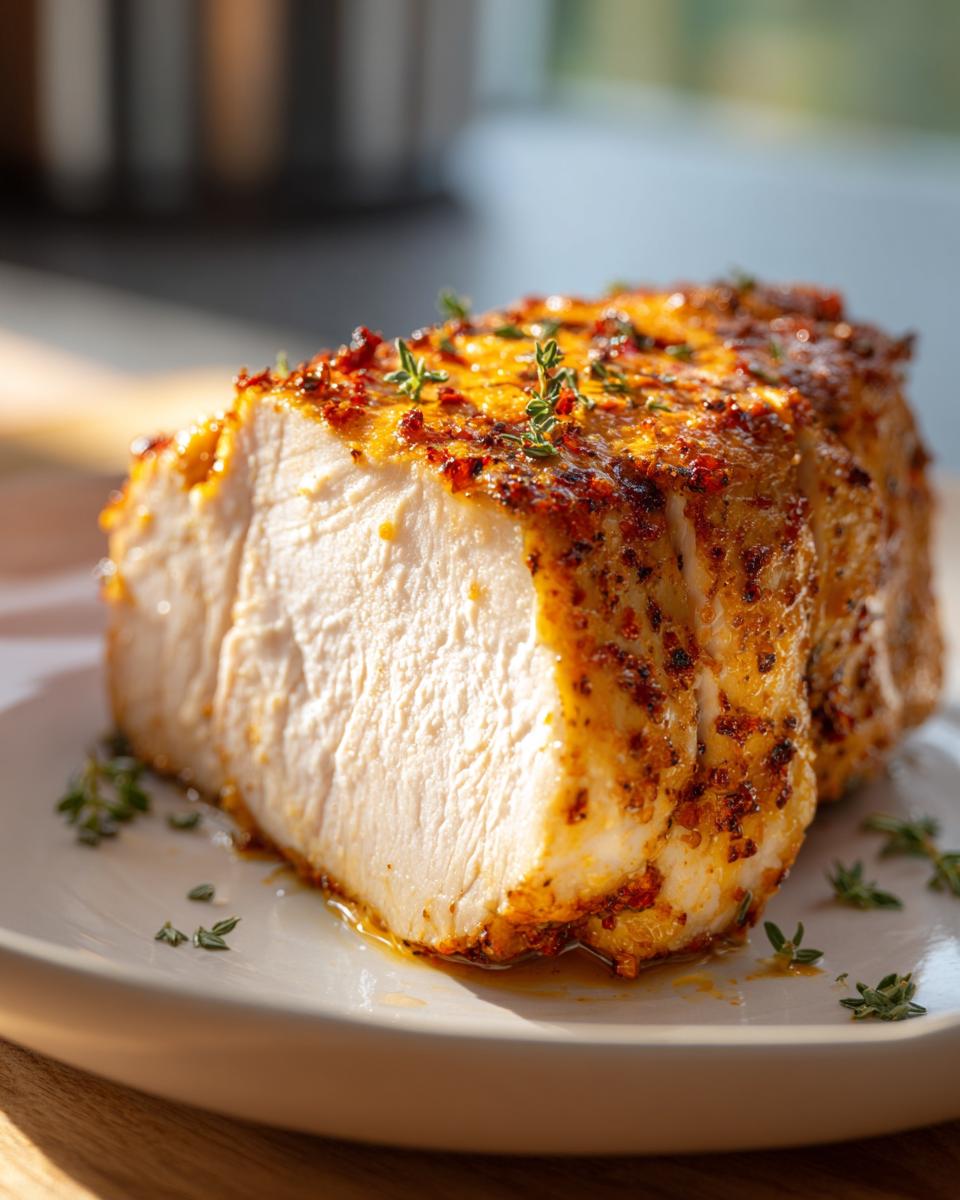
Time to dress those beauties! Rub the olive oil all over the pieces, then sprinkle that prepared spice mix over them, pressing it in gently. Now, place them in the hot oven and top each piece with one little slice of butter. This is where patience comes in. Bake these for about 20 to 25 minutes. The absolute most important part—and this is how you guarantee tender oven chicken—is using a meat thermometer. You pull them out when they hit 165 degrees Fahrenheit in the thickest spot. Do not guess! After you take them out, you *must* let them rest for five minutes so all those delicious juices stay locked inside.
Tips for Success with Your Baked Chicken Breast
Even with the best instructions, sometimes you just need that last little nudge to make something perfect. My biggest tip, especially if you prefer a little color on top, is to use the broiler trick. Once your internal temperature hits that magic 165°F mark, you can switch your oven to broil for the final minute or two. But seriously, stand right there and watch it—broilers work fast, and we don’t want charred chicken!
Also, let’s talk about that resting period again because I feel like people skip this step the most when they’re rushing to serve their quick weeknight chicken dinner. Five to ten minutes is best. This allows the muscle fibers to relax and soak up all the moisture you worked so hard to keep inside. If you slice it immediately, all that juiciness just pours out onto the plate instead of staying where it belongs.
For a super flavorful upgrade, try topping that single pat of butter with a thin slice of lemon before it goes into the oven—the citrus perfectly complements the simple seasoning blend. Want another flavor booster for serving? My easy creamy garlic aioli is divine drizzled over the top once the chicken is resting. For more inspiration on oven roasting, check out ideas over at All Food!
Making Baked Chicken Breast for Meal Prep Ideas
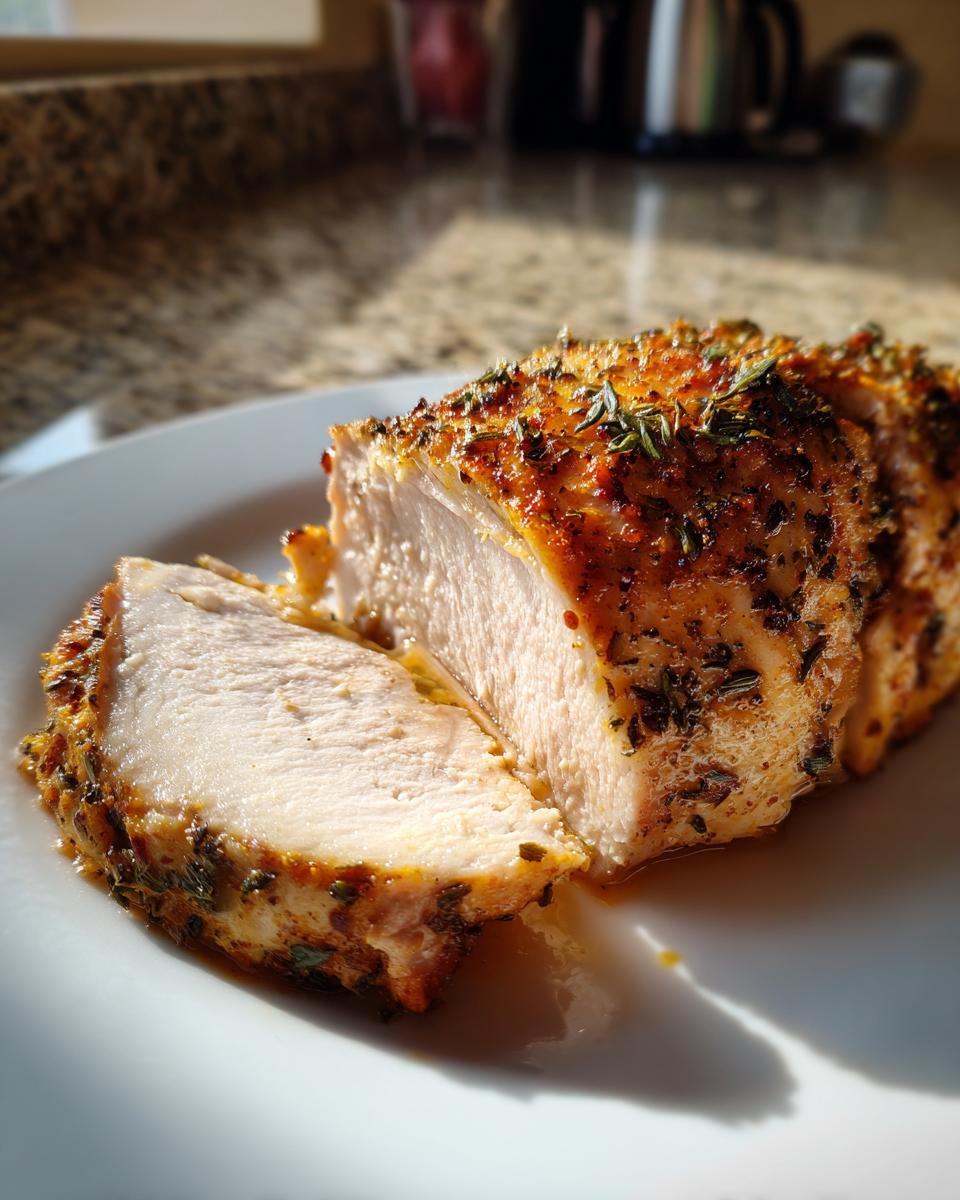
This recipe shines as a foundation for your weekly planning because it’s so flavorful even when eaten cold! If you’re dedicated to having a simple chicken breast dinner ready to go, this is your champion. After the mandatory resting time, let the chicken cool entirely on a cutting board before you even think about putting it into a container. Putting warm chicken into a tight container traps steam, and that steam is what leads to a slightly mushy texture the next day. Trust me, cooling it fully ensures the bird stays firm and delicious for later.
I use shallow, airtight containers for mine. You can slice it up right away, or leave it whole to slice fresh later in the week. If you need other great make-ahead options, you have to try my easy egg bites recipe for quick breakfasts!
Serving Suggestions for This Chicken Breast Main Dish
So you’ve got your perfectly juicy, seasoned chicken breast sitting on the counter, resting beautifully. Awesome! Now we need companions! Since this recipe is such a fantastic, healthy baked chicken recipe base—lean, simple seasoning—we can pair it with almost anything. I always think about what requires the least amount of attention while the chicken is chilling out after baking.
For ultimate comfort food status, you absolutely cannot beat perfectly creamy garlic mashed potatoes. They soak up any tiny bit of extra juice left on the plate. If you’re trying to keep it lighter, pair it with quick roasted vegetables. Toss some broccoli florets and chopped carrots with just a little olive oil, salt, and pepper, and pop them into the oven for the last 15 minutes of the chicken’s bake time. It’s an easy way to get a complete meal done!
Another go-to for me, especially if I’m prepping ahead of time, is a big, colorful salad loaded with crunch—maybe some pecans and dried cranberries. It keeps the meal super fresh tasting, which is a great contrast to the warm, savory flavors of our basic baked poultry recipe. Honestly, once you have this foolproof chicken down, coming up with the rest of the chicken breast main dish is the fun part!
Storing and Reheating Your Baked Chicken Breast
Taking care of your leftovers is just as important as the initial bake, especially if you want that supreme juiciness to stick around! When storing, make sure your chicken has cooled down completely first, as I mentioned before. You can safely keep this basic baked poultry recipe in an airtight container in the fridge for about three to four days. That’s plenty of time to use it up in salads or wraps.
When it’s time to reheat your chicken breast main dish, keep your microwave handy, but don’t just blast it! Throw the piece on a microwave-safe plate with just a tiny splash of water or broth underneath it. Cover it, and heat in short 30-second bursts. That little bit of steam prevents the microwave from sucking all the moisture out. If you have time, reheating it gently in a low oven (around 300°F) wrapped in foil often works even better. For other great pairings, don’t forget to check out my list of side dish recipes!
Understanding the Science Behind Juicy Baked Chicken Breast
I know, I know, talking about the “science” of chicken sounds intense, but this is the secret to becoming a confident cook! When you pull your tender oven chicken out of the oven at 165°F, it’s actually still going to keep cooking for a few minutes while it sits there. We call this carryover cooking. If you wait until the thermometer reads 170°F in the oven, by the time you eat it, it’s going to be dry!
That five-minute resting period I keep nagging you about allows the muscle fibers, which tense up dramatically when heated, to relax. When they relax, they reabsorb all those beautiful, flavorful juices you worked so hard to keep inside. It’s basic physics, really, but it makes a world of difference for your easy oven baked chicken breast!
By controlling for carryover heat and allowing rest, you get a much more forgiving recipe that ensures tenderness. For more deep dives into foolproof techniques, you can check out my guide on easy weeknight dinners, or see how others manage heat retention over at Platings + Pairings.
Frequently Asked Questions About Baked Chicken Breast
I know you might still have a few lingering questions floating around after making your first batch of this juicy baked chicken breast recipe. That’s totally normal! When you’re dealing with proteins, you want to be sure you’ve got the technique locked down. I want you to feel totally confident every time you need a simple chicken breast dinner, so below are answers to the questions I hear most often about getting that perfect baked chicken breast result.
Can I use frozen chicken breasts for this baked chicken breast recipe?
Oh, gosh, please don’t try that! For this specific recipe, you absolutely must thaw your chicken breasts completely. If you try to bake them while they’re still frozen, you run into huge problems. The outside cooks way too fast while you’re waiting for the inside to defrost, and that is the fastest route to rubbery, dry chicken. Safety first, then flavor second! For reliably tender oven chicken, give them a full day in the fridge to thaw overnight.
What is the best way to get a golden-brown top on my baked chicken breast?
That golden crust really makes the presentation pop! While the paprika in our best baked chicken breast seasoning helps, the secret weapon is what we discussed earlier: the broiler trick at the very end. Once you confirm the internal temperature is 165°F, move your rack up close to the top element, switch the oven to broil, and watch it carefully for 60 to 120 seconds. You get that beautiful color without overcooking the meat underneath. Just remember, broilers are powerful, so don’t walk away!
Is this recipe suitable for a healthy baked chicken recipe?
Yes, absolutely! This recipe is fantastic if you’re counting macros or just trying to eat cleaner. Because we rely on natural flavor from the spices and use minimal added fat (just that initial oil rub and the tablespoon of butter spread across four breasts), it stays very lean. It’s high in protein, virtually zero carbs, and keeps the saturated fat quite low per serving. It’s a wonderful base for any healthy meal plan, and it’s certainly a much better option than fried versions of basic baked poultry recipe!
If you have any other concerns or want to share how your garlic baked chicken breast turned out, please don’t hesitate to reach out on my contact page. Happy cooking!
PrintThe Ultimate Juicy Baked Chicken Breast: Simple Method for Tender Results Every Time

Learn how to bake chicken breast in the oven so it stays perfectly tender and juicy. This simple, foolproof method uses basic seasoning for a healthy main dish perfect for weeknights or meal prep.
- Prep Time: 10 min
- Cook Time: 25 min
- Total Time: 35 min
- Yield: 4 servings 1x
- Category: Dinner
- Method: Baking
- Cuisine: American
- Diet: Low Fat
Ingredients
- 4 boneless, skinless chicken breasts (about 6–8 oz each)
- 1 tablespoon olive oil
- 1 teaspoon salt
- 1/2 teaspoon black pepper
- 1 teaspoon garlic powder
- 1/2 teaspoon dried oregano
- 1/4 teaspoon paprika
- 1 tablespoon unsalted butter, cut into 4 pieces
Instructions
- Preheat your oven to 400 degrees Fahrenheit (200 degrees Celsius). Lightly grease a baking dish or line it with parchment paper.
- Pat the chicken breasts completely dry using paper towels. This step helps the seasoning stick and promotes better texture.
- In a small bowl, mix together the salt, pepper, garlic powder, oregano, and paprika to create your best baked chicken breast seasoning blend.
- Rub the olive oil evenly over all surfaces of the chicken breasts.
- Sprinkle the seasoning mix over the chicken, pressing gently so it adheres well.
- Place the seasoned chicken breasts in the prepared baking dish. Place one small piece of butter on top of each chicken breast.
- Bake for 20 to 25 minutes. The exact time depends on the thickness of your chicken.
- Use a meat thermometer to check the internal temperature. You are looking for 165 degrees Fahrenheit (74 degrees Celsius) at the thickest part. This is how you bake chicken breast without drying it out.
- Remove the chicken from the oven. Let the chicken rest in the dish for 5 to 10 minutes before slicing or serving. This resting period keeps the juices inside.
Notes
- For extra flavor, you can add a thin slice of lemon on top of the butter before baking.
- If you are making this for meal prep, allow the chicken to cool completely before storing it in airtight containers.
- To achieve a golden-brown top, you can briefly switch the oven to the broiler setting for the last 1-2 minutes, watching closely to prevent burning.
Nutrition
- Serving Size: 1 breast
- Calories: 220
- Sugar: 0
- Sodium: 350
- Fat: 8
- Saturated Fat: 3
- Unsaturated Fat: 5
- Trans Fat: 0
- Carbohydrates: 1
- Fiber: 0
- Protein: 35
- Cholesterol: 100