
When the craving hits for something sweet, creamy, and utterly comforting, you don’t always want to turn on the oven or spend hours mixing things together, right? I totally get that! That’s why this recipe for **Cool Whip Candy** is such a staple around my house. It’s the ultimate fast, no-fuss dessert that melts right in your mouth, giving you that light, fluffy texture we all love. When I first started cooking back in my Midwest kitchen, the goal was always connection over complication. This three-ingredient magic is the perfect embodiment of that philosophy: simple ingredients, handled carefully, leading to pure joy. If you are looking for more simple sweets, check out all my favorite dessert recipes! Trust me, once you try this, it becomes your go-to quick treat!
- Why This Cool Whip Candy is Your New Favorite Easy No Bake Candy
- Ingredients for the Ultimate Cool Whip Candy Recipe
- Step-by-Step Instructions for Your Cool Whip Candy
- Tips for Perfecting Your Homemade Candy Recipes
- Storage and Making Ahead for Quick Holiday Candy
- Variations on the 3 Ingredient Dessert
- Serving Suggestions for Your Creamy Frozen Treats
- Frequently Asked Questions About Cool Whip Candy
- Nutritional Estimates for This Budget Friendly Candy
Why This Cool Whip Candy is Your New Favorite Easy No Bake Candy
Seriously, you need this **Cool Whip Candy** on your rotation for busy weeks or unexpected company. It’s the definition of a fast, satisfying treat that feels gourmet but takes almost no effort. It’s become my go-to when I need something quick, which is why I love showing others how satisfying these easy weeknight dinners and desserts can be.
Key Benefits of Making Cool Whip Candy
- It’s practically a 3 Ingredient Dessert—so low on ingredients you probably have everything already!
- Zero oven time required, making it perfect for summer or whenever you need a true No Oven Dessert.
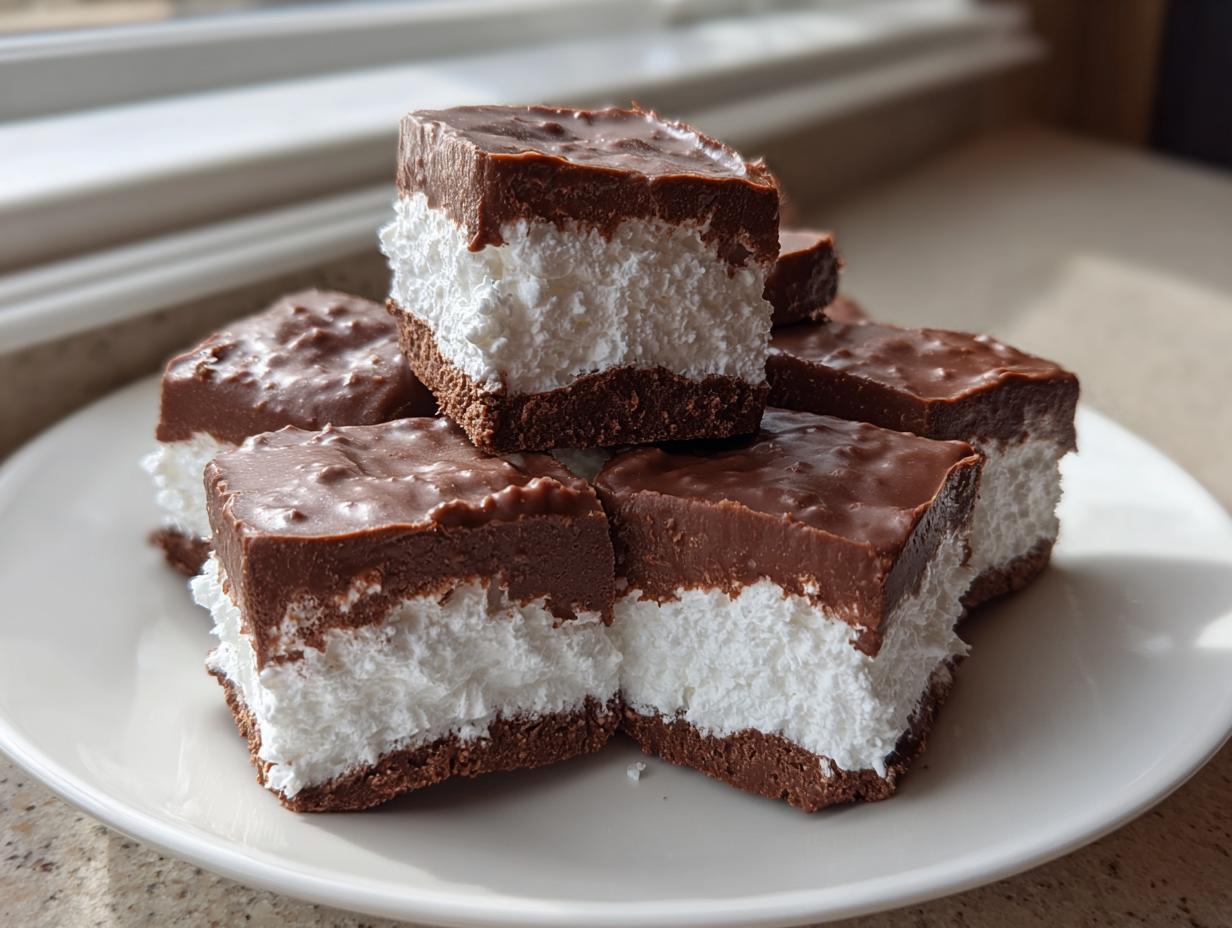
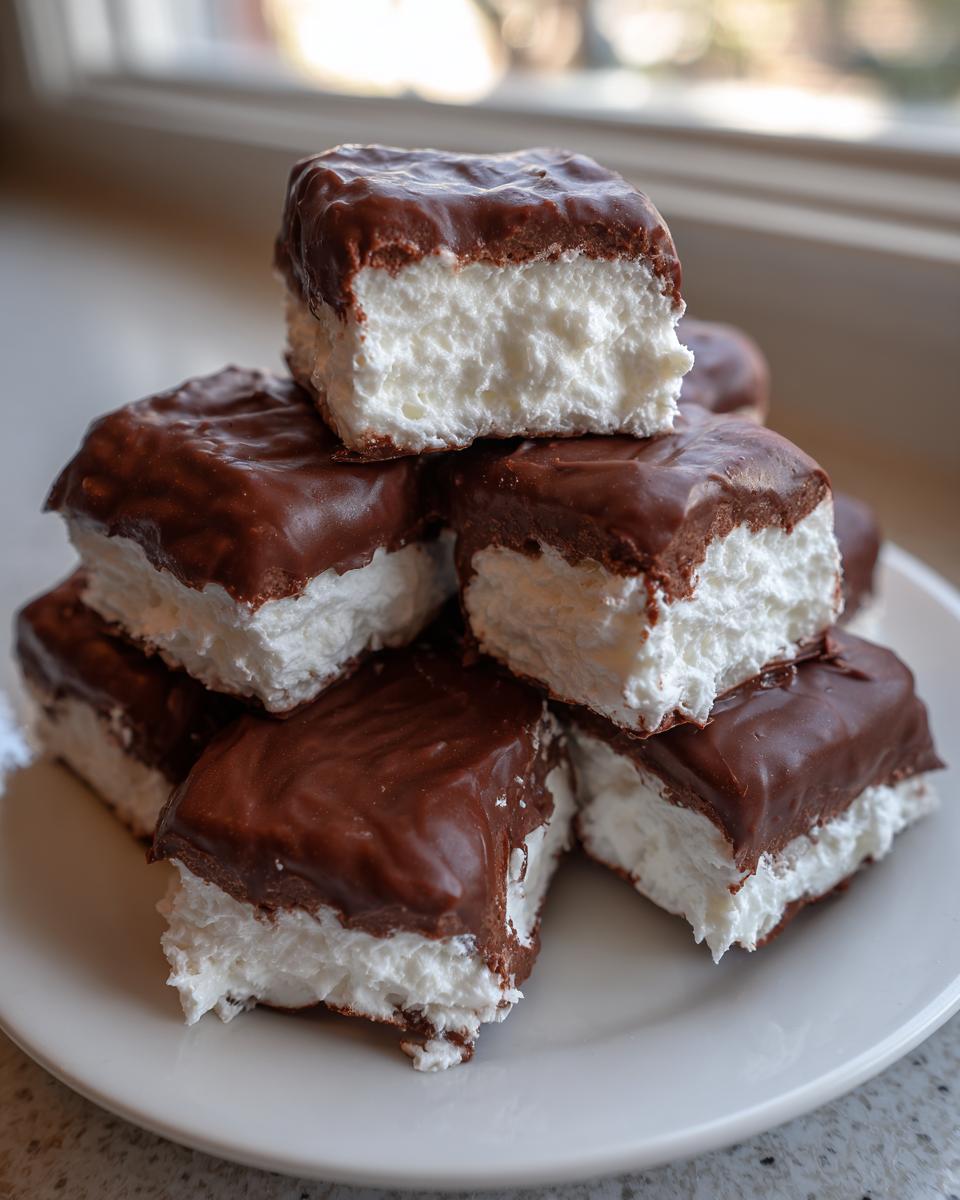
- The texture is incredibly light and airy—it truly replicates that famous Fluffy Chocolate Candy bar.
- It’s the perfect 3 Musketeers Copycat Recipe that tastes better than the store-bought version!
Ingredients for the Ultimate Cool Whip Candy Recipe
When you see a recipe calling for just three things, you know it’s going to be a winner! That’s part of the magic of this **Cool Whip Candy**. Reliability is key in my kitchen; I don’t want you wasting time or ingredients on something that won’t work. These components create that unbelievably creamy, light filling that we all crave. When you shop, make sure you grab the standard tub of whipped topping, ready to be thawed, not the tub labeled ‘whipped *cream* topping,’ because the structure is slightly different. I always keep this list handy for quick trips to the store!
Ingredient Measurements and Preparation
- One full container (8 ounces) frozen whipped topping, fully thawed but still cold.
- 1 cup of regular powdered sugar (often called confectioners’ sugar).
- 1 cup of semi-sweet chocolate chips, melted perfectly smooth before using.
If you’re planning ahead, maybe try getting your breakfast pastries sorted first from my quick and easy breakfasts collection.
Step-by-Step Instructions for Your Cool Whip Candy
Okay, now for the fun part! Since this is a totally no-bake candy, we skip the hot stove and head straight for the freezer, which is thrilling if you’re anything like me and hate waiting. Following these steps exactly will ensure you get that light, airy center that makes this Cool Whip Candy taste exactly like a fancy chocolate bar. Don’t rush the freezing time—that’s the secret to success here. If you are looking for great recipes to keep your main meals easy, check out my side dish recipes!
Preparing the Fluffy Filling Base
First things first: get your 8×8 pan ready. You absolutely must line it with parchment paper, leaving big flaps hanging over the sides. This is your handle later! Next, take that thawed whipped topping and put it in a bowl. Dump in the powdered sugar. Now, listen closely: mix it gently until it’s *just* combined. You’re not whipping meringue here; stirring too much will deflate all that lovely air, and we want that light look! Once it’s blended, press that mixture down evenly into your prepared pan.
Freezing, Cutting, and Chocolate Coating
Here’s where patience comes in—pop that pan into the freezer for at least two full hours. It needs to be very firm before you attempt to cut it. Once it’s solid, use those parchment flaps to lift the whole block out and cut it into small, perfect squares. For the chocolate coating, melt your chips slowly in the microwave, stirring every 30 seconds—we don’t want scorched chocolate! Then, dip each frozen piece, letting the extra drip off the fork. Placing them back on parchment ensures they don’t stick while they chill until that chocolate sets up firm. Hello, Melt In Your Mouth Dessert!
Tips for Perfecting Your Homemade Candy Recipes
Even though this recipe is so simple, a few tricks can take your Simple Whipped Topping Treats from good to absolutely incredible. I learned these little details testing recipes constantly, even when it was just for myself! Getting the chocolate smooth and keeping the center light are the two biggest hurdles beginners face, but they are easy wins once you know the secret. If you want to dive deeper into chocolate recipes after this one, you should definitely check out my chocolate crinkle cookies recipe!
Achieving the Right Texture in Your Simple Whipped Topping Treats
When you mix the sugar and the thawed topping, remember: *just combine*. If you whip it too long, you start breaking down the delicate structure, and it winds up more like icing than that fluffy nougat center we want. It needs to be frozen solid before you cut it, so don’t put it in the chocolate if it’s only slightly chilled—it’ll just slump! When you dip the frozen pieces into the melted chocolate, work fast, obviously. If your chocolate seems too thick to coat nicely, don’t try to reheat it too much. A tiny splash of coconut oil (seriously, just a drop!) stirred in can smooth it right out for a beautiful, shiny shell. It’s all about feeling the ingredients!
Storage and Making Ahead for Quick Holiday Candy
One of the best things about making this **Cool Whip Candy** is that you can totally get ahead of the game! Since these treats rely on being fully frozen, they store like a dream. I usually keep them in the freezer until about 15 minutes before serving. If you store them in an airtight container, they are fantastic for nearly a month in the freezer, which is a lifesaver during the busy holidays when you’re running around organizing trays. For immediate serving, the fridge works, but the filling gets a little softer, so keep that in mind if you want that true melt-in-your-mouth experience! For more make-ahead ideas, you should check out my creamy sushi bake recipe!
Variations on the 3 Ingredient Dessert
Once you master the basic formula—sugar, topping, chocolate—you can really start playing around! This simple base is just begging for a little personalization. It’s fun to get creative when I’m testing recipes, even if the original version is already perfect. If you love experimenting like me, you might enjoy trying out some substitutions when you make your next batch. You can completely change the flavor profile just by swapping out the chocolate! If you need something incredible to bake later, grab my chocolate banana bread recipe.
Mixing Up the Chocolate Coating
Instead of sticking only to semi-sweet chips, try dark chocolate if you like it less sweet, or use milk chocolate for an even sweeter finish. Even better? Try dipping half the batch in one type and half in another! You could also swirl a tiny bit of peanut butter or almond butter into the melted chocolate right before dipping. A splash of peppermint extract stirred into the filling base before freezing is fantastic for holiday versions, too!
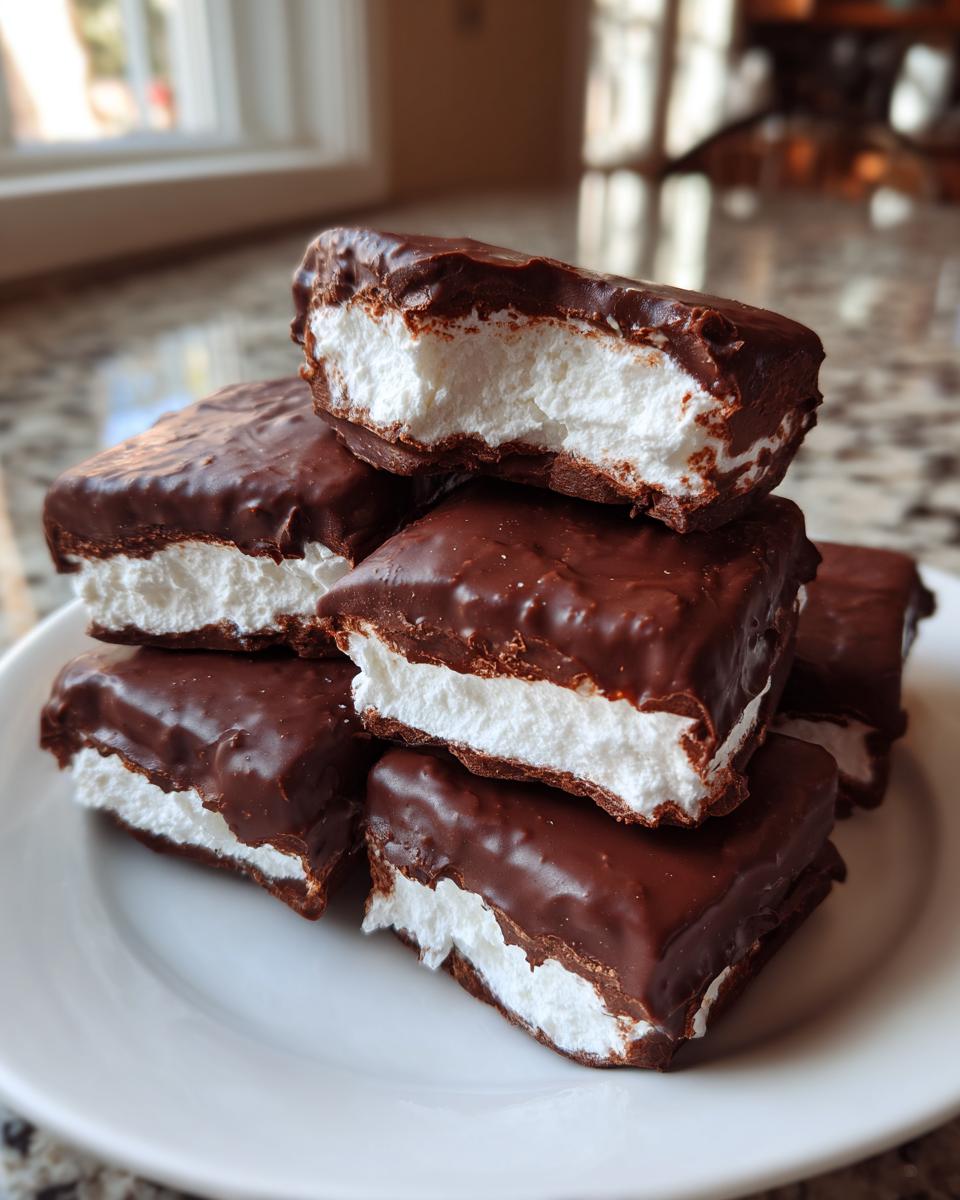
Serving Suggestions for Your Creamy Frozen Treats
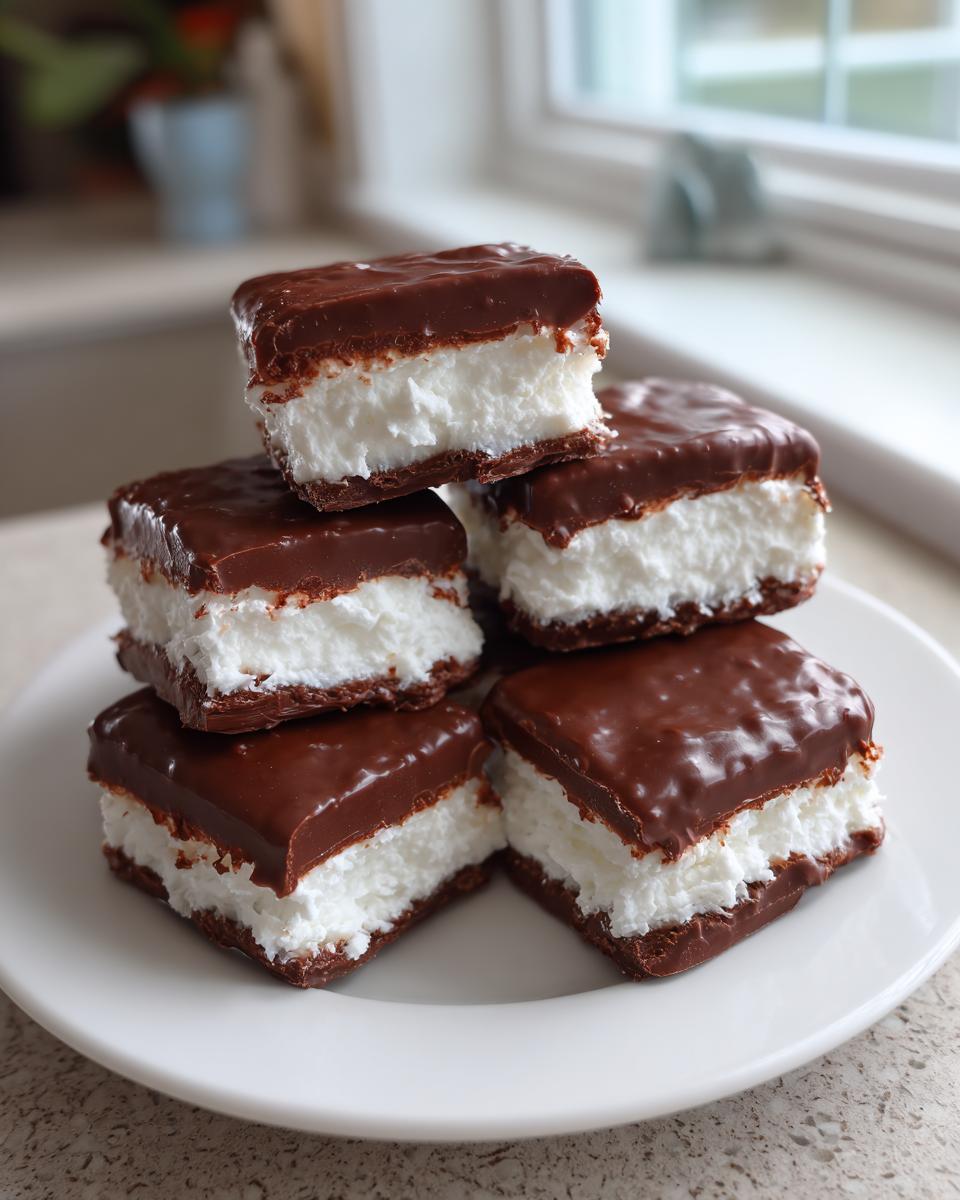
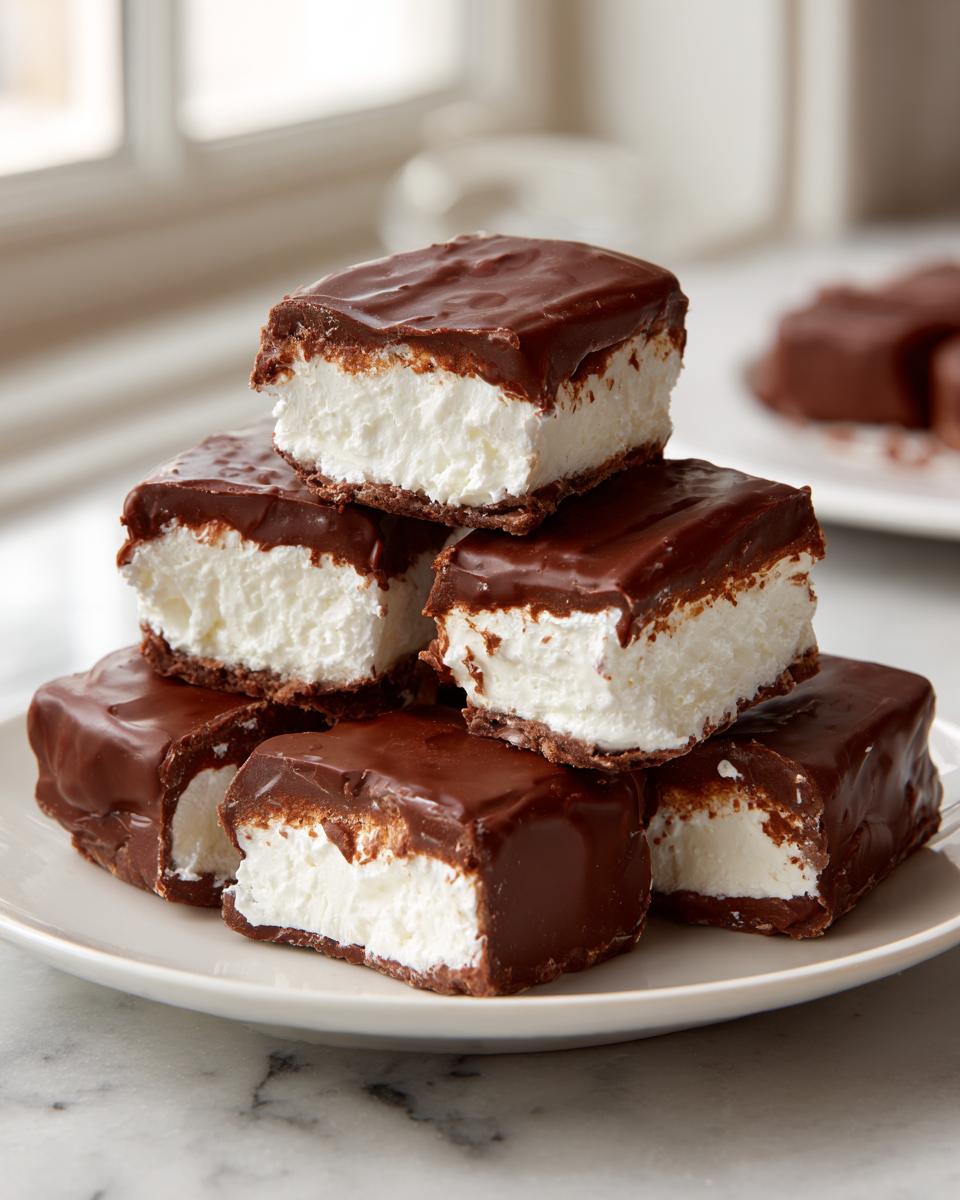
These **Cool Whip Candy** squares look absolutely gorgeous when added to a big holiday dessert tray! They offer a wonderful creamy pause between a crunchy cookie or a chewy fudge. Presentation makes all the difference, right? I suggest arranging them next to something bright, like red and green M&Ms or candied cherries, to make that rich chocolate shell really pop. If you are serving them up for a big party, you can find some great ideas in my holiday lunch ideas post, too!
For a really elegant look, I like taking a tiny bit of the plain, powdered sugar-dusted pieces—the ones I didn’t dip in chocolate—and placing them in mini paper candy cups. They look so pretty alongside the chocolate ones! You can even dust them lightly with edible glitter if you’re feeling fancy, though Shugary Sweets has a simple way to make them festive too, if you want a quick look at their presentation.
Frequently Asked Questions About Cool Whip Candy
I always get so many questions when people make this Cool Whip Candy for the first time! It’s such a simple recipe, but people naturally wonder about substitutions since it’s not a traditional cooked fudge. I’ve gathered the most common things readers ask me about below, especially regarding texture and making it taste exactly like that famous 3 Musketeers Copycat Recipe. I found a great resource that breaks down the copycat element really well, too, if you want to check out Flavorful Kitchen’s take on the easiest 3 Musketeers copycat recipe! If you have more questions after reading this, feel free to check out my About page!
Can I use real whipped cream instead of Cool Whip for this cool whip candy?
Oh, this is the number one question! I really wouldn’t recommend swapping the frozen whipped topping (like the original Cool Whip product) for fresh, liquid heavy cream that you whip yourself. The reason this recipe works so well as an Easy Whipped Cream Candy copycat is because the stabilizers in the frozen topping hold their structure beautifully when mixed with the powdered sugar and then frozen solid. If you try to use fresh whipped cream, it gets way too watery and soft once frozen, and it won’t firm up enough for you to cut those nice squares before dipping them in chocolate. Stick to the frozen stuff here!
How long does this homemade candy recipe need to freeze?
The freezing time is crucial! Remember, we need that filling to be absolutely rock solid so you can handle it without it sticking to your hands or crumbling when you cut it. I always tell people to aim for a minimum of two hours in the freezer. Honestly? If you can leave it longer, go for it! If you’re prepping for a big party, freezing it solid overnight is even better. Once it’s firm enough to hold its shape cleanly when you slice it, you are ready for the chocolate coating step. That freezing time is what ensures you get that perfect, satisfying texture!
Nutritional Estimates for This Budget Friendly Candy
I always like to share a little insight into what goes into these wonderful treats, even though they are so simple! Keep in mind that these numbers are just estimates based on standard pantry staples and the ingredients listed in the main recipe. If you use different chocolate or different brands, things will shift just a tiny bit. As someone who loves exploring healthy options, I always pair treats like this with a good, filling meal, like something from my healthy lunch ideas collection! Seeing the full picture helps everyone stay informed.
For one piece (assuming the batch yields 24 servings):
- Calories: Approximately 120
- Fat: Around 7g
- Saturated Fat: About 4g
- Sugar: Roughly 14g
For more easy candy ideas, take a peek at Breanna Recipes’ take on similar no-fuss delights here.
PrintEasy 3-Ingredient Cool Whip Candy (3 Musketeers Copycat)
Make this simple, no-bake Cool Whip Candy that tastes like a fluffy 3 Musketeers bar. This recipe uses only three ingredients for a quick, melt-in-your-mouth holiday treat.
- Prep Time: 15 min
- Cook Time: 5 min
- Total Time: 2 hours 20 min
- Yield: About 24 pieces 1x
- Category: Dessert
- Method: No-Bake/Freezing
- Cuisine: American
- Diet: Vegetarian
Ingredients
- 1 cup powdered sugar
- 1 cup melted semi-sweet chocolate chips
- 1 container (8 ounces) frozen whipped topping, thawed
Instructions
- Line an 8×8 inch baking pan with parchment paper, leaving an overhang for easy removal.
- In a medium bowl, mix the thawed whipped topping and powdered sugar together until just combined. Do not overmix.
- Press the mixture evenly into the prepared baking pan.
- Place the pan in the freezer for at least 2 hours, or until the filling is firm enough to cut.
- Once firm, lift the filling out of the pan using the parchment paper overhang and cut it into small, bite-sized squares.
- Melt the chocolate chips in a microwave-safe bowl in 30-second intervals, stirring until smooth.
- Dip each frozen square into the melted chocolate, allowing excess chocolate to drip off. You can use a fork or dipping tool.
- Place the coated candy pieces back onto a parchment-lined tray.
- Return the tray to the refrigerator or freezer until the chocolate coating is set.
Notes
- For a firmer center, you can return the cut squares to the freezer for 30 minutes before dipping them in chocolate.
- If you want a slightly richer flavor, substitute half of the semi-sweet chocolate chips with milk chocolate chips when melting.
- This recipe is excellent for holiday dessert trays and is a budget friendly candy option.
Nutrition
- Serving Size: 1 piece
- Calories: 120
- Sugar: 14g
- Sodium: 15mg
- Fat: 7g
- Saturated Fat: 4g
- Unsaturated Fat: 3g
- Trans Fat: 0g
- Carbohydrates: 15g
- Fiber: 1g
- Protein: 2g
- Cholesterol: 5mg