
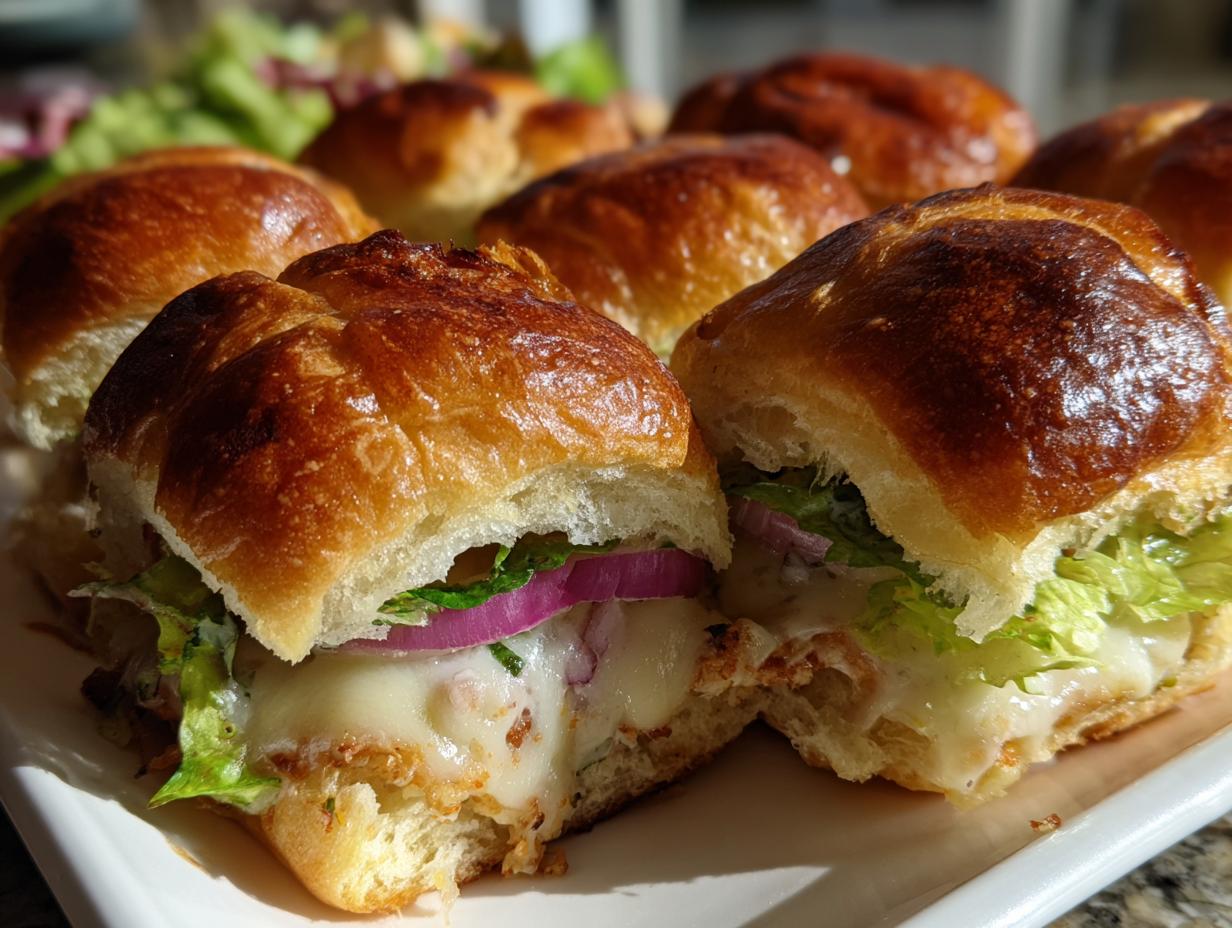
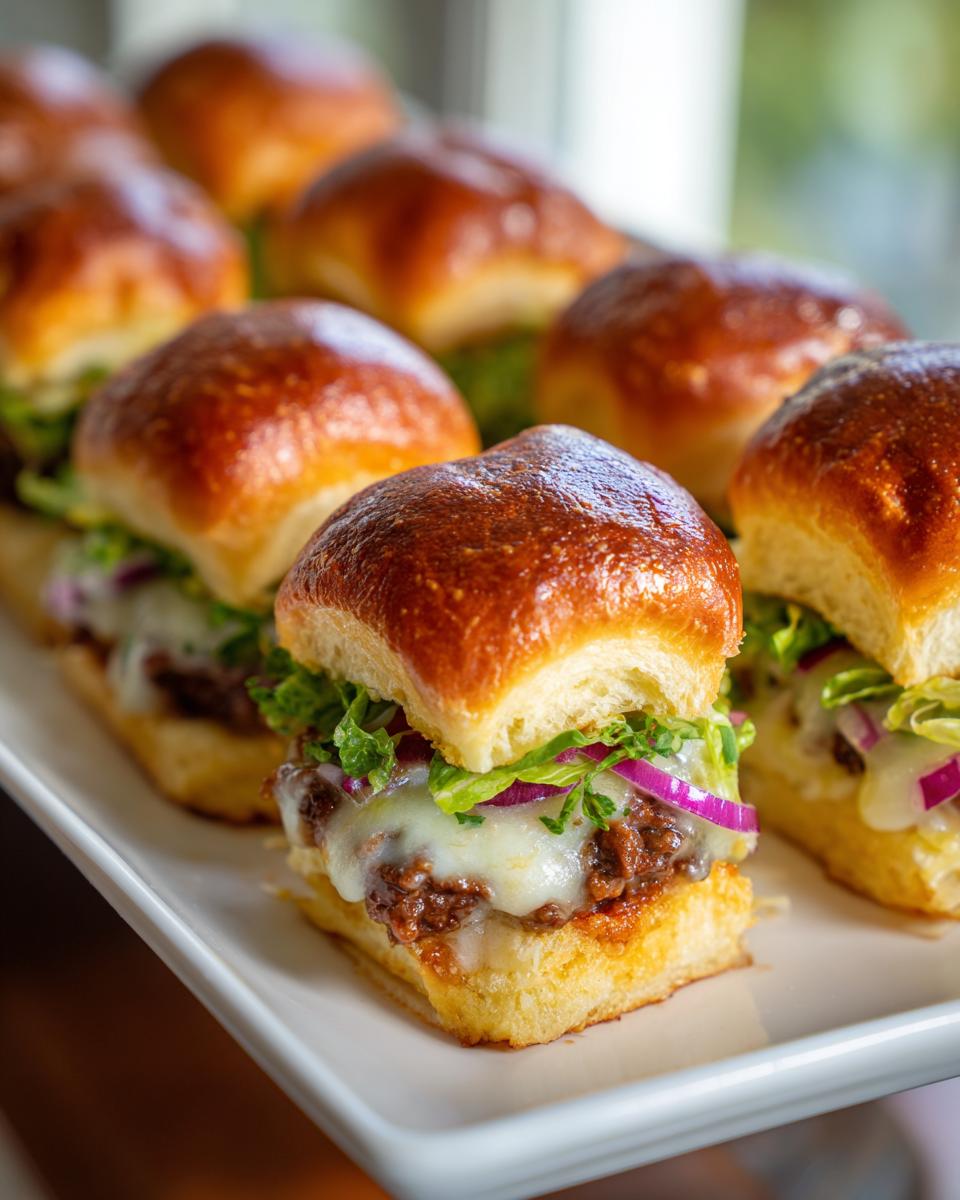
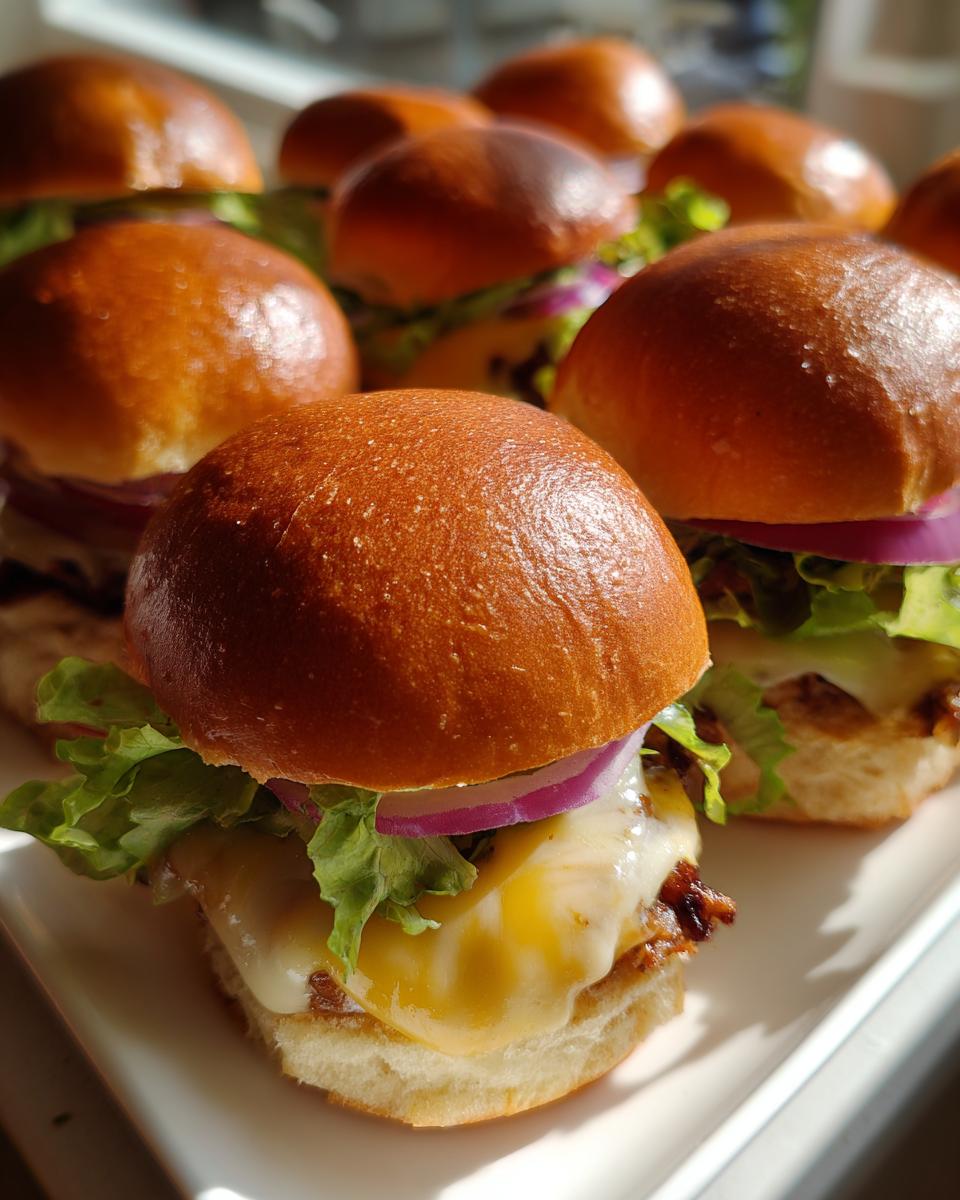
You know how sometimes a huge, loaded Italian Grinder sandwich is just *too much* sandwich for one sitting? That’s exactly why I developed these grinder sliders. I always wanted that incredible combination of spicy salami, savory turkey, melted provolone, and that tangy, zesty topping, but in a package that works for a crowd or a super fast weeknight dinner. These are perfect for those nights when you need easy weeknight dinners that still taste amazing! Trust me, turning that huge sub into these bite-sized gems baked on sweet Hawaiian rolls is the easiest dinner game-changer you’ll make this month. In my days of learning how to cook practically for busy people, creating reliable, flavor-packed recipes like this became my mission. These are pure comfort, zero stress!
- Why You Will Love These Italian Grinder Sliders
- Essential Ingredients for Perfect Grinder Sliders
- Step-by-Step Instructions for Baked Grinder Sliders
- Expert Tips for Next-Level Grinder Sliders
- Making Delicious Deli Meat Sliders Ahead of Time
- Serving Suggestions for Your Hot Italian Sandwiches
- Storage and Reheating Instructions for Leftover Grinder Sliders
- Frequently Asked Questions About Grinder Sliders
- Estimated Nutritional Data for Grinder Sliders
Why You Will Love These Italian Grinder Sliders
When I develop a recipe, I’m always thinking about making your life easier while boosting the flavor factor. These little sandwiches check every box!
- They are fantastic Party Appetizers Easy prep makes them perfect for game day.
- We bake them all together, so cleanup is incredibly simple.
- The sweet rolls combined with savory Italian meats make them irresistible crowd-pleasers.
- You get that incredible traditional grinder flavor in one quick bite—hello, Quick Party Food!
You can totally sneak away to look at my favorite quick and easy breakfasts while these bake, I won’t tell!
Essential Ingredients for Perfect Grinder Sliders
To get that perfect hot-and-cold contrast that makes these grinder sliders famous, you need to make sure you have all the components ready. Using quality deli meat makes a huge difference here—don’t skimp! Below is everything you need for the baked sandwiches and the finishing salad topping.
- 1 (12 count) package Hawaiian sweet rolls
- 1/2 cup unsalted butter, melted
- 2 tablespoons Dijon mustard
- 1 tablespoon Worcestershire sauce
- 1 teaspoon garlic powder
- 1 teaspoon dried oregano
- 1/2 teaspoon onion powder
- 1/4 teaspoon black pepper
- 1/2 pound thinly sliced salami
- 1/2 pound thinly sliced smoked turkey breast
- 1/2 pound thinly sliced pepperoni
- 12 slices provolone cheese
- 1 cup shredded iceberg lettuce
- 1/4 cup finely chopped red onion
- 1/4 cup finely chopped celery
- 1/4 cup mayonnaise
- 1 tablespoon red wine vinegar
- 1 teaspoon sugar
For the Savory Glaze and Zesty Topping
The magic happens when you mix the melted butter glaze. That rich butter combined with the sharp Dijon mustard and the savory depth of the Worcestershire sauce is what gives the tops of these grinder sliders their signature flavor before they even go into the oven. Don’t skip measuring those spices!
Step-by-Step Instructions for Baked Grinder Sliders
Okay, this is where the assembly line kicks in, but honestly, it moves so fast! Before anything else, get that oven humming at 350 degrees Fahrenheit, and make sure you’ve got a 9×13 dish ready to go. Lightly grease it so you don’t end up fighting your grinder sliders later—nobody wants a broken sandwich! You’re going to see how easy it is to turn these into a showstopper for game day.
Assembling the Layers for Your Grinder Sliders
First, take your whole package of Hawaiian rolls and slice them completely in half horizontally, keeping them connected on the bottom tray—this is crucial. Place the bottom half in your dish, cut-side up. Now, we layer! I always start with the meats first: salami down, then the turkey, then the pepperoni. This ensures the fattier meats get sandwiched nicely. Then comes the best part before the bake: lay those 12 slices of provolone cheese right over the meat, making sure every roll gets some cheesy love. Pop the top half of the rolls on gently, like putting a lid on a treasure chest. We don’t add any of the fresh salad until after they are baked, otherwise it gets way too mushy!
Baking and Preparing the Zesty Topping
While the sandwich base is waiting, whip up that savory glaze! In a tiny bowl, mix up your melted butter, Dijon, Worcestershire, and spices until they’re totally combined. Here’s my pro tip from the test kitchen: don’t just drizzle this glaze on! Use a pastry brush to physically paint that butter mixture over every single top bun. It ensures every bite of these Hawaiian Roll Sandwiches gets crispy and richly seasoned. If you wanted an even deeper flavor boost, sometimes I mix a touch of that easy creamy garlic aioli into the glaze, but the recipe as written is perfection!
Cover the whole dish tightly with foil and bake for 15 minutes. This steams the inside and melts the provolone perfectly. Then, pull that foil off and bake for another 5 to 10 minutes until the tops are deeply golden brown. While they are finishing up, that’s the perfect time to whisk together the mayo, vinegar, and sugar for your zesty topping, then toss it with your lettuce, celery, and onion. Once the warm, cheesy rolls come out, carefully separate the individual sliders and top them quickly with the cool crunch of the salad mixture. That contrast in temperature and texture is what makes these the best Savory Glazed Sliders around!
Expert Tips for Next-Level Grinder Sliders
Part of my background, working in test kitchens, taught me that recipes are just blueprints; the *quality* of the materials makes the final product sing. For these Savory Glazed Sliders, quality really does matter if you want them to taste like a dream that came true. You can absolutely serve these if you’re rushing on a Tuesday with whatever you have, but if you want party perfection, listen up!
Ingredient Quality for the Best Grinder Sliders
When it comes to the meats, please, please ask your deli counter for them to be sliced paper-thin. Thicker cuts won’t heat through evenly, and you’ll end up with a cold center when the cheese melts perfectly. For the cheese, I really push for good Provolone; it melts beautifully and has that classic Italian tang. If you can find a real deli Provolone Cheese Sliders will taste miles better than the stuff pre-sliced in plastic packs. It really elevates this from a casual snack to an appetizer everyone raves about. For more ideas on quick meals, check out my guide to easy weeknight dinners for more inspiration!

Making Delicious Deli Meat Sliders Ahead of Time
One of the best things about these grinder sliders is that they are fantastic for prepping ahead. If you’re hosting a big gathering, like for the Super Bowl or a family get-together, you do *not* want to be slicing onions and whisking butter when guests are already starting to arrive. That’s just stressful, right? My notes tell you that you can assemble these up to four hours in advance, which is a lifesaver!
You just build the whole sandwich stack—buns, meats, cheese—in your baking dish, cover it up tight with foil, and pop it into the fridge. Don’t pour the savory glaze on yet! You want that to go on right before the oven, or it’ll soak into the bread too much while chilling. When you are finally ready to bake them (say, 30 minutes before showtime), remember the rule: you need to add an extra 5 minutes to that initial covered baking time. Cold bread needs a little extra steam power to warm up all the way through before you finish browning the tops.
Keeping these in the fridge saves so much time, and honestly, they seem even tastier the next day! It’s one of those recipes that works so well for my philosophy: great food doesn’t have to mean kitchen chaos. For more simple make-ahead ideas, feel free to browse my favorite easy weeknight dinners section!
Serving Suggestions for Your Hot Italian Sandwiches
These grinder sliders are so intensely flavored—salty meats, sharp cheese, and that zesty crunch—that they really only need simple partners on the plate. They are the ultimate anchor for any casual gathering when you’re looking for fantastic Game Day Food Ideas.
Since the sliders bring the savory and the crunch, think about sides that can offer a cooling, creamy counterpoint. Honestly, a simple bowl of crunchy kettle chips works wonders, but if you want something slightly more elevated? Try a side of my cream cheese corn casserole—that sweet, bubbly goodness is unbelievable next to the spicy pepperoni.

For drinks, you can’t go wrong with an ice-cold crisp beer or a simple Italian soda. Keep the sides easy, because these bite-sized sandwiches are definitely the star of the show!
Storage and Reheating Instructions for Leftover Grinder Sliders
If you manage to have any of these amazing grinder sliders left over—which is tough because they vanish fast!—storage is easy. You must store them *without* the zesty salad topping. Keep the cold topping separate in the fridge.
Place the leftover sandwiches in an airtight container and keep them cool. When you want to reheat them, put them back in a 350-degree oven on foil for about 8 to 10 minutes, just until the cheese is soft again. That brings back that wonderful melted texture!
Frequently Asked Questions About Grinder Sliders
It’s totally normal to have a few questions pop up when you’re making something new, even something as straightforward as these grinder sliders! Here are the things I hear most often from folks diving into this recipe for the first time. I hope this helps you feel super confident before you start baking!
Can I substitute the Hawaiian rolls in this Baked Sliders Recipe?
You definitely can, but you’ll miss a little magic! This Baked Sliders Recipe is specifically designed around the sweetness of the Hawaiian rolls. That little bit of sugar complements the salty salami and spicy pepperoni perfectly. If you have to swap, go for another soft slider bun—like King’s Hawaiian rounds or any plain potato roll. Just know that the final flavor profile will be slightly less sweet and exciting!
What makes these different from regular Mini Italian Subs?
That’s such a great question! The difference is preparation and texture, which is what makes them such brilliant Crowd Pleasing Appetizers. A regular mini Italian sub is cold, right? These grinder sliders are baked hot so the provolone gets super gooey. Plus, we add that incredible savory glaze to the top roll before baking. Then, the *real* trick: right before serving those warm, melty Bite Sized Sandwiches, you top them with that cool, crunchy, zesty chopped salad. It’s the hot-then-cold contrast that really sets them apart from standard cold subs!
If you’re still looking for ways to simplify your week, I’ve got tons of ideas in my guide to easy weeknight dinners!
Estimated Nutritional Data for Grinder Sliders
I always look at the nutritional breakdown, even when I’m making something totally indulgent like these grinder sliders. It helps me keep things balanced overall! Keep in mind that this data is just an estimate based on serving one slider when sliced into 12 pieces, and the exact numbers can change depending on the specific brands of deli meat and cheese you grab.
- **Serving Size:** 1 slider
- **Calories:** 350
- **Sugar:** 8g
- **Sodium:** 950mg
- **Fat:** 20g
- **Saturated Fat:** 9g
- **Carbohydrates:** 25g
- **Protein:** 18g
This information is just a guide, so don’t stress about hitting these numbers exactly! Enjoy the flavor explosion first and foremost.
PrintItalian Grinder Sliders on Hawaiian Rolls

Make these Italian Grinder Sliders for an easy party appetizer or quick family dinner. These baked sliders use Hawaiian rolls layered with deli meats and provolone, topped with a zesty glaze.
- Prep Time: 20 min
- Cook Time: 25 min
- Total Time: 45 min
- Yield: 12 servings 1x
- Category: Lunch
- Method: Baking
- Cuisine: American
- Diet: Vegetarian
Ingredients
- 1 (12 count) package Hawaiian sweet rolls
- 1/2 cup unsalted butter, melted
- 2 tablespoons Dijon mustard
- 1 tablespoon Worcestershire sauce
- 1 teaspoon garlic powder
- 1 teaspoon dried oregano
- 1/2 teaspoon onion powder
- 1/4 teaspoon black pepper
- 1/2 pound thinly sliced salami
- 1/2 pound thinly sliced smoked turkey breast
- 1/2 pound thinly sliced pepperoni
- 12 slices provolone cheese
- 1 cup shredded iceberg lettuce
- 1/4 cup finely chopped red onion
- 1/4 cup finely chopped celery
- 1/4 cup mayonnaise
- 1 tablespoon red wine vinegar
- 1 teaspoon sugar
Instructions
- Preheat your oven to 350 degrees Fahrenheit. Lightly grease a 9×13 inch baking dish.
- Slice the package of Hawaiian rolls in half horizontally, keeping the rolls connected. Place the bottom half of the rolls cut-side up in the prepared baking dish.
- Layer the deli meats and cheese over the bottom half of the rolls. Place the salami first, followed by the turkey, pepperoni, and then top with the provolone slices, covering all the rolls evenly.
- Place the top half of the rolls over the meat and cheese layer.
- In a small bowl, whisk together the melted butter, Dijon mustard, Worcestershire sauce, garlic powder, oregano, onion powder, and black pepper to create the savory glaze.
- Pour the glaze evenly over the top of the rolls. Use a pastry brush to spread the butter mixture over all the tops of the buns.
- Cover the baking dish tightly with aluminum foil. Bake for 15 minutes.
- Remove the foil and bake for another 5 to 10 minutes, or until the cheese is fully melted and the tops of the rolls are golden brown.
- While the sliders bake, prepare the zesty topping. In a medium bowl, combine the shredded lettuce, chopped red onion, and chopped celery.
- In a separate small bowl, whisk together the mayonnaise, red wine vinegar, and sugar. Pour the dressing over the lettuce mixture and toss gently to coat.
- Remove the baked sliders from the oven. Carefully separate the rolls into individual sliders.
- Top each warm slider with a small portion of the zesty chopped salad mixture before serving.
Notes
- For extra flavor, you can add a layer of thinly sliced tomatoes under the cheese before baking.
- If you do not have Hawaiian rolls, use any soft slider bun, but the sweetness of the Hawaiian rolls complements the savory meats well.
- You can assemble these grinder sliders up to 4 hours ahead of time; cover and refrigerate before baking. Add 5 extra minutes to the covered baking time if baking straight from the refrigerator.
Nutrition
- Serving Size: 1 slider
- Calories: 350
- Sugar: 8
- Sodium: 950
- Fat: 20
- Saturated Fat: 9
- Unsaturated Fat: 11
- Trans Fat: 0.5
- Carbohydrates: 25
- Fiber: 1
- Protein: 18
- Cholesterol: 55