
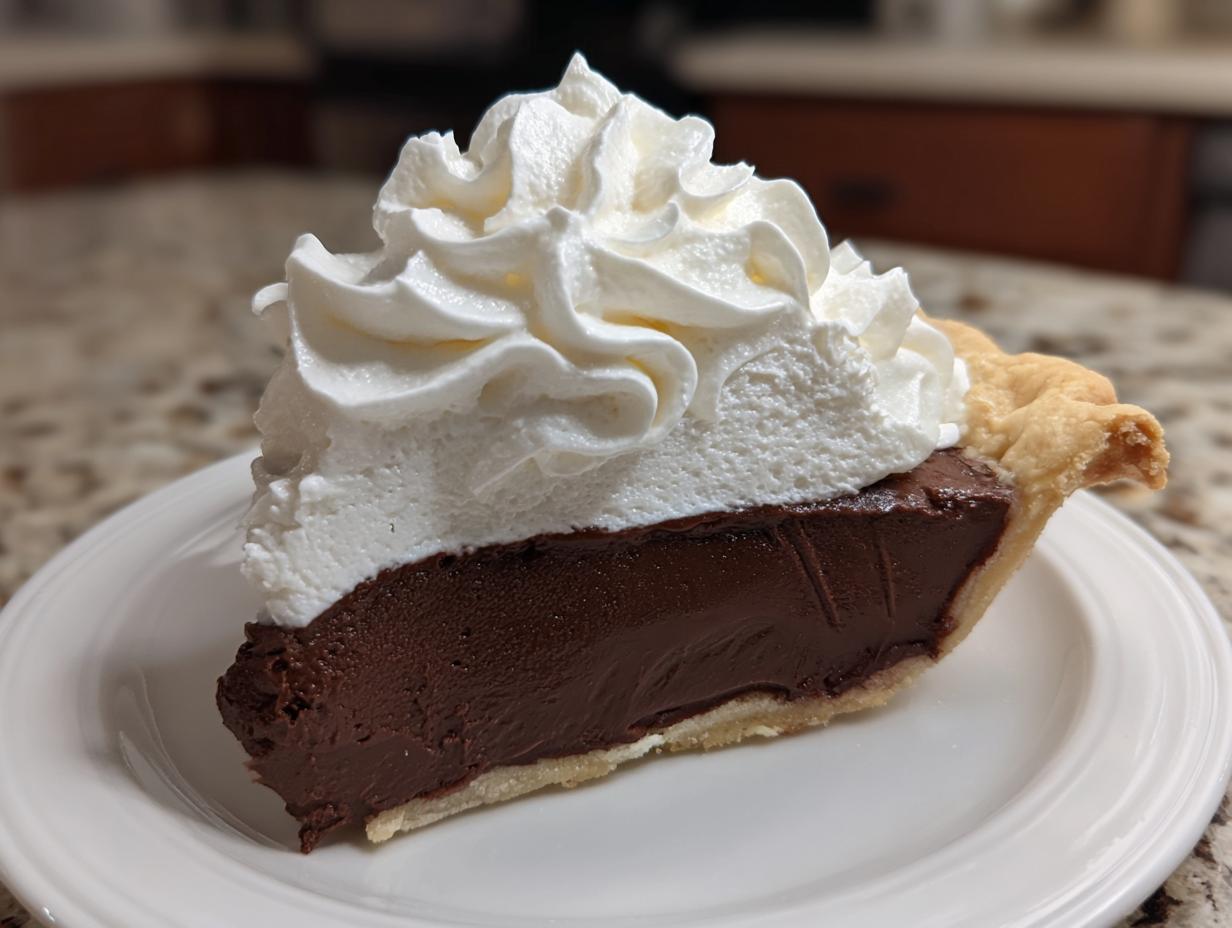
Oh, you want to talk about real comfort food? Nothing shouts ‘perfect end to a meal’ quite like a towering slice of classic chocolate cream pie. Forget those thin, runny versions that slide off the fork! I’m sharing the foolproof, diner-style chocolate cream pie recipe that I perfected back when I was testing recipes professionally. You can see where this passion comes from over on my About page. Trust me, we fixed all the classic problems here. This isn’t just pudding in a crust; it’s a rich, velvety custard that sets up perfectly every single time, giving you those gorgeous, non-negotiable slices of creamy chocolate heaven.
- Why You Will Love This Foolproof Chocolate Cream Pie Recipe
- Gathering Ingredients for Your Classic Chocolate Cream Pie
- Essential Equipment for Making the Best Chocolate Pie
- Step-by-Step Instructions for the Creamy Chocolate Dessert Filling
- Chilling and Setting Your Homemade Pudding Pie
- Assembling Your Perfect Chocolate Cream Pie with Whipped Topping
- Storage and Serving Suggestions for Your Chocolate Cream Pie
- Frequently Asked Questions About This Easy Chocolate Cream Pie
- Understanding the Nutrition in Your Chocolate Cream Pie
Why You Will Love This Foolproof Chocolate Cream Pie Recipe
I put this recipe through every imaginable test in the kitchen so you don’t have to worry about common pie disasters. Getting that perfect texture should be simple, and honestly, this filling comes out flawless every time!
- It Actually Sets: Seriously, no more sad, soupy puddles on your plate! We use enough starch and the precise technique to ensure a creamy, thick filling that holds its shape beautifully when you slice it.
- Silky Smooth Custard: Say goodbye to lumps! We handle the egg yolks carefully so the resulting texture is unbelievably smooth and rich—just like the best chocolate dessert you remember from diners.
- Deep, Complex Chocolate Flavor: This isn’t just sweet; the combination of quality cocoa and a slow simmer gives you that satisfying, deep chocolate taste that makes you close your eyes after the first bite.
- Simple Pantry Ingredients: While the result tastes fancy, the ingredients are completely accessible. You likely have most of what you need right now to whip up this classic pie recipe.
Gathering Ingredients for Your Classic Chocolate Cream Pie
Okay, get ready to gather your treasures! This list looks long, but half of it is just for the heavenly topping, which is worth every ounce. We are focusing on the filling today, so let’s start there. You’ll need a pre-baked 9-inch crust—your choice! Then for the smooth chocolate goodness, we grab sugar, unsweetened cocoa powder (use the good stuff, please!), cornstarch for setting power, salt, three lovely egg yolks, whole milk, good butter, and that essential splash of vanilla.
For the toppings, keep your heavy whipping cream nice and cold, along with some powdered sugar and a touch more vanilla. Remember, the quality of that cocoa powder makes a huge difference in the final color and depth of flavor. It’s what turns this into the best chocolate pie.
Ingredient Notes and Substitutions for the Best Chocolate Cream Pie
I know pantry items can vary, so here are a few quick notes from my test kitchen days. First, the crust: I love a classic flaky pastry crust, but honestly, a graham cracker crust makes this so fast! Use whichever you prefer, just make sure it’s completely cooled before the hot filling goes in.
Now for a flavor trick that elevates this whole creamy chocolate dessert: if you have strong, cold brewed coffee lying around, swap out a quarter cup of that whole milk for the coffee. It doesn’t make it taste like a latte; it just deepens the cocoa notes! Also, for the richest result, make sure those egg yolks are lightly beaten before you start tempering them. That gentle introduction is everything!
Essential Equipment for Making the Best Chocolate Pie
Before you get all excited and start mixing, let’s make sure your station is set up correctly. It’s no fun realizing mid-tempering that you don’t have the right pan! Because we are cooking this custard on the stovetop, a few sturdy tools are absolutely mandatory for success.
You definitely need a medium saucepan—nothing too wide, or the heat will be uneven. A reliable whisk is your best friend here; we need to stir constantly, so grab the one that feels best in your hand. You’ll want a couple of good mixing bowls, one for your yolks and one for your eventual whipped cream topping.
And here’s a pro tip I learned the hard way: make sure you have a nice, large sheet of plastic wrap ready to go. We use it differently than you might expect for this homemade pudding pie. Getting these simple tools ready first just makes the whole process feel so much smoother, I promise!
Step-by-Step Instructions for the Creamy Chocolate Dessert Filling
This is where the magic happens, and trust me, this filling is worth paying attention to! We are making a smooth, rich stovetop custard, and the key here is never to leave the stove. Grab your saucepan and whisk. First, mix your sugar, cocoa powder, cornstarch, and salt until they are totally blended—no gritty bits allowed!
Now, gently whisk in the two cups of milk until everything looks completely smooth. Turn the heat up to medium and stir like you mean it! You want this mixture to thicken up significantly and then come to a rolling boil. Let it boil for just one minute while you keep stirring constantly. Pull it off the heat after that minute is up.
Next up is the part that scares everyone off: tempering the egg yolks! You have three lightly beaten yolks waiting patiently. If you dump them straight into the hot cocoa, you get scrambled eggs, not pie filling. So, slowly, I mean slowly, whisk about a cup of the hot chocolate mixture into those yolks until they look pale. This gradually warms them up. Then, pour that tempered yolk mixture right back into the saucepan with the rest of the chocolate. Put it back on medium-low heat and stir for another minute or two until it thickens again. Be careful, we don’t want it to boil after the yolks go in!
Tips for a Lump-Free Chocolate Cream Pie Custard
If you want that incredible silky texture, you have to remember three things. First, when mixing the initial dry ingredients, sift that cocoa powder and cornstarch! It seems tedious, but it saves you a ton of whisking later. Second, use medium heat and stir the entire time the milk mixture is heating—a wooden spoon scraping the bottom is best.
Third, remember when we pour the tempered yolks back in? Make sure the heat is lowered before you do that so they don’t shock and curdle. Once the filling is done and the butter and vanilla are stirred in, you have to move fast! Pour the hot filling straight into your cooled crust. Then, here’s my absolute must-do tip for that perfect surface: gently lay a sheet of plastic wrap directly onto the surface of the filling. Press it down so it touches everywhere. Believe me, this stops that gross skin from forming while it chills!
Chilling and Setting Your Homemade Pudding Pie
Okay, the filling is poured, and that plastic wrap is snug against its surface—now for the part that requires the most patience: the wait! You absolutely have to chill this pie completely, and I mean completely. According to my notes, you need a minimum of four hours in the refrigerator.
I know, I know, waiting is the hardest part of making a decadent dessert, but listen to why this step is non-negotiable. If you try to rush this, your beautiful, thick custard stays just shy of its final molecular structure. When you cut into it early, it will weep and run all over the serving plate. We aren’t making soup here; we are aiming for those clean, tall, perfect slices!
The chilling process allows the cornstarch to firmly set the custard base and lets all those warm chocolate and vanilla notes truly meld together. Think of it as letting the pie take a very deep, cold nap so it wakes up firm and ready for its topping. Don’t try to speed this up by putting it in the freezer, either—that can actually ruin the texture and you might end up with a slightly grainy filling. Patience really does create the best results when you’re making a creamy chocolate dessert like this!
Assembling Your Perfect Chocolate Cream Pie with Whipped Topping
Our filling is perfectly set—firm, cool, and waiting for its cloud! Now it’s time for the grand finale: that fluffy, luxurious topping. Before you even think about turning on the mixer, stick your mixing bowl and your whisk attachment into the freezer for about fifteen minutes. Seriously, chilling your tools is my number one secret weapon for getting truly stiff whipped cream peaks! Cold tools equal fast-forming, rigid peaks, which is exactly what this classic pie recipe needs.
In that super-cold bowl, whip your heavy cream with the powdered sugar and that last little bit of vanilla extract. You have to whip this until you can lift the whisk and the cream stands straight up—those stiff peaks mean the topping won’t melt instantly once it hits the pie, which is just crucial.
Once you have your beautiful cream mountain, gently take the plastic wrap off that chilled chocolate filling we made so patiently. Spread that snowy topping evenly over the dark chocolate base. If you’re feeling fancy, use the back of a spoon to create cute swirls! Then, pop the whole thing back into the fridge for just 30 more minutes to let the topping settle and firm up before you slice into that decadent dessert. It’s showtime!
Storage and Serving Suggestions for Your Chocolate Cream Pie
We made this beautiful creamy chocolate dessert, and now we have to preserve that perfect texture! Since this pie has that delicate, fresh whipped cream topping, we absolutely must keep it cold. I mean, this is not a pie you want to leave sitting on the counter while everyone finishes dinner. It needs to stay chilly in the refrigerator until you are ready to slice it.
When stored properly—meaning covered loosely but protected from grabbing other fridge odors—you can expect this homemade pudding pie to taste great for about three to four days. Any longer than that, and the crust might start getting a little soft, or the whipped cream might start weeping a bit. That’s why I always recommend making it no more than a day ahead of when you plan to serve it!
And how should you serve it? Chilled, always chilled! If you let it warm up too much, that beautiful filling won’t have the integrity to hold those perfect slices we worked so hard to achieve. You slice it straight from the fridge.
For garnishing, keep it simple, because the pie itself is the star. I usually grab a vegetable peeler and shave some high-quality dark chocolate right over the top of the whipped cream—the thin curls look so elegant! Alternatively, just a light, soft dusting of unsweetened cocoa powder right before bringing it to the table adds a beautiful dark contract to the white topping. It’s all about presenting those decadent slices!
Frequently Asked Questions About This Easy Chocolate Cream Pie
I’ve answered a few common questions I always get about this recipe underneath. It’s all about giving you the confidence to tackle this classic pie recipe and get those amazing results every time you make it! If you’re ever worried about policies or terms while browsing, you can check out our Privacy Policy, but don’t let that slow down your baking!
Can I use instant pudding mix instead of making the filling from scratch?
Oh, honey, you certainly *can*, but then it wouldn’t be my foolproof recipe, would it? The whole beauty of this homemade pudding pie experience is getting that incredibly rich, perfectly smooth texture that only comes from cooking the custard base with real egg yolks, cornstarch, sugar, and cocoa powder. Instant mixes rely on stabilizers that just don’t yield the same decadent, creamy chocolate dessert experience. Stick with the stovetop method; it takes an extra five minutes but makes all the difference!
My filling was runny after chilling. What went wrong?
Don’t get discouraged! This usually means one of two things happened. First, did you let the mixture boil for that full minute after the cornstarch fully thickened it? That minute is crucial for activating the starch properly. Second, and this happens to everyone, the eggs might not have cooked enough. If you pull the heat too soon after adding the tempered yolks back in, it won’t set firm enough. Remember, you need to cook it until it coats the back of a spoon well, even after adding the yolks back in!
Can I make this ahead of time for a big gathering?
Yes, you absolutely can, and I highly recommend it for an easy chocolate cream pie! The filling needs a minimum of four hours to chill and set completely, so making it the day before is perfect. However, you should never, ever add the fresh whipped cream topping until just a few hours before you plan to serve it. Whipped cream doesn’t like sitting in the fridge for too long. If you are prepping a day ahead, just keep the filling covered with plastic wrap against the surface, and whip the cream fresh on the day of your party!
What kind of cocoa powder do you recommend for the best result?
This is where your flavor authority comes into play! I always suggest using a high-quality, unsweetened Dutch-process cocoa powder if you can find it. Dutch-process cocoa has been treated to reduce its acidity, which results in a darker color and a smoother, less bitter chocolate flavor. It really helps those flavors blend beautifully with that touch of butter and vanilla for that classic pie taste. So, while any unsweetened cocoa works, going Dutch really ups the game on your best chocolate pie!
Is the plastic wrap trick really necessary when chilling?
It is absolutely necessary if you want to avoid crying over dry, crinkly chocolate skin forming on top! When you let hot filling cool uncovered, the moisture evaporates rapidly from the surface, creating that tough, unwanted skin. By pressing plastic wrap directly onto the surface, you create a barrier that traps all that steam, keeping the entire layer below perfectly smooth and ready for that glorious whipped cream. I learned this trick in a professional test kitchen, and I’ve never skipped it since!
Understanding the Nutrition in Your Chocolate Cream Pie
If you’re anything like me, you want to know what you’re diving into when you make something this ridiculously delicious. While this is certainly a treat and not an everyday snack, I believe in being upfront about what’s in our favorite recipes. Because I’ve been through professional kitchens and studied nutrition, I can give you a solid estimate of what one beautiful, decadent slice of this pie provides. Now, take these numbers with a grain of salt—or maybe three grains of sugar, if we’re being honest—because the exact nutrition really depends on the crust you choose and the type of butter you use!
These figures are based on an 8-serving yield, using a standard pre-baked pastry crust. Remember, these are just estimates designed to give you a good idea of the overall profile of this classic pie recipe. You can see our full policies regarding data like this over at our Terms of Use page!
- Serving Size: 1 slice
- Calories: Roughly 420
- Total Fat: About 22g (with 12g being saturated—that’s the butter and cream at work!)
- Carbohydrates: Around 55g (mostly from that lovely sugar and starch that makes the custard set)
- Protein: About 6g
- Sugar: A higher number, around 45g, because, well, it’s a fabulous dessert!
See? It’s a rich treat! But that’s okay because we make things from scratch with quality components, and sometimes, a truly satisfying, creamy chocolate dessert is exactly what the day calls for. Enjoy your slice knowing exactly what made it so good!
Print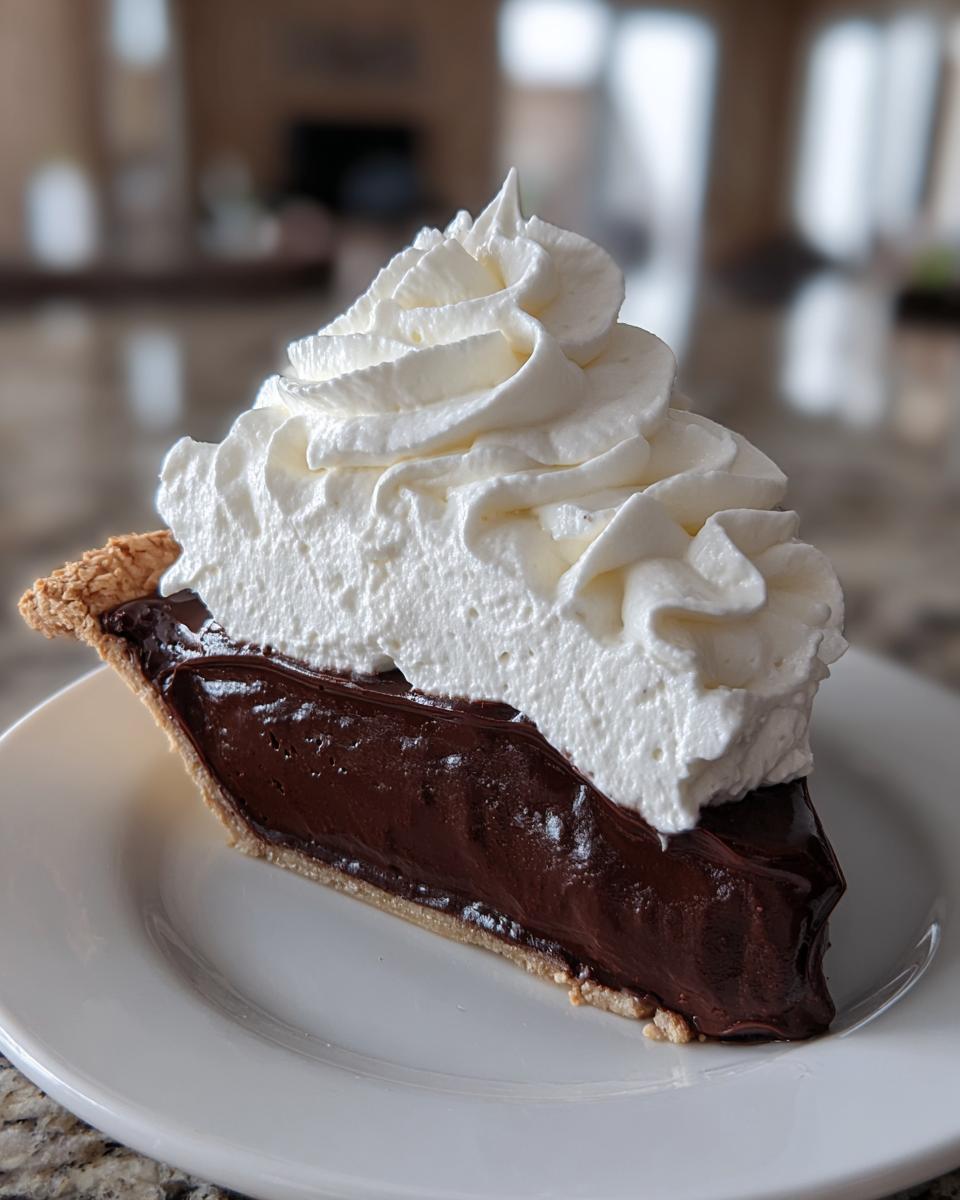
Classic Chocolate Cream Pie

Make a rich, creamy, diner-style chocolate cream pie with a crisp crust and fluffy topping. This recipe provides clear steps for a smooth, sliceable custard filling.
- Prep Time: 20 min
- Cook Time: 15 min
- Total Time: 4 hours 35 min
- Yield: 8 servings 1x
- Category: Dessert
- Method: Stovetop Cooking
- Cuisine: American
- Diet: Vegetarian
Ingredients
- 1 (9 inch) pre-baked pie crust (or graham cracker crust)
- 1 1/2 cups granulated sugar
- 1/2 cup unsweetened cocoa powder
- 1/4 cup cornstarch
- 1/4 teaspoon salt
- 3 large egg yolks, lightly beaten
- 2 cups whole milk
- 2 tablespoons unsalted butter
- 1 teaspoon vanilla extract
- 1 1/2 cups heavy whipping cream
- 2 tablespoons powdered sugar
- 1/2 teaspoon vanilla extract
Instructions
- In a medium saucepan, whisk together the granulated sugar, cocoa powder, cornstarch, and salt.
- Gradually whisk in the whole milk until the mixture is smooth.
- Cook the mixture over medium heat, stirring constantly, until it thickens significantly and comes to a boil. Let it boil for one minute, still stirring. Remove from heat.
- In a small bowl, whisk the egg yolks. Temper the yolks by slowly whisking about 1 cup of the hot chocolate mixture into the yolks.
- Pour the tempered yolk mixture back into the saucepan with the remaining chocolate mixture. Return the pan to medium-low heat. Cook, stirring constantly, for 1 to 2 minutes until the filling thickens again. Do not let it boil after adding the yolks.
- Remove the pan from the heat. Stir in the butter and 1 teaspoon of vanilla extract until the butter melts completely.
- Pour the hot filling immediately into the pre-baked pie crust. Press plastic wrap directly onto the surface of the filling to prevent a skin from forming.
- Chill the pie in the refrigerator for at least 4 hours, or until the filling is completely set.
- When ready to serve, prepare the whipped cream: In a chilled bowl, beat the heavy whipping cream, powdered sugar, and 1/2 teaspoon vanilla extract until stiff peaks form.
- Remove the plastic wrap from the chilled pie. Spread or pipe the whipped cream evenly over the set chocolate filling.
- Chill the finished pie for at least 30 minutes before slicing and serving.
Notes
- For the smoothest filling, sift the cocoa powder and cornstarch before mixing them with the sugar.
- If you want a richer chocolate flavor, substitute 1/4 cup of the milk with 1/4 cup of strong brewed coffee.
- If you are using a standard pastry crust, bake it until golden brown and cool it completely before adding the filling.
Nutrition
- Serving Size: 1 slice
- Calories: 420
- Sugar: 45
- Sodium: 180
- Fat: 22
- Saturated Fat: 12
- Unsaturated Fat: 8
- Trans Fat: 0.5
- Carbohydrates: 55
- Fiber: 2
- Protein: 6
- Cholesterol: 95