
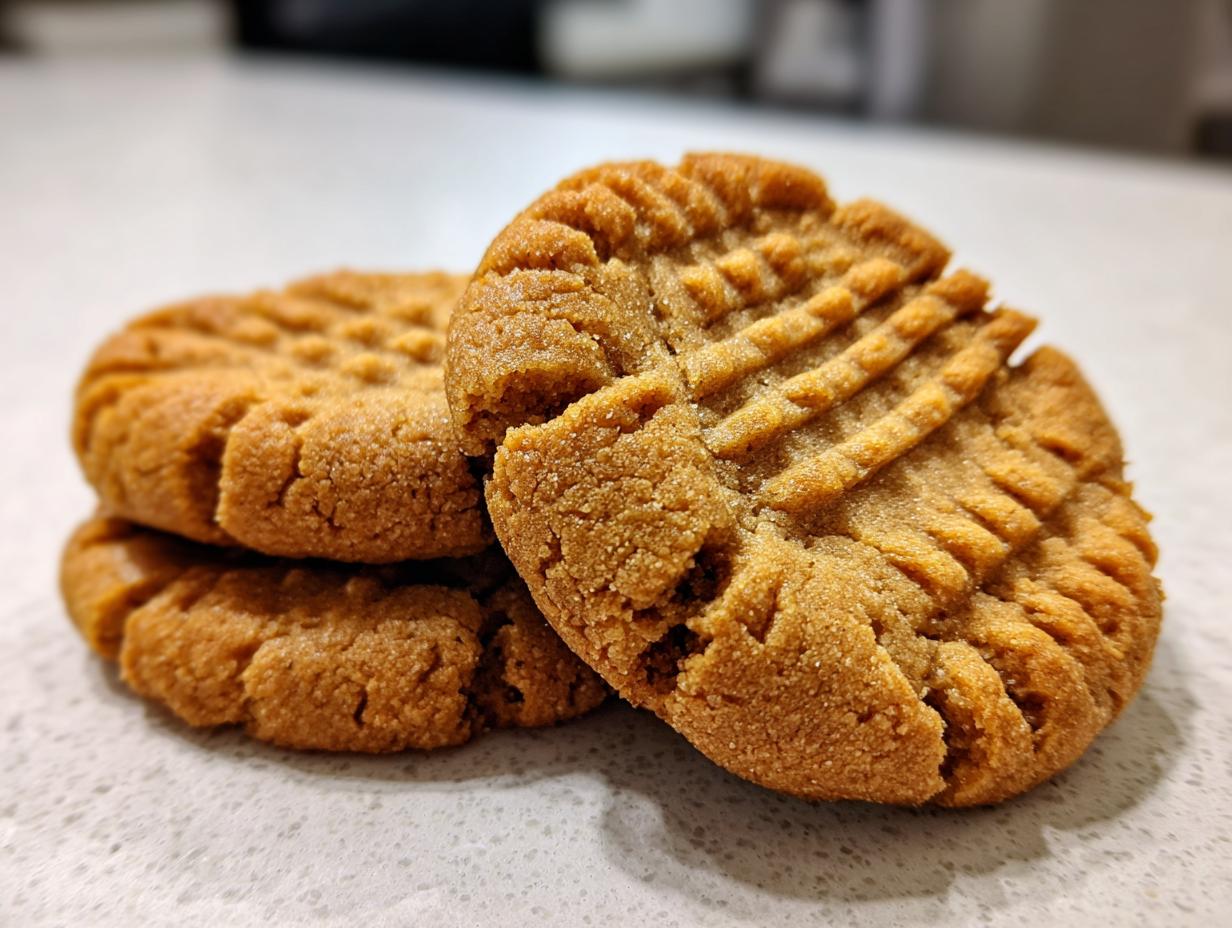
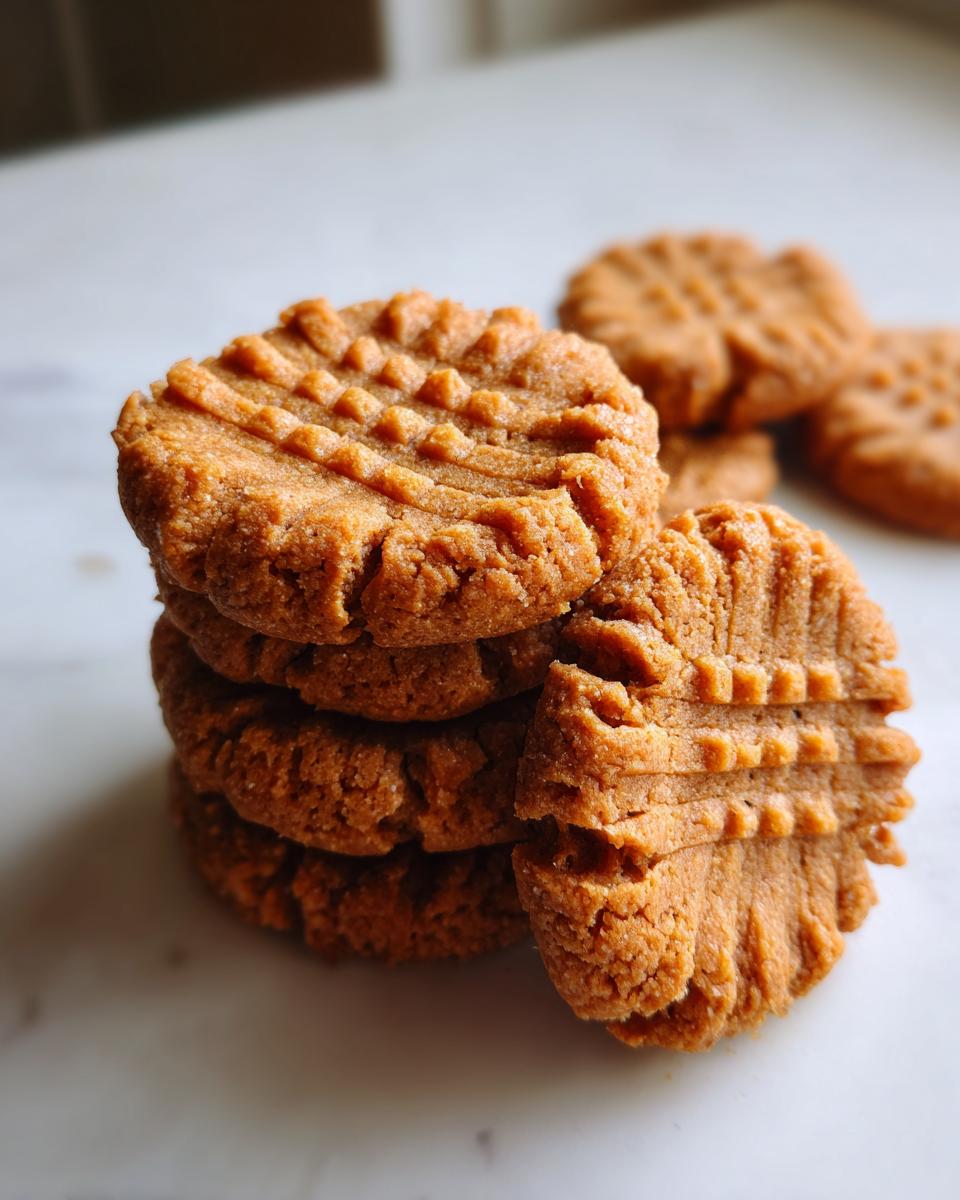
Oh, if there’s one thing that instantly whisks me back to my childhood kitchen, it’s the smell of warm, nutty peanut butter baking! We all know the classics, but sometimes you want *the* classic—the absolute best peanut butter cookies that nail that dream texture: crispy edges that snap just right, giving way to a sweetly tender center. Trust me, after working in the test kitchen, I tweaked this grandmother-approved recipe until it was foolproof. This is the one you need for your recipe box. It’s incredibly reliable and makes amazing homemade peanut butter cookies every single time. If you want comfort baked right, you’re in the right spot. You can read a little more about how we test everything to make sure it works for *you* over on our About page.
- Why This Recipe Makes the Best Peanut Butter Cookies
- Gathering Ingredients for Perfect Peanut Butter Cookies
- Essential Equipment for Homemade Peanut Butter Cookies
- Step-by-Step Instructions for Classic Peanut Butter Cookies
- Tips for Success with Peanut Butter Cookies
- Storage and Reheating Instructions for Homemade Peanut Butter Cookies
- Frequently Asked Questions About Peanut Butter Cookies
- Nutritional Estimates for Peanut Butter Cookies
- Share Your Classic Cookie Recipes Experience
Why This Recipe Makes the Best Peanut Butter Cookies
Honestly, I just want you to have the best experience baking. You shouldn’t have to cross your fingers hoping your treats turn out right! This recipe has been developed and tested repeatedly here at Cooking by Jade because we focus on giving you the most reliable results possible. It’s all about hitting that sweet spot between nostalgia and perfect execution.
- You finally get that perfect balance: crispy tender cookies that don’t crumble apart.
- It’s fast! You can have these mixed, rolled, and in the oven in under 15 minutes of prep time total.
- It tastes like tradition—the real, comforting flavor of classic peanut butter baking.
Perfect Texture Every Time
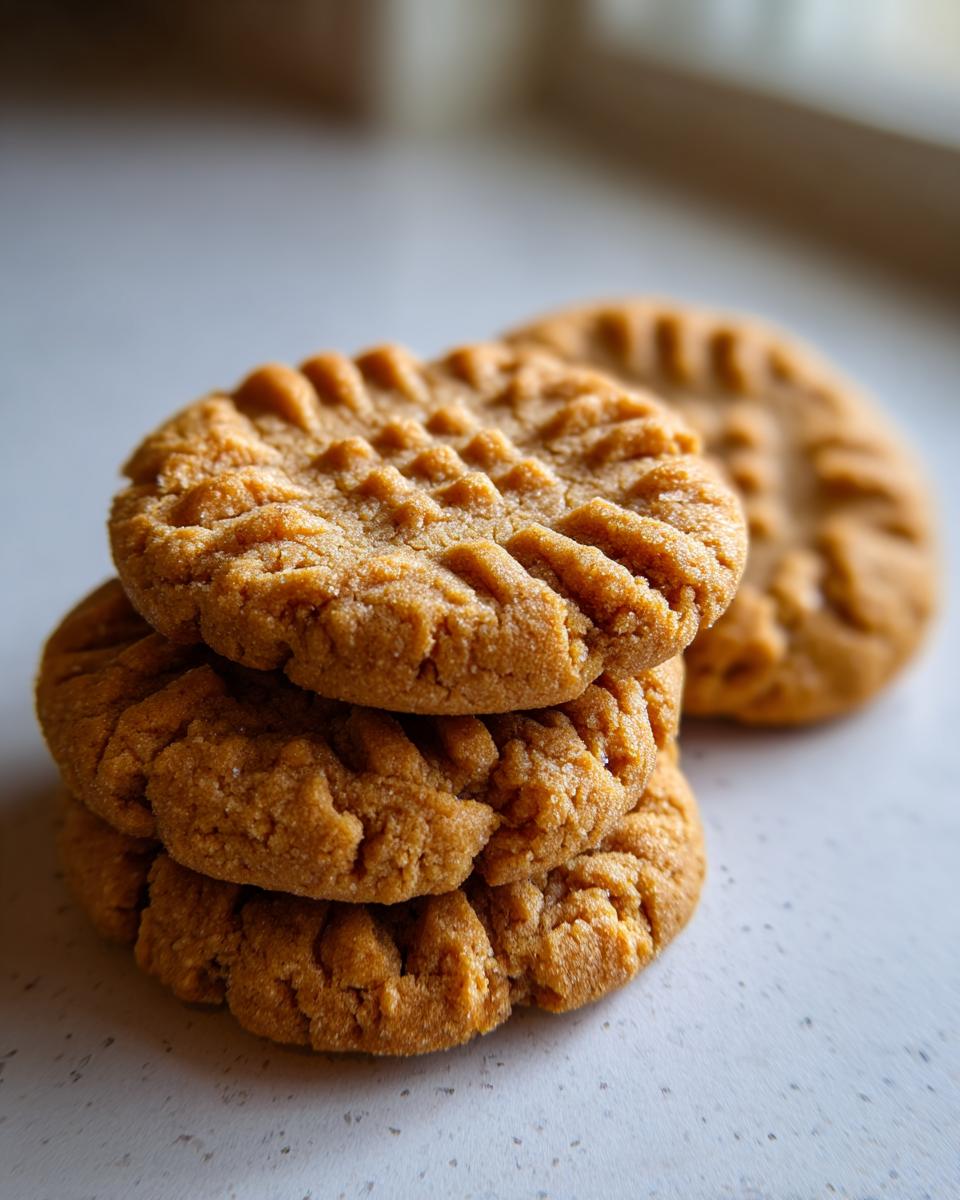
That crispy edge surprise followed by the soft, dreamy center? That’s not luck, my friends. That comes directly from the precise amounts of brown sugar versus granulated sugar, which we spent ages perfecting. We fine-tuned the ratios of baking soda and powder too, making sure the edges spread just enough while the middle stays plush and chewy. It’s the science of simple baking giving you the perfect result!
Simple Steps for Classic Peanut Butter Cookies
Even if you’re nervous in the kitchen, you can nail this! We intentionally kept the process straightforward, proving that you don’t need fancy techniques to create truly memorable treats. This recipe falls right into that category of wonderful, straightforward classic cookie recipes that everyone should know by heart. They are just so satisfying to pull out of the oven.
Gathering Ingredients for Perfect Peanut Butter Cookies
Okay, gather your troops! With only ten main ingredients, this is the kind of recipe you can whip up anytime you get a craving. Remember, we aren’t looking for complicated here—we want the essentials that make the magic happen. Every item on this list plays a specific role in getting those crispy edges and that soft middle.
- 1 cup (2 sticks) unsalted butter, softened—and I mean truly softened, take it out an hour ahead!
- 1 cup granulated sugar
- 1 cup packed light brown sugar—make sure it’s packed down firmly when measuring!
- 1 cup creamy peanut butter—we need the stability of the creamy kind here, trust me on this one.
- 2 large eggs
- 1 teaspoon vanilla extract
- 2 1/2 cups all-purpose flour
- 1 teaspoon baking soda
- 1/2 teaspoon baking powder
- 1/2 teaspoon salt
Ingredient Notes and Substitutions for Peanut Butter Baking
Let’s talk peanut butter for a second. I know some of you love the natural, stir-it-yourself kind. It tastes great, but for these classic peanut butter cookies, we need the conventional peanut butter—the creamy kind. Natural peanut butter has too much oil separation, and that will make your cookies spread out into flat, greasy puddles instead of plump, perfect little discs. We’re aiming for structure!
Also, that softened butter is non-negotiable. If your butter is cold, you won’t get the proper ‘creaming’ action we need to whip air into the sugars. Air equals lovely lift and texture, so let that butter get nice and pliable before you start mixing!
Essential Equipment for Homemade Peanut Butter Cookies
Before the dough even comes together, let’s make sure your workspace is ready. Having everything handy prevents scrambling when you need to move quickly! My favorite piece of equipment for these is honestly my stand mixer, but you can do this perfectly fine with a good sturdy hand mixer or even just a strong whisk and wooden spoon if you don’t mind an upper-body workout!
- Electric Mixer (Stand or Handheld): Necessary for properly creaming the sugars and butter to get that airy base.
- Two large Mixing Bowls: One for the wet stuff, one for the flour mixture. Keep them separate!
- Baking Sheets (two is ideal): Having a second sheet ready means you spend less time waiting between batches.
- Parchment Paper: This is my secret to easy cleanup and perfect bottom texture. Don’t skip this!
- Wire Cooling Rack: Crucial for letting the cookies cool properly so they set up with those great crispy edges.
- A Fork: You absolutely need one ready for that classic crosshatch pattern—it’s tradition!
Make sure your mixing bowls are the right size. When we cream the butter and sugars, that mixture expands! You don’t want to be fighting overflow when you start adding the flour.
Step-by-Step Instructions for Classic Peanut Butter Cookies
Ready to see the magic happen? Once you have your ingredients mixed, the actual baking process is super quick, which is why these are such wonderful traditional cookies for an afternoon treat. We’re going to pay close attention to our oven temperature and how we handle the dough because that’s what guarantees those beautiful, slightly cracked tops we all love.
First things first: Preheat your oven to 375 degrees F! Don’t wait until the dough is ready to turn it on, give it time to fully heat up. Line those baking sheets with your parchment paper—this helps the bottoms of the cookies texture perfectly without getting greasy.
Mixing the Wet and Dry Components
Start by beating your softened butter with both the granulated and brown sugars until it looks light and fluffy. That beating process (creaming) is what whips air into the mix, giving us that slightly tender center later on. When you add the two eggs, it’s super important you add them one at a time, mixing fully after each one goes in before you add the vanilla.
Next, grab that separate bowl where you whisked your flour, baking soda, baking powder, and salt. Add this dry mixture to your wet ingredients slowly. I mean slowly! Mix only on the lowest speed until you see the flour almost disappear. Seriously, stop mixing just before it’s totally combined. Overmixing develops gluten and kills that nice tenderness we are aiming for!
Forming and Pressing the Dough Balls
Now for the fun part that makes them look picture-perfect! Scoop your dough using rounded tablespoons. You want them uniform so they bake evenly all at once. Roll them into smooth little balls and place them about 2 inches apart on your prepared sheets. They need a little breathing room because they will spread a bit.
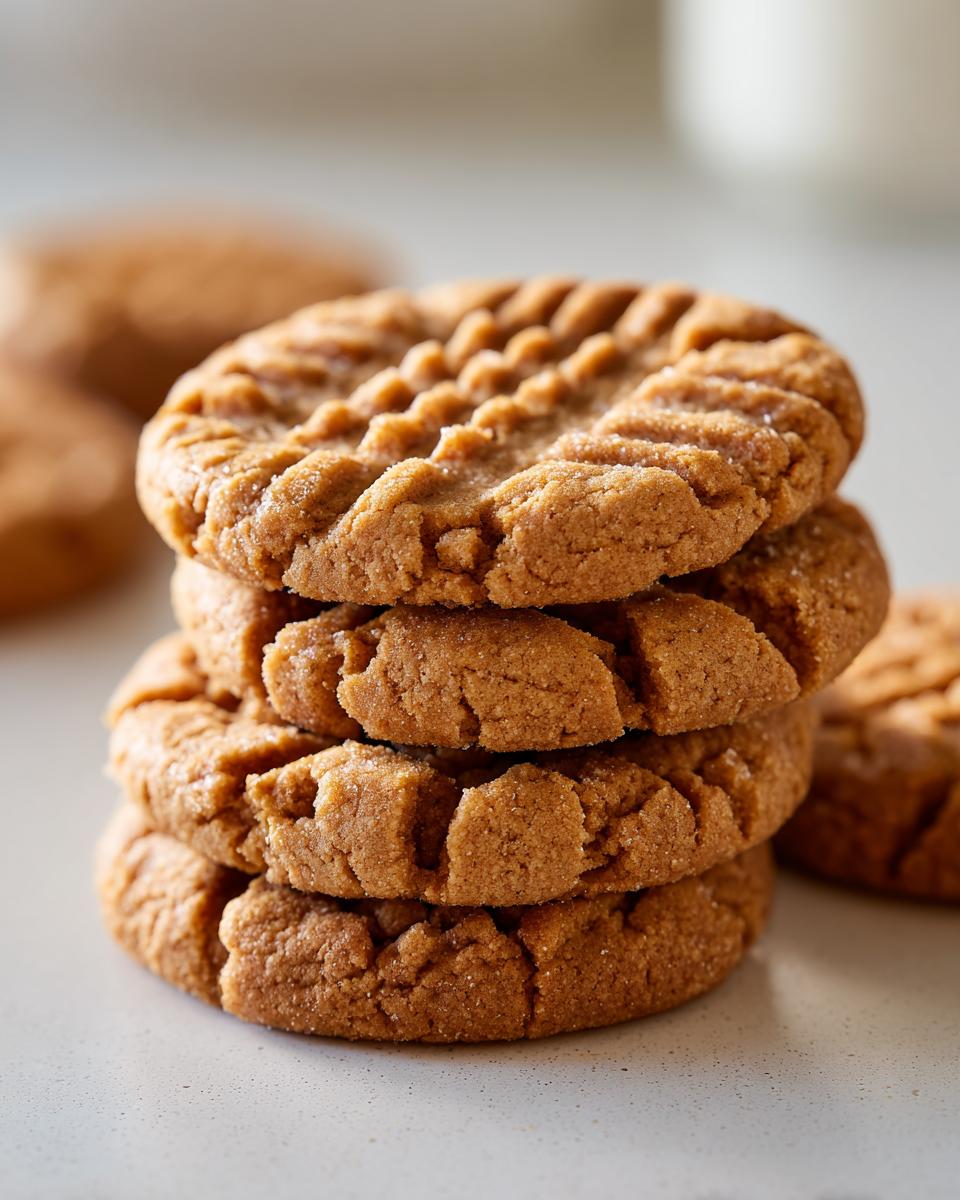
This is the signature move: grab your fork! Press down firmly on the center of the dough ball to flatten it slightly. Then, press again perpendicular to your first press, creating that classic crisscross pattern. This flattening lets the dough bake more evenly throughout, ensuring those crispy edges work their magic.
Baking Time for Crispy Tender Cookies
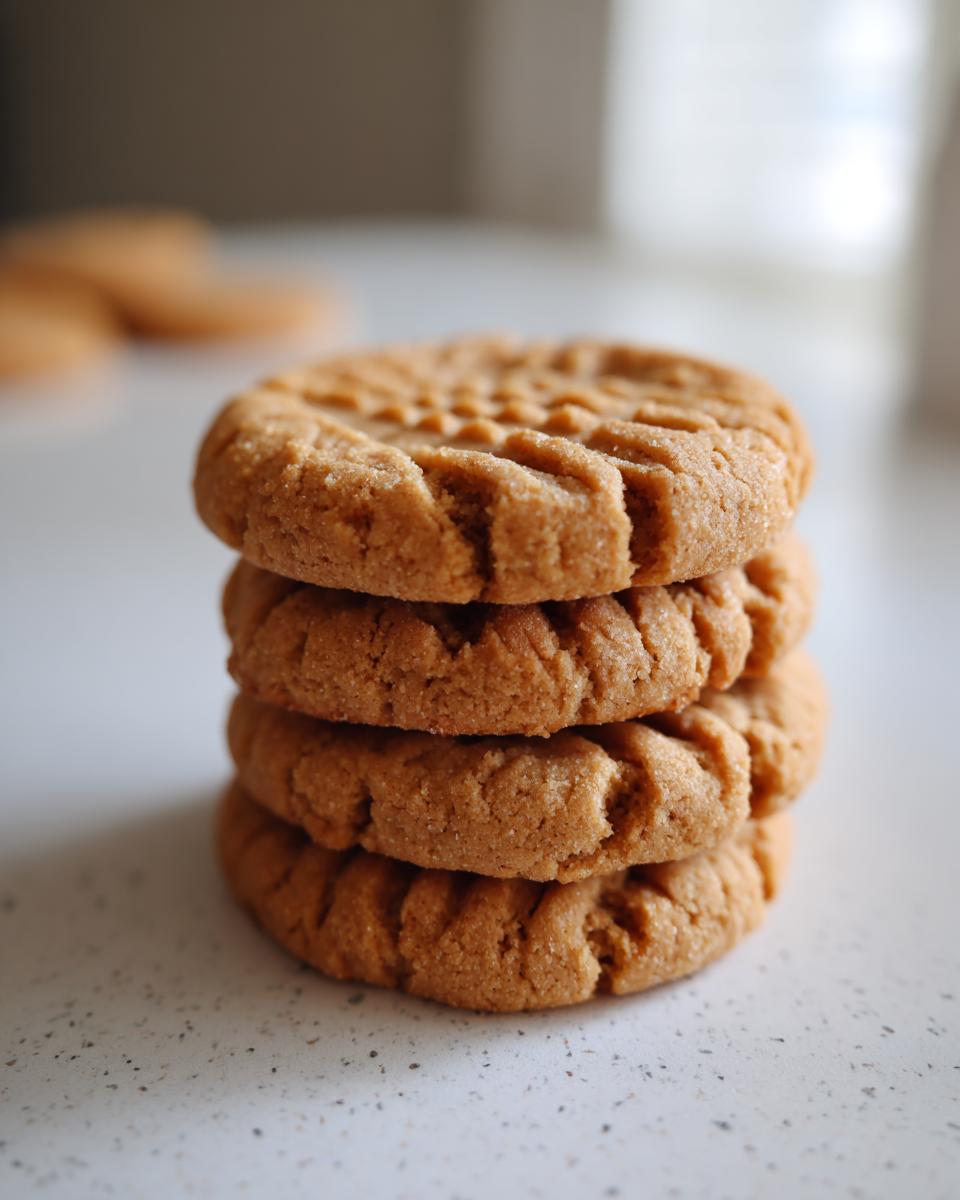
Slide those trays into your preheated oven and bake them for 9 to 11 minutes. You are looking for visual cues here—the edges should just barely start turning that lovely light golden brown. Don’t panic if the centers still look a little soft or slightly underdone when you pull them out; that’s exactly what we want for the perfect texture bite!
Leave them sitting right there on that hot baking sheet for a full 5 minutes. This resting period is crucial! It allows the cookies to firm up just enough so they don’t break when you move them. After 5 minutes, gently transfer them to a wire rack to cool completely. When they hit that rack, they’re officially done setting up!
Tips for Success with Peanut Butter Cookies
When I was developing my collection of best peanut butter cookies, I quickly learned that while the ingredients are simple, the *handling* of the dough is everything if you want that perfect two-texture experience. These aren’t cookies you can rush, but I’ve distilled the wisdom from my test kitchen days into a few key guidelines.
First, let’s talk peanut butter quality. The recipe calls for creamy peanut butter, and I stand by that 100%. If you try using natural peanut butter—the kind that separates into a puddle of oil on top—you end up creating a dough that’s completely unstable. When that dough hits the oven, all the oil causes the cookies to spread wider than a pancake and they frankly get a bit greasy. We need that thick, homogenized texture from conventional creamy stuff for proper structure!
Now, about spreading. I’ll admit, the first time I made these in my own kitchen during a hot summer, they melted into one giant sheet cookie on the pan. Disaster! That’s when I learned the importance of temperature control. If your kitchen runs warm, or if you’ve been mixing for a while and the dough feels soft under your hands, stop! Wrap that dough up tight and let it chill in the fridge for just 30 minutes. It firms up the fat, which prevents spreading and keeps those thick, lovely centers.
The baking time is short, so keep an eye on the oven. Remember the goal: crispy edges, soft middle. If you bake these until the center looks completely dry, you’ve gone too far, and they will set up hard when they cool. Pull them out when the edges look faintly golden and the center still looks just a tad gooey. They continue to cook on that hot pan, so trust the process! Those last five minutes of cooling on the sheet are just as important as the 10 minutes in the oven.
Storage and Reheating Instructions for Homemade Peanut Butter Cookies
So you have twelve dozen perfect cookies (lucky you!), or maybe you just made a single batch and want them perfectly fresh for tomorrow. The main goal here is keeping those edges just barely crisp while protecting the tender center from getting soggy or soft too fast. Don’t put them in the fridge! The cold air will actually ruin that beautiful texture we worked so hard to achieve.
Store your cooled homemade peanut butter cookies in a truly airtight container. I like using a flat plastic container with a good seal. Keep them at room temperature—never seal them while the cookies are even remotely warm, or you’ll steam them, which leads right back to sogginess. Stored this way, they stay fantastic for about three to four days. If you need them slightly softer, you can microwave one for just 5 to 8 seconds. That just melts the butter back together for a warm, fresh-from-the-oven taste!
Frequently Asked Questions About Peanut Butter Cookies
I get so many questions every time I post this recipe—which is wonderful, because it means you want to make them perfectly! It’s my job to demystify things so you feel totally confident every time you step up to bake these classic peanut butter cookies. Here are the top three things people always ask me about when they start their peanut butter baking journey.
Can I use natural peanut butter in this recipe?
Oh, that’s the million-dollar question! While I love natural peanut butter for toast, I really, really suggest sticking to the creamy kind for this specific recipe. When you use the natural style, the oils separate out, and the consistency of your dough changes completely. If you try to make these with natural peanut butter, the cookies tend to be much flatter, maybe even sandy or greasy feeling because the fat hasn’t been properly emulsified into the dough. It stops them from getting those perfect crispy-tender edges we want!
How do I prevent my peanut butter cookies from cracking too much?
It’s tricky because a few little cracks are part of the classic look, right? If you find yours are shattering or cracking way too much, it usually means one of two things happened. First, either the dough was too cold when you pressed the fork down, or your fork wasn’t dipped in sugar first. If the fork is dry, it drags the dough rather than pressing cleanly across the top. Dip your fork lightly in a small bowl of granulated sugar before you press that crisscross pattern—it helps the tines glide right over the surface, giving you defined lines without tearing up the cookie!
How long do these traditional cookies stay fresh?
Because we don’t use any kind of specialty stabilizers in these traditional cookies, they taste best within the first couple of days. If stored properly in an airtight container at room temperature, they will hold their texture really well for about 3 to 4 days. After that, the edges start to soften up a little more than I like, but they still taste fantastic! If you want to keep them longer, freezing the baked cookies works great.
Nutritional Estimates for Peanut Butter Cookies
Now, I know that when we’re reaching for a warm, homemade peanut butter cookie, we aren’t usually tracking macros, but I always like to provide this information just in case you need it! As someone who studied nutrition, I believe in knowing what goes into the food we love to share.
Keep in mind, these numbers are calculated estimates based on the standard product weights used in my recipe development, and they can change depending on the exact brand of peanut butter or sugar you grab off the shelf. This is just a handy guideline for when you’re wondering about the basics.
- Serving Size: 1 cookie
- Calories: 180
- Fat: 10g
- Carbohydrates: 21g
- Protein: 4g
- Sugar: 14g
We keep the recipe simple, using those classic ingredients, so you’ll see a good balance of fat and carbs perfect for that energy boost only a great cookie can give you! If you’re worried about sugar, remember that using the full cup of brown sugar is what helps give us those tender centers, so it’s a worthwhile trade-off for the texture!
Share Your Classic Cookie Recipes Experience
Whew! That’s it! You’ve made the best peanut butter cookies. Now, this is where the fun really begins for me. Seriously, nothing makes my day more than hearing that you tried one of these recipes and it brought that classic comfort food feeling right into your own home!
I want to hear all about it! Did you nail that perfect crispy edge? Were the centers soft and luxurious? Please don’t be shy—jump down to the comments below and give this recipe a rating. Knowing how it turned out helps everyone else feel confident attempting these amazing classic cookie recipes next.
And if you took a gorgeous photo of your perfectly crosshatched, golden cookies, snap a picture and tag us on social media! We love seeing your creations shine. If you have any specific recipe questions that came up while you were baking—maybe about substituting ingredients or adjusting your oven temperature—please don’t hesitate to send a note through the contact page. I’m always here to help troubleshoot and share a little more kitchen confidence!
PrintClassic Peanut Butter Cookies with Crispy Edges
Make the best homemade peanut butter cookies with this reliable recipe. You get cookies with crispy edges and soft, tender centers every time.
- Prep Time: 15 min
- Cook Time: 11 min
- Total Time: 26 min
- Yield: 3 dozen 1x
- Category: Dessert
- Method: Baking
- Cuisine: American
- Diet: Vegetarian
Ingredients
- 1 cup (2 sticks) unsalted butter, softened
- 1 cup granulated sugar
- 1 cup packed light brown sugar
- 1 cup creamy peanut butter
- 2 large eggs
- 1 teaspoon vanilla extract
- 2 1/2 cups all-purpose flour
- 1 teaspoon baking soda
- 1/2 teaspoon baking powder
- 1/2 teaspoon salt
Instructions
- Preheat your oven to 375 degrees F. Line baking sheets with parchment paper.
- In a large bowl, beat the softened butter, granulated sugar, and brown sugar with an electric mixer until light and fluffy.
- Beat in the peanut butter until combined. Add the eggs one at a time, mixing well after each addition. Stir in the vanilla extract.
- In a separate bowl, whisk together the flour, baking soda, baking powder, and salt.
- Gradually add the dry ingredients to the wet ingredients, mixing on low speed until just combined. Do not overmix.
- Scoop rounded tablespoons of dough and roll into balls. Place them 2 inches apart on the prepared baking sheets.
- Use a fork to press down on each dough ball to create a crosshatch pattern, pressing once in one direction and then again perpendicular to the first press.
- Bake for 9 to 11 minutes, or until the edges are lightly golden brown. The centers will look slightly underdone.
- Let the cookies cool on the baking sheet for 5 minutes before transferring them to a wire rack to cool completely.
Notes
- For the best texture, use creamy peanut butter rather than natural or chunky styles.
- Chill the dough for 30 minutes before scooping if your kitchen is warm; this helps prevent spreading.
- If you prefer a slightly chewier cookie, reduce the baking time by one minute.
Nutrition
- Serving Size: 1 cookie
- Calories: 180
- Sugar: 14
- Sodium: 110
- Fat: 10
- Saturated Fat: 4
- Unsaturated Fat: 6
- Trans Fat: 0
- Carbohydrates: 21
- Fiber: 1
- Protein: 4
- Cholesterol: 25