
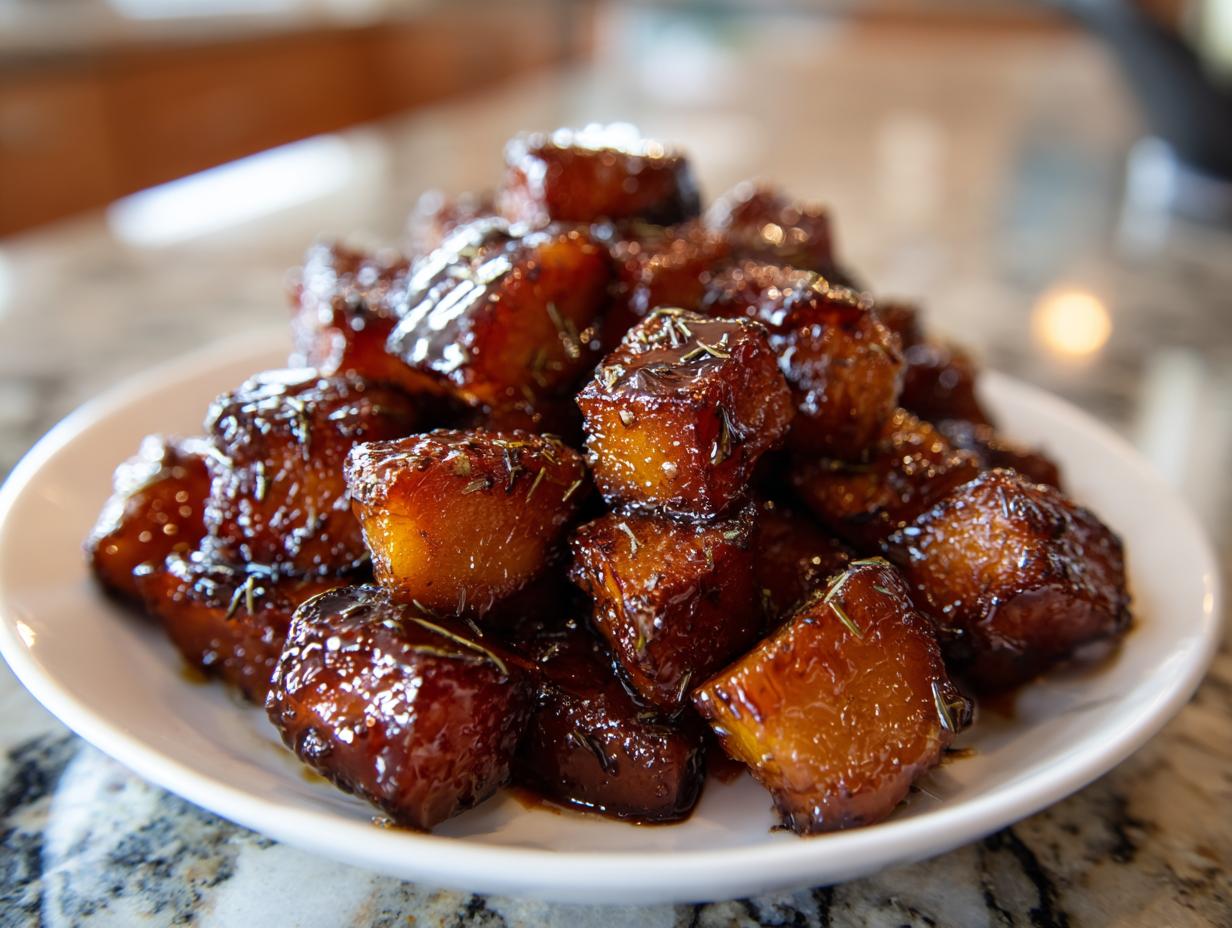
There is just something absolutely soul-satisfying about perfectly cooked vegetables, isn’t there? Especially in the fall. When I first started cooking, my biggest hang-up was making sure vegetables didn’t turn into mush in the oven! That’s why I’m thrilled to share this method for roasted butternut squash because we nail the texture every single time: crispy, slightly caramelized edges hugging the inside that falls apart creamy. This isn’t some fancy chef trick; it’s the simple, reliable technique I learned early on to bring confidence to my own kitchen. If you’re looking for a fuss-free way to elevate your vegetable game, trust me, this is it. You can find more of my favorite reliable vegetable recipes over here at our side dish collection!
- Why This Is the Best Butternut Squash Recipe
- Ingredients for Perfectly Roasted Butternut Squash
- How to Roast Butternut Squash in Oven: Step-by-Step Guide
- Tips for Success with Your Roasted Butternut Squash
- Making This Quick Vegetable Side Dish Ahead of Time
- Serving Suggestions for Herb Roasted Butternut Squash
- Common Questions About Roasted Butternut Squash
- Nutritional Snapshot of Your Roasted Butternut Squash
- Share Your Delicious Roasted Squash Experience
Why This Is the Best Butternut Squash Recipe
I know what you’re thinking—it’s just squash, how much difference can one recipe make? A huge difference, trust me! This method is my absolute go-to because it maximizes flavor while staying incredibly fast. If you need reliability for easy weeknight dinners, this recipe delivers big flavor without complication. We’re hitting the sweet spot between speed and quality every time we make this roasted butternut squash.
- It’s truly quick—prep takes minutes, and it’s done in under 30 minutes of roasting time!
- The flavor profile is perfectly balanced between sweet maple and earthy herbs.
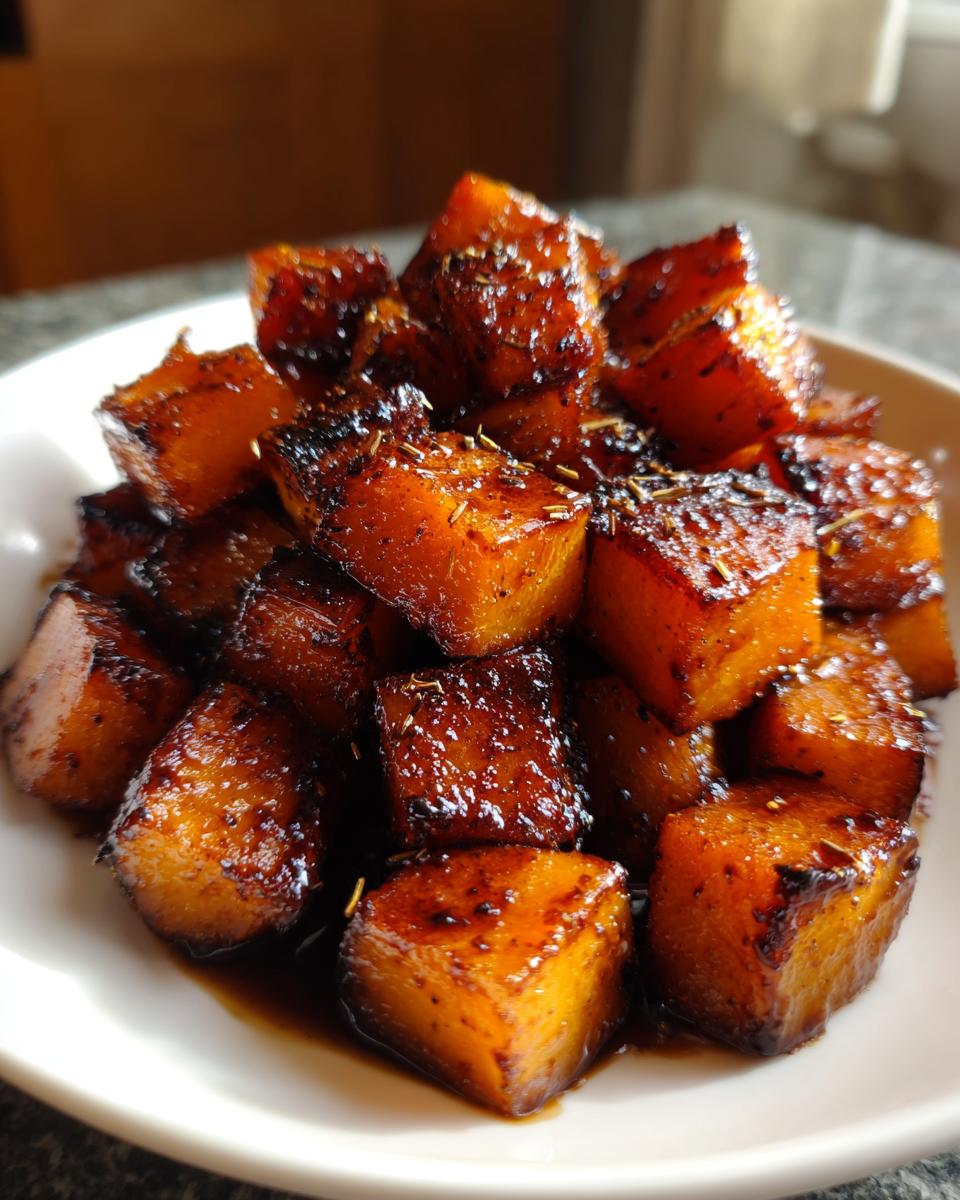
- You get that textural gold standard: crispy edges hugging a tender core.
- It requires very few ingredients that you probably already have on hand.
Achieving Creamy Roasted Squash Textures
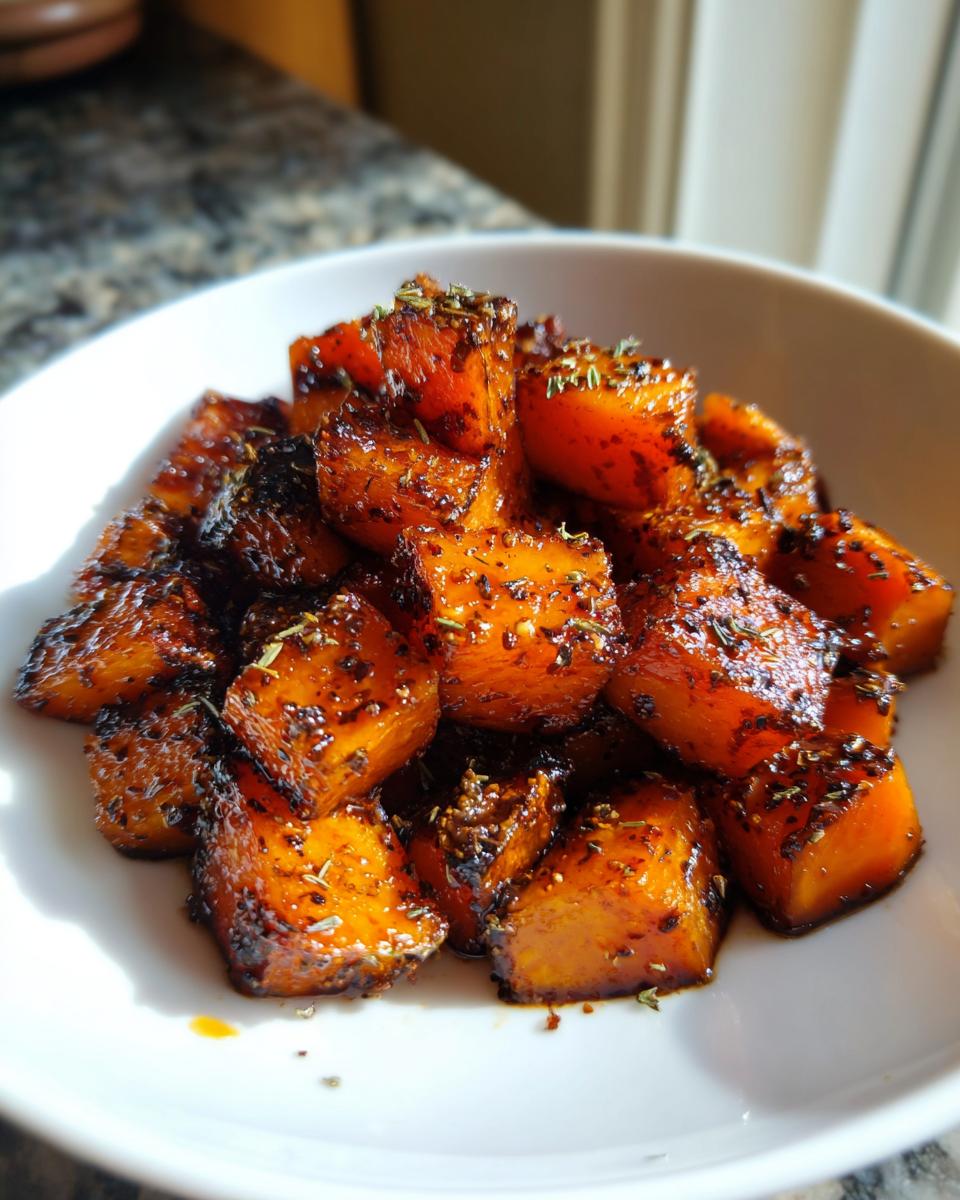
The secret to avoiding mushy vegetables is two-fold: really high heat and making sure every single cube gets coated in fat (that’s our olive oil!). When you bake butternut squash at 400°F, the high temperature quickly evaporates the surface moisture, which is what starts to crisp up those edges. Meanwhile, the internal natural sugars are starting to break down slowly, creating that wonderfully soft, creamy texture inside. It’s science, but it tastes like magic!

Simple Butternut Squash Seasoning Balance
The maple syrup and rosemary combo is just *chef’s kiss*. This little bit of sweetness clings to the squash and helps intensify the natural caramelization we’re working so hard for. Pairing that with the sharp, savory counterpoint of fresh rosemary and salt stops the whole dish from becoming overly sweet. This perfect sweet and savory squash side makes the flavor of your roasted butternut squash truly pop on the plate.
Ingredients for Perfectly Roasted Butternut Squash
Okay, let’s talk ingredients! For this recipe, I kept things delightfully simple so you don’t have to run to five different specialty stores. We rely on quality here, not quantity. Remember, we are aiming for delicious results without stress, so just grab these few things, and we are golden. I’ve got everything listed below so you can check your pantry right now.
Ingredient Notes and Simple Substitutions
A quick note on the syrup: please, please use pure maple syrup! The stuff you use for pancakes—the imitation stuff—is mostly corn syrup and it just won’t caramelize the same way. If you don’t have maple syrup on hand, don’t panic! You can swap the 2 tablespoons of maple for 1 tablespoon of dark brown sugar. That will give you a great sweet flavor profile to work with, though you might want to bump up that salt just a touch to keep things balanced.
How to Roast Butternut Squash in Oven: Step-by-Step Guide
This is where the magic really happens, and honestly, it’s way easier than you think! We’re aiming for that golden color and fork-tender interior, so clear some space on your counter and let’s walk through this. Remember, the goal is to get all those gorgeous roasted butternut squash cubes to touch the hot pan surface so they can truly caramelize. It’s worth the effort to get those delicious, crispy edges! You can check out a full guide on how to roast butternut squash in the oven if you want extra confidence before we start.
Preparing Your Butternut Squash for Roasting
First things first: we have to get the squash ready. You need to peel it—yes, it takes a little muscle, but trust me, it’s worth it! Once peeled, slice it right down the middle vertically and scoop out all those stringy seeds. Now for the most important part for even cooking: cut everything into pieces that are roughly the same size, about 1-inch cubes. If you have big chunks next to tiny shreds, the small ones will burn before the big ones get soft. Uniformity is your best friend here if you’re a butternut squash for beginners!
Glazing for Caramelized Butternut Squash Cubes
While your cubes are waiting patiently in a bowl, whisk together that beautiful maple syrup mixture in a separate small dish. We want to coat everything nicely, but we don’t want to smash our beautiful little cubes! Gently pour the glaze over the squash and use your hands or a rubber spatula to toss it carefully. Make sure every single surface has a thin layer of that sweet, herby goodness. This coating is what transforms plain squash into truly caramelized butternut squash cubes.
Baking Tips for Perfect Roasted Butternut Squash
Heat your oven up to 400°F—it needs to be nice and hot when this squash hits the pan. Spread those glazed cubes out onto your prepared baking sheet. I mean it when I say: DO NOT CROWD THE PAN! If they’re piled up, they steam, and steaming means mush. Use two pans if you have to! Roast for about 25 to 30 minutes total, making sure to flip them halfway through. When they look golden brown and your fork slides right into a piece with zero resistance—that’s how you know your roasted butternut squash is done!
Tips for Success with Your Roasted Butternut Squash
I want you to feel totally confident pulling this dish out of the oven, so let’s chat about the tiny details that make all the difference when making roasted butternut squash. Honestly, once you get the heat right and respect the pan space, you can’t mess this up! My biggest piece of advice comes directly from my test kitchen days: pan overcrowding is the silent killer of all good roasting projects. If you see the pieces touching, they’re going to steam instead of roast, and we want crispiness, remember?
If you have a smaller oven or just one average baking sheet, don’t try to cram everything on there. Just grab a second sheet! Spreading your squash in a single, even layer ensures that hot air flows around every piece, giving you those beautifully caramelized butternut squash cubes we’re aiming for. Another sneaky moisture tip? Make sure you dry those cubes off just a tiny bit after you toss them in the oil but before you add the glaze. It removes a bit of surface water and practically guarantees those gorgeous edges. We’ve got the foolproof method down, so go ahead and enjoy the process!
If you want to see how this side dish pairs up with some of my favorite main courses, check out my guide on roasting techniques—it might inspire your next dinner!
Making This Quick Vegetable Side Dish Ahead of Time
Life gets busy, and sometimes you just need to have a side dish planned out a day or two ahead of time, especially if you’re juggling everything for a big holiday meal. I get it! The good news is that this squash holds up really well, though we do need to be careful about reheating if we want to keep that lovely texture.
If you’re prepping this as a quick dinner side dish idea for tomorrow, you have a couple of options. You can roast the squash completely—following all the steps exactly—and then let it cool completely before storing it in an airtight container in the fridge. It will last like that for about three to four days. I often keep it like this so I can just grab it when I’m rushing around in the afternoon. You can find some other great make-ahead strategies over at my healthy lunch ideas section!
Now, for reheating—this is crucial. The biggest enemy of roasted veggies is steaming. If you throw those lovely cubes in the microwave, they’ll get soft and lose all that crispiness we worked so hard to achieve! To revive them, you want to use the oven or an air fryer if you have one. Spread the cooled squash back out on a clean baking sheet and warm it at about 350°F for about 8 to 10 minutes. This second blast of dry heat brings back some of that lovely exterior texture. If you skip the reheat and serve it cold, it’s still totally delicious, especially added to a salad the next day!
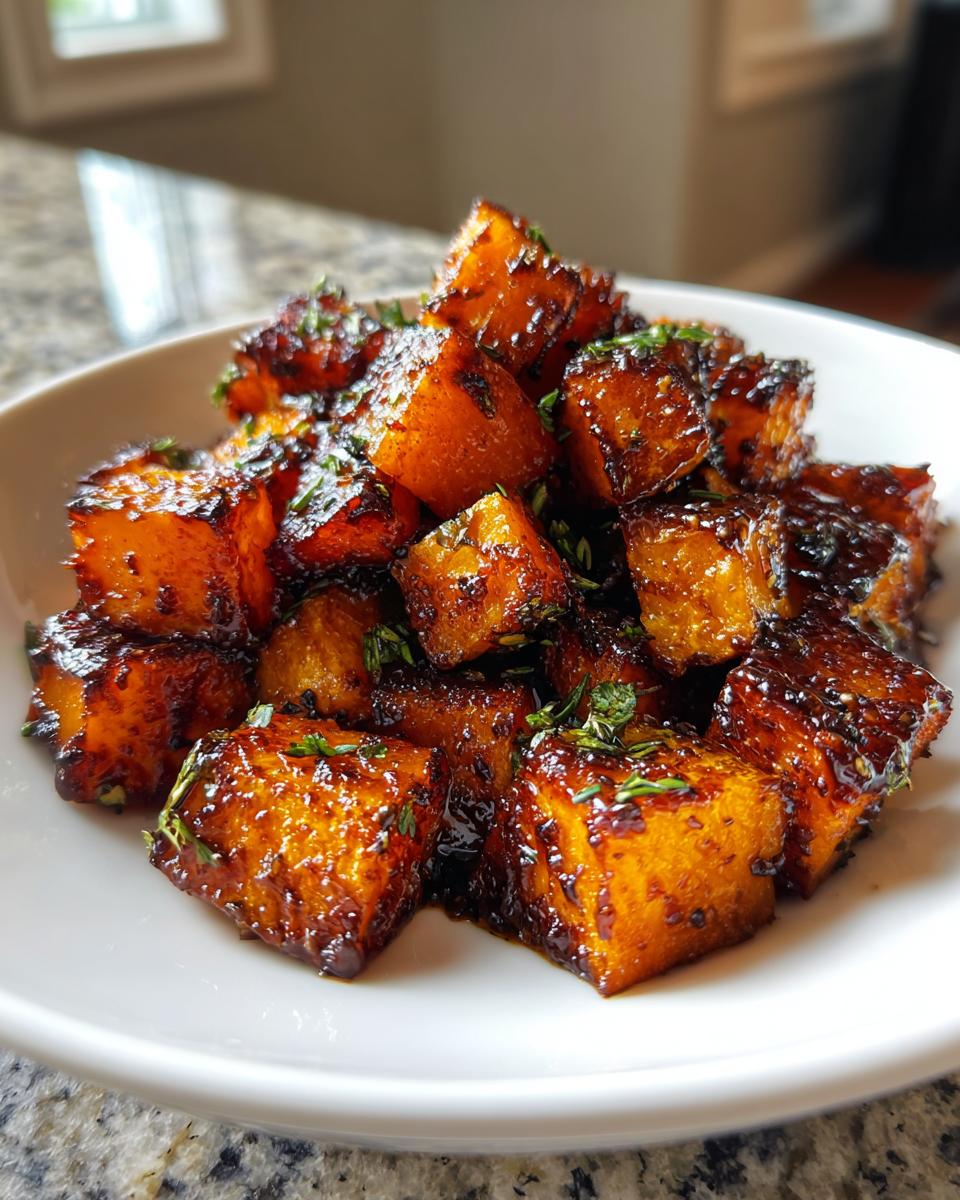
Serving Suggestions for Herb Roasted Butternut Squash
I swear, once you have this roasted butternut squash in your repertoire, you’ll be looking for excuses to make it all the time! It’s so versatile, isn’t it? It moves effortlessly from a simple weeknight component to a star player on your holiday table. I love that it checks the box for both healthy roasted vegetables and delicious flavor.
When it comes to pairing, I usually lean toward roasts because they have a similar cozy, comforting vibe. This squash is heavenly alongside a perfectly cooked pork loin—check out my recipe for a juicy oven-roasted pork loin! The sweetness of the squash glaze plays so nicely against the salty, savory crust on the meat. It’s also fantastic next to simply roasted chicken breast if you’re keeping things lighter.
But of course, we have to talk about the big events, right? This side dish absolutely shines on a Thanksgiving spread. It’s a wonderful, slightly lighter alternative to heavy casseroles, and it brings that gorgeous pop of orange color to the table. Seriously, you can swap out almost any traditional starch for a big bowl of this herb roasted butternut squash and everyone will thank you. It just tastes like home, whatever you put it next to!
Common Questions About Roasted Butternut Squash
Whenever I share this recipe, I always get a few questions that pop up. It’s natural! Everyone wants to make sure their vegetables turn out perfectly, especially when it comes to achieving that ideal texture. Let’s tackle a few of the most common things folks ask me about making this a regular part of their rotation, whether it’s for a weeknight fix or a bigger gathering.
Can I use different seasonings for this roasted butternut squash?
Oh, absolutely! While I adore the maple and rosemary trio for our main recipe, you can easily swap those out depending on what you’re serving. If you want to lean heavily into savory squash side dishes, try leaving out the maple syrup and doubling down on the herbs—add some dried thyme and a teaspoon of smoked paprika for depth. If you are feeling like a cold weather vibe, you can swap the maple for a half teaspoon of cinnamon and a tiny pinch of nutmeg. But seriously, stick with the maple and rosemary for the actual recipe—it’s the best way to get that wonderful full flavor in your roasted butternut squash!
Do I actually have to peel the squash?
This is a lifesaver question, isn’t it? If you’re looking for a really quick vegetable side dish, peeling takes up the most time. I usually insist on peeling because the skin gets a bit tough and chewy when roasted, even with the glaze. However, if you’re using an air fryer or know that you absolutely *love* chewy plant fiber, you could technically leave the skin on. If you do, just make sure those cubes are super, super uniform in size or the skin will burn before the flesh softens. For the oven-baked version, though, peeling gives you that smooth, creamy roasted squash texture we are chasing.
How do I guarantee crispy edges instead of soft ones?
This is the million-dollar question for any roasted veggie! The answer involves two things we talked about earlier, but it’s worth repeating: high heat—400°F is the sweet spot—and, most importantly, giving the pieces space. They must roast, not steam. If you are finding your cubes aren’t getting as caramelized as you’d like, try slicing them just a *little* thinner than 1-inch, and definitely use two baking sheets if you have to. If they aren’t touching their neighbors, they will crisp up beautifully!
Can I use dried rosemary instead of fresh?
Yes, you definitely can use dried rosemary if that’s what you have in the spice rack! Dried herbs are more potent than fresh ones, so you need to adjust the amount. For every teaspoon of fresh rosemary called for in the recipe, use just half a teaspoon of dried. That way, you get the great herbal flavor without it tasting too sharp or overpowering your simple roasted vegetable recipe.
Is this dish suitable for Thanksgiving vegetable sides?
It is honestly one of my favorites for the big holiday meals! It’s healthy, it’s naturally sweet and savory, and it looks fantastic on the table. I often make a double batch just to ensure we have plenty. It pairs wonderfully with turkey, ham, or even just enjoyed as a satisfying component of your fall side dishes rotation. It’s a much lighter option compared to traditional heavy casseroles.
Nutritional Snapshot of Your Roasted Butternut Squash
Now, I’m no registered dietitian, so take these numbers with a little grain (or shall I say, a little grain of salt!). I always like to give you a general idea of what you’re bringing to the table when you make one of my recipes, especially when we’re focused on keeping things healthy, like this fantastic oven baked butternut squash.
The beauty of this dish is that it’s loaded with natural goodness from the squash, and we keep the added fats and sugars minimal compared to some traditional holiday sides. I’ve based these estimates on the ingredients listed for four generous servings. If you want to check out another favorite side that’s also packed with nutrients, take a peek at how I make creamy mashed sweet potatoes!
Here is the general breakdown:
- Serving Size: 1 cup cooked
- Calories: Around 180
- Carbohydrates: 32g
- Sugar: 12g (mostly natural sugars from the squash and a touch of maple!)
- Fat: 6g
- Protein: 3g
Since this recipe uses olive oil and natural vegetables, it’s wonderfully low in bad fats and cholesterol. It’s a fantastic, healthy roasted vegetables option that truly lets the natural flavor of the squash shine through!
Share Your Delicious Roasted Squash Experience
Now, this is the fun part! I truly love hearing from you all when you tackle one of my recipes. Cooking should always be a two-way street—I give you my best tips, and you give me your wonderful feedback! When you make this roasted butternut squash, I want to know all about your results, especially that texture we worked so hard to achieve.
Did those edges get crispy? Was the inside perfectly creamy? Don’t be shy about shouting out your success in the comments below! Seeing your beautiful photos of this sweet and savory squash side pop up in my inbox just makes my whole day. It means I sent you into the kitchen with confidence and you came out with a winner!
If you loved this recipe, please take a second to give it a star rating right below the recipe card—it helps other home cooks find reliable classics like this one. And hey, if you’ve got creative ideas for using up those leftovers, or if you tried a different seasoning profile, please share your thoughts! If you need to reach out directly with a question about technique or swapping ingredients, you can always send me a note through the contact page.
Thanks so much for trusting me with your dinner table. Happy roasting, and I can’t wait to see what you cooked up!
PrintPerfectly Roasted Butternut Squash With Maple-Rosemary Glaze
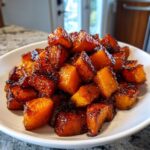
This recipe shows you how to roast butternut squash cubes until they have crispy edges and a creamy center. The maple and rosemary create a simple, balanced sweet and savory flavor perfect for any weeknight dinner or holiday side dish.
- Prep Time: 15 min
- Cook Time: 30 min
- Total Time: 45 min
- Yield: 4 servings 1x
- Category: Side Dish
- Method: Oven Baking
- Cuisine: American
- Diet: Vegetarian
Ingredients
- 1 medium butternut squash (about 3 lbs)
- 2 tablespoons olive oil
- 2 tablespoons pure maple syrup
- 1 teaspoon fresh rosemary, finely chopped
- 1/2 teaspoon kosher salt
- 1/4 teaspoon black pepper
Instructions
- Preheat your oven to 400 degrees Fahrenheit (200 degrees Celsius). Line a large baking sheet with parchment paper for easy cleanup.
- Peel the butternut squash. Cut off the ends, slice it in half lengthwise, and scoop out the seeds.
- Cut the squash into uniform 1-inch cubes. Uniform size helps the squash cook evenly.
- In a large bowl, toss the squash cubes with the olive oil until they are lightly coated.
- In a small bowl, whisk together the maple syrup, chopped rosemary, salt, and pepper.
- Pour the maple-rosemary mixture over the squash and toss gently until all the cubes are evenly glazed.
- Spread the seasoned squash cubes in a single layer on the prepared baking sheet. Do not overcrowd the pan; use two sheets if necessary to promote caramelization.
- Roast for 25 to 30 minutes, flipping the cubes halfway through the cooking time. The squash is done when the edges are golden brown and caramelized, and the inside is tender when pierced with a fork.
- Remove from the oven and serve immediately as a delicious roasted vegetable side dish.
Notes
- For the best caramelization, ensure the squash pieces are not touching on the baking sheet.
- If you prefer a more savory profile, substitute the maple syrup with 1 tablespoon of brown sugar and increase the rosemary slightly.
- This recipe works well for Thanksgiving vegetable sides or quick dinner side ideas.
Nutrition
- Serving Size: 1 cup cooked
- Calories: 180
- Sugar: 12
- Sodium: 250
- Fat: 6
- Saturated Fat: 1
- Unsaturated Fat: 5
- Trans Fat: 0
- Carbohydrates: 32
- Fiber: 6
- Protein: 3
- Cholesterol: 0