

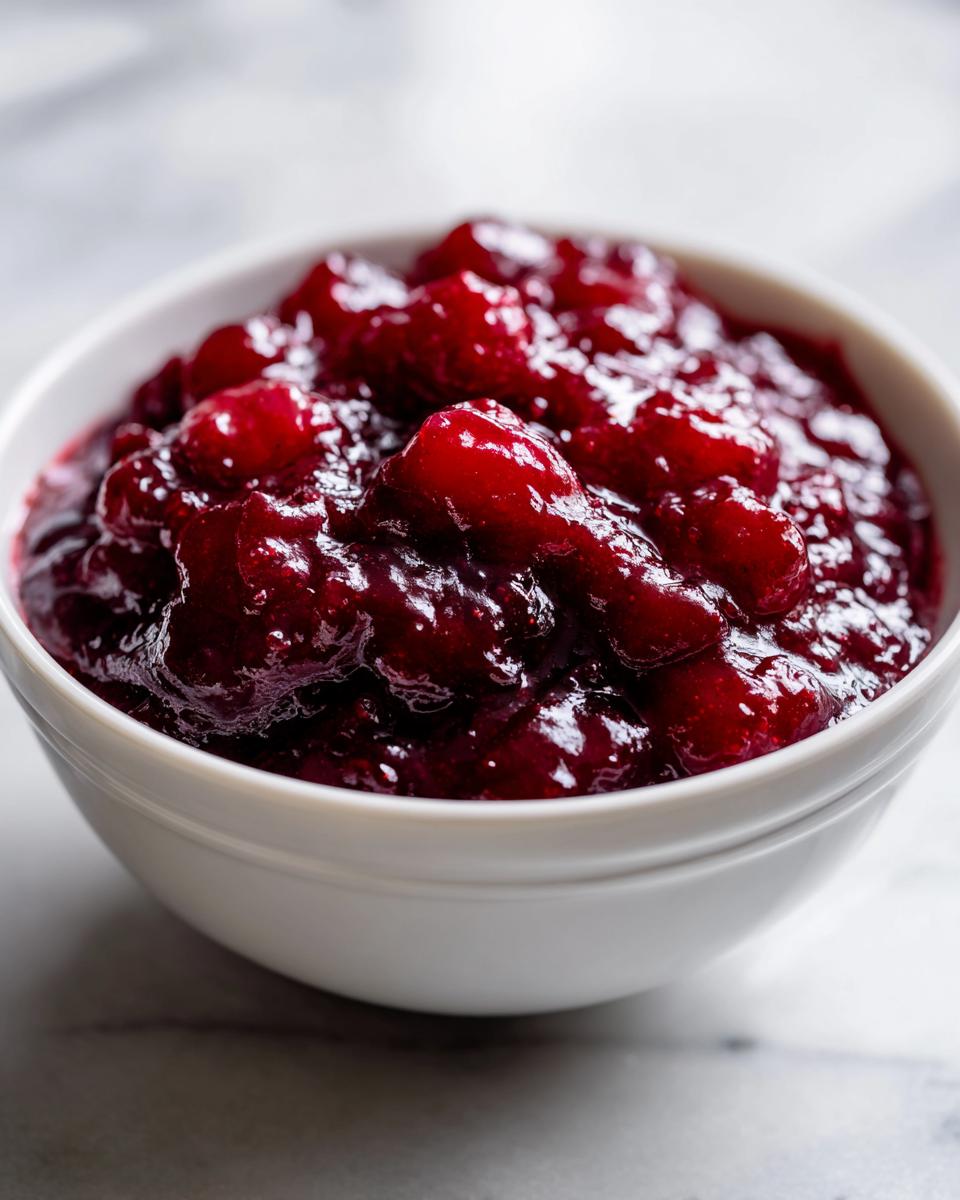
I’m going to tell you a secret right now: you absolutely do not need that can of cherry pie filling sitting in your pantry! Not when you can whip up something so much brighter, fruitier, and truly delicious in just about 15 minutes. When I was learning to bake, homemade fillings were what brought true comfort to the table. My goal here is to give you the best thick and juicy homemade cherry pie filling recipe that sets perfectly—no watery bottoms or weirdly bright red colors here, I promise.
This cherry pie filling is going to redefine your expectations for everything from summer slab pies to that epic cheesecake you’ve been planning. Trust me, once you see how easy it is to get that perfect, sliceable texture from scratch, you’ll be making this all the time.
- Why This Homemade Cherry Pie Filling Recipe Works (EEAT Focus)
- Ingredients for the Best Thick and Juicy Homemade Cherry Pie Filling
- How to Make Cherry Pie Filling From Scratch Step-by-Step
- Ingredient Notes and Substitutions for cherry pie filling
- Beyond the Pie: Creative Uses for Homemade Cherry Pie Filling
- Tips for Success When Making Quick Cherry Filling Recipe
- Storage and Reheating Instructions for Your From Scratch Pie Filling
- Frequently Asked Questions About cherry pie filling
- Serving Suggestions for this Fruit Pie Filling Recipes
Why This Homemade Cherry Pie Filling Recipe Works (EEAT Focus)
When people ask me for the Thick Cherry Pie Filling Recipe, they always have one main worry: that watery mess you sometimes get when you slice into a pie. That will *not* happen with this formula, and that’s where the trust comes in, right? We tackle the consistency issue head-on by using cornstarch in a very specific way. That’s how we guarantee that gorgeous, Juicy Cherry Filling From Scratch that holds its shape beautifully.
I’ve tested batches with every kind of cherry available, and here’s a quick tip from my kitchen: if you’re using fresh ones, taste them first! If they seem a little flat, a tiny extra dash of sugar or that final hit of lemon juice makes all the difference in bringing out that vibrant flavor layer.
Achieving the Perfect Consistency for Your cherry pie filling
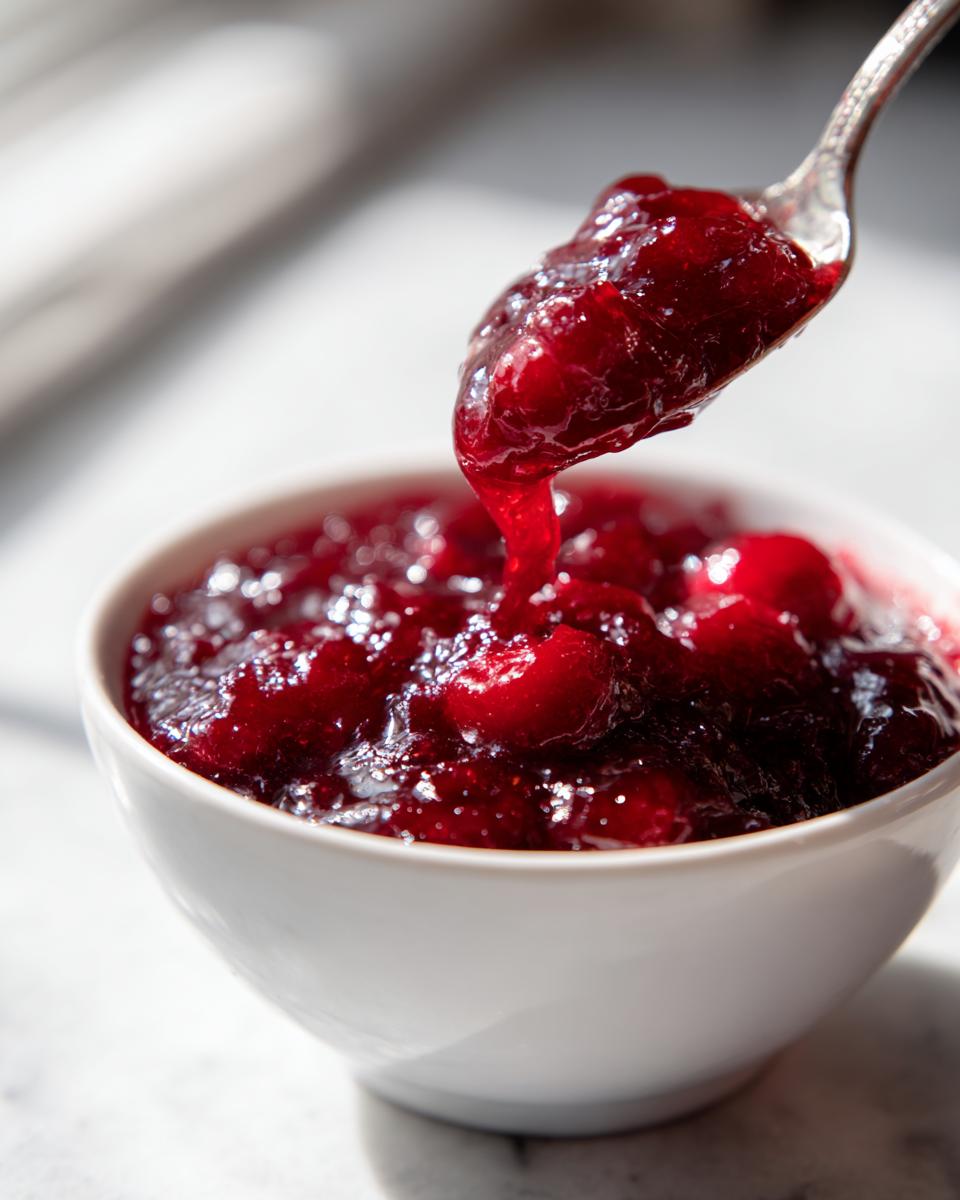
The secret sauce, literally, is the cornstarch. We combine it perfectly with sugar before it even sees the heat—this prevents those annoying little clumps that throw off the whole thickening process. Once you start simmering, you whisk constantly. The minute those bubbles poof up, you know the starches have activated, creating that desired thick texture. Seriously, don’t rush that bubbly stage! But know this: even if it looks a touch loose coming off the stove, the true magic happens when it cools down completely. That final chill is what sets your gorgeous, non-runny pie filling.
Ingredients for the Best Thick and Juicy Homemade Cherry Pie Filling
I always keep my ingredient list short and sweet because when you’re starting with beautiful cherries, you don’t want a ton of fillers weighing things down. This recipe is designed for maximum fruit flavor, which is why using the best cherries you can find is non-negotiable! Whether you grabbed sweet cherries from the farmer’s market or decided to use a bag of frozen ones straight from the freezer (and yes, you absolutely can use frozen—no need to thaw them first!), the ratio works wonderfully.
This clear lineup ensures you have everything ready to go when that 15 minutes of cooking time starts ticking, making this an incredibly easy cherry filling recipe to pull together on a whim.
- 4 cups fresh or frozen sweet cherries, pitted
- 1 cup granulated sugar
- 1/2 cup water
- 1/4 cup cornstarch
- 1 teaspoon lemon juice
- 1/2 teaspoon almond extract
How to Make Cherry Pie Filling From Scratch Step-by-Step
Alright, let’s get cooking! This process is genuinely fast, especially if you’ve already pitted your fruit. What I love about making a from scratch pie filling is that you control every flavor note. We are going to work quickly here, so make sure your saucepan is ready and you have your whisk handy. If you’ve been intimidated by making fruit fillings before—maybe you tried my fabulous apple pie filling recipe and felt nervous about it thickening—this method is foolproof!
Preparing the Thickening Agent for your cherry pie filling
First things first, we are tackling the starch. In a separate, smaller bowl—don’t skip this little bowl; it makes all the difference—we’re mixing the granulated sugar and the cornstarch together. You need to whisk these two dry ingredients until they are completely uniform. I mean it, look for any white specks of cornstarch that haven’t dissolved into the sugar. If you skip this step and dump the cornstarch straight into the hot liquid, you end up with little gel balls instead of a smooth sauce. That’s the main enemy of a beautiful, lump-free cherry pie filling!
Simmering and Setting the cherry pie filling
Next, get those pitted cherries and the water into your medium saucepan and set it over medium heat until it just starts to simmer. Now, this is important: slowly whisk in that pre-mixed sugar and cornstarch mixture. Keep that whisk moving constantly! You’ll see it start to change texture in about two or three minutes. When it’s genuinely thick and you see it bubbling happily—like a good, thick lava flow—you’re ready to pull it off the heat.
Before you stir in the almond extract and lemon juice, take a tiny taste! This is my trick. Now is your last chance to balance the sweetness before it totally sets. Once the extracts are in, stir them quickly, pour the finished cherry pie filling into a separate bowl, and let it cool completely on the counter. Resist the urge to use it warm; it must chill to achieve that perfect density we talked about.
Ingredient Notes and Substitutions for cherry pie filling
The flexibility in this cherry pie filling recipe is one of the reasons I love it so much. You might be wondering about those frozen cherries, and I’m here to tell you: please, skip the defrosting step! Seriously, throwing them in straight from the freezer is perfect. As the mixture simmers, the extra liquid that melts off cooks down beautifully with the cornstarch, saving you time and keeping that tart flavor locked in place.
Now, let’s talk about flavor depth. If you want something that really sings, try using a mix of sweet and sour cherries. Sour cherries bring a wonderful tang that cuts through the sugar so nicely, creating that famous sweet-and-tart balance. If you can only find sweet ones, don’t sweat it—the lemon juice gives you a little bit of that necessary brightness back. This kind of tweaking is what turns a good fruit filling into a truly great one!
Beyond the Pie: Creative Uses for Homemade Cherry Pie Filling
Honestly, keeping this incredible cherry creation just for pie would be a huge disservice to your dessert game! Once you’ve mastered this simple recipe, you’ll want to use it everywhere. Think beyond the lattice crust! That thick, beautiful texture we worked so hard to achieve makes it perfect for layering.
My favorite thing to do outside of pie is making a quick no-bake dessert. If you’ve ever wanted that bakery-style flavor, you have to try this as a topping for frozen yogurt or vanilla ice cream. It’s seriously instant gratification.
But if you’re looking for something richer, this is the ultimate component for a stunning dessert. You can spoon it beautifully over a slice of creamy cheesecake—we call that Cherry Filling for Cheesecake, and it’s phenomenal. I also love swirling it into pancake or waffle batter before cooking, or using it as a decadent filling between layers of a light sponge cake for an easy summer tart. Don’t just save it for holidays; this fruit filling deserves a weekly spot on your counter!
Tips for Success When Making Quick Cherry Filling Recipe
Even though this is a foolproof recipe, I always like to give you a few little safety nets for those days when you’re distracted or just need a quick fix! When I’m teaching this recipe, these are the little reminders I always share so you feel totally confident in your results. It’s about making sure your delicious Homemade Cherry Pie Filling is perfect every single time, whether it’s destined for a pie or needs to be a fantastic Cherry Pie Topping.
- If it looks a little too watery right when you take it off the heat, don’t panic! That’s actually super normal for any Fruit Pie Filling Recipes using cornstarch. Keep it hot and give it another minute or two of hard whisking, or just trust the cooling process—it sets up a lot more once it chills down.
- If you decide to play with the sugar (maybe you want a super tart filling), always taste it right before you add the almond extract. That little bit of almond really enhances the cherry flavor, but you need to make sure the base sweetness is where you want it *before* you lock in the final flavor notes.
- If you were using frozen cherries and find you have way more liquid than expected, you might need an extra teaspoon of cornstarch mixed with a tiny bit of cold water added right at the end of the simmer. Whisk it in quickly and let it bubble for 30 seconds.
- Remember that almond extract is potent! It’s meant to amplify the cherry flavor, not take over. If you’re worried, use just half a teaspoon first, taste it, and add a few drops more if needed.
For more classic tips and context on this style of filling, check out the great folks over at In Laura’s Bakery! Their approach is really detailed and emphasizes consistency, much like we do here.
Storage and Reheating Instructions for Your From Scratch Pie Filling
Now that you have made the best cherry pie filling, you need to know how to store that liquid gold! Once your amazing batch of homemade cherry pie filling has cooled completely—and I mean *completely*—transfer it into an airtight container. I like using a mason jar; they seal up so nicely. It will happily chill out in the refrigerator for about 10 days. Honestly, it tastes just as good on day eight as it did on day one!
If you need to use it later in a pie that needs to bake, use it chilled. Sometimes if the filling is warm, it starts that thinning process again before the crust sets. If you are using it as a topping for something like waffles, just scoop out what you need and warm it gently on the stovetop or in the microwave for about 30 seconds until it’s just warm enough. Easy peasy!
Frequently Asked Questions About cherry pie filling
Can I use fresh cherries or do I have to use frozen for this recipe?
Oh, you can absolutely use either! That’s one of the best parts of making a Recipe for Cherry Pie Filling at home. If you use fresh cherries, make sure they are perfectly pitted—that’s the only tedious part! If you use frozen, don’t thaw them first. Just toss the frozen fruit right into the pot with the water. The extra moisture from the thawing process just cooks right down as you simmer it, so you don’t have to adjust anything. It’s genuinely that simple to get a great result!
How long does homemade cherry pie filling last in the fridge?
Because we are using a proper cooking method with the starch, this filling stores really well. Once it’s cooled down completely (remember, cooling sets it!), pop it into an airtight container. It stays wonderfully fresh for about 10 days. If you find yourself with tons of leftover filling after pie season, you can totally freeze it for up to three months. Just let it thaw in the fridge overnight before you plan to use it!
I don’t have cornstarch; can I skip it or use flour instead to make my cherry pie filling?
This is a critical question, and I have to be honest: please don’t skip the cornstarch or substitute it with plain flour if you want that professional, glossy, thick texture! Flour works, but it tends to make the filling look opaque, cloudy, and sometimes a little pasty rather than that beautiful, clear, Juicy Cherry Filling From Scratch we are aiming for. Cornstarch activates beautifully with the fruit liquids to give you that perfect, sliceable, bakery-quality set.
Can I make this a sweet and tart cherry filling if I only have sweet ones?
Yes, you absolutely can enhance the flavor if you need that zing! We already add lemon juice, which helps brighten things up, but if you want more serious tartness, try adding a teaspoon of unsweetened tart cherry powder—if you happen to have some hanging around from a fitness supplement stash! Or, you can simply slightly increase your lemon juice by about half a teaspoon. It mimics that sharp flavor necessary to balance all that sweet fruit and sugar. For more great ways to use fruit without commercial pectin, you might want to peek at my guide on easy preserves recipes, as the thickening science is similar!
What is the best way to ensure my cherry pie filling is truly non-runny?
It all comes down to the heat and the cool down. You need to cook the mixture until it actively boils and bubbles for a full 60 seconds after you first whisk in the starch. That boiling activates the thickening power of the cornstarch. But the main secret to a non-runny pie is patience: do not put it anywhere near a crust until it has completely cooled to room temperature. If you rush that cooling, the filling will weep moisture into your crust, and we don’t want that messy business!
Serving Suggestions for this Fruit Pie Filling Recipes
Now that you have this bright, beautiful filling cooling down, don’t let it sit for too long! While it’s certainly ready for the perfect double-crust pie, I really encourage you to experiment. This isn’t just for pie, people! It makes an absolutely divine, tangy topping for pancakes or waffles on a slow Sunday morning. You can also use this Fruit Pie Filling Recipes just like a sauce over vanilla ice cream or yogurt.
If you want a showstopper dessert that doesn’t require an oven, try layering this with fresh whipped cream and pound cake cubes for an instant trifle—you can see my favorite method for something similar in my strawberry shortcake trifle! It’s a quick way to use up your Homemade Cherry Pie Filling immediately.
PrintThe BEST Thick and Juicy Homemade Cherry Pie Filling (From Scratch)
Make superior cherry pie filling at home. This recipe creates a thick, non-runny filling that is perfect for pies, cheesecakes, and waffles. You can make this quick cherry filling from scratch in about 15 minutes.
- Prep Time: 10 min
- Cook Time: 15 min
- Total Time: 25 min
- Yield: About 4 cups 1x
- Category: Dessert Filling
- Method: Stovetop
- Cuisine: American
- Diet: Vegetarian
Ingredients
- 4 cups fresh or frozen sweet cherries, pitted
- 1 cup granulated sugar
- 1/2 cup water
- 1/4 cup cornstarch
- 1 teaspoon lemon juice
- 1/2 teaspoon almond extract
Instructions
- Combine the sugar and cornstarch in a small bowl. Mix them well to remove any lumps.
- Place the pitted cherries and water in a medium saucepan. Bring the mixture to a simmer over medium heat.
- Slowly whisk the sugar and cornstarch mixture into the simmering cherries. Continue to whisk constantly until the mixture thickens. This should take about 2 to 3 minutes.
- Once the filling is thick and bubbly, remove the saucepan from the heat.
- Stir in the lemon juice and almond extract.
- Let the homemade cherry pie filling cool completely before using it in your pie crust or dessert. Cooling allows the filling to set to its final, thick texture.
Notes
- If you use frozen cherries, do not thaw them before cooking. The extra liquid will cook off during the simmering process.
- For a tart flavor, substitute half of the sweet cherries with sour cherries.
- This filling works well as a topping for ice cream, pancakes, or as a layer in cakes.
Nutrition
- Serving Size: 1/2 cup
- Calories: 210
- Sugar: 35
- Sodium: 2
- Fat: 0
- Saturated Fat: 0
- Unsaturated Fat: 0
- Trans Fat: 0
- Carbohydrates: 54
- Fiber: 2
- Protein: 1
- Cholesterol: 0