
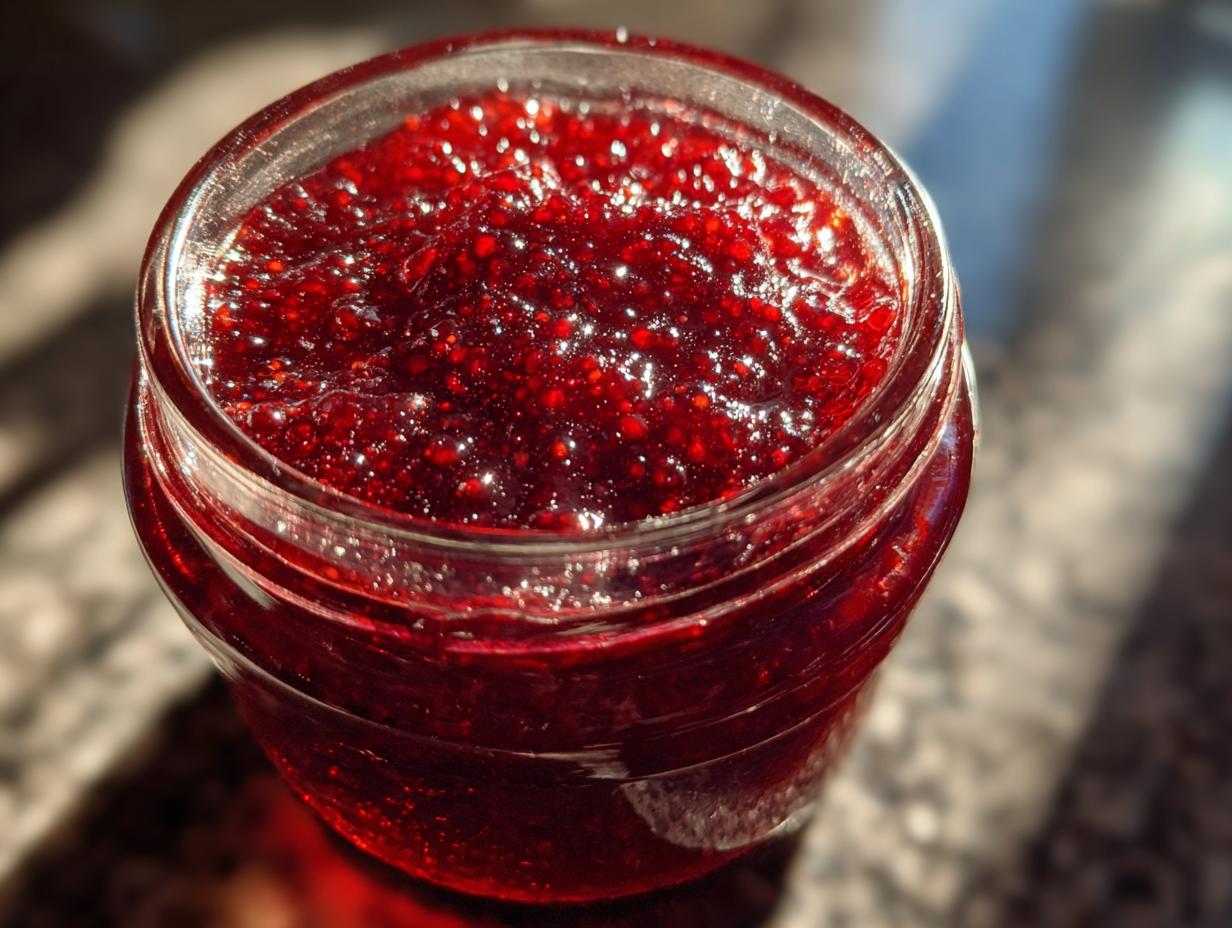
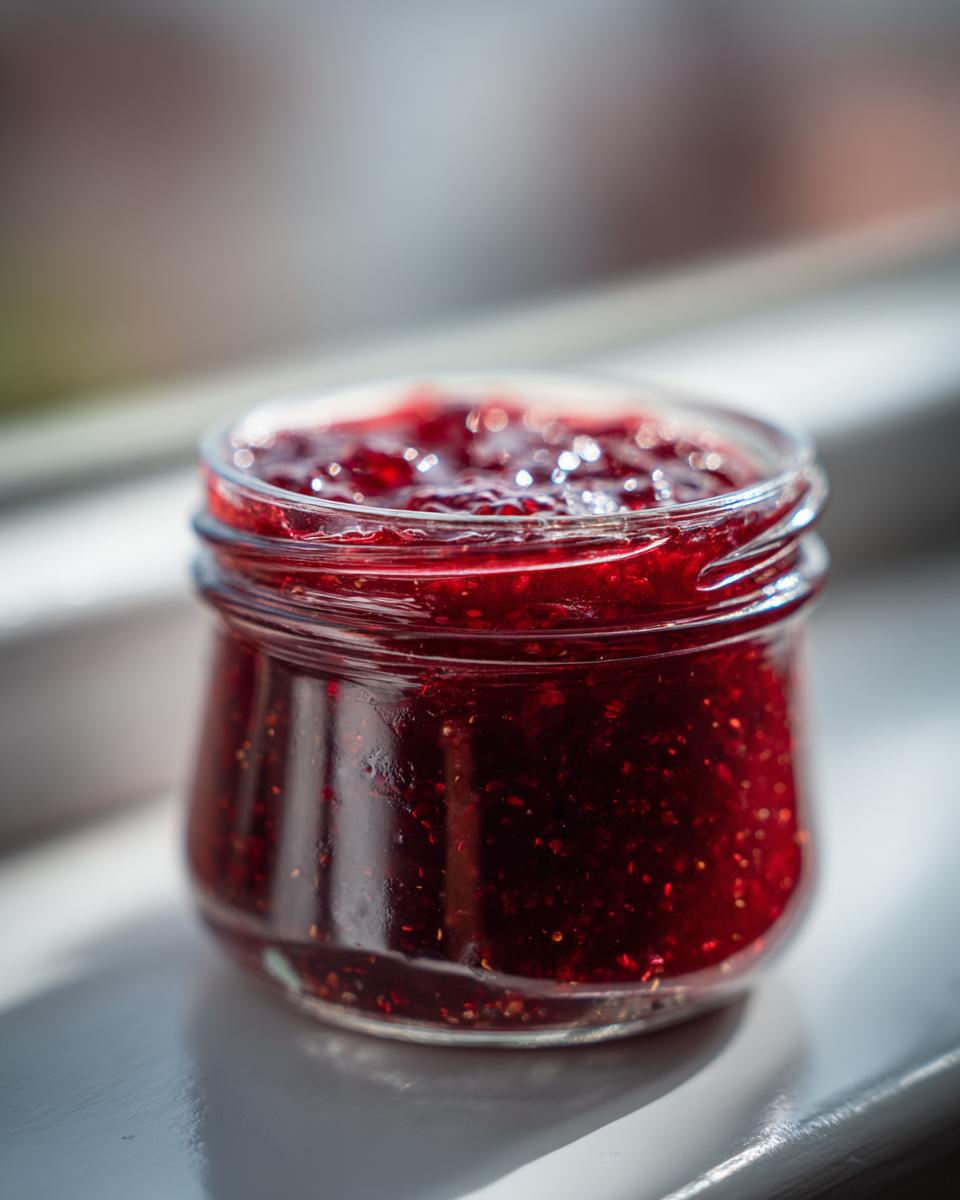
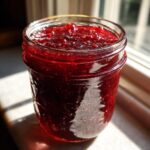
Oh, the smell of fresh summer raspberries simmering on the stove! That’s the official perfume of my childhood kitchen, and I’m so thrilled to finally share my go-to method for bottling that sunshine. If you’ve ever been intimidated by jam making, forget that worry right now! I developed this easy 3-ingredient raspberry jam to be foolproof. We’re making gorgeous, bright, flavorful homemade raspberry jam with just the berries, sugar, and lemon. That’s right—absolutely no added pectin here. Trust me when I say this method is reliable, quick, and delivers results that taste leagues beyond anything in a jar from the store. It’s flavor first, stress absolutely never.
- Why This Easy Jam Recipe is Your New Favorite Raspberry Jam
- Gathering Ingredients for Your Homemade Raspberry Jam
- How to Make Quick Raspberry Jam: Step-by-Step Instructions
- Preserving Your Easy Jam Recipe: Freezer Jam Instructions vs. Canning Raspberry Jam
- Expert Tips for the Best Raspberry Jam Every Time
- Serving Suggestions for Your Simple Fruit Preserves
- Storage & Reheating Instructions for Raspberry Jam
- Frequently Asked Questions About Raspberry Jam
- Share Your Perfect Raspberry Jam Creation
Why This Easy Jam Recipe is Your New Favorite Raspberry Jam
I promise you, once you make this, you won’t go back. This isn’t just another easy jam recipe; it’s the shortcut to incredible flavor. Think about it: three ingredients! That lets the natural taste of the raspberries shine right through. Because it’s so fast, we can keep it bright and fresh, perfect for your sourdough toast or mixing into vanilla yogurt.
- No fussing with extra ingredients—just the good stuff.
- It thickens perfectly on its own, making it true raspberry jam without pectin.
- Quick enough for a weeknight project, versatile enough for gifting.
The Magic of Natural Thickening in Raspberry Jam
So, how does this tiny ingredient list work so well? Well, raspberries naturally have some pectin in them, but they need high heat and acid to really activate it. That’s where the lemon juice comes in! It’s our natural catalyst. We boil the berries and sugar hard and fast, and the acid helps everything create those beautiful, jammy strands to thicken up our simple fruit preserves. It’s just kitchen science working in your favor!
Gathering Ingredients for Your Homemade Raspberry Jam
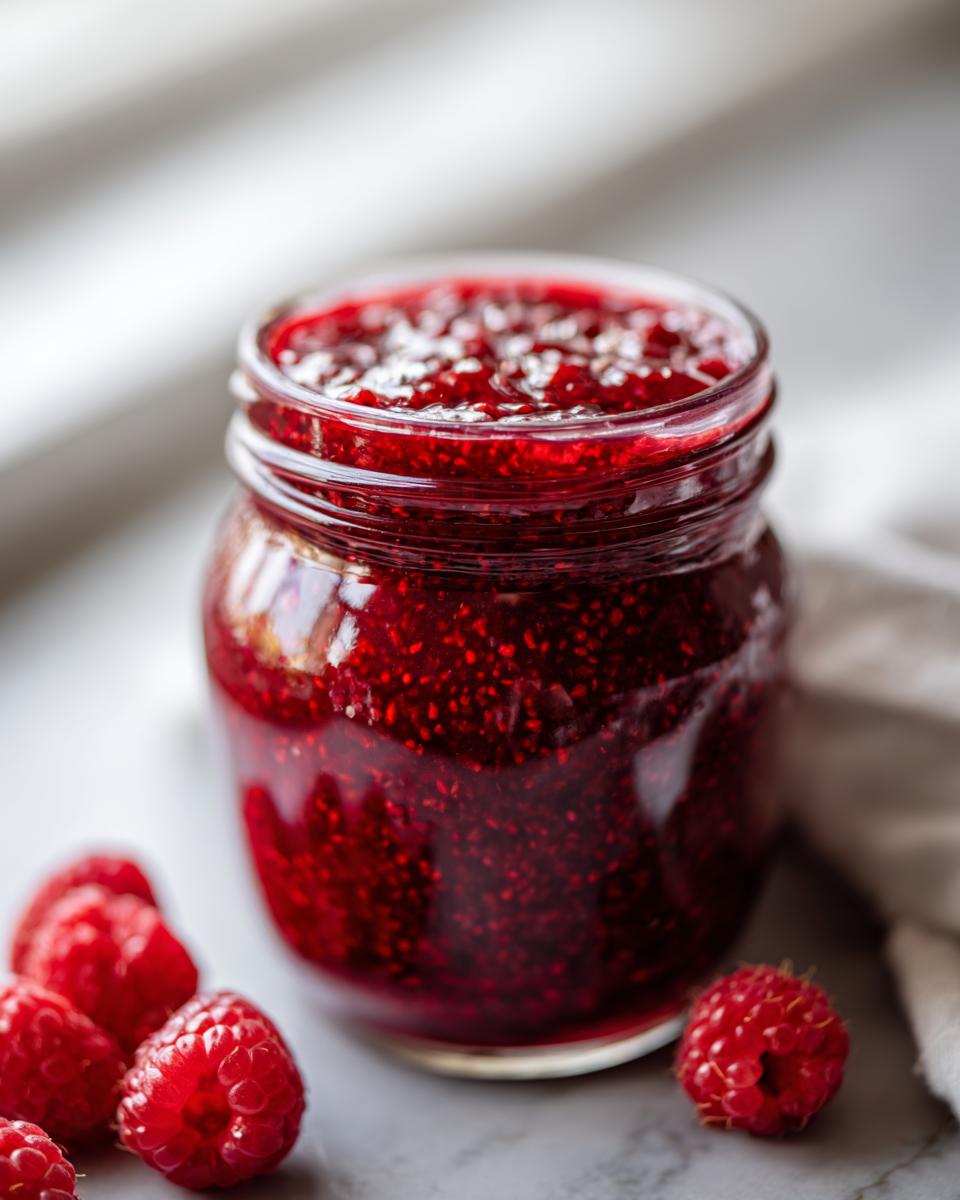
The beauty of this small batch jam recipe is how few things you need to grab. When you’re making something this simple, ingredient quality really matters, but don’t fret if you need to make tiny swaps! We are aiming for about two cups of jam total, which is the perfect amount to keep on hand in the fridge.
- 2 pints fresh or frozen raspberries (Go ahead and use frozen if berries are scarce!)
- 3 cups granulated sugar (This is crucial for sweetness and setting!)
- 1 tablespoon fresh lemon juice (Don’t skip the acid, please!)
Ingredient Notes and Substitutions for Raspberry Jam
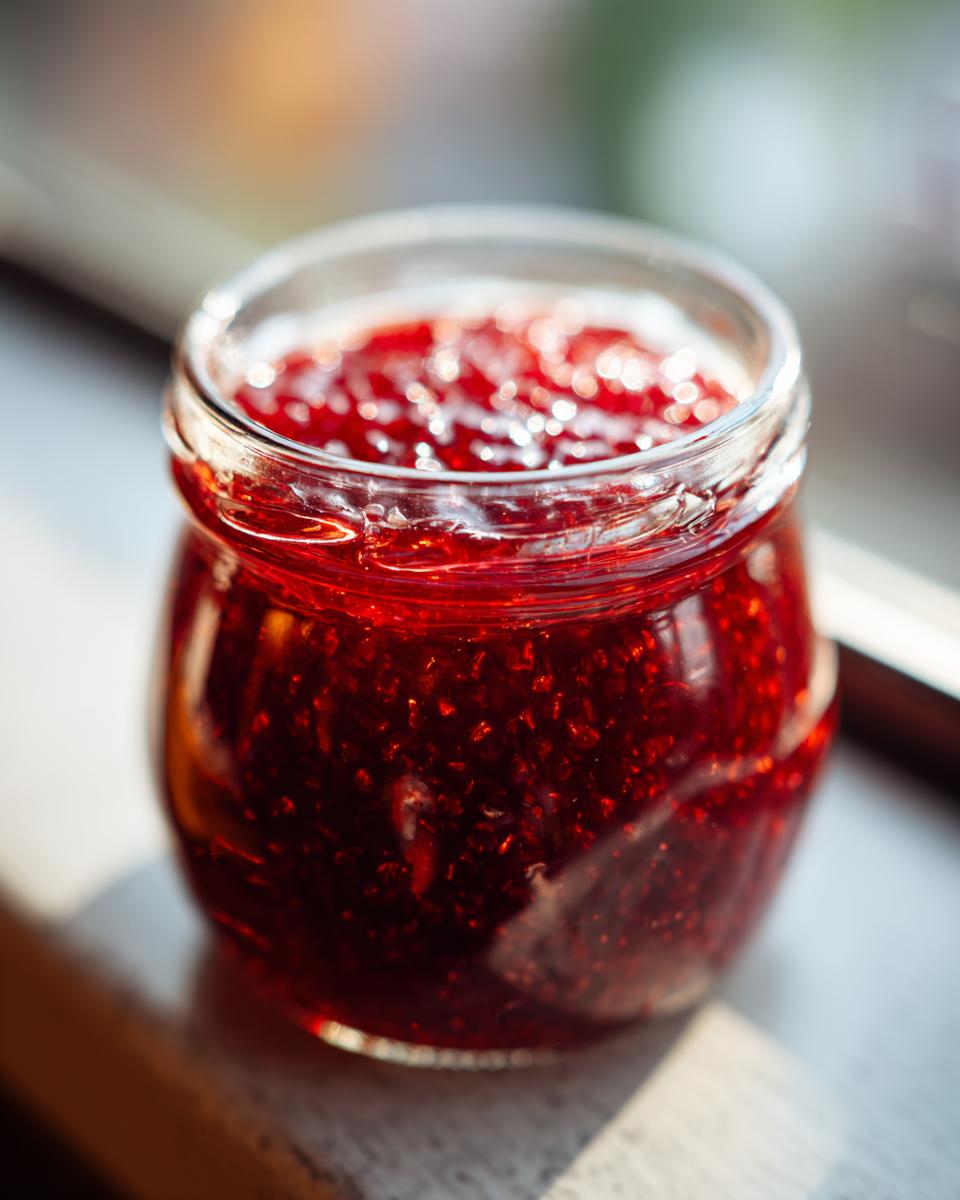
Can you use frozen berries? Absolutely, yes! Just don’t thaw them first; toss the frozen ones right into the pot with the sugar. Now, about the sugar quantity—it balances the fruit, so I really don’t recommend cutting it down significantly if you want it to set naturally without added pectin. If you decide midway through cooking that you secretly don’t want the seeds, just know you can strain the mixture later to make a beautiful, incredibly smooth seedless raspberry jam.
How to Make Quick Raspberry Jam: Step-by-Step Instructions
Okay, here’s where the magic happens! Making this quick raspberry jam is faster than ordering takeout, I promise. First things first, get your jars or containers ready—especially if you plan on canning later. Don’t wait until the jam is done boiling hot to figure out storage!
Next, combine your raspberries and sugar in a big, heavy pot. I mean big, because this mixture foams up like crazy when it boils! Let that sit for about 15 minutes. This waiting time is actually secret weapon time, as the sugar starts pulling all that beautiful liquid out of the fruit. It prevents scorching.
Now, turn the heat up to medium-high and stir, stir, stir until that sugar is totally dissolved. Once it hits a fast, rolling boil—the kind you can’t stir down—toss in your lemon juice. From this point on, it’s all about timing. We need to boil hard until that jam sets up. I know you want to check your email, but keep stirring; this is where how to make jam at home can go wrong if you step away!
If you’re linking up some amazing recipes like these easy weeknight dinners, make sure you save this link for later too, because you need to know how to test for the set! This step separates the jam-makers from the syrup-makers. You can check out how the folks over at Homebody Eats talk about testing, but here is my foolproof method:
Achieving the Perfect Set Point for Raspberry Jam
This is non-negotiable for that perfect set without pectin! Before you even turn the heat on, put a small plate in your freezer. When you think the jam is close—maybe after 10 minutes of boiling—take the pot off the heat. Spoon a tiny bit onto that ice-cold plate. Pop it back in the freezer for just one minute. Now, gently nudge the jam with your finger. If the surface wrinkles up, it’s done! Hurray! If it just slides, it needs more time. Keep boiling for two more minutes, then test again.
For those of you who like precision, I usually hit around 220°F (104°C) on the candy thermometer when it wrinkles—that’s your safety zone.
Making Seedless Raspberry Jam During Preparation
I personally love the texture of the seeds, but if you’re making this for kids or just hate that little crunch, now is the time to strain! After you’ve confirmed the jam has reached the setting point (or just before, if you want to avoid reheating), pour the whole hot thing through a fine-mesh sieve set over a clean bowl. Use a rubber spatula to press down gently and get every last drop of that thick, sweet liquid out. Don’t push too hard, or you’ll force tiny seed bits through! Once strained, return that beautiful, smooth liquid back to the hot pot and boil intensely for just one more minute to lock in the set before jarring up.
Preserving Your Easy Jam Recipe: Freezer Jam Instructions vs. Canning Raspberry Jam
Now that your homemade raspberry jam is perfectly glossy and set, the big decision comes: how are you storing this summer treasure? Since this is such a quick raspberry jam, most people, including me when I’m making a single batch, go for the easiest route first.
For instant gratification and easy sharing, refrigerator or freezer jam is the way to go. Make sure your jars are clean—no need to sterilize them completely for the fridge or freezer, but give them a good wash! Ladle the hot jam into your containers, leaving about 1/4 inch of space at the top. Seriously, wipe those rims down completely before sealing them up. This jam will last in the fridge for about three weeks, which is great for topping cheesy dips or slathering on toast. If you want it to last longer, pop sealed jars straight into the freezer—it keeps beautifully for up to six months!
If you’re planning on long-term shelf storage, you need to commit to canning raspberry jam using the water bath method. This means sterilizing your jars beforehand, filling them correctly, and then processing them in boiling water for a specific time. This is the method that makes it ‘shelf-stable.’ I find the freezer jam instructions much less intimidating, but both ways are fantastic ways to capture that berry flavor!
If you want to see some gorgeous pictures of finished jars, check out what the folks over at BoredPedia are doing with their jam preparations!
Expert Tips for the Best Raspberry Jam Every Time
Even with an easy jam recipe like this, there are a few little tricks I picked up in the test kitchen to make sure your jam sings. First, use the biggest pot you own! Seriously. When the sugar and berries mix and hit that rolling boil, they foam up like Mount Vesuvius is erupting in your kitchen. Using a pot that’s twice the size you think you need is crucial to prevent boil-overs.
Also, keep stirring once it starts boiling rapidly. If you let raspberries sit unattended on high heat, they scorch instantly on the bottom, and that burnt taste ruins a whole batch. I learned this the hard way making dinner rolls once—I got distracted, and the bottom stuck! A little bit of butter or a splash of water at the start can help prevent that initial scorching, but staying near the stove is your best defense.
If you aren’t using all the jam right away and you see a lot of foam on top when you take it off the heat, you can skim it off with a spoon. A tiny bit of butter stirred in right at the end also helps tame that foam naturally. It’s amazing how one little fat molecule can calm down an entire pot of bubbling fruit!
Serving Suggestions for Your Simple Fruit Preserves
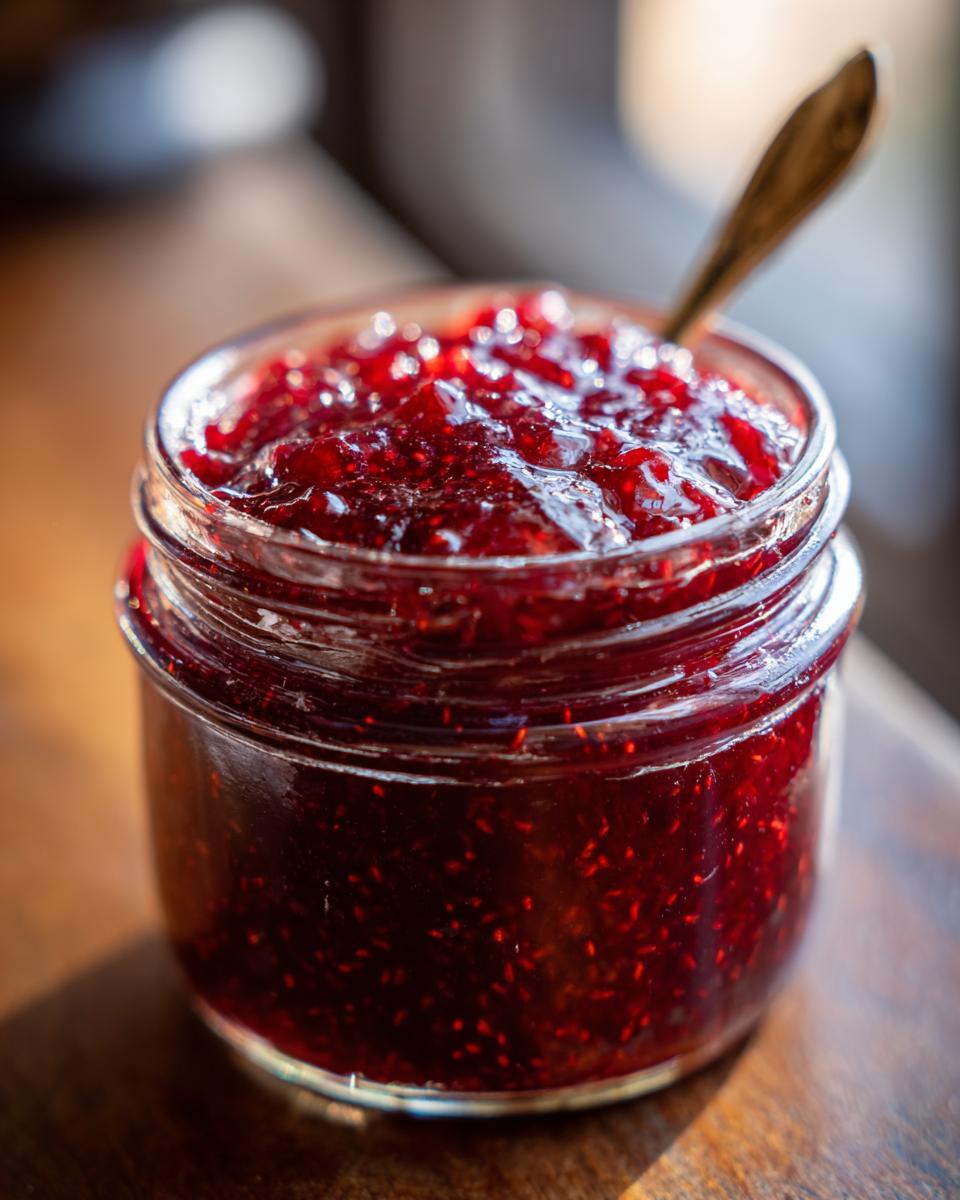
So, you’ve got this incredible batch of bright, tangy homemade raspberry jam. Now what? Honestly, eating it straight off the spoon is a perfectly acceptable option, but there are so many better ways to use up your simple fruit preserves!
My go-to, of course, is slathered thick over a warm piece of toast. But it is absolutely divine swirled into plain Greek yogurt in the morning—it makes breakfast feel like a treat. For baking, try layering it into these fudgy swirl brownies instead of using straight-up strawberries, or spoon it over cheesecake.
And trust me on this: a teaspoon of this jam mixed into a gin spritzer or a sparkling rosé makes the most refreshing summer cocktail. It’s basically liquid summer in a glass!
Storage & Reheating Instructions for Raspberry Jam
Figuring out how long your gorgeous raspberry jam lasts is key! If you keep it in clean jars in the refrigerator, the flavor is best for about three weeks. It’s so good you’ll likely finish it faster than that, but that’s the realistic timeline for refrigerator jam.
If you sealed it properly using the water bath method we discussed, those jars are good on the shelf for a whole year! Don’t even think about opening them until you’re ready for that long haul.
For the freezer jam, you’re good for up to six months. If, by some miracle, you have a jar in the fridge that’s getting a bit too stiff, just scoop out what you need and microwave that small portion for about 10 seconds. It loosens right up, but honestly, most of the time, you just spread it cold!
Frequently Asked Questions About Raspberry Jam
Can I reduce the sugar in this easy raspberry jam recipe?
Oh, I know the sugar anxiety is real, but for this specific recipe—the one where we skip the pectin—sugar is your best friend! It plays a huge role in the structure and preservation. If you cut back too much, your jam likely won’t set up properly, leaving you with sweet raspberry syrup instead of homemade raspberry jam. Try to stick close to the 3 cups listed if you want that reliable, natural set we talked about.
Why isn’t my jam setting? I followed the instructions!
If your jam is runny after you test it, don’t panic; you just need a little more cooking time! Remember, the setting point is where the pectin truly activates. Take the pot off the heat, let it cool for two minutes, and then return it to a rolling boil. Keep testing every 2 minutes until that wrinkled surface appears on the chilled plate. This is the most common hurdle when learning how to make jam at home without commercial thickeners.
Can I use other berries instead of raspberries?
Yes, you absolutely can! This 3-ingredient process is great for lots of summer fruit. Strawberries, blueberries, and blackberries all have enough natural pectin to work similarly. You might need to slightly adjust the boiling time depending on how much liquid the fruit releases, but the basic process remains the same. Just be aware that if you want a seedless raspberry jam texture, other berries might require straining too!
Is water bath canning really necessary for long-term storage?
If you want to store the jam safely in the pantry for months, yes, water bath canning is the way to go! The refrigerator and freezer methods are wonderful for immediate/short-term use, but the high heat of the water bath process gets rid of any potential nasties and creates that vacuum seal required for shelf stability. Make sure you are following proper canning guidelines if you go that route. If you skip canning, you can always freeze your extra batch!
For more reading on simple jamming techniques, check out the great tips over at I Heart Naptime.
Share Your Perfect Raspberry Jam Creation
If you followed along, you now have jars bubbling away on the counter, smelling absolutely unbelievable! That amazing, bright aroma means you’ve officially mastered homemade raspberry jam. I truly believe the best part of cooking isn’t just eating the food; it’s knowing you created something delicious and sharing that joy.
So, I hope you’ll let me know how it went! Did you use frozen berries? Did yours set up perfectly on the chilled plate test? Jump down to the comments below and tell me everything. I read every single one!
If you made a stunning batch of jam and managed to take a picture before you devoured it all (which I completely understand!), please come share it with me! You can connect with me directly through my contact page, or tag me on social media. Seeing your jars of bright red summer goodness is what keeps me inspired back here in my kitchen. Happy canning, friends!
PrintEasy 3-Ingredient Raspberry Jam (No Pectin Required)
Make this bright, flavorful homemade raspberry jam with just three simple ingredients. This recipe thickens naturally without added pectin and is perfect for beginners, whether you plan to store it in the fridge, freezer, or use water bath canning.
- Prep Time: 15 min
- Cook Time: 20 min
- Total Time: 35 min
- Yield: About 2 cups 1x
- Category: Preserves
- Method: Stovetop Cooking
- Cuisine: American
- Diet: Vegetarian
Ingredients
- 2 pints fresh or frozen raspberries
- 3 cups granulated sugar
- 1 tablespoon fresh lemon juice
Instructions
- Prepare your jars if canning, or gather your storage containers for refrigerator or freezer jam.
- Combine the raspberries and sugar in a large, heavy-bottomed saucepan. Let this mixture sit for 15 minutes to allow the sugar to draw out the juices from the berries.
- Place the saucepan over medium-high heat. Stir constantly until the sugar dissolves completely and the mixture begins to boil rapidly.
- Once boiling, add the lemon juice. Continue to boil, stirring frequently to prevent scorching, until the jam reaches the setting point. This usually takes about 10 to 15 minutes of active boiling.
- Test for the setting point: Remove the pan from the heat. Spoon a small amount of jam onto a chilled plate. Return the plate to the freezer for one minute. Push the jam with your finger; if it wrinkles, it is ready. If it is still runny, return the jam to the heat and boil for another 2 to 3 minutes before testing again.
- If you prefer seedless raspberry jam, strain the mixture through a fine-mesh sieve at this stage, pressing gently on the solids to extract all the liquid. Return the strained liquid to the pot and re-boil for 1 minute if necessary to reach the setting point again.
- For refrigerator or freezer jam, carefully ladle the hot jam into clean jars, leaving 1/4 inch headspace. Wipe the rims clean and let the jars cool slightly before sealing and storing in the refrigerator for up to 3 weeks or the freezer for up to 6 months.
- For water bath canning, process the filled, sealed jars in a boiling water bath for 10 minutes, adjusting for altitude. Remove jars and let them cool completely on a towel to set. Check seals after 24 hours.
Notes
- This recipe makes a small batch of jam, ideal for keeping one jar in the fridge and one in the freezer.
- Use this simple fruit preserves recipe as a topping for toast, yogurt, or ice cream.
- For a seedless raspberry jam, strain the cooked mixture before jarring.
Nutrition
- Serving Size: 2 tablespoons
- Calories: 105
- Sugar: 27g
- Sodium: 1mg
- Fat: 0g
- Saturated Fat: 0g
- Unsaturated Fat: 0g
- Trans Fat: 0g
- Carbohydrates: 27g
- Fiber: 1g
- Protein: 0g
- Cholesterol: 0mg