
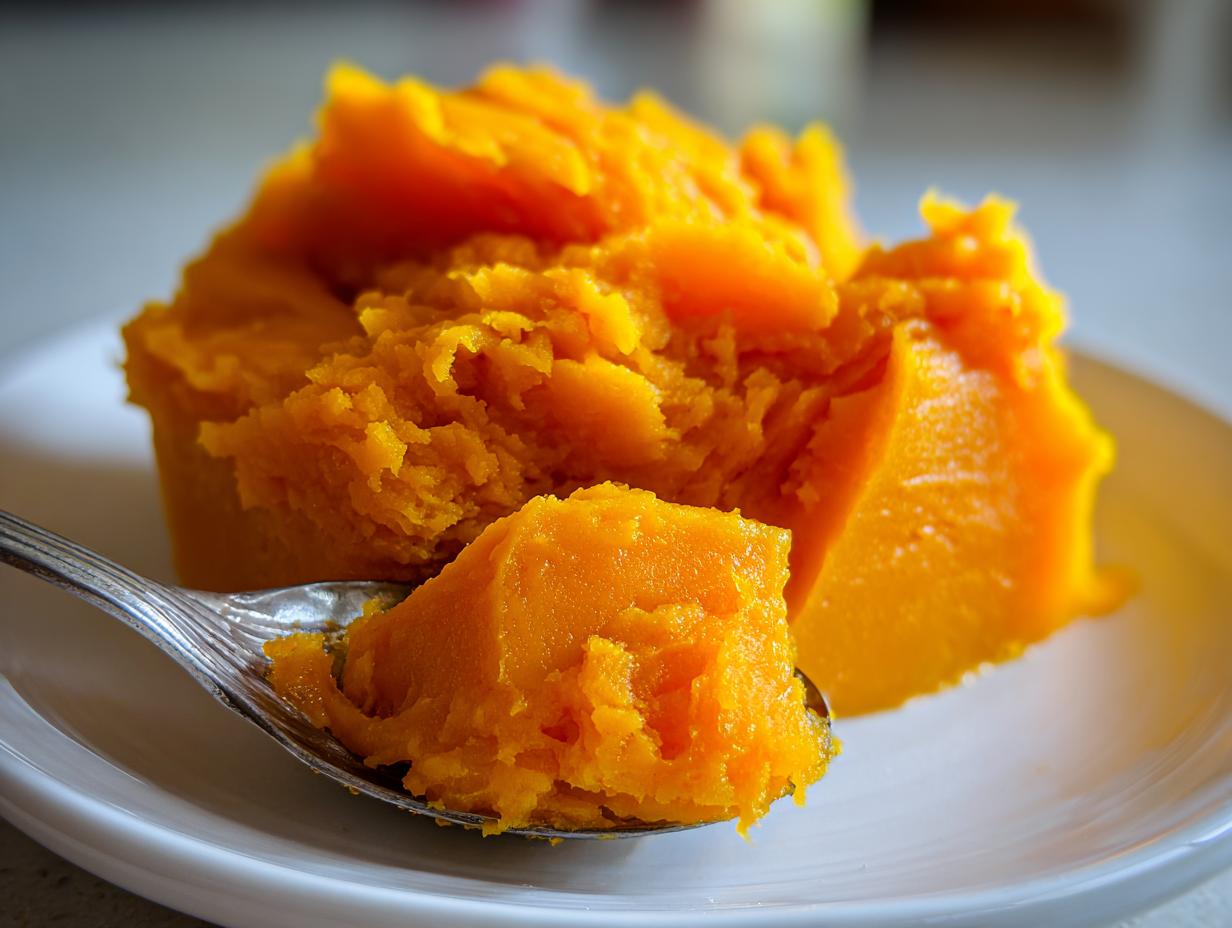
Oh, friends, it’s that glorious time of year when the air gets crisp and everything just smells like cinnamon and warm spices! If you’re anything like me—and I know you are if you’re here—the first thing you want to do is start baking. But you can’t have great fall baking without amazing pumpkin puree, and I’m not talking about the watery stuff! My whole philosophy, stemming right back to my Midwestern kitchen days, is that simple ingredients, handled right, are everything. We are mastering the foolproof technique today to create a thick, velvety puree that will make your next pie or bread absolutely sing.
- Why This Roasting Method Creates the Best Thick Pumpkin Puree
- Gathering Ingredients for Your One Ingredient Pumpkin Puree
- The Easy Pumpkin Puree Tutorial: Roasting Instructions
- How to Make Pumpkin Puree Without Watery Results: The Draining Step
- Pumpkin Puree Uses: Beyond the Pie Crust
- Storing Homemade Pumpkin Puree for Future Fall Baking Essentials
- Comparing Canned vs Homemade Pumpkin Puree
- Frequently Asked Questions About Making Pumpkin Puree
- Nutritional Snapshot of One Ingredient Pumpkin Puree
Why This Roasting Method Creates the Best Thick Pumpkin Puree
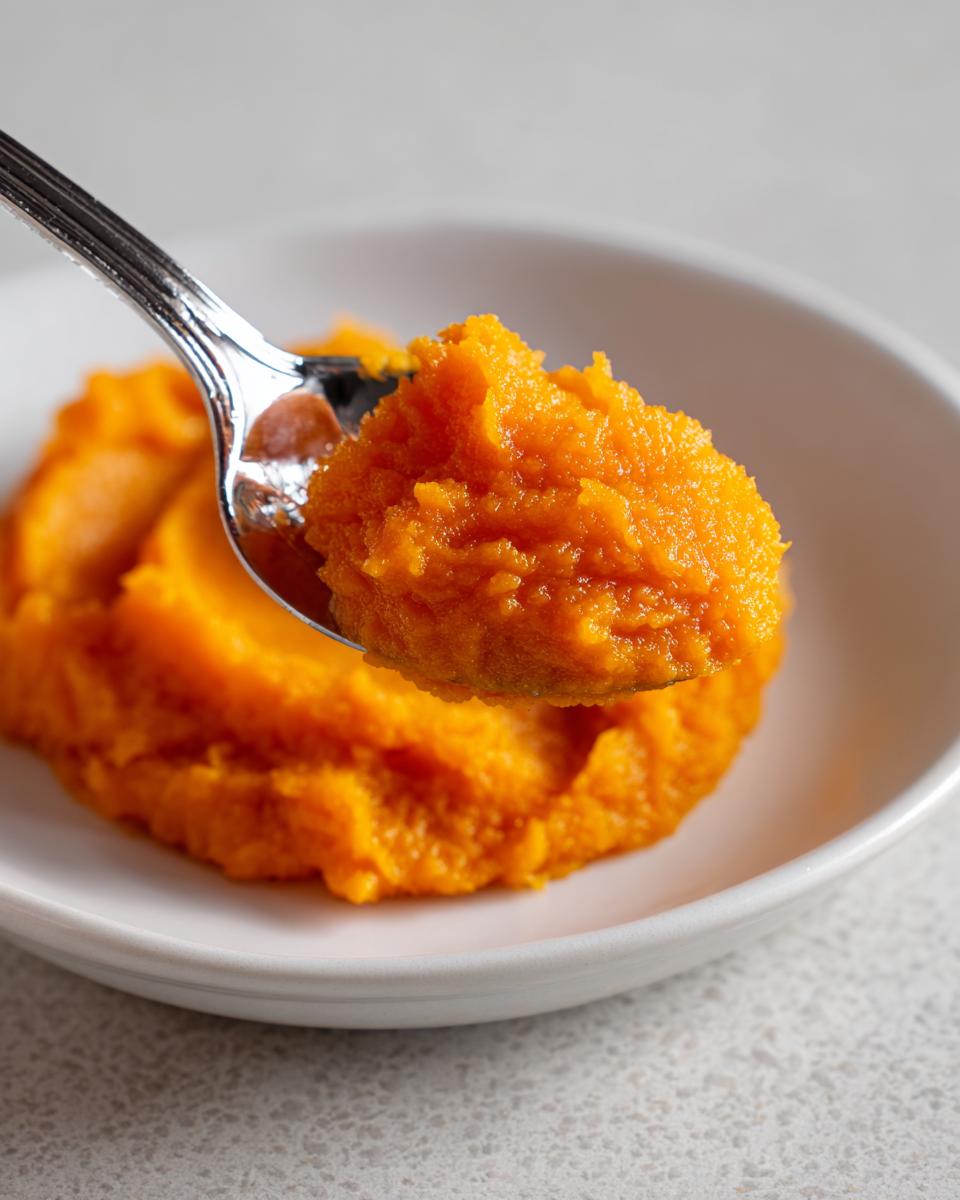
If you’ve ever ended up with a runny soup or a soggy pumpkin pie crust, I bet you used boiled or steamed pumpkin. Don’t get me wrong, that method is faster, but oh my goodness, it just steams all that wonderful flavor and keeps tons of water locked in! We are aiming for concentrated flavor and bakery-ready texture here. Roasting is the secret sauce. As the pumpkin halves sit cut-side down in the heat, that moisture naturally evaporates, which is exactly what develops that deep, sweet flavor. That’s how we guarantee you get the best Thick Pumpkin Puree for Baking—it won’t dilute your batter!
This concentration is non-negotiable if you want your bread to set up nicely or your famous pumpkin cheesecake to be perfectly creamy without turning soupy. A higher concentration means more flavor per spoonful of homemade pumpkin puree!
Selecting the Best Sugar Pumpkins for Puree
You absolutely must use the right pumpkin! Skip those giant, bumpy carving jack-o’-lantern types; they are watery and bland. We want sugar pumpkins or pie pumpkins—they are smaller but pack way more flavor. These little gems have denser flesh, which is the foundation for perfect pumpkin puree. Trust me, the better the raw ingredient, the better your end result will be!
Gathering Ingredients for Your One Ingredient Pumpkin Puree
This is where the simplicity really shines, which I just love! Since we are making this base from scratch, the ingredient list is wonderfully short. You honestly only need one main item: a nice, medium-sized sugar pumpkin. For reference, I always look for one between 3 to 4 pounds because that usually gives me a perfect 2 cups of finished pumpkin puree. Seriously, that’s it! No spices, no water required upfront—just pure pumpkin magic waiting to happen.
The Easy Pumpkin Puree Tutorial: Roasting Instructions
Alright, let’s transform that hard pumpkin into velvety goodness! For this roasting method, we crank the oven up to 400°F (200°C) and get a baking sheet ready with foil or parchment—honestly, cleanup is so much nicer that way. Wash your pumpkin well, then be careful as you slice it right in half from top to bottom. This part takes a little muscle. Scoop out all those stringy guts and seeds—you can save the seeds for roasting later if you want a crunchy snack! Place your halves cut-side down on the sheet.
Now, the waiting game begins, but it’s worth it! I usually let mine roast for about 45 to 60 minutes. You’ll know it’s done when you can easily poke the skin with a fork. Be sure to let it cool down before you attempt to handle it, because trust me, those cut surfaces hold heat! Once it’s cool enough, just scoop that beautiful, soft flesh away from the skin. Discard the skin, and then we move on to the magic of turning it into pumpkin puree.
Blending for Creamy Pumpkin Puree
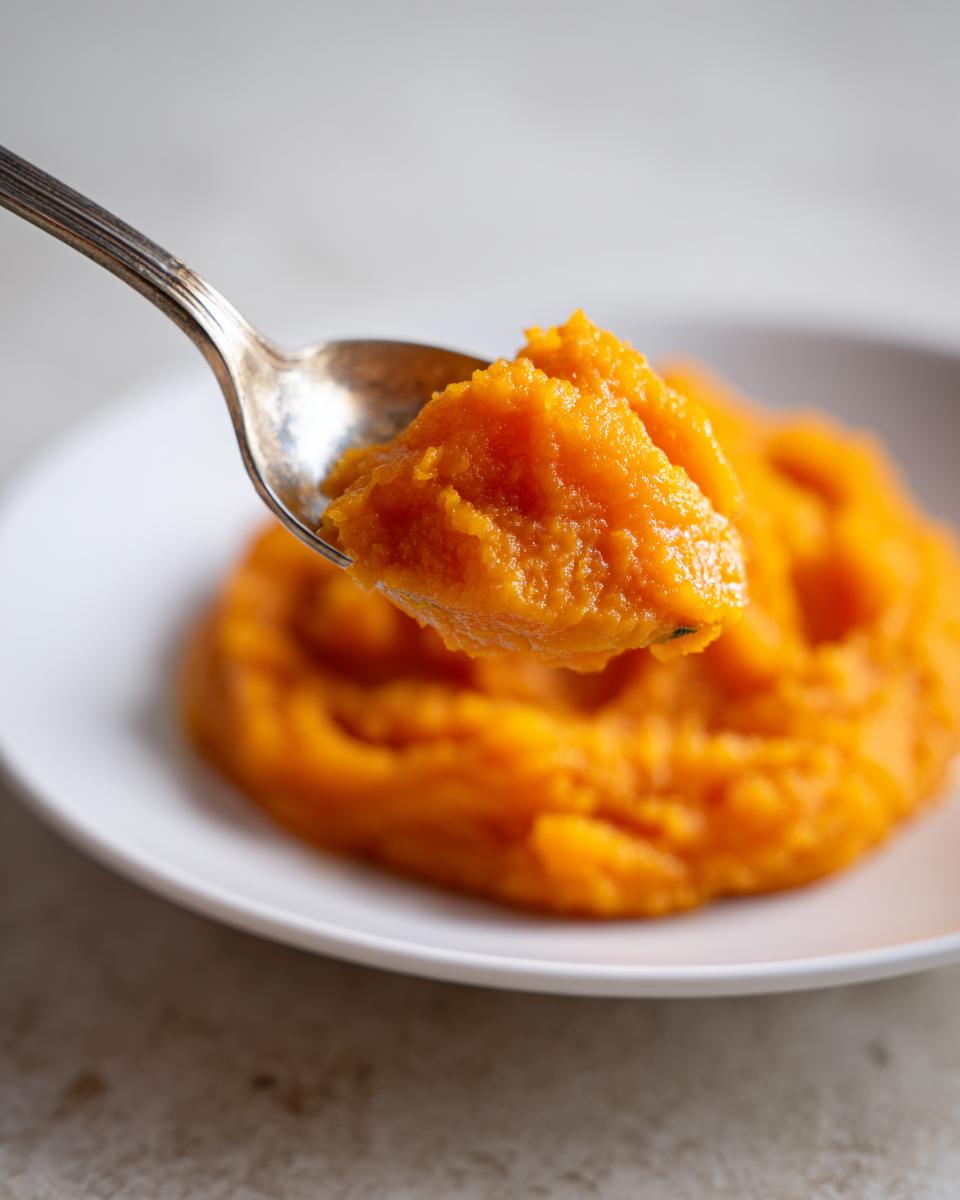
This is where the transformation happens! Gather up all that roasted flesh and toss it into your food processor or a high-powered blender. Pulse it until it looks completely smooth and gorgeous. If you were just making soup, we’d be done right here—hello, Blended Pumpkin Puree! But because we are aiming for that bakery-ready thickness, keep reading, because the next step is the most important one to avoid watery results.
How to Make Pumpkin Puree Without Watery Results: The Draining Step
Okay, confession time: this is the step I used to skip when I was in a rush, and then I’d wonder why my pumpkin bread felt dense and wet! If you want that perfect, sturdy texture for your pies, muffins, and bread—that glorious Thick Pumpkin Puree for Baking we keep talking about—you cannot skip draining!
Remember, even though roasting evaporates a lot of water, there is still plenty left in that beautifully blended pulp. So here’s what you do: grab a fine-mesh sieve—the finer the better—and set it over a bowl. Line that sieve with a piece of cheesecloth, or honestly, just use a few layers of strong paper towels if cheesecloth isn’t in your drawer. Spoon your freshly blended pumpkin puree right into the cloth.
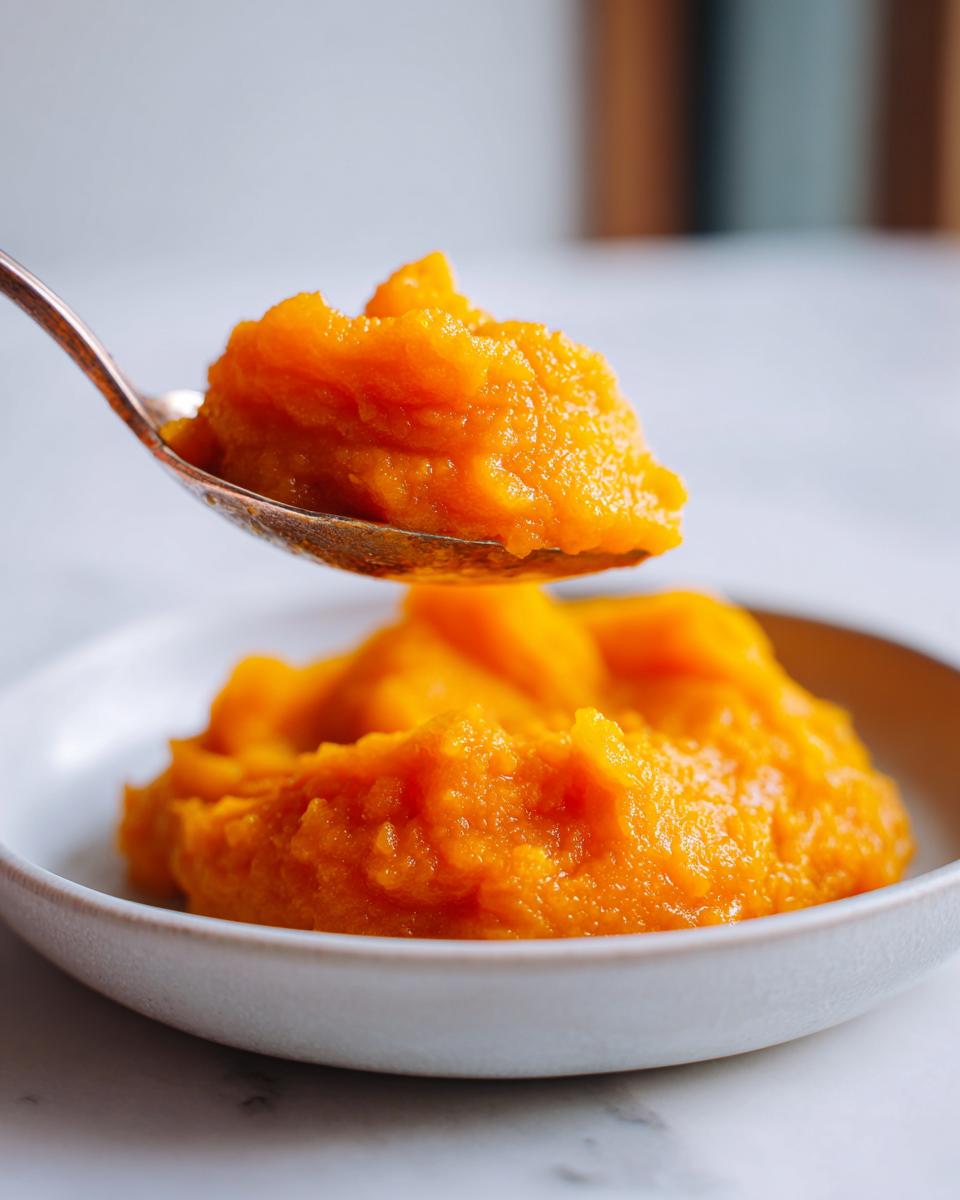
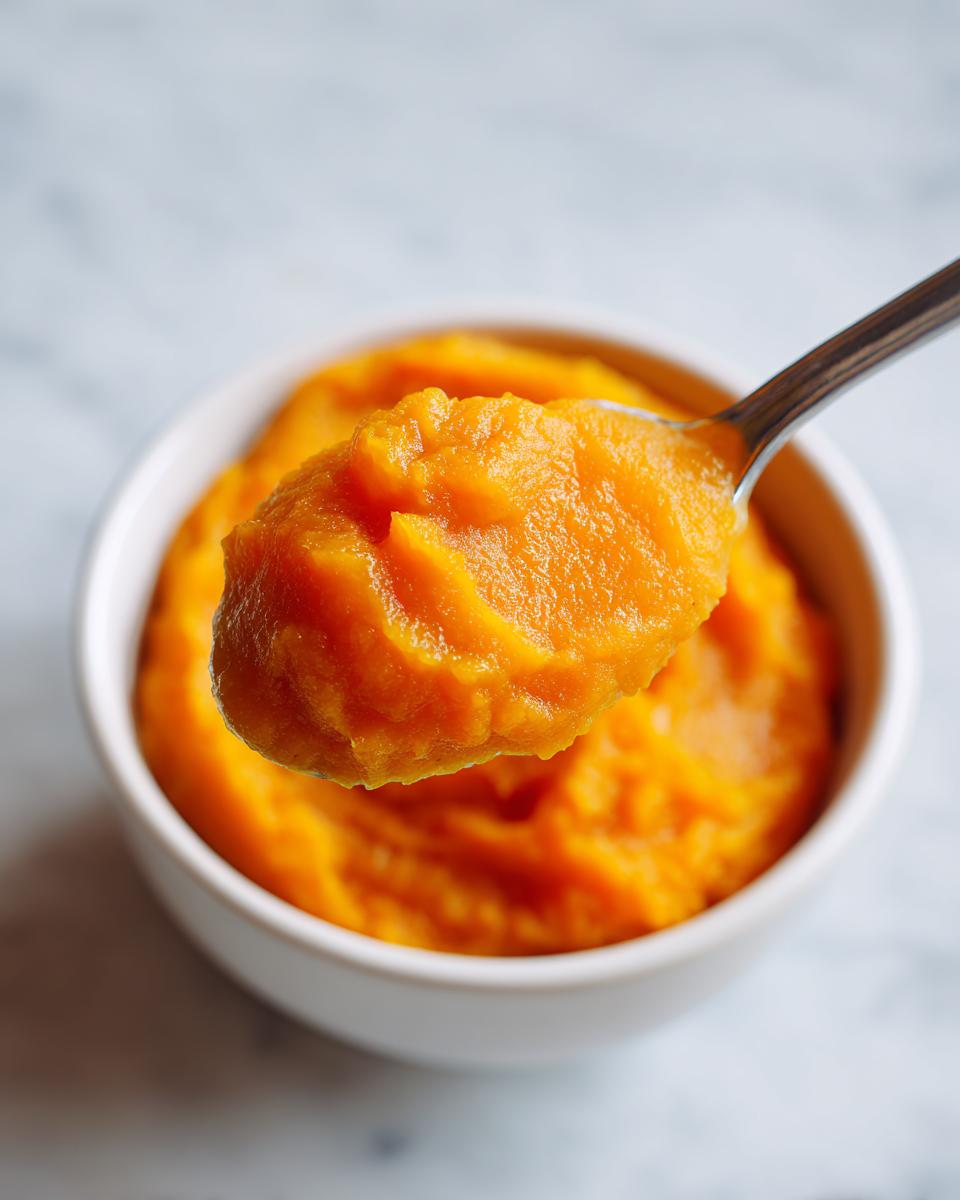
Now, patience is key here. Let it sit on the counter for at least an hour or two, just watching the excess liquid drip out. If you are meal-prepping for the whole season, put the whole setup in the fridge overnight—that will really pull out the moisture. You’ll be shocked how much liquid separates! Once it looks right—thick enough that it barely plops off a spoon—it’s ready. This final step guarantees you get the best pure base for all your autumn creations!
Pumpkin Puree Uses: Beyond the Pie Crust
So, you went to all the effort of roasting and draining that gorgeous pumpkin puree—what now? Well, you certainly use it for pie, of course! But this creamy, flavorful base deserves so much more attention than just one holiday dessert. Think about how much richer your upcoming muffins or quick breads will be when you use fresh ingredients versus the canned stuff.
But don’t stop at sweet things! This homemade base is incredible in savory dishes. I love stirring a scoop into my creamy soups, or even thickening up a cheese sauce for pasta. And if you have little ones, this smooth version makes fantastic, nutritious pumpkin puree for baby food—just make sure it’s cooled down first, naturally! For a fun fall treat, try using some in your morning latte foam. Honestly, once you master making this ingredient, you’ll be finding pumpkin puree uses everywhere!
Storing Homemade Pumpkin Puree for Future Fall Baking Essentials
Okay, you’ve nailed the roasting, you’ve drained it perfectly, and now you have this amazing base! My goal, especially in the fall, is to meal prep ingredients so I don’t have to roast a pumpkin every time I want one batch of bread. So, let’s talk about Storing Homemade Pumpkin Puree so you can enjoy this flavor all season long.
If you plan on using it within a week, just keep it sealed up tight in an airtight container in the refrigerator. It stays fresh and ready to go! But if you want to capture that fresh-roasted flavor for months, freezing is absolutely the way to go. I always make a big batch specifically for freezing.
Here’s my little trick to make future baking super easy: treat your finished product like canned pumpkin puree. Measure it out into 1-cup or 1.5-cup portions before storing. I use good quality freezer bags, lay them flat in the freezer until solid, and then file them away. That way, when a recipe just calls for “one cup of pumpkin,” you just thaw what you need, and you’re instantly ready to go. It freezes beautifully and keeps that fresh flavor locked in for up to six months!
Comparing Canned vs Homemade Pumpkin Puree
I know sometimes grabbing that can is just easier, and I get it—I’ve been there on a busy weeknight! But when you compare canned to the pumpkin puree we just made, the difference is massive. The biggest win for homemade is flavor depth. Roasting deepens those sugars, giving you a taste closer to actual fall sunshine, whereas canned can sometimes taste a bit flat.
More importantly, we have complete control over what goes in! Canned varieties often sneak in spices or even sugar, which really messes up baking recipes where you need exact proportions. Plus, as we learned, our roasting method results in a much thicker consistency than what you typically find in a metal tin. If you want that perfect, rich texture that makes your recipes shine, making your own pumpkin puree from scratch is the only way to guarantee amazing results every time.
Frequently Asked Questions About Making Pumpkin Puree
You know, once you get into the rhythm of making this ingredient base, questions pop up! That’s totally normal when you’re learning a new skill, even one as simple as this Simple Pumpkin Base Recipe. Here are a few things I always hear or wonder about when I’m working with my fresh puree.
Can I use butternut squash instead of pumpkin puree?
Yes, you absolutely can! Butternut squash is a fantastic substitute, especially sometimes when store-bought sugar pumpkins are hard to find. Flavor-wise, butternut squash is usually a little sweeter and has a slightly different, sometimes silkier texture. If you’re using it in a savory dish like soup or a sauce, no one will notice the difference! For baking, especially pies, you might want to lean toward that draining step a bit longer, just to ensure that resulting creamy pumpkin puree stays thick enough.
How long does this homemade pumpkin puree last in the fridge?
This is where homemade shines a bit less than canning, but for active cooking weeks, it’s perfect. Because we haven’t added any preservatives, you should aim to use your freshly made puree within about one week if you’re just storing it in an airtight container in the refrigerator. If you know you won’t use it all by then, please, please move it to the freezer! That’s why I always recommend prepping it in 1-cup portions right away.
What is the difference between puree and pumpkin pie filling?
This is an important one, especially for new bakers! What we made here is the pure, 100% pumpkin ingredient—the canvas, if you will. It’s just the cooked vegetable, blended smooth. Pumpkin pie filling, on the other hand, is what you buy in a can labeled ‘Pumpkin Pie Mix.’ That mix already has your sugar, salt, ginger, cinnamon, and nutmeg all added in. If you use the filling in a recipe that calls for plain puree, your final product will be way too sweet and probably have an odd texture because of the added stabilizers!
Nutritional Snapshot of One Ingredient Pumpkin Puree
It’s good practice, especially when you are making things from scratch, to have a general idea of what you’re putting into your body! Since our rich, velvety base uses only one ingredient—fresh roasted pumpkin—we get all the benefits without any of the mystery additives you find sometimes in the canned options.
Keep in mind these figures are estimates based on that typical 2-cup yield we talked about earlier from a medium sugar pumpkin. This information is based on a serving size of 1 cup.
- Calories: Around 100 (Isn’t that great for something so filling?)
- Fat: Less than 1 gram—it’s practically fat-free!
- Protein: About 2 grams
- Carbohydrates: Around 24 grams
- Fiber: A wonderful 7 grams! That’s why this ingredient is so awesome for keeping you full and happy.
I always feel so much better knowing exactly where my food energy is coming from. Making the base yourself, like we did here with the creamy high-protein base we use in other recipes, just gives you that extra layer of confidence in your overnight oats or your next batch of muffins. Enjoy knowing you’re eating pure fall goodness!
PrintThick Homemade Pumpkin Puree from Fresh Pumpkin (Roasting Method)
Learn how to make creamy, thick homemade pumpkin puree from scratch using fresh sugar pumpkins. Roasting the pumpkin concentrates the flavor and prevents watery results, making this the perfect base for your fall pies, bread, and soups.
- Prep Time: 15 min
- Cook Time: 60 min
- Total Time: 75 min
- Yield: 2 cups 1x
- Category: Baking Base
- Method: Roasting
- Cuisine: American
- Diet: Vegan
Ingredients
- 1 medium sugar pumpkin (about 3–4 lbs)
- Water (for steaming/boiling, if not roasting)
Instructions
- Preheat your oven to 400°F (200°C). Line a baking sheet with parchment paper or foil.
- Wash the pumpkin thoroughly. Carefully cut the pumpkin in half from stem to base. Scoop out the seeds and stringy pulp using a spoon. Discard the seeds or reserve them for roasting separately.
- Place the pumpkin halves cut-side down on the prepared baking sheet.
- Roast for 45 to 60 minutes, or until the skin is easily pierced with a fork and the flesh is very tender. Roasting concentrates the flavor and reduces moisture, which is key for thick puree.
- Remove the pumpkin from the oven and let it cool until you can safely handle it.
- Scoop the soft flesh away from the skin. Discard the skin.
- Place the roasted pumpkin flesh into a food processor or high-powered blender. Process until completely smooth and creamy.
- If the puree seems too wet for baking purposes (like pie), you need to remove excess water. Place a fine-mesh sieve over a bowl and line it with cheesecloth or a few layers of paper towels. Spoon the puree into the cloth. Let it drain for 1 to 3 hours at room temperature, or in the refrigerator overnight, until you reach your desired thick consistency.
- Measure the finished puree. This recipe yields about 1.5 to 2 cups of thick pumpkin puree.
Notes
- Use sugar pumpkins or pie pumpkins for the best flavor and texture; avoid large carving pumpkins.
- For storage, transfer the finished puree to an airtight container. You can store it in the refrigerator for up to one week.
- To freeze, measure the puree into 1-cup or 1.5-cup portions (the standard size for canned pumpkin) and place them in freezer-safe bags or containers. Freeze for up to 6 months.
- If you must boil or steam the pumpkin, drain it very well afterward, but roasting is the preferred method for achieving bakery-thick results.
Nutrition
- Serving Size: 1 cup
- Calories: 100
- Sugar: 8
- Sodium: 10
- Fat: 0.5
- Saturated Fat: 0
- Unsaturated Fat: 0.3
- Trans Fat: 0
- Carbohydrates: 24
- Fiber: 7
- Protein: 2
- Cholesterol: 0