
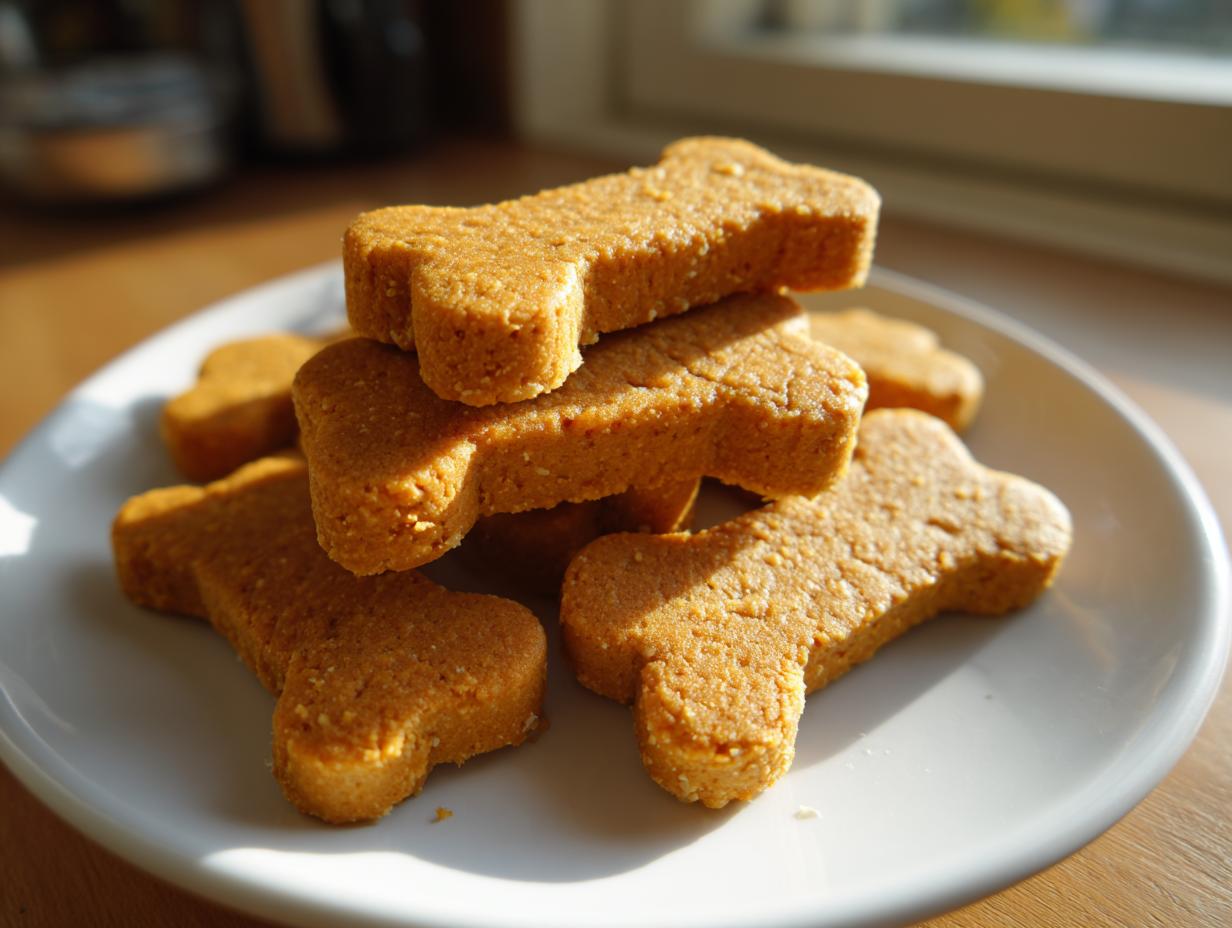
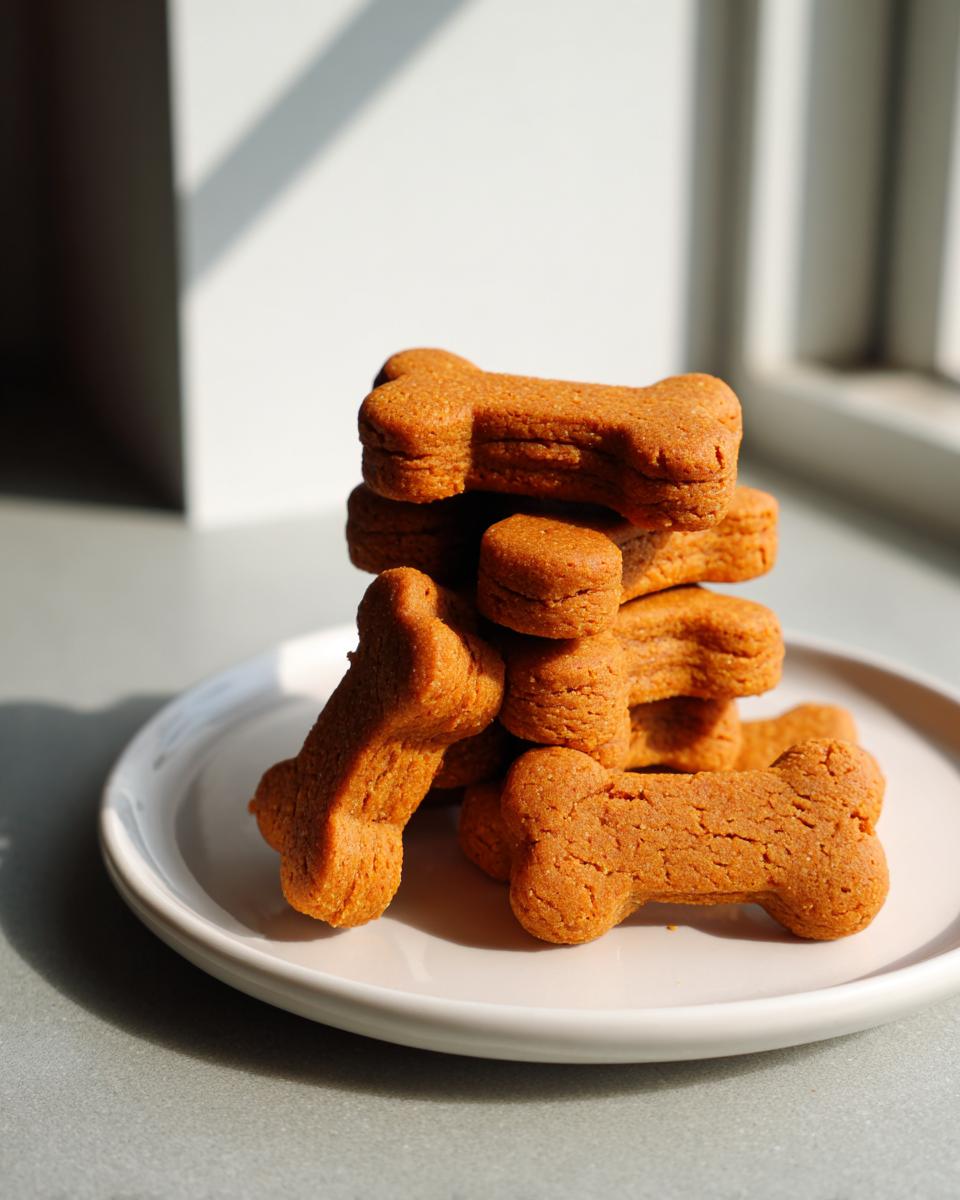
When you look at that sweet, hopeful face waiting by the counter, you want to give them the absolute best, right? Cooking for the people we love should be joy, not stress, and that absolutely extends to our furry family members! I believe in keeping things delightfully simple, and that’s why I’m sharing my foolproof recipe for the best homemade dog cookies: Peanut Butter and Pumpkin. Forget complicated science; these simple, reliable dog cookies use accessible ingredients you probably have right now. Trust me, these are the healthy dog cookie recipes that will have your pup doing every trick in the book immediately!
- Why These Peanut Butter Pumpkin dog cookies Are the Best Homemade Dog Treats
- Gathering Ingredients for Your dog cookies
- Step-by-Step Instructions for Perfect dog cookies
- Tips for Success When Making dog cookies
- Storage and Shelf Life for Your Batch of dog cookies
- Variations on Peanut Butter dog treats
- Frequently Asked Questions About dog cookies
- Estimated Nutritional Data for These dog cookies
- Share Your Homemade Dog Treats Creations
Why These Peanut Butter Pumpkin dog cookies Are the Best Homemade Dog Treats
Honestly, when I develop recipes—even for my furry friends—they have to pass my reliability test. These dog cookies aren’t just stuff I threw together; they are consistently a huge hit, and, more importantly, they are safe. We’re skipping all the junk, which is what makes these some of the best healthy dog cookie recipes out there.
- They are ridiculously simple; you mix, roll, and bake. No fancy equipment needed!
- They use whole food ingredients, so you know exactly what your best friend is eating.
- Dogs absolutely love the combination of pumpkin and peanut butter—it’s like magic for their taste buds!
Dog Safe Baking: Ingredients We Trust
This is my biggest deal-breaker: safety first, always. You need to be hyper-aware of what you’re mixing into these natural dog biscuits. That means 100% natural peanut butter only. I can’t stress this enough: check that label for xylitol. That sugar substitute is incredibly dangerous for dogs, so watch out! This commitment to careful selection is the core of good dog safe baking.
Gathering Ingredients for Your dog cookies
Okay, before we even think about turning on the oven, let’s talk ingredients. Since these are going straight to your pup, we need to make sure everything in the bowl is top-notch. You’ll notice that all components here qualify as human grade dog snacks—meaning they are perfectly fine food items, but we’re keeping the salt and sugar way down, just for dogs! You absolutely must use natural peanut butter and double-check that label for xylitol.
Ingredient Notes and Substitutions for dog cookies
The list is short, which I love, but if you have a pup with specific needs, we can tweak it easily. If you need grain free dog cookies, just swap out the regular flour for oat flour—it works like a charm! Also, if you find yourself completely out of pumpkin puree, don’t panic. A cup of plain, cooked, and mashed sweet potato works amazingly well in place of the pumpkin. That’s the beauty of simple, reliable recipes!
Step-by-Step Instructions for Perfect dog cookies
Alright, let’s get these wonderful dog cookies mixed up! This is where the fun really starts, and I promise you, it’s easier than making yourself a cup of coffee. First things first: get that oven preheated to 350°F (175°C) and lay down some parchment paper on your baking sheet. This keeps everything from sticking, which makes cleanup a breeze!
Mixing the Dough for Your homemade dog treats
We start by combining the wet stuff in one bowl—that creamy peanut butter and the lovely pumpkin puree. Whisk that until it’s all happy together, then drop in the egg. Once that’s incorporated, slowly start adding your five dry ingredients. You want a really stiff dough here. If it feels too wet or sticky, don’t panic! Just stir in an extra tablespoon of flour until you can handle it without making a huge mess. Remember, if you need help fine-tuning consistency, check out my tips for getting perfect peanut butter cookies—the principles are similar!
Cutting and Baking These natural dog biscuits
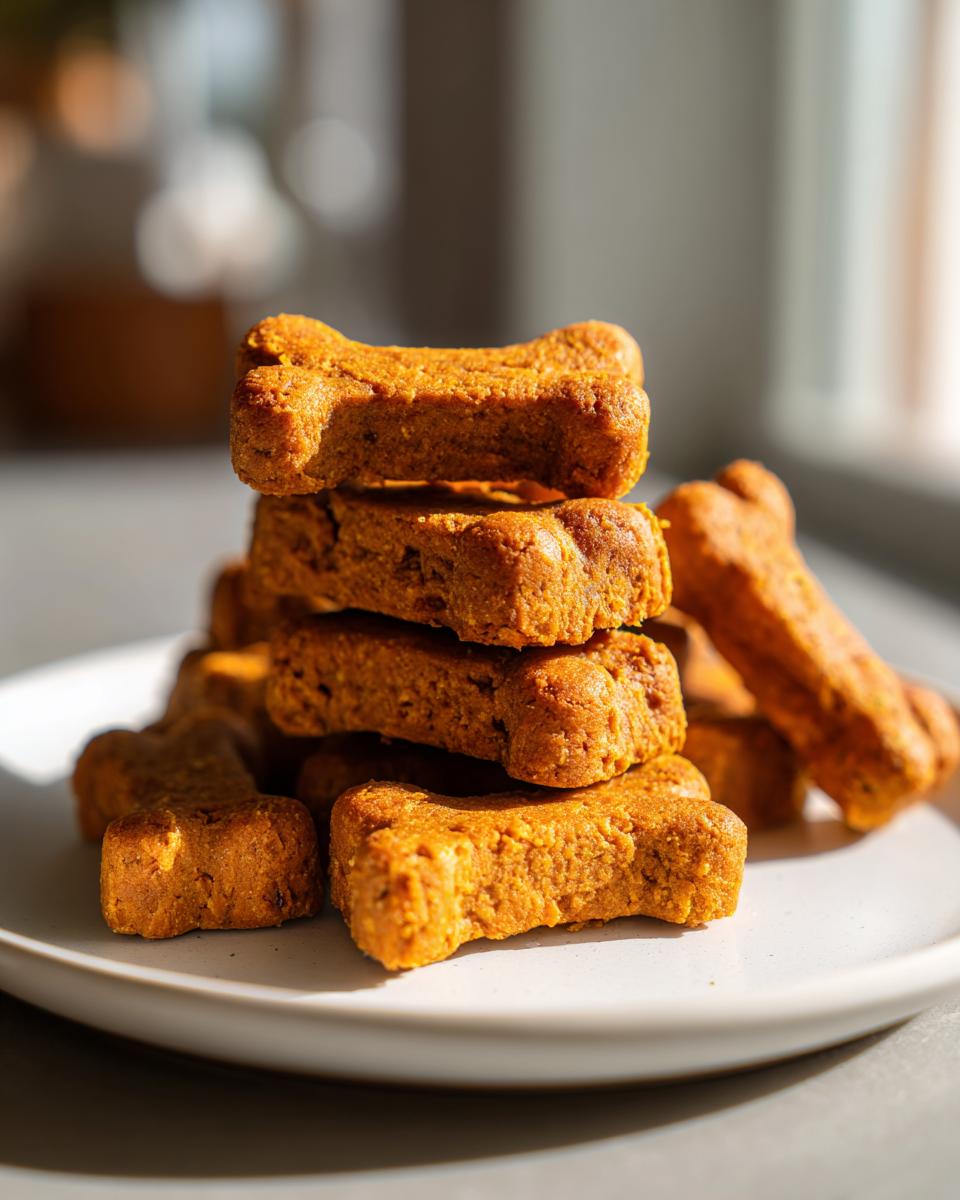
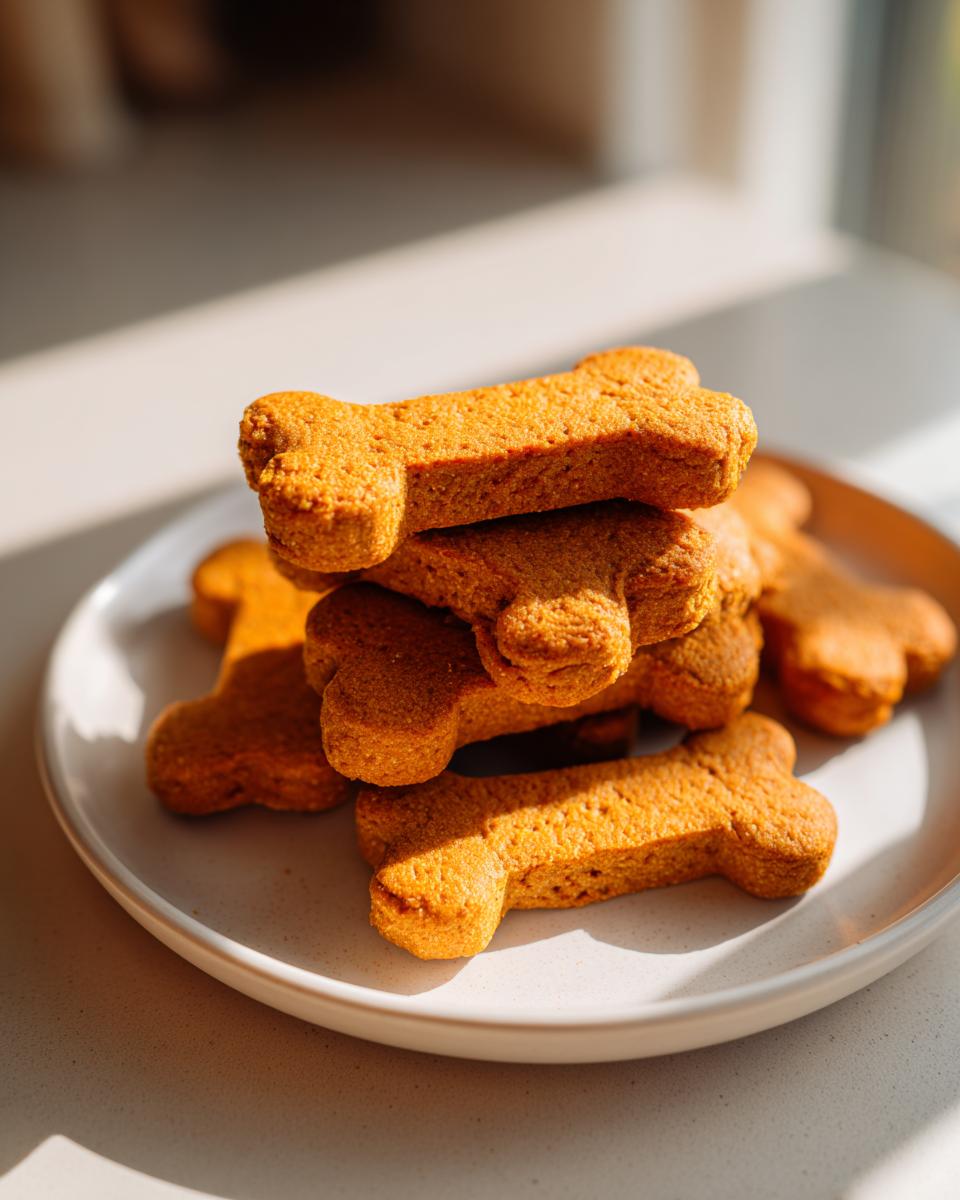
Now time to roll! Dust your counter lightly and roll that dough out to about 1/4 of an inch thick. You want them uniform so they all bake at the same rate. Grab your favorite bone-shaped cutter—or just use a drinking glass in a pinch—and cut out your treats. They go into the oven for about 15 to 20 minutes until the edges look just slightly golden. The *real* secret for these natural dog biscuits to get that satisfying crunch is the cooling step. Turn the oven off, crack the door open slightly, and just leave them in there for a good 30 minutes. They’ll dry out perfectly!
Tips for Success When Making dog cookies
Even though these are super simple dog cookies, when you’re baking for the most important member of your family, you want perfection! I learned a few tricks in the test kitchen that help ensure every batch is a winner and makes your life easier too. Don’t skip these little bits of wisdom!
- Thickness Matters More Than You Think: Because these are homemade dog treats and not fluffy human cookies, consistency is key for that nice, hard snap. Make sure you roll the dough out evenly to that 1/4 inch mark. If some edges are super thin and others are fat, the thin ones will burn before the thick ones are done hard.
- The Finger-Press Test: When that timer goes off at 15 minutes, don’t just rely on color! Gently poke the center of a few of the thicker dog cookies. If there’s any squishiness or bounce back, they need more time. We are looking for firm resistance, the kind that barely gives way when you press it.
- Embrace the Cooling Phase: That final step where we let them cool in the turned-off oven with the door ajar? That’s not Grandma being fussy; that’s me being scientific! Leaving them in that residual heat allows that last bit of moisture to escape, which makes your natural dog biscuits last longer and keeps them crunchy.
- Don’t Overwork the Dough: When you add the flour, mix only until it just comes together. If you keep kneading or mixing once all the flour is incorporated, you start developing the gluten too much. That turns a nice, crumbly cookie into something a little too tough for chewing.
Storage and Shelf Life for Your Batch of dog cookies
You want these wonderful dog cookies to last, right? We made a big batch of these homemade dog treats, and nobody wants them going soft or, heaven forbid, molding before your pup can enjoy the lot! The key here is keeping the air out. Once they are completely cooled—and I mean absolutely stone cold, which takes a while after that oven cooling trick—pop them into a truly airtight container. I just use one of those basic plastic containers with a gasket seal; those work perfectly.
At room temperature, if you baked them until they were nice and firm, they should easily stay fresh for about a week. That’s great for daily snacking! If you’re planning on baking these dog cookies in bulk—which I highly recommend for busy weeks—the freezer is your best friend. Wrap a portion tightly in plastic wrap first, and then pop them into a freezer-safe bag or container. They freeze beautifully and will stay good for several months. When you need a treat, just take out what you need and let them thaw on the counter for an hour. Easy peasy!
Why is air so bad? Well, just like your favorite crunchy crackers, moisture and humidity are the enemy of a good, crunchy natural dog biscuit. Exposure to air makes them go stale quickly. More importantly, since we aren’t using commercial preservatives, keeping moisture locked out is the number one way we prevent any chance of mold growth, keeping your dog safe and happy between baking sessions.
Variations on Peanut Butter dog treats
While the classic combination of peanut butter and pumpkin is what makes these dog cookies absolutely irresistible, sometimes we just need a little shake-up in the rotation! Don’t worry, sweet pup treats are full of safe ways to change things up. If your dog loves those little orange bites, try stirring in about a quarter cup of finely shredded carrots right along with the flour. They add a little extra something nice for their coats!
Also, for a moist boost outside of pumpkin, you can swap out the pumpkin puree for unsweetened applesauce. I have a super easy recipe for making homemade applesauce that works perfectly here if you have a bit of extra prep time. These simple tweaks keep your batch of peanut butter dog treats exciting without ever compromising safety. It’s all about keeping their snack time interesting!
Frequently Asked Questions About dog cookies
Now that you’ve got the recipe, I know a few questions pop up, especially when we’re baking for our best friends and need to be sure everything is absolutely correct. I’ve answered the most common concerns I get about these dog cookies based on my time in the kitchen!
Can I make these dog cookies without peanut butter?
Yes, you totally can! Peanut butter is a binder, but dogs can sometimes have sensitivities, or maybe you’re worried about that pesky xylitol again. If you want to avoid it, you can substitute the peanut butter with an equal amount of sunflower seed butter or even tahini. The key thing with any substitute, though, is to check the label twice—we absolutely need to ensure there is zero xylitol added!
Are these considered healthy dog cookie recipes for puppies?
These healthy dog cookie recipes are usually great for older puppies, but you must adjust the texture for tiny mouths. For very young puppies, you’ll want a softer treat. The way to do that is simple: reduce the baking time by about five minutes so they stay chewier. But hey, when in doubt with a brand-new puppy, always have a quick chat with your vet first, okay?
What is the best way to make grain free dog cookies?
This is one of the easiest swaps you can make! If you’re aiming for grain free dog cookies, simply swap the standard whole wheat flour measure for oat flour. Oat flour is easy to make at home—just blitz rolled oats in a blender until it’s a fine powder. It binds just as well as regular flour and keeps these delicious natural dog biscuits high-quality!
Estimated Nutritional Data for These dog cookies
I always get asked about the specifics, and you know I love transparency! While these are just homemade dog treats and not exactly something I track daily for my own diet, I do test everything in the lab so we know what we’re giving our pups. Please remember that these numbers are just estimates. The final count really depends on the exact brands of peanut butter and pumpkin puree you use, especially if you’re making grain free dog cookies with a different flour!
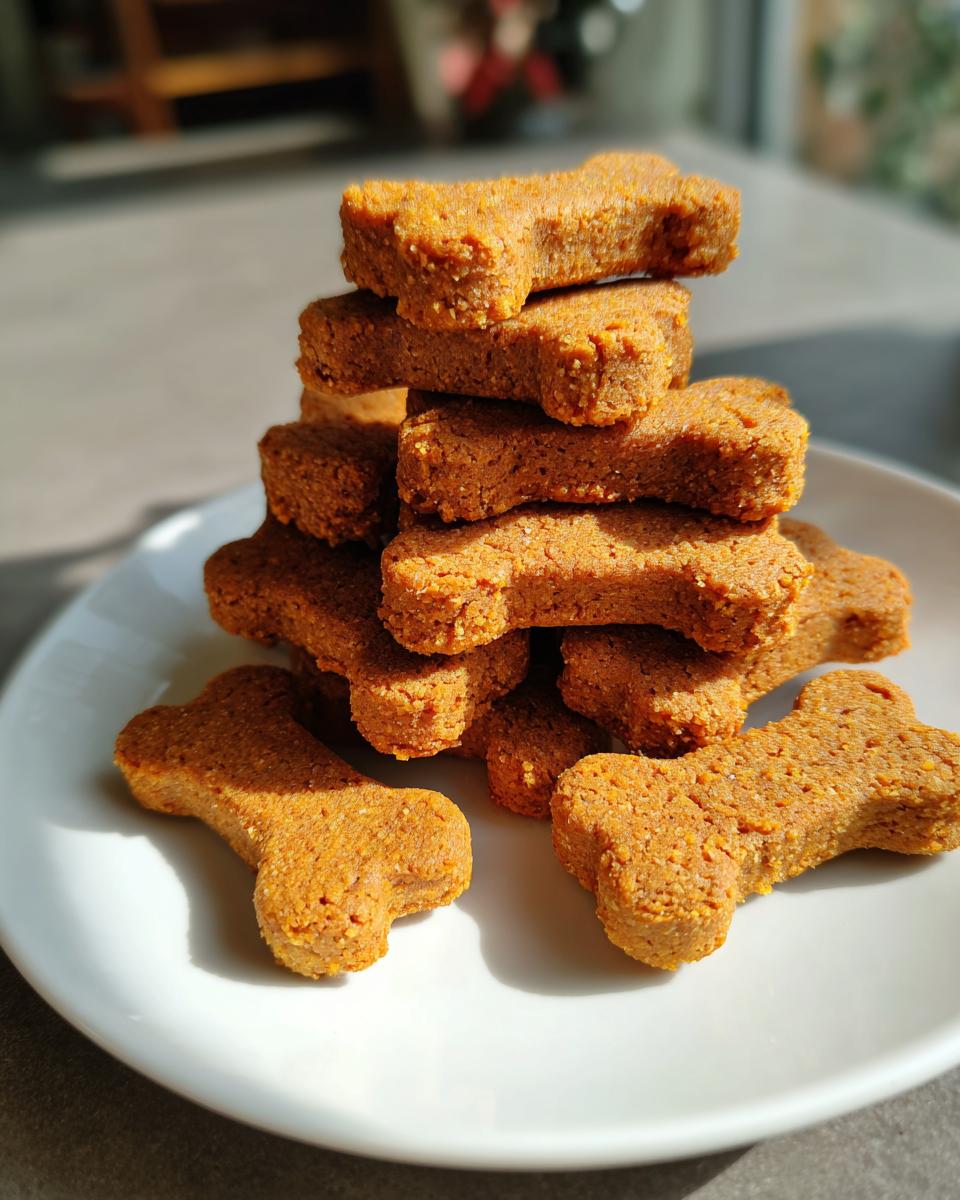
This data is based on the recipe yielding about 24 small dog cookies, with one cookie being the standard serving size. It’s good information to have just so you’re aware of the breakdown of fats and protein in these natural dog biscuits.
- Serving Size: 1 cookie
- Calories: Approximately 75
- Fat: About 4 grams
- Protein: Roughly 3 grams
- Carbohydrates: Around 9 grams
- Sugar: Just 2 grams (mostly natural from the pumpkin!)
- Sodium: Very low, around 35 mg
See? Low sugar and balanced macros—that’s the sign of a great healthy dog cookie recipe! They are packed with protein and goodness from that peanut butter, which is why dogs go absolutely wild for these peanut butter dog treats.
Share Your Homemade Dog Treats Creations
Okay, we are officially done baking! I truly hope this recipe for dog cookies brings as much tail-wagging joy to your house as it does to mine. My absolute favorite part of sharing these homemade dog treats is seeing your results pop up online! Did your pup approve? Did you use a fun bone-shaped cutter for the natural dog biscuits?
I’d be thrilled if you could hop over and show off your creation! Feel free to snap a photo of your happy customer enjoying their snack and tag me on social media, or even better, leave a rating right here on the recipe card—a 5-star review lets me know I nailed the consistency for everyone! If you have any burning questions from the process, or if you found another great substitution that worked for your dog, please drop a comment down below. Sharing tips helps our whole community become better bakers for our best friends. See more about my journey in the kitchen over at my About Page!
PrintSimple Peanut Butter and Pumpkin Dog Cookies
Make healthy, homemade dog treats using simple ingredients like peanut butter and pumpkin. These easy dog cookies are safe for your pet.
- Prep Time: 15 min
- Cook Time: 20 min
- Total Time: 35 min
- Yield: About 24 small cookies 1x
- Category: Dog Treats
- Method: Baking
- Cuisine: American
- Diet: Vegetarian
Ingredients
- 1 cup whole wheat flour (or substitute with oat flour for grain free dog cookies)
- 1/2 cup pumpkin puree (not pie filling)
- 1/4 cup natural peanut butter (ensure it does not contain xylitol)
- 1 large egg
- 1/2 teaspoon cinnamon (optional, for flavor)
Instructions
- Preheat your oven to 350 degrees Fahrenheit (175 degrees Celsius). Line a baking sheet with parchment paper.
- In a large bowl, combine the peanut butter and pumpkin puree. Mix until smooth.
- Add the egg to the mixture and beat until fully incorporated.
- Gradually add the flour and cinnamon (if using). Mix until a stiff dough forms. If the dough is too sticky, add flour one tablespoon at a time.
- On a lightly floured surface, roll the dough out to about 1/4 inch thickness.
- Use a cookie cutter (a small bone shape or simple circle works well) to cut out your dog cookies.
- Place the cutouts onto the prepared baking sheet.
- Bake for 15 to 20 minutes, or until the edges are lightly golden brown and the cookies are firm to the touch.
- Turn off the oven and let the dog biscuits cool completely inside the oven with the door slightly ajar for 30 minutes to help them dry out and become crunchy.
- Store your homemade dog treats in an airtight container at room temperature for up to one week, or freeze for longer storage.
Notes
- Always check your peanut butter label; xylitol is toxic to dogs.
- For a softer treat suitable for puppies, reduce the baking time by 5 minutes.
- You can substitute the whole wheat flour with oat flour to make these grain free dog cookies.
- These are considered human grade dog snacks, but they are formulated specifically for canine consumption.
Nutrition
- Serving Size: 1 cookie
- Calories: 75
- Sugar: 2
- Sodium: 35
- Fat: 4
- Saturated Fat: 1
- Unsaturated Fat: 3
- Trans Fat: 0
- Carbohydrates: 9
- Fiber: 1
- Protein: 3
- Cholesterol: 15