
Oh my gosh, does the crisp snap of a perfect candy apple just transport you right back to the fairgrounds? That nostalgic smell of caramelized sugar and tart fruit is just the best part of fall! I remember spending ages in the test kitchen trying to nail that elusive, shiny, crack-free shell for our fall menu. It felt impossible at first, but I cracked the code! Trust me when I say that making flawless, glossy candy apples doesn’t have to be a culinary battle. I’m sharing my ultimate foolproof method right now, and you’re going to love how simple it is to get that crisp, showroom-quality coating every single time.
- Why This Is The Ultimate Foolproof Candy Apples Recipe
- Gathering Ingredients for Perfect Candy Apples
- Crucial Preparation: Preparing Apples for Dipping
- Step-by-Step Easy Candy Apple Coating Instructions
- Tips for Success with Halloween Candy Apples
- Flavor and Color Variations for Gourmet Candy Apple Ideas
- Storage and Serving Suggestions for Fall Dessert Recipes
- Frequently Asked Questions About Dipped Fruit
- Share Your Fun Party Apple Treats
Why This Is The Ultimate Foolproof Candy Apples Recipe
Making homemade candy apples can look tricky, but honestly, it’s all about avoiding a few common pitfalls. I designed this recipe to take the intimidation out of high-heat candy making, just like I try to do with all my recipes! Check out my whole story on why I love demystifying food.
- No grainy texture—just pure, glass-like shine.
- The coating stays perfectly adhered.
- It’s faster than you think!
We focus on simple steps that ensure success, which is what Cooking by Jade is all about—confidence in the kitchen.
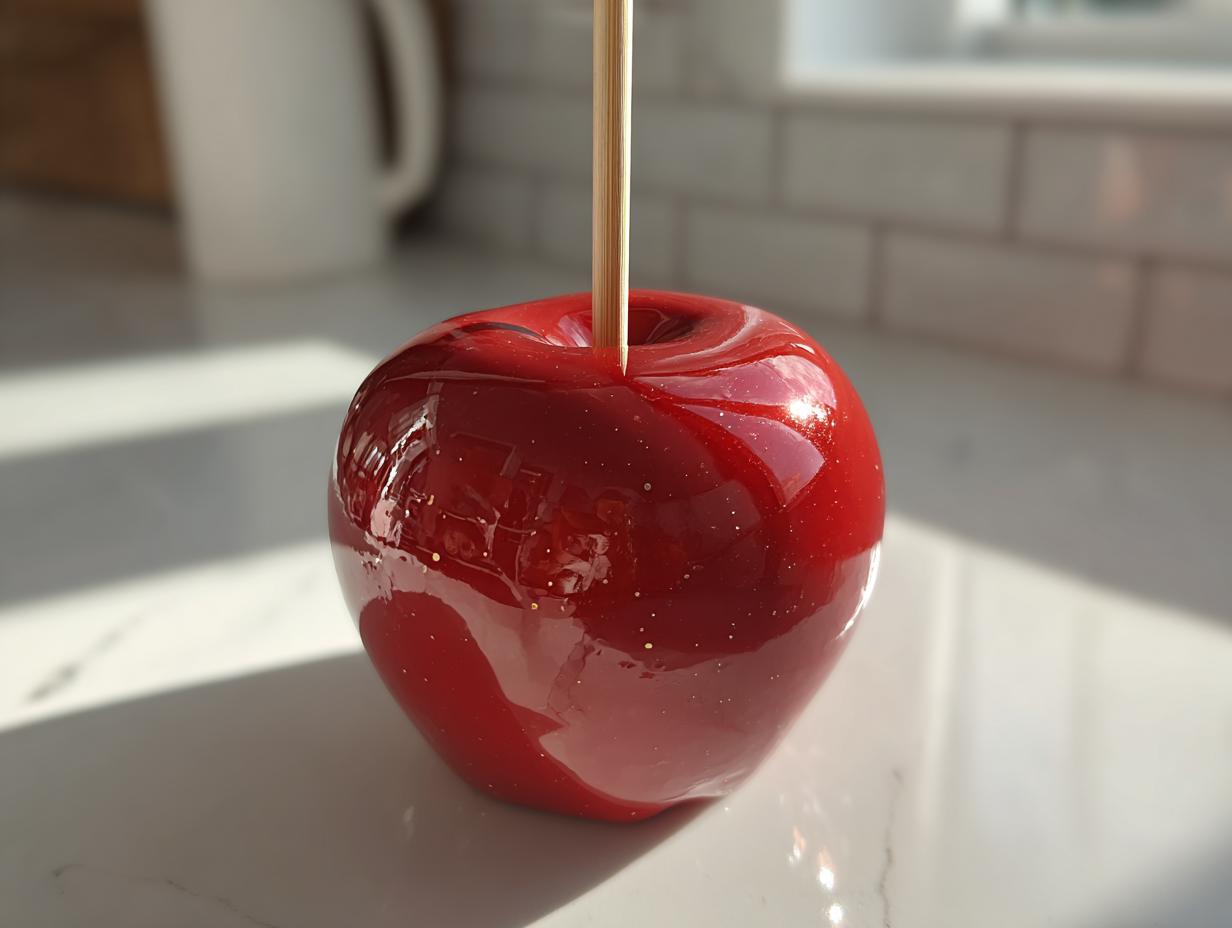
Achieving That Signature Shiny Candy Apples Coating
The shine comes down to two things we talk about in detail later: complete wax removal from the exterior of the fruit, and hitting that exact 300-degree mark on your thermometer during cooking. When the sugar reaches the ‘hard crack’ stage properly, it cools into a beautiful, crystal-clear shell. It’s science, but it tastes like pure fun!

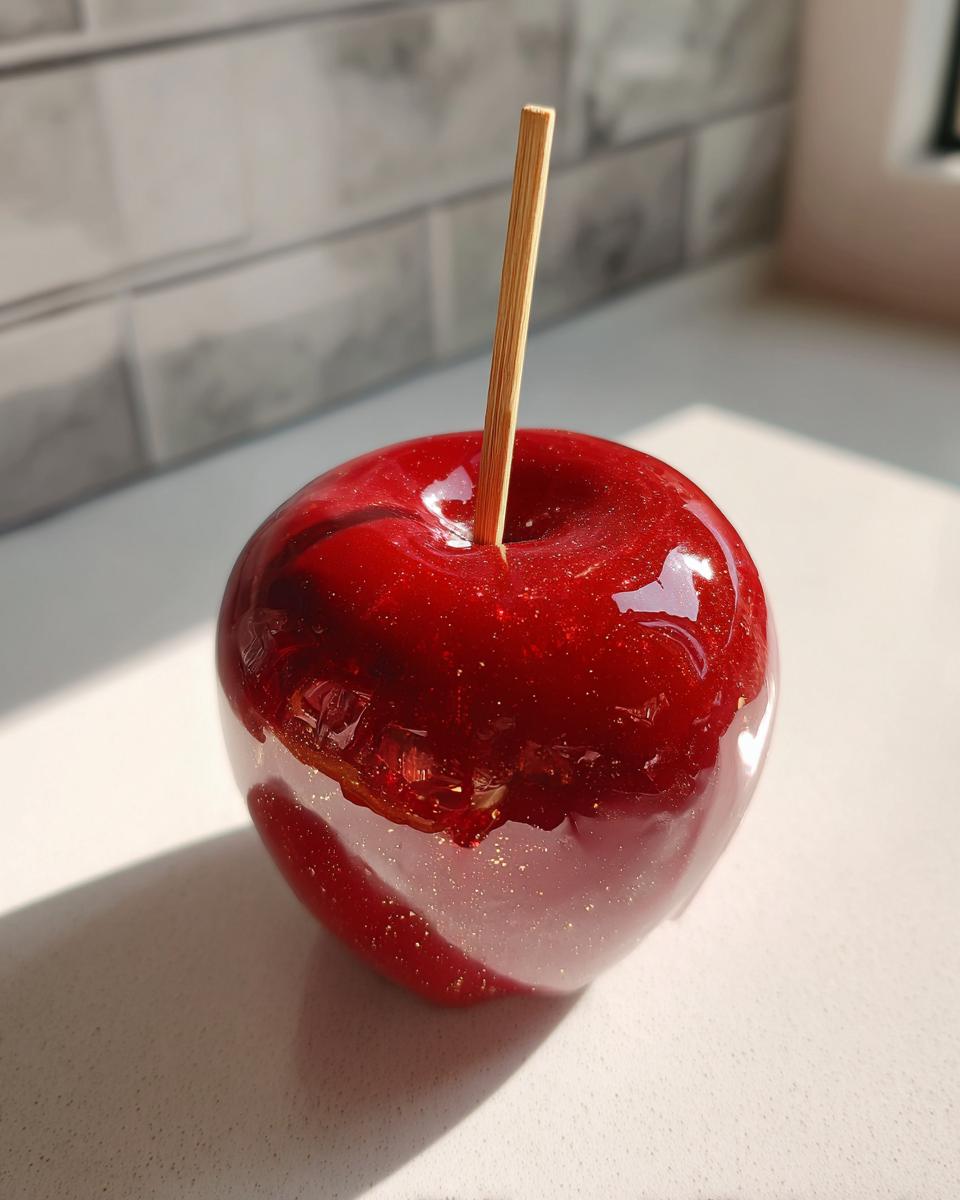
Tips for Homemade Candy Apples That Do Not Crack
Cracking usually happens because of crystallization or moisture working its way into the syrup later on. We are stopping that before it starts! I’ll show you how to properly prep every apple so the candy grabs hold, and I’ll drill it into you—don’t stir once that sugar starts boiling! Promise me you’ll give this method just one try.
Gathering Ingredients for Perfect Candy Apples
Okay, before we get into the fun stuff, we need the components for our candy apples! You don’t need a million fancy things here, but what you use absolutely matters. We’re sticking to the classic, bright red look, but you can always jazz things up later. Don’t skip the light corn syrup; that stuff is your secret weapon for keeping the sugar smooth and gorgeous instead of grainy. If you’re looking for another great apple treat to try later, bookmark that one!
We need six medium apples, sturdy wooden skewers, sugar, water, that essential corn syrup, a little red coloring, and whatever tiny bit of flavor you like!
Selecting the Best Apples for Candy Coating
You simply cannot use those soft, mushy apples hiding in the bottom of the fruit bowl! For this hard candy shell, you need apples that can handle the heat without collapsing. I always reach for Granny Smiths because their tartness cuts right through the pure sugar sweetness. Honeycrisp apples work beautifully too, since they stay nice and firm when baked or dipped.
Crucial Preparation: Preparing Apples for Dipping
Listen up, because this next part is absolutely mission-critical! If you skip this, your gorgeous, shiny coating will weep, sweat, or maybe just slide right off. We have to get that microscopic layer of natural wax off the apple skin first. I learned this the hard way once! I was so excited about my perfect red syrup, dipped the apples, and watched them cool into a sticky, bubbly mess because I figured my apples were clean enough. Nope! They were not!
You have two ways to tackle this. You can either quickly dip the apple into boiling water for just five seconds—very fast!—or you can scrub them hard with a cloth dipped in hot water and a splash of white vinegar. Either way, the next step is the most important for success.
Why You Must Strip the Wax for Great Candy Apples
The hard candy coating is brittle, and wax is, well, waxy—it naturally repels things! If that wax is still there, your candy doesn’t have anything to stick to, leading straight to cracks or sad, pooling sugar at the bottom of your tray. We need bare skin for traction on these candy apples. Make sure every single part of the apple that will be dipped is completely, totally dry before it meets the hot syrup.
Step-by-Step Easy Candy Apple Coating Instructions
This is where the magic happens—and where you need to really trust your candy thermometer! We are making **homemade candy apples**, and we need that syrup to be perfectly cooked. First, grab your medium saucepan and gently stir together the sugar, corn syrup, and water until everything looks dissolved over medium heat. Remember, we want a smooth start! If you need a break from candy, try my recipe for easy stovetop applesauce!
Once it starts boiling, you have to walk away from stirring immediately. Set your thermometer and just let it go wild! You’ll boil it until you hit exactly 300 degrees Fahrenheit—that’s the hard crack stage. After you pull it off the heat, you quickly stir in your lovely red coloring and whatever flavoring you decided on. You have to move fast now, but gently!
Cooking the Syrup: The Science Behind How to Make Candy Apples Without Cracking
When you see those first bubbles, put your spoon down! I cannot stress this enough: Don’t stir the syrup once it hits a rolling boil. Stirring introduces air bubbles and causes the sugar molecules to form sharp crystals, which is what ends up looking grainy or causing that awful cracking later. We target 300°F precisely because that’s the temperature needed for a hard, glossy shell. Anything lower, and it stays sticky; anything higher, and it burns fast. Keep that thermometer glued to the side!
Dipping and Setting the Hard Candy Shell
Once your color is stirred in—wow, look at that color pop!—you need to work quickly because the syrup sets fast. Tilt your pan towards you a little bit. Take your prepared, bone-dry apple on its skewer and dip it straight down. Rotate it around until it’s fully coated. Let the excess drip off for just a second, then carefully place it upright on your parchment-covered baking sheet. Don’t mess with it while it sets! You can find more great tips for coatings over here, too.

Tips for Success with Halloween Candy Apples
So, you’ve got your beautiful red syrup ready, but now you’re wondering about the tricky weather! Humidity is the absolute enemy of a crisp, hard candy coating on your Halloween candy apples. If it’s a really damp day, the candy will absorb that moisture right out of the air and get sticky, even overnight. Keep them tucked away in the coolest, driest spot you have while they set.
What if you’re slower than I am and the sugar starts getting thick in the pan before you finish dipping all six apples? Don’t panic! This happens to everyone. You can just place the saucepan back on the lowest heat setting for just a minute or two, gently swirling it, not stirring, until it loosens up enough to dip again. Avoid going back up to a boil, though, or you’ll ruin the color. Honestly, making these reminds me of getting my snickerdoodles just right—precision is everything!
Flavor and Color Variations for Gourmet Candy Apple Ideas
While the classic bright red is stunning, my favorite part about making candy apples is experimenting! Once you master that hard crack stage, you can play around endlessly. To get those super intense, vibrant colors you see online—think neon green or deep purple—you absolutely need to swap out standard liquid food coloring for gel food coloring. They mix in beautifully without adding extra liquid to the syrup.
For flavor, don’t just stick to cinnamon! A drop of pure cherry extract transforms the taste instantly. If you want next-level gourmet candy apple ideas, try melting down hard candies like Starburst or even Jolly Ranchers instead of making the sugar syrup from scratch. Just be careful, because those taste intensely sweet! If you want to see a fun, wild idea, check out how others have made these glow-in-the-dark treats over here. We might try that for Halloween next year!
These flavorful tricks are fantastic for switching things up, but don’t forget to check out my Banana Foster recipe for another decadent treat!
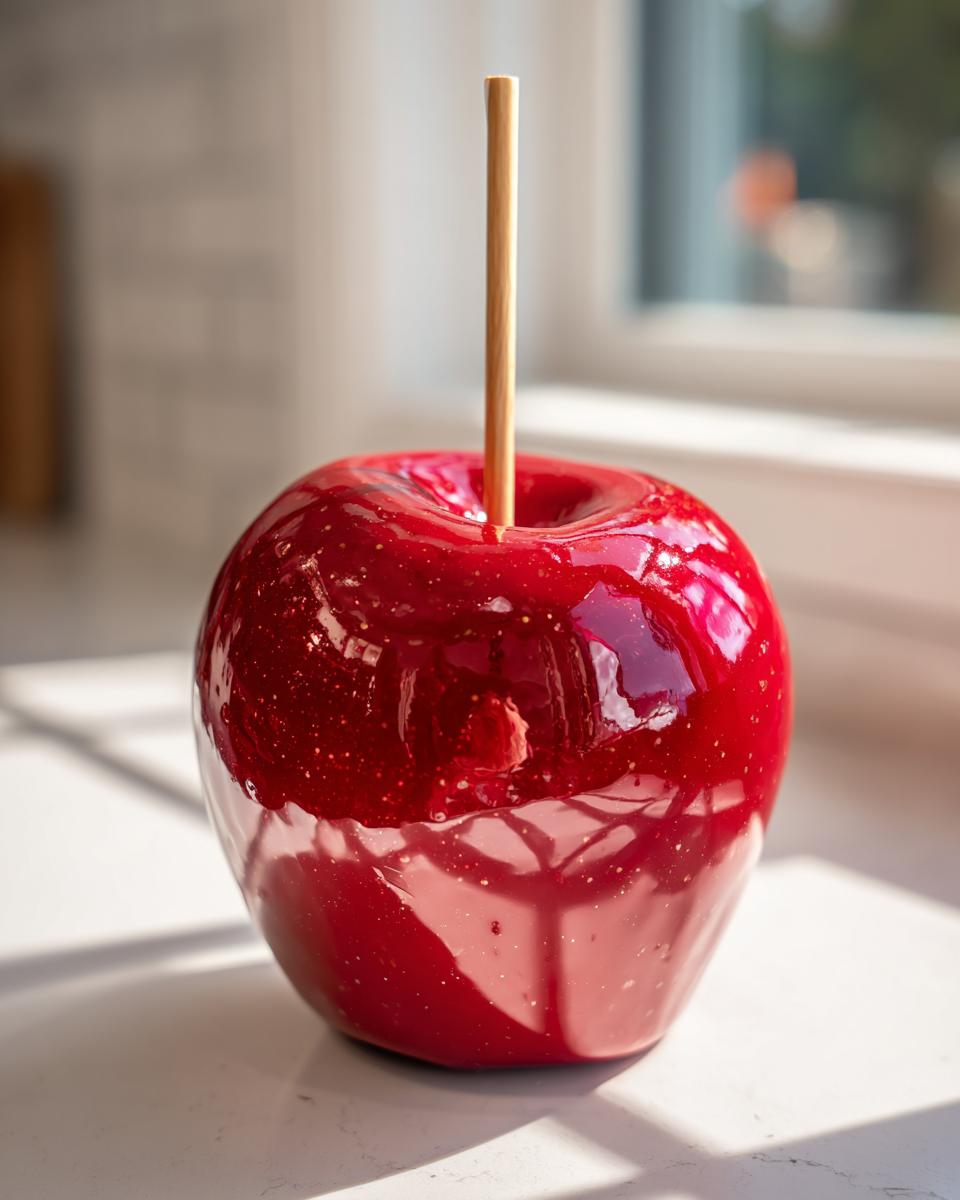
Storage and Serving Suggestions for Fall Dessert Recipes
Once you’ve finally got those gorgeous **candy apples** set, you might be wondering how on earth to keep them looking picture-perfect. Since they are hard candy, they really don’t enjoy the fridge! That cold air just creates condensation, and condensed water makes the candy weep and get sticky fast. Keep them at room temperature in a cool, dry spot. Never stack them, either; they’ll weld themselves together if you try!
They should hold up perfectly for several days if your kitchen isn’t too humid. When it comes time to serve these beauties as part of your **fall dessert recipes**, leave them on the sticks! Serve them on a platter alongside some warm, spiced treats like my recipe for candied yams. Nothing screams fall gathering like a gorgeous spread of fruit dipped in hard candy!
Frequently Asked Questions About Dipped Fruit
I always get so many questions when I post these, which is great because it shows you’re really thinking about making a perfect batch of fruit dipped in hard candy! It’s smart to review the tricky parts before you start heating up that syrup.
What is the difference between a caramel apple and a candy apple?
This is such a common question! The main difference is texture. A caramel apple has that soft, chewy, buttery coating—delicious, sure, but prone to sliding off! Our candy apples have that hard, brittle, glass-like shell that cracks when you bite into it. Totally different experience!
Can I use a different type of sugar for the coating?
You really shouldn’t ditch the corn syrup if you want that smooth finish. Granulated sugar alone crystallizes way too easily when you boil it high, which is what causes that grainy texture. The high corn syrup content acts as an invert sugar, stabilizing the mix so we can achieve that gorgeous, shiny coating on our homemade candy apples. Trust me, this is worth keeping in the pantry!
What about storage? Can these be refrigerated?
Oh, please don’t refrigerate them unless the weather is insanely hot and humid. Cold air makes condensation form almost immediately, turning that hard candy slick and sticky really fast. Just keep them at room temperature, away from sunlight.
If you want to try the softer route sometime, you should check out my chewy caramel apple recipe for comparison!
Share Your Fun Party Apple Treats
Now it’s your turn to make some magic! I truly hope these **simple candy apple instructions** bring you the same joy they brought me in the test kitchen. Are you going to stick to classic red, or are you going wild with colors? Please leave me a rating below and tell me how your **fun party apple treats** turned out! I love seeing your beautiful, shiny apples pop up on social media—tag me so I can share! You can always try another one of my family favorites when you’re done, like this easy chicken parmesan recipe next week!
PrintThe Ultimate Foolproof Classic Candy Apple Recipe: Achieving a Perfectly Shiny, Crack-Free Coating Every Time
Make perfect, glossy candy apples that do not crack. This recipe provides clear steps to prepare the apples and cook the hard candy coating for a crisp, shiny finish ideal for Halloween or fall parties.
- Prep Time: 15 min
- Cook Time: 20 min
- Total Time: 35 min
- Yield: 6 servings 1x
- Category: Dessert
- Method: Stovetop Cooking
- Cuisine: American
- Diet: Vegetarian
Ingredients
- 6 medium firm apples (like Granny Smith or Honeycrisp)
- 6 wooden skewers or lollipop sticks
- 2 cups granulated sugar
- 1 cup light corn syrup
- 3/4 cup water
- 1 teaspoon red food coloring (or desired color)
- 1/2 teaspoon flavoring extract (like cinnamon or vanilla)
Instructions
- Prepare the apples: Wash the apples thoroughly. Remove the stem and insert a wooden skewer firmly into the top center of each apple.
- Remove the waxy coating: Dip each apple briefly into boiling water for 5 to 10 seconds, or scrub them well with a clean cloth dipped in hot water and a little vinegar. This step removes the natural wax, which prevents the candy from sticking. Dry the apples completely with paper towels.
- Prepare for dipping: Line a baking sheet with parchment paper or a silicone mat. Lightly grease the surface with cooking spray or oil.
- Make the candy coating: In a medium, heavy-bottomed saucepan, combine the sugar, corn syrup, and water. Stir gently over medium heat until the sugar dissolves.
- Cook the syrup: Stop stirring once the mixture boils. Insert a candy thermometer. Cook the syrup without stirring until it reaches 300 degrees Fahrenheit (150 degrees Celsius), the hard crack stage. This usually takes about 15 to 20 minutes.
- Add color and flavor: Remove the saucepan from the heat immediately when it reaches 300 degrees F. Carefully stir in the food coloring and flavoring extract. Work quickly, as the mixture will begin to set.
- Dip the apples: Tilt the saucepan slightly. Dip one apple at a time into the hot candy mixture, rotating it to coat completely. Lift the apple out, allowing excess candy to drip back into the pan.
- Set the coating: Hold the apple upright over the prepared baking sheet for a few seconds to let the coating set slightly. Place the coated apple on the prepared sheet.
- Cool completely: Let the candy apples cool and harden completely at room temperature for at least 30 minutes before serving or storing.
Notes
- For a crack-free coating, ensure your apples are completely dry after washing. Any moisture will cause the candy to separate.
- Do not stir the sugar mixture once it begins to boil; stirring can cause crystallization, leading to a grainy coating.
- If the candy starts to harden in the pan before you finish dipping, return the pan to low heat briefly to re-liquefy it, but avoid overheating.
- For bright colored candy apples, use gel food coloring for the most intense color payoff.
Nutrition
- Serving Size: 1 apple
- Calories: 350
- Sugar: 85g
- Sodium: 2mg
- Fat: 0g
- Saturated Fat: 0g
- Unsaturated Fat: 0g
- Trans Fat: 0g
- Carbohydrates: 90g
- Fiber: 1g
- Protein: 0g
- Cholesterol: 0mg