
There is actual magic that happens when you stand over a pan of sharp, tear-inducing onions and watch them transform. It’s one of those fundamental kitchen tricks that separates a merely good meal from something truly special. I’m going to show you the ultimate guide to perfectly caramelized onions, and trust me, the secret ingredient isn’t fancy—it’s just patience! When I was learning the ropes, I used to rush this step, but once I slowed down, everything changed about how I viewed flavor building. Mastering this technique is foundational for everything from tarts to simple sandwiches, and you can read more about my philosophy behind approaching basic cooking techniques like this one over at my About Page.
- Why Patience Creates the Best Caramelized Onions
- Essential Ingredients for Perfect Caramelized Onions
- Step-by-Step Guide: How to Cook Onions Slowly to Golden Brown Onions
- Tips for Success When Making Caramelized Onions
- Five Delicious Caramelized Onion Applications
- Storage and Reheating Instructions for Your Caramelized Onions
- Frequently Asked Questions About Caramelized Onions
- Estimated Nutritional Data for Caramelized Onions
- Share Your Deep Flavor Onion Technique Creations
Why Patience Creates the Best Caramelized Onions
I know, an hour seems like a long time just to cook onions—especially when you’re trying to get dinner on the table fast. But understanding *why* we have to go slow is key to unlocking that gourmet onion flavor. When you rush the process, you end up with sautéed onions that are just soft. True caramelized onions require time for the natural sugars to break down properly. This chemical change, similar to the Maillard reaction, is what gives you that famous deep flavor onion technique we are after.
If you skip the low and slow commitment, you risk burning the edges before the center really sweetens up. Learning how to cook onions slowly is one of the most important basic cooking techniques you’ll ever master. Don’t worry; most of that time is just hands-off bubbling! You can find some of my easier, faster meals over on my page for easy weeknight dinners, but sometimes, a dish just needs this depth.
The Science Behind Sweet Caramelized Onions
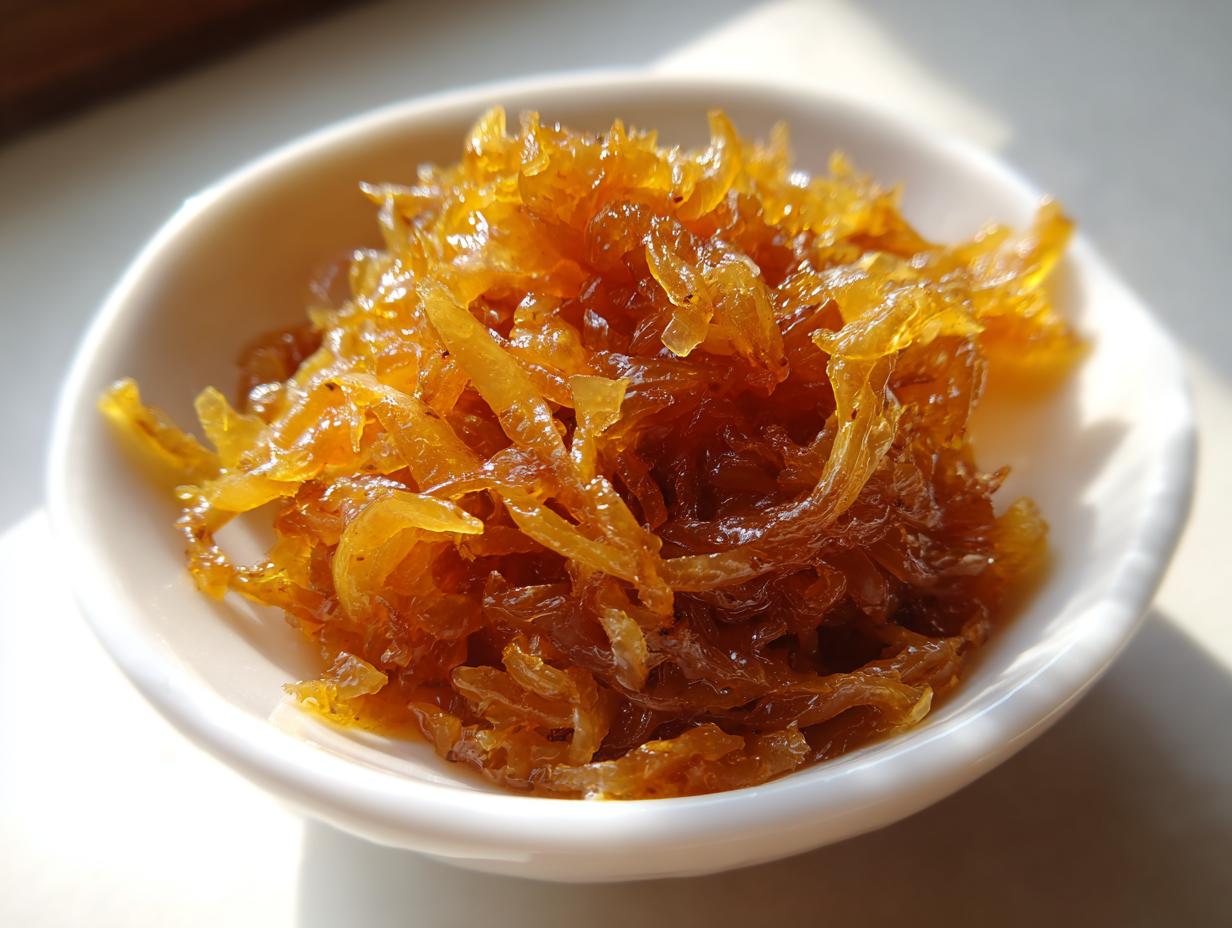
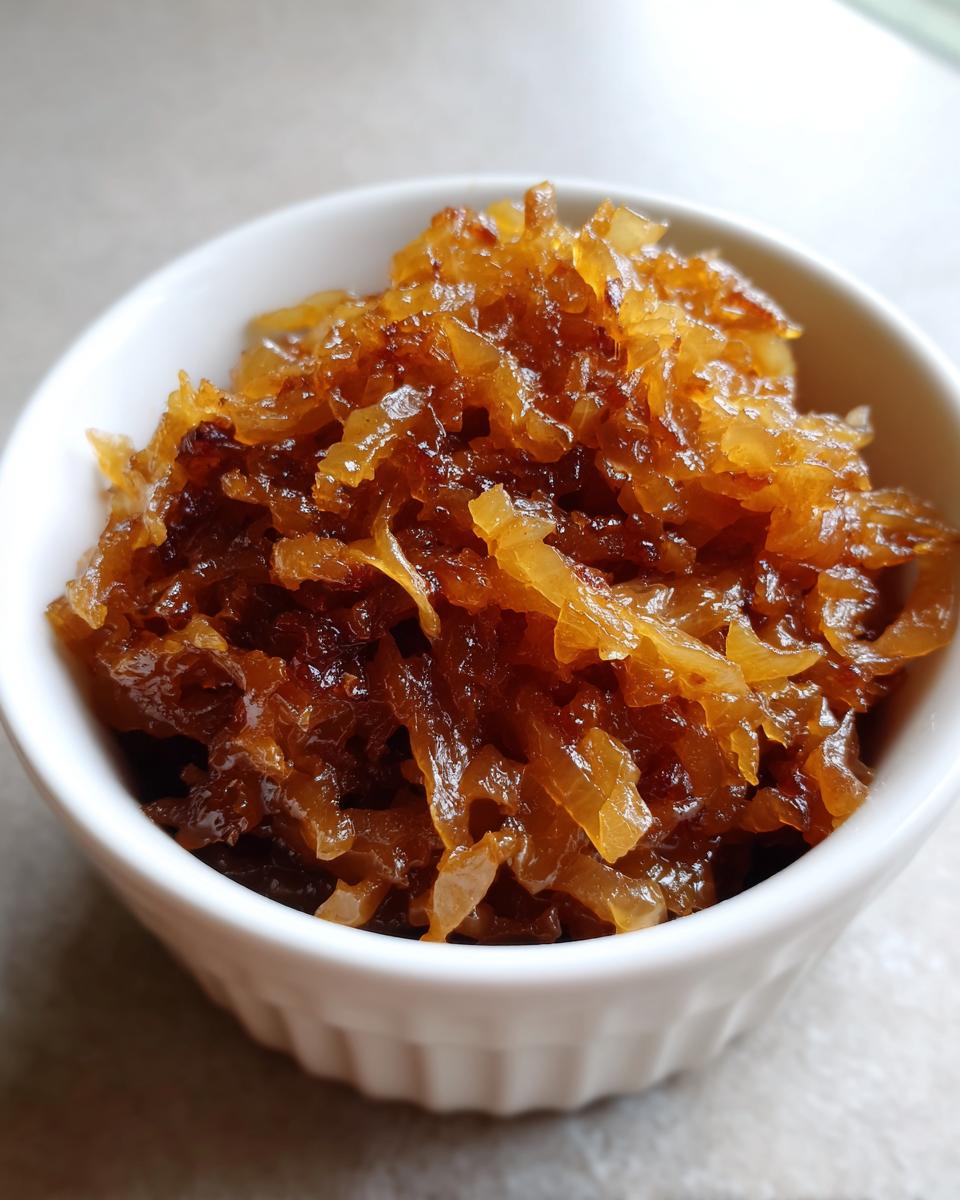
What we’re really doing when we cook onions low and slow is concentrating their sweetness. Raw onions have sharp, sulfuric compounds, but through gentle heat, those compounds evaporate, and the natural sugars start to concentrate and brown. This results in truly sweet caramelized onions. If you crank the heat up to medium-high, you’ll skip the sweet stage entirely and jump straight to the slightly bitter, burnt stage. We want tender, jammy onions, not scorched ones!
Essential Ingredients for Perfect Caramelized Onions
You only need a few things to start your journey toward the best savory onion recipe. Honestly, it’s the simplicity that gets me every time! We don’t need a dozen expensive things here; just good quality basics are all it takes for that amazing flavor boost. You’ll need about three large yellow onions, 2 tablespoons of butter, 1 tablespoon of olive oil, and a teaspoon of salt. If you’re really short on time and willing to nudge the process along, I sometimes use just a half teaspoon of sugar, but I always list it as optional because the onions should sweeten all by themselves!
Ingredient Clarity and Preparation
For this recipe, please grab yellow onions. They have the perfect sugar content balance for caramelization. The most crucial step before they even hit the heat is slicing them thinly and uniformly. Seriously, if your slices are big chunks here and tiny slivers there, they will cook unevenly. You’ll end up with some that are perfectly done and others that are still raw or even burnt. We combine butter and olive oil because the oil prevents the butter from burning too quickly, while the butter provides that rich, wonderful flavor you love. Don’t skip that fat!
Step-by-Step Guide: How to Cook Onions Slowly to Golden Brown Onions
Okay, this is where the magic happens, but you need to listen to the heat gods on this one! We start by getting a big, heavy-bottomed skillet hot over medium-low heat. Add your butter and oil and let that melt until it looks nice and shimmery. Next, dump in all those thinly sliced onions and toss them around until they’re coated. Immediately sprinkle in that teaspoon of salt—this helps draw the water out quickly. For the first 15 minutes, just let them sizzle, stirring every five minutes or so. They’ll soften up and start looking a bit sad and watery; that’s totally normal!
Now, you need to drop that heat to low. This is crucial for developing golden brown onions. Keep cooking them, stirring every five minutes. We are aiming for 45 to 60 minutes total cooking time for the perfect deeply rich color. Remember, if they start sticking way too much to the bottom of the pan, don’t panic or crank the heat! This is the perfect moment to pull out the secret weapon. These detailed steps are the bread and butter of all basic cooking techniques.
The Deglazing Trick for Deep Flavor Onion Technique
If you see those dark, yummy brown bits forming on the bottom—that’s called the fond, and it’s pure flavor gold! If things start looking dry or sticky, quickly add just one tablespoon of water to the pan. Use a wooden spoon or spatula to scrape up all those little browned bits into the onions. This stops the onions from burning and incorporates all that concentrated goodness right back in. Honestly, people pay big money in restaurants for this very process to build that incredible base for any great savory onion recipe. Mastering this technique feels like you’ve unlocked a massive flavor code!
Tips for Success When Making Caramelized Onions
Look, I know I sound like a broken record about time, but success here hinges on respecting the clock! If you absolutely must cheat, I’ve got a couple of things that help you get close to those tender jammy onions without hovering over the stove for an hour. First, remember the salt. You add it early because it helps pull the moisture out so the onions can actually start to caramelize instead of just steaming themselves into submission. That’s a non-negotiable step in my book.
Another amazing thing my readers absolutely love comes straight from my meal prep sessions. If you’re absolutely swamped on a Tuesday but want flavor ready for Thursday’s sloppy joes or an amazing topping for your burgers, try the slow cooker route! You can dump the onions, fat, and salt in your easy weeknight dinners route, set it on LOW for about 4 to 6 hours, and you’ll end up with beautifully soft goodness. It requires way less hands-on stirring, which is a lifesaver some weeks. Just check it periodically to make sure nothing is sticking too badly!
Also, don’t be afraid of the liquid. If they start looking dry—I mean really dry, like they’re about to turn into brown dust—add a tablespoon of water or even just a splash of good stock. Scraping those bits off the bottom (the fond we talked about!) traps moisture and flavor, giving you that rich taste without burning. It’s all about keeping things gently moving toward that deep brown perfection.
Five Delicious Caramelized Onion Applications
Now that you have these jars of gorgeous, sweet, golden goodness, the real fun begins! These aren’t just side dishes; they are flavor bombs waiting to happen. I’ve used this sweet base in dozens of ways, and I promise you, once you start, you won’t stop. They elevate everything!
Using Caramelized Onions for Burgers and Sandwiches
This is perhaps the most popular use, and for good reason—they offer such a gourmet onion flavor boost. For burgers, skip plain grilled onions and pile these on top! The sweetness cuts through the richness of the beef perfectly. They also make the ultimate ingredient for any grilled cheese or steak sandwich; they become the very best onion recipe for sandwiches because they melt right into the cheese. Truly fantastic!
Creating a Creamy Caramelized Onion Pasta
Oh my gosh, the pasta possibilities are endless! My favorite way to use a big batch is melting them right into a cream sauce. You can make an incredibly rich, decadent sauce by blending a cup of these onions with some cream cheese or heavy cream and a lot of Parmesan. If you’re looking for an easy recipe that uses a similar deep flavor profile, check out my notes on easy enchilada pasta—imagine swapping out some of those savory elements for these rich onions!
Here are a couple of other quick ideas for your caramelized onions:
- Pizza Topping: Spread them thinly under the cheese for amazing depth.
- Savory Tarts: Mix them into a custard base for an incredible appetizer.
- Dips: Fold them into sour cream or cream cheese for an intense onion dip.
- Enhancing Sloppy Joes: Stir them into my sloppy joe mix for a sweet counterpoint to the tang!
Storage and Reheating Instructions for Your Caramelized Onions
One of the greatest things about making a huge batch of these caramelized onions is that they save beautifully. This recipe isn’t just for this one meal; it’s for prepping flavor for the whole week, or even the whole month! Because we cooked out so much of the moisture through that long, slow process, these onions are remarkably stable.
For the short term, you can store them in an airtight container right in your refrigerator. My recipe notes mention they keep nicely for up to one week this way. They stay soft and ready to use straight from the fridge, which is so handy when you need a last-minute weeknight flavor booster.
If you made a massive batch—and trust me, I always do because they are so good—freezing is your best friend. You can scoop them into small, freezer-safe bags or ice cube trays. If you use the trays, just pop out a cube or two whenever you need a little sprinkle of gourmet flavor for a sauce or soup. Once frozen solid, transfer those cubes to a larger zip-top bag. They hold up really well in the freezer for about three months, keeping that rich, savory onion recipe base intact for when you need it most!
Frequently Asked Questions About Caramelized Onions
I get so many questions about this recipe because everyone wants to make sure they get those perfect golden brown onions the first time! Don’t stress, these questions pop up all the time. Here are the ones I hear most often about transforming these humble veggies.
Can I make caramelized onions faster than one hour?
Yes, you absolutely *can* speed things up, but I’ll be honest with you—they won’t have that deep, profound flavor that comes from the hour-long process. If you’re desperate, using that optional half-teaspoon of sugar helps pull the color along faster. Some folks even use a pressure cooker or transfer them to the slow cooker on low for several hours. However, you are sacrificing the natural complexities that develop when you cook onions slowly on the stovetop. My vote? If you have the time, stick to the hour for the best results!
What is the difference between sautéed onions and caramelized onions?
This is a fantastic question because people mix them up constantly! Sautéed onions are cooked quickly over medium or medium-high heat until they are soft, translucent, and maybe slightly pale golden. They are delicious, but they still retain a little bit of that sharp onion bite because you haven’t fully drawn out the sugars.
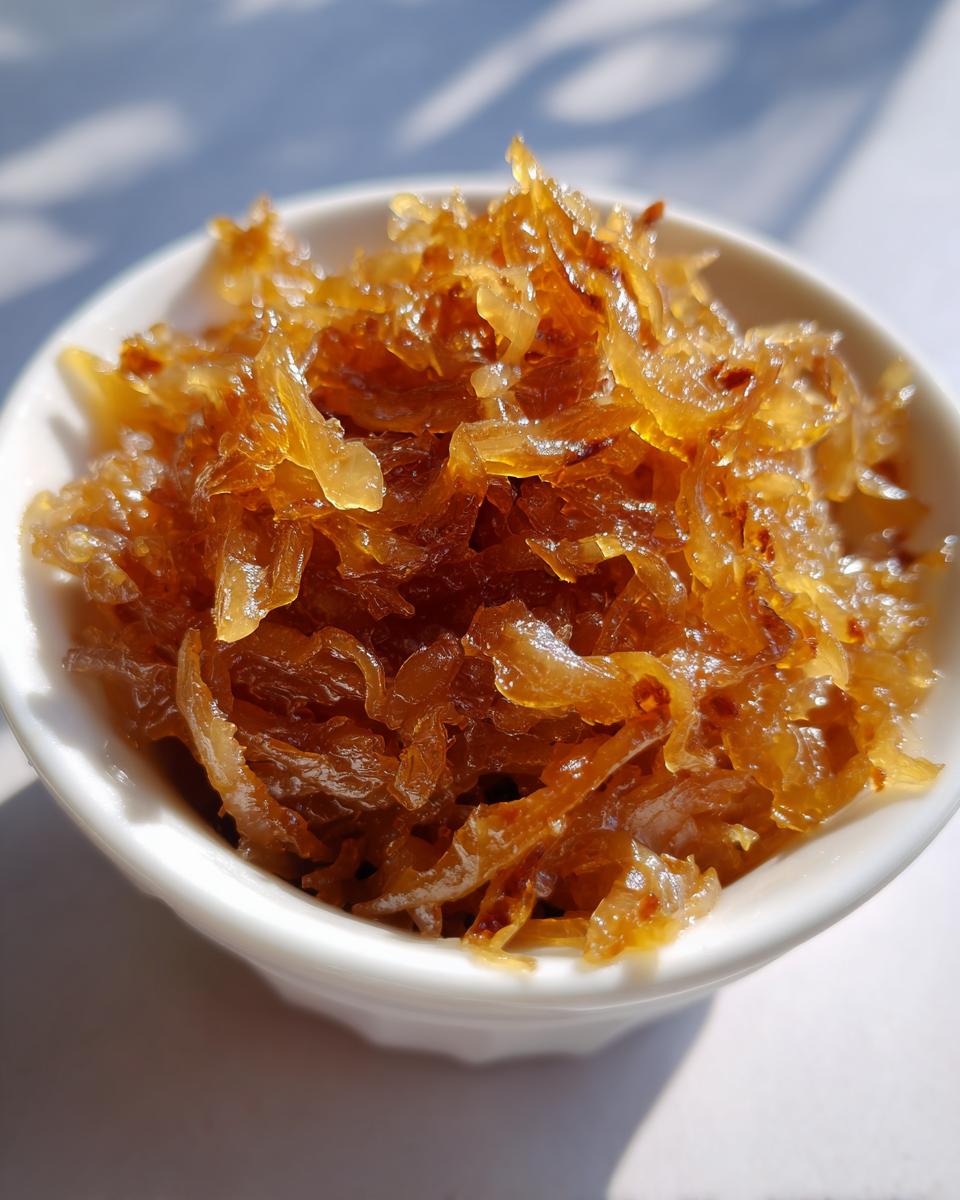
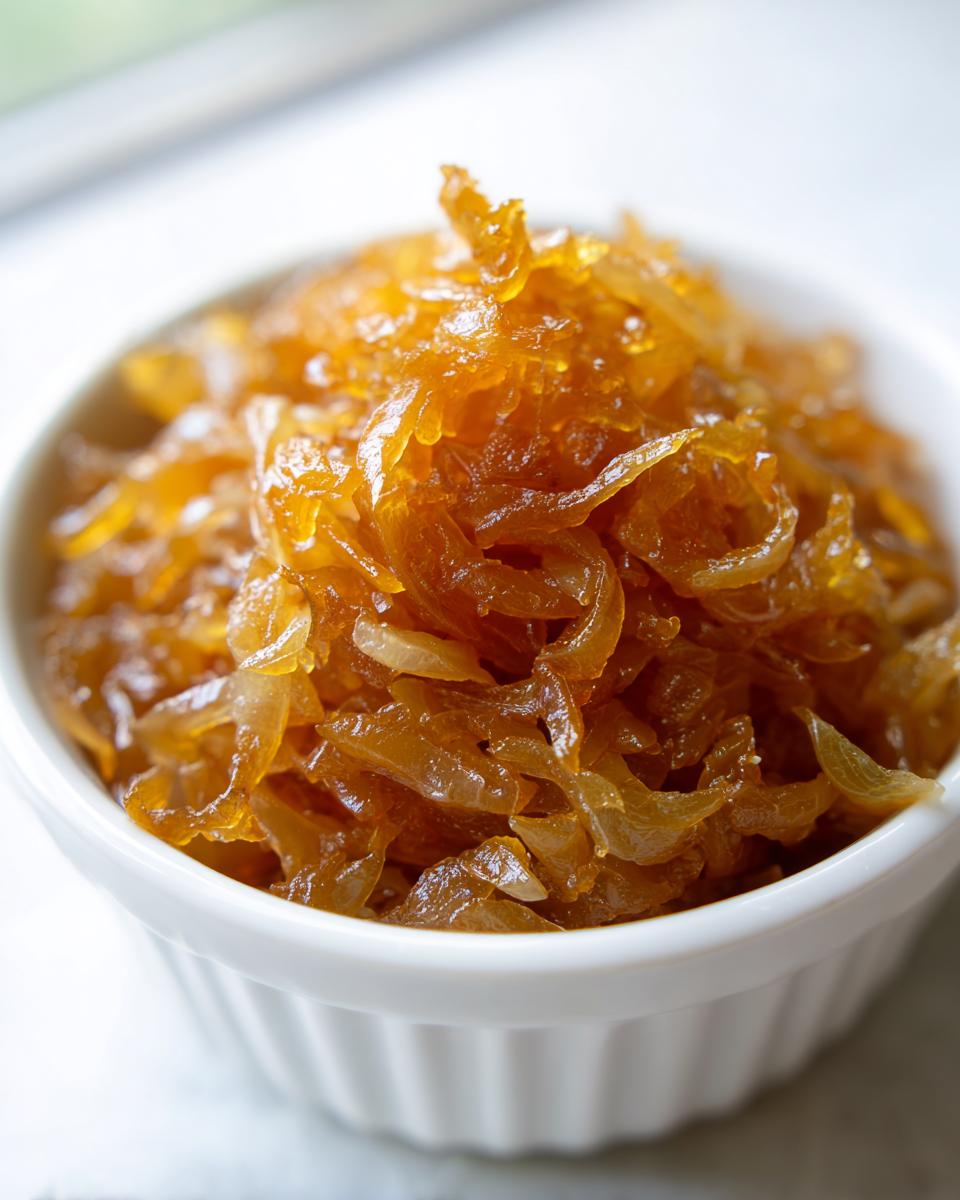
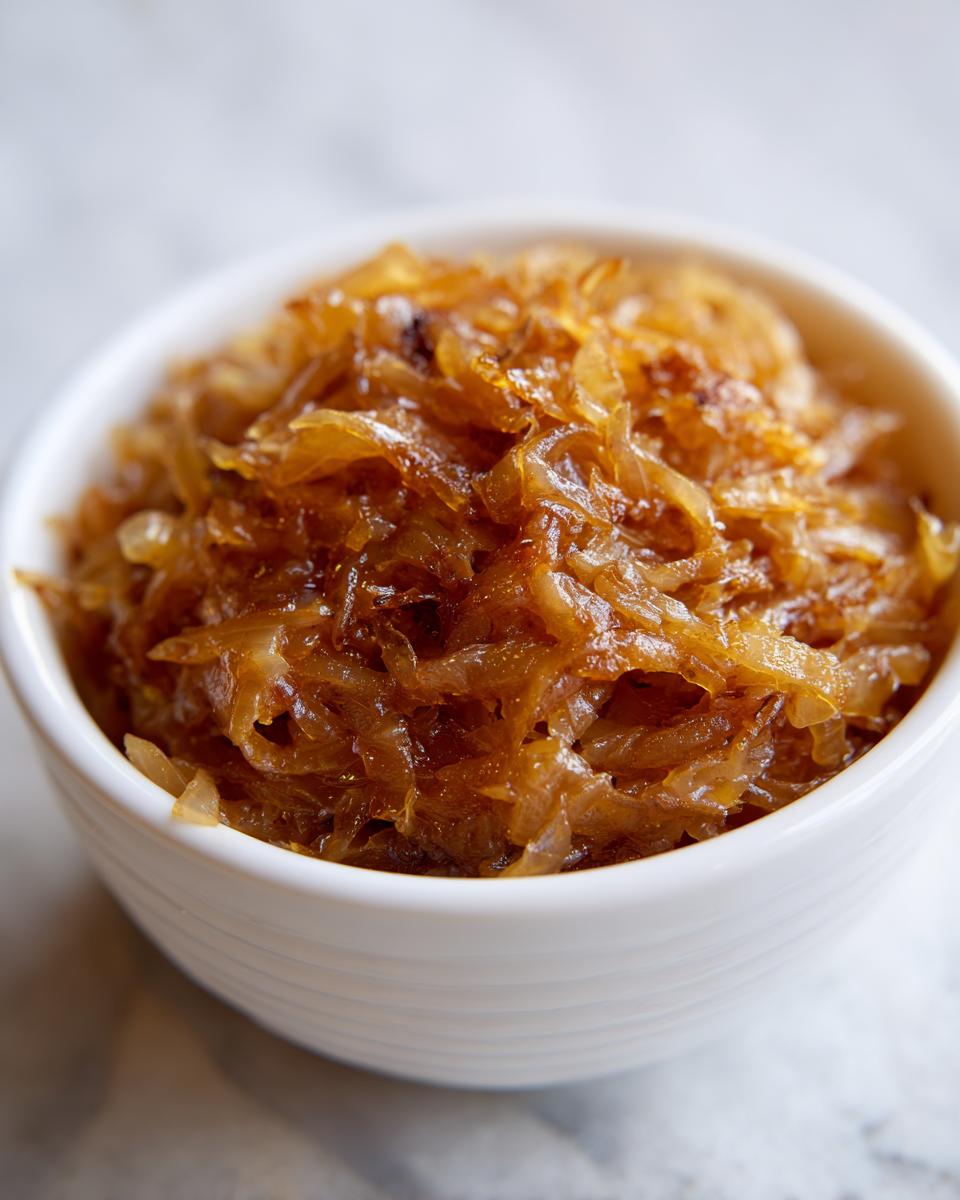
Caramelized onions, on the other hand, are cooked low and slow. They achieve that deep, rich brown color—think dark amber—and the texture becomes incredibly soft, almost like a jam or a dense paste. They have lost all their sharpness and are purely sweet and savory. That difference in texture and color is the marker of true caramelization!
Do I need butter *and* oil, or can I just use one?
You can technically use just one, but I really recommend both for the best outcome! The oil has a higher smoke point, so it protects the butter from burning right away, which gives you a crucial head start in the initial softening phase. The butter, though, deposits that necessary creamy richness and flavor we associate with a great savory onion recipe. If you *only* have one, use butter, but keep your heat extra low!
Estimated Nutritional Data for Caramelized Onions
Now, I know some of you sharp cooks out there are tracking macros, and I totally respect that! I want to give you a baseline for what you can expect from this batch of caramelized onions. Remember, since we are using butter and the natural sugars in the onions, these little flavor bombs do contain some sugar and fat.
Here is the estimated nutritional breakdown based on the recipe ingredients (three large onions cooked down to about 1.5 cups total yield). Please remember these are estimates, and your numbers might shift a tiny bit based on the exact size of your onions and how much liquid evaporates. This is just a snapshot of what’s in that amazing, deep flavor!
- Serving Size: 1/4 cup
- Calories: 85
- Fat: 5g
- Saturated Fat: 2g
- Carbohydrates: 10g
- Sugar: 8g (Remember, these are natural sugars from the onion working their magic!)
- Protein: 1g
- Sodium: 190mg
See? Not bad for something that tastes like it should have a million complicated steps! That low calorie count combined with the huge flavor profile proves that these are a smart addition to any healthy meal plan. They are definitely a go-to when I am planning out my healthy lunch ideas for the week ahead.
Share Your Deep Flavor Onion Technique Creations
Whew! We did it! You now have the secret to making truly spectacular, sweet caramelized onions that taste like they came straight from a fancy French bistro. I am so excited for you to try this foundational technique. It’s one of those cooking basics that just keeps paying dividends every time you make something delicious.
Now for the fun part: I absolutely love hearing how you use these onion topping ideas in your own kitchens! Did you use them on a burger, stir them into a creamy sauce, or maybe sprinkle them over a simple roast chicken? Please, please let me know! Drop a star rating below and leave a comment detailing your favorite way to enjoy these tender jammy onions.
Your feedback helps me know exactly what you’re looking for next. If you have any questions that didn’t get answered above, or if you just want to share a picture of your batch, head over to the Contact Page and send me a note. Happy cooking, friends! I’m sending you all the best rich, savory vibes from my kitchen to yours!
PrintThe Ultimate Guide: How to Perfectly Caramelize Onions
Learn the basic cooking technique to transform sharp onions into sweet, golden brown onions. This method draws out natural sugars, creating a deep flavor booster perfect for burgers, sandwiches, and pasta.
- Prep Time: 10 min
- Cook Time: 50 min
- Total Time: 60 min
- Yield: About 1.5 cups 1x
- Category: Side Dish
- Method: Stovetop Slow Cooking
- Cuisine: American
- Diet: Vegetarian
Ingredients
- 3 large yellow onions, thinly sliced
- 2 tablespoons unsalted butter
- 1 tablespoon olive oil
- 1 teaspoon salt
- 1/2 teaspoon sugar (optional, for faster caramelization)
Instructions
- Slice the onions thinly and uniformly. Uniform slices cook evenly.
- Place a large, heavy-bottomed skillet over medium-low heat. Add the butter and olive oil. Wait until the butter melts and coats the pan.
- Add all the sliced onions to the skillet. Stir to coat them completely with the fat. Add the salt.
- Cook the onions slowly, stirring every 5 to 7 minutes. For the first 15 minutes, the onions will soften and release moisture.
- Reduce the heat to low. Continue cooking, stirring every 5 minutes. This slow process allows the natural sugars to break down and caramelize without burning. This stage takes 30 to 45 minutes.
- If the onions start sticking too much or look like they might burn, add 1 tablespoon of water to the pan and scrape up the browned bits (fond) from the bottom. This adds moisture and flavor back into the onions.
- Continue cooking until the onions reach a deep, rich golden brown color and have a jammy, tender texture. This can take 45 to 60 minutes total, depending on the heat.
- If using, stir in the optional sugar during the last 10 minutes of cooking to aid in browning.
- Remove from heat. These sweet caramelized onions are now ready to use as a gourmet onion flavor topping.
Notes
- Patience is key; rushing this process results in burnt or merely sautéed onions, not true caramelized onions.
- For a weeknight flavor booster, you can use a slow cooker on low for 4 to 6 hours to achieve a similar result with less hands-on time.
- These onions store well in the refrigerator for up to one week, making them great for meal prep.
Nutrition
- Serving Size: 1/4 cup
- Calories: 85
- Sugar: 8
- Sodium: 190
- Fat: 5
- Saturated Fat: 2
- Unsaturated Fat: 3
- Trans Fat: 0
- Carbohydrates: 10
- Fiber: 2
- Protein: 1
- Cholesterol: 5