
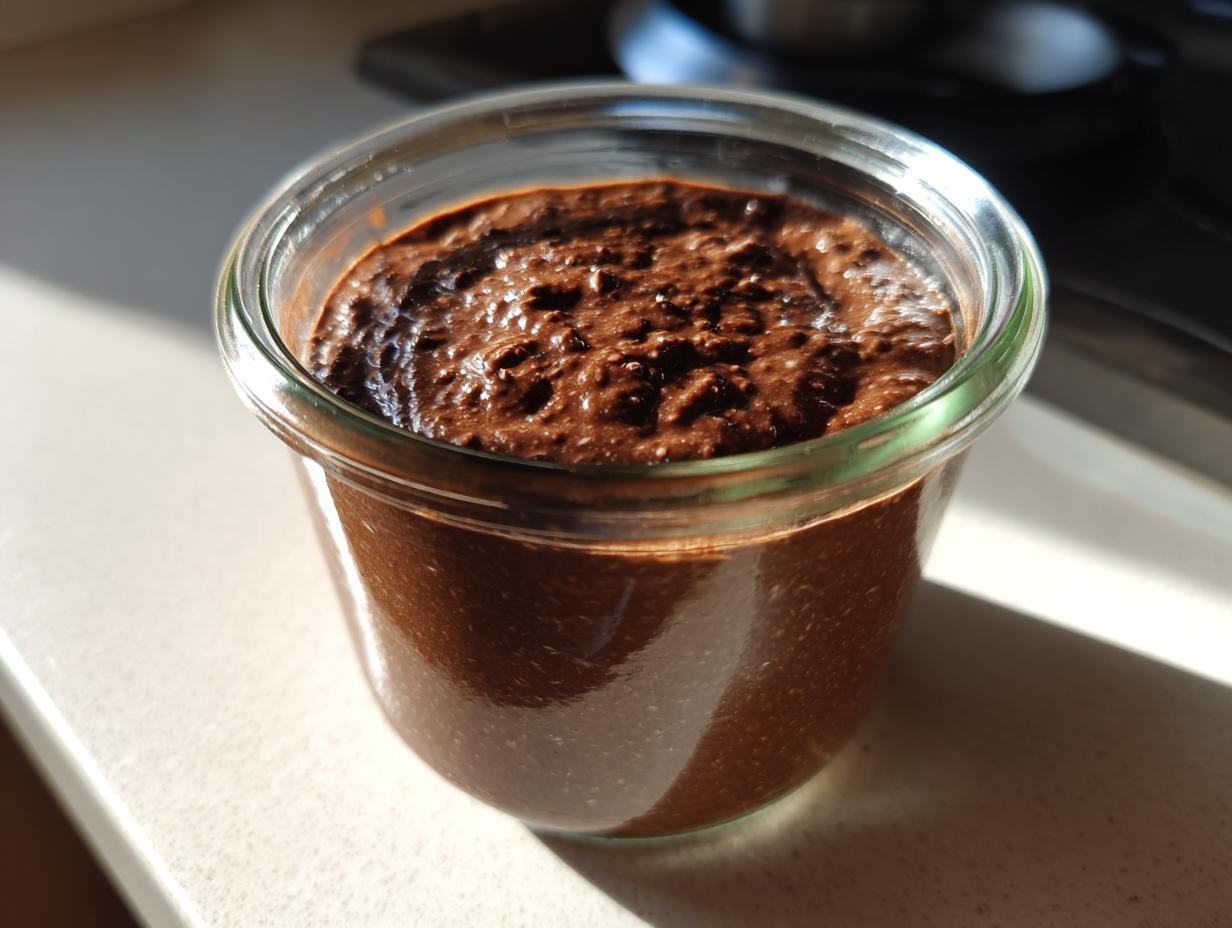
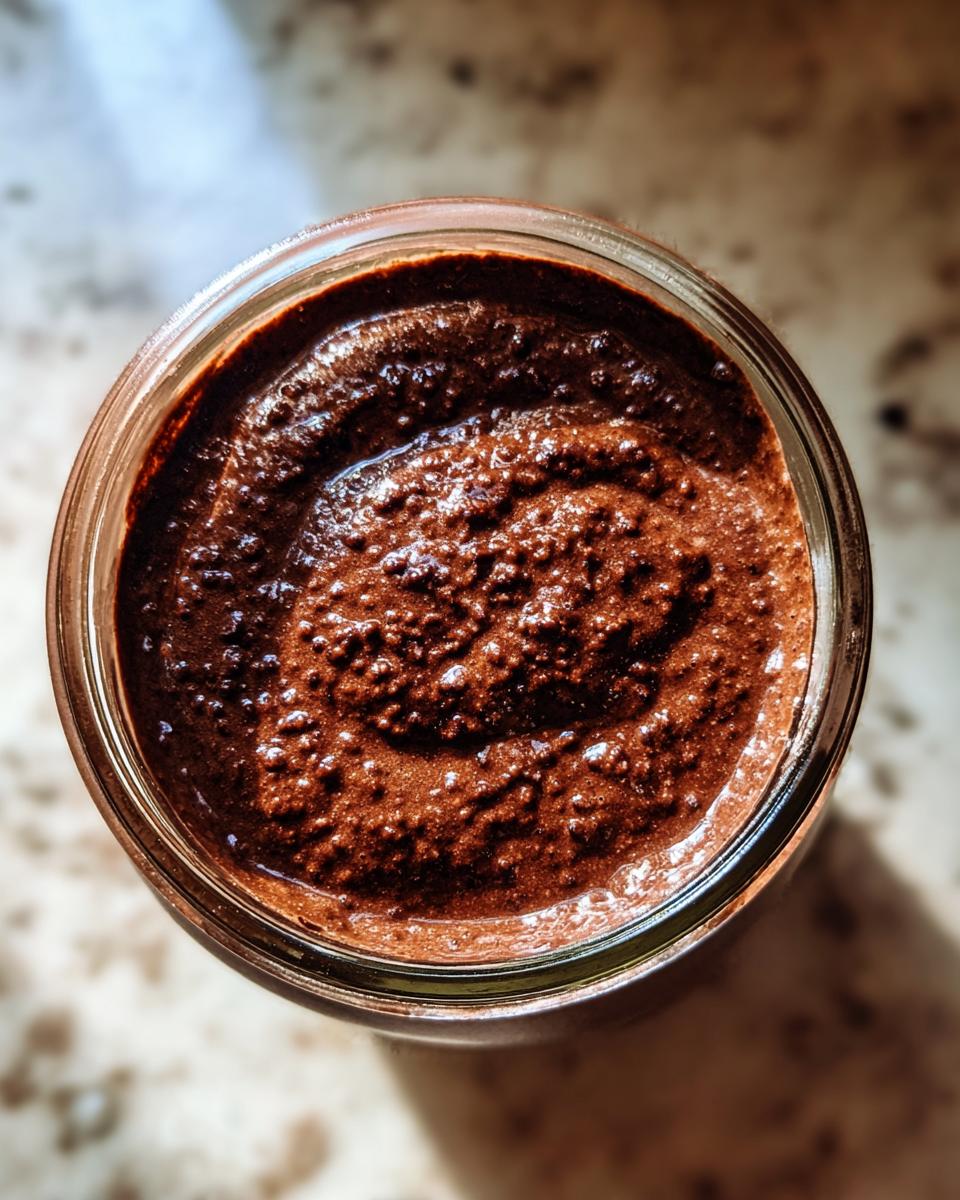
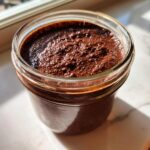
Who says you can’t have dessert for breakfast? Seriously, I believe that your morning meal should taste incredibly indulgent but still keep you energized until lunch! That’s why I am so excited to share my ultimate recipe for chocolate overnight oats. This is the foolproof, no-cook recipe that tastes exactly like thick, fudgy brownie batter. Trust me, this came straight out of my professional kitchen work, tempered by my background in nutrition, to make sure every grab-and-go jar is simple, satisfying, and absolutely delicious. You won’t believe this is a healthy breakfast! You should also check out my guide on creamy, high-protein overnight oats for more amazing breakfast ideas!
- Why This Recipe for Chocolate Overnight Oats is Your New Favorite Meal Prep Breakfast
- Gathering Ingredients for Decadent Chocolate Overnight Oats
- Step-by-Step Instructions for Easy Overnight Oats Recipe
- Mastering Your Chocolate Overnight Oats: Expert Tips for Success
- Make Ahead Breakfast: Storing and Keeping Your Chocolate Overnight Oats Fresh
- Creative Overnight Oats Variations for Your Meal Prep Breakfast
- Serving Suggestions: Taking Your Chocolate Overnight Oats to the Next Level
- Frequently Asked Questions About Chocolate Overnight Oats
- Estimated Nutritional Snapshot for Chocolate Overnight Oats
Why This Recipe for Chocolate Overnight Oats is Your New Favorite Meal Prep Breakfast
Listen, I get it. Mornings are chaos. That’s why making life easier is my number one goal, and this recipe is the perfect meal prep breakfast solution. You spend five minutes mixing everything in a jar the night before, and bam—you have a ready-to-eat breakfast waiting for you. No turning on the stove, no watching pots bubble, just pure no cook breakfast magic!
What truly sets this apart is how it hits that sweet spot between healthy and decadent. People think they have to choose one or the other, but not here. We get that rich, fudgy cocoa flavor that screams dessert, but because we load it up, it becomes a powerhouse of high protein overnight oats. I personally think the combination of dark cocoa and creamy yogurt is unbeatable; it just satisfies that chocolate craving right away, which helps me skip the vending machine later! For more great make-ahead ideas that simplify your week, check out my tips for healthy lunch ideas.
The Secret to Brownie Batter Overnight Oats Texture
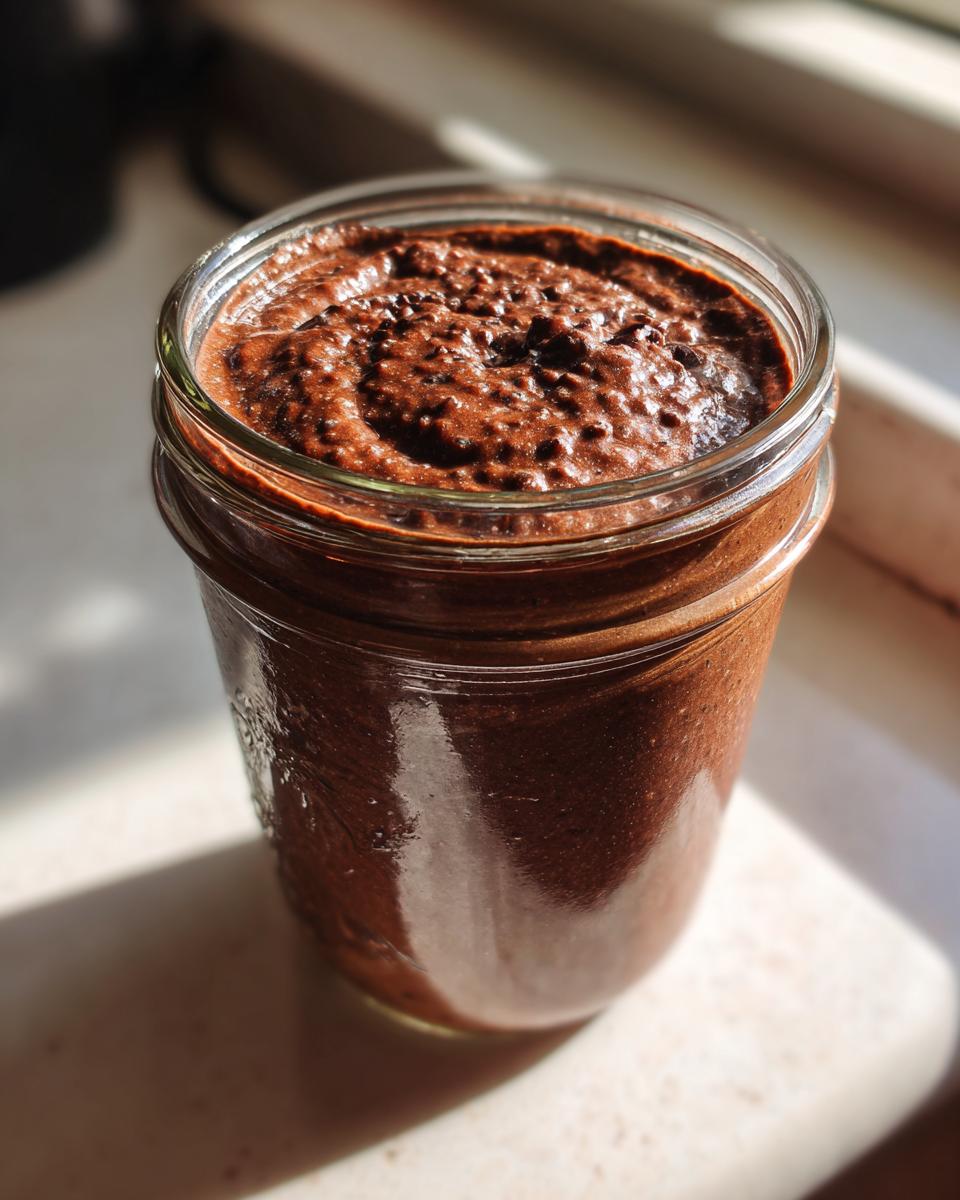
The secret to that famous “brownie batter” texture isn’t actually a secret ingredient—it’s the ratio! When you combine the cocoa powder with the Greek yogurt (if you use it) and the chia seeds, you create this thick, almost pudding-like binder. It absorbs the milk perfectly overnight instead of just getting soggy. It’s dense, creamy, and totally satisfying without being heavy.
Gathering Ingredients for Decadent Chocolate Overnight Oats
Okay, let’s talk about what you need to gather for this amazing treat. Since this is a no-cook recipe, the quality of your ingredients really shines through, and clarity in measurements is everything! We’re keeping this simple—no weird specialty flours or obscure flavorings here. Just straightforward kitchen staples that deliver maximum chocolate goodness. I always measure mine out into separate small bowls (my version of mise en place!) before dumping them into the jar, just to make sure I don’t accidentally spill too much maple syrup!
Ingredient Notes and Substitution Options
I want you to feel confident swapping things around if you need to, because life happens! First, for the liquid, use whatever milk you love—dairy, almond, soy, or oat milk all work beautifully for these chocolate overnight oats. If you use a very thin milk, you might need to slightly increase the chia seeds, just a tiny bit.
The Greek yogurt is listed as optional, but trust me on this one: it’s totally worth adding if you want that thick, ultra-creamy texture that tastes like a high-end dessert. It boosts the protein, too! When it comes to sweetener, I prefer maple syrup because it blends in so nicely, but feel free to use honey, agave, or even stevia drops if that’s what you keep stocked. Another thing about the chia seeds—they are crucial for body! They gel up and help make this recipe filling. If you absolutely can’t use them, you can skip them, but you’ll definitely want to increase the Greek yogurt to compensate for the lost thickness.
Step-by-Step Instructions for Easy Overnight Oats Recipe
Okay, here is where the magic happens! It really is just assembly, which is why this is my favorite easy overnight oats recipe for any busy day. Since there’s no actual cooking involved, the main work is just making sure everything is mixed well enough that you don’t find a weird clump of dry cocoa powder the next morning—and trust me, I’ve learned that lesson the hard way!
Follow these simple steps to get your jar ready for the fridge. This whole process takes about five minutes tops!
- First things first, grab a jar or any container you have with a lid. I love using small mason jars because they are perfect for grabbing on the way out the door, but any Tupperware works!
- Next, toss in all your dry stuff: the rolled oats, the cocoa powder, the chia seeds, and that tiny pinch of salt. Give those a quick swirl with a fork so the cocoa powder starts breaking up a bit.
- Now, add the wet ingredients: your milk, maple syrup, vanilla extract, and the Greek yogurt if you’re using it, plus that optional protein powder if you’re boosting the protein for the day.
- Stir everything together until it looks completely uniform. Make sure you scrape the bottom and sides really well to catch any pockets of dry ingredients lurking there!
- Seal that lid on tight! This is critical: You need to refrigerate this for a minimum of four hours, but honestly, you **must** let it sit overnight—at least 8 hours if you can swing it. That’s how the oats get perfectly soft and the chia seeds do their gelling work.
- When you wake up, remove the lid and give it one last good stir. If it seems too thick for your liking, just add a tiny splash of milk and stir until it’s that perfect, satisfying texture you want to eat cold.
- That’s it! Eat it cold right out of the jar. Easy, right? For more quick and easy breakfast ideas that save you time, definitely peek at my guide on quick, easy breakfasts!
Tips for Achieving Creamy Chocolate Oatmeal Consistency
If you are obsessed with that super-smooth, almost pudding-like texture—that’s the secret to truly creamy chocolate oatmeal—I have two tricks for you. First, always do that final consistency check in the morning (Step 6). If it’s too thick, add milk one teaspoon at a time until it loosens up. Don’t rush this part!
My biggest pro tip, though, is something I learned in the test kitchen: If you have a small immersion blender or can pour everything into a regular blender, blend the mixture for about 15 seconds *before* you chill it. Seriously! Blending breaks down the oats slightly and incorporates the cocoa powder better than any vigorous stirring can. You wake up to the creamiest, fudgiest stuff imaginable. It turns it from good overnight oats into *wow* overnight oats.
Mastering Your Chocolate Overnight Oats: Expert Tips for Success
Now that you have the basic steps down for your chocolate overnight oats, let’s talk about taking things from great to absolutely unbeatable. Because this recipe is so simple, the tiny details actually make a huge difference in texture and flavor. It’s about getting that deep, rich cocoa flavor we are aiming for!
The first thing I always emphasize is the cocoa powder. Skip the cheap stuff if you can; seriously, use a good quality, unsweetened Dutch-process cocoa powder. It dissolves so much easier and gives you that dark, slightly less bitter, fudgy flavor that screams “brownie batter.” If your cocoa powder is old or clumpy, no amount of stirring will save you! If you want to see some other great, speedy preparations, take a look at what they’re doing over here: chocolate overnight oats!
And remember that blending tip I mentioned earlier? If you want the absolute smoothest, most luxurious bowl of oats—the kind that feels like true dessert—blending everything for just 15 seconds before it hits the fridge is a game-changer. Seriously! It cuts those oat edges down just enough so they melt in your mouth overnight. It really elevates the entire experience.
Another thing people sometimes overlook is the quality of the oats themselves. Make sure you are using old-fashioned rolled oats, not instant oats. Instant oats turn to complete mush, and we want texture here! Rolled oats soften perfectly, giving you that satisfying chewiness that makes these such a fantastic, substantial breakfast option.
Make Ahead Breakfast: Storing and Keeping Your Chocolate Overnight Oats Fresh
This is where the make ahead breakfast really shines. You can mix these up and have them ready to go for days! I find that these chocolate overnight oats keep really well in the fridge for up to four days if sealed properly. That means I can prep Sunday night and already have my Tuesday and Wednesday mornings sorted out. No fuss, zero thought required!
The key to keeping them fresh—and delicious—is that seal. Use a container with a tight-fitting lid, like a mason jar or a secure plastic container. Air is the enemy here; it can really dry out the top layer of oats, even if the bottom is perfect. Give them a good stir when you first put them away, but definitely give them a vigorous stir again right before you dig in the next morning!
Creative Overnight Oats Variations for Your Meal Prep Breakfast
Now, you know I love this base recipe because it’s so reliable, but variety is the spice of life, right? Once you master the simple formula for these chocolate overnight oats, it’s fun to start shaking things up for your weekly meal prep breakfast rotation! It keeps things exciting so you never get bored of eating oats!
I’ve experimented a ton, and there are a few flavor combinations that just absolutely sing. Since we’re starting with that deep, satisfying chocolate flavor, pairing it with contrasting or complementary tastes is the way to go. If you love getting creative with chocolate, check out my super moist chocolate banana bread recipe for other decadent ideas!
My first suggestion leans into pure indulgence: make it into chocolate peanut butter oats! After mixing the base ingredients the night before, layer in about a tablespoon of creamy peanut butter right before you seal the jar. When you eat it in the morning, stir that salty, nutty swirl throughout. It tastes exactly like a peanut butter cup, but healthier!
Another winner is incorporating some brightness with fruit and chocolate overnight oats. Since fresh strawberries are great, I often add a thin layer of almost-smashed raspberries or cherries on top before chilling—a little tartness cuts the richness beautifully. If you use frozen fruit, just toss it in frozen; it acts like ice cubes and keeps everything super cold overnight!
Boosting Protein in Your Chocolate Overnight Oats with Protein Powder
If you’re looking to make these into serious fuel, you absolutely must try adding protein powder. This is how we get these into the high protein overnight oats category! I usually recommend one standard scoop, about 25–30 grams, of a good quality powder. Chocolate flavor works best, obviously, but vanilla is surprisingly good too, especially if you plan on adding fruit later.
Here’s the catch, though—protein powder is super absorbent. If you add a full scoop, you MUST increase your liquid ratio slightly, or you’ll end up with something closer to chocolate cement! I usually add an extra quarter cup of milk if I’m adding protein powder. If you skip the Greek yogurt, you can use that extra quarter cup to compensate for the thickness from the powder. Just check the consistency in the morning and splash in more milk until it’s perfect for you!
Serving Suggestions: Taking Your Chocolate Overnight Oats to the Next Level
Okay, the oats are perfectly creamy, they’ve soaked all night, and you’re ready to eat! This is the best part because this is where we transform our simple, healthy chocolate oats into something dazzling. Remember, just because it’s healthy doesn’t mean it can’t look like a gorgeous treat. Presentation makes everything taste better, even if you’re eating it straight out of a jar while running out the door!
Think of the chilled oats as your blank, fudgy canvas. I love loading mine up in the morning to make it feel like that dessert for breakfast oatmeal experience we talked about. You already have all the fiber and protein; now let’s add some texture and fun!
My absolute favorite way to finish these is with a few crunchy elements. A sprinkle of chopped walnuts or pecans adds such a lovely texture contrast against the soft oats. You could also toss on some hemp seeds or flax seeds for an extra little nutritional boost that doesn’t change the taste much.
If you’re feeling extra decadent, skip the nuts and go for classic toppings. A small dollop of peanut butter or almond butter right on top is heavenly—it melts just slightly into the cold oats as you eat. If you prefer something light and fruity, fresh berries are fantastic. Raspberries or sliced bananas work best because their tartness and sweetness perfectly complement that dark chocolate flavor. Seriously, try layering a few raspberries right on top before you dig in—it makes the whole jar feel special. If you need inspiration for other fantastic toppings like honey drizzles or savory dips, take a peek at how I use honey for those sweet-and-salty combos in my whipped ricotta dip!
Frequently Asked Questions About Chocolate Overnight Oats
I know you might have a few lingering questions, because making sure your breakfast is perfect both texturally and nutritionally is important to me too! Since this recipe is so highly requested, I wanted to clear up some of the common things people ask me when they try this for the first time. Don’t worry if you need to swap things out—we can usually make these work for whatever you have on hand!
For example, a lot of people ask about adapting this for different diets, or if they can just skip the chia seeds. Life’s too short to stress over making a substitution, so let’s tackle those topics head-on right here!
Can I make vegan chocolate overnight oats?
Absolutely, yes! This is so easy to make vegan, which is why it’s a fantastic option if you follow a plant-based diet. The only non-vegan items in the base recipe are the Greek yogurt and traditional milk. To veganize it, just swap the Greek yogurt for an equal amount of coconut yogurt or a thicker vegan alternative. Then, use your favorite non-dairy milk—almond or soy milk works great for consistency. You’ll still get that delicious, fudgy flavor in your chocolate overnight oats!
How long can I store my make ahead breakfast?
This is such a great question for anyone doing serious meal prep breakfast! They keep wonderfully in the fridge. I always tell folks that for the best texture, you should eat them within about four days. After that, the oats start to get a little too soft, and while they’re safe to eat, they lose that nice texture we worked so hard to achieve. You can prep a whole batch on Sunday and have breakfast ready through Wednesday!
What happens if I skip the chia seeds?
The chia seeds are primarily there to provide healthy fats, fiber, and structure. They gel up and make the mixture thicker and more satisfying when you eat it, which is why they are key to that thick texture. If you skip them, you’ll want to increase your Greek yogurt by about an extra tablespoon, or use a bit less milk overall than the recipe calls for. Remember, you can always add more liquid later, but you can’t take it away!
Is this a Gluten Free Chocolate Oats option?
Yes, this recipe can easily become a gluten free chocolate oats option, but you have to be careful about your oats! Rolled oats themselves are naturally gluten-free, but they are often processed on equipment shared with wheat. So, if you need this recipe to be strictly gluten-free, you must purchase oats that are specifically labeled or certified as gluten-free. Otherwise, the rest of the ingredients are totally safe!
Can I eat this served warm?
This recipe is designed as a truly no cook breakfast, meaning it tastes best served cold, right out of the jar! The texture depends on the chia seeds gelling and the oats soaking overnight in the cold liquid. Heating them up won’t hurt, but it will change the consistency quite a bit—it will become more like traditional stovetop oatmeal, which isn’t quite the fudgy texture we are aiming for with our brownie batter overnight oats!
Estimated Nutritional Snapshot for Chocolate Overnight Oats
As a recipe developer with a background in nutrition, I always make sure you know what you are fueling your body with! When you’re relying on a great grab and go breakfast like this, knowing the approximate macros is super helpful, especially if you’re tracking protein goals.
Keep in mind that these numbers are estimates based on the standard ingredients listed above—if you use full-fat Greek yogurt instead of non-fat, or if your protein powder brand is different, these values will shift a bit. This recipe is designed to be a balanced start, hitting that sweet spot between satisfying carbs and filling protein.
Here is the general snapshot for one serving of these chocolate overnight oats:
- Calories: Approximately 350 kcal
- Protein: Around 18 grams (This is excellent for a breakfast!)
- Carbohydrates: About 58 grams
- Fat: Roughly 8 grams (Much of this comes from the healthy fats in the chia seeds!)
We are seeing about 10 grams of filling dietary fiber in here too, which is fantastic for digestion and making sure you stay full until lunch! I always tell people that this kind of balanced profile is what separates a true healthy chocolate oats recipe from something that’s just sugary.
A quick note on accuracy: Because ingredient density and brand choices (especially with protein powder and milk type) can vary widely, please treat these numbers as a general guide. If you are tracking precisely for medical or fitness reasons, you might want to input the exact brands you used into your preferred tracking app!
PrintUltimate Healthy Chocolate Overnight Oats: Tastes Like Brownie Batter
Make this easy, no-cook recipe for chocolate overnight oats that tastes like decadent brownie batter. It is perfect for meal prep and provides a high-protein start to your day.
- Prep Time: 5 min
- Cook Time: 0 min
- Total Time: 5 min plus chilling time
- Yield: 1 serving 1x
- Category: Breakfast
- Method: No Cook/Refrigeration
- Cuisine: American
- Diet: Vegetarian
Ingredients
- 1 cup rolled oats
- 1 cup milk (dairy or non-dairy)
- 1/4 cup Greek yogurt (optional, for extra protein/creaminess)
- 2 tablespoons unsweetened cocoa powder
- 1–2 tablespoons maple syrup or sweetener of choice
- 1 tablespoon chia seeds
- 1/2 teaspoon vanilla extract
- Pinch of salt
- Optional: 1 scoop chocolate protein powder
Instructions
- Gather a jar or container with a lid suitable for holding one serving.
- Add the rolled oats, milk, Greek yogurt (if using), cocoa powder, maple syrup, chia seeds, vanilla extract, salt, and protein powder (if using) to the container.
- Stir all ingredients together thoroughly until the cocoa powder is fully mixed in and there are no dry clumps of oats remaining.
- Seal the container with a lid.
- Place the container in the refrigerator and let it chill for at least 4 hours, or preferably overnight.
- In the morning, stir the oats again. If the mixture is too thick, add a splash more milk until you reach your desired consistency.
- Eat cold directly from the jar.
Notes
- For a richer, brownie batter texture, blend the mixture before refrigerating.
- Add toppings like fresh berries, sliced banana, or a drizzle of peanut butter before serving.
- If you skip the Greek yogurt, you may need slightly less milk to achieve a thick texture.
Nutrition
- Serving Size: 1 jar
- Calories: 350
- Sugar: 12g
- Sodium: 150mg
- Fat: 8g
- Saturated Fat: 2g
- Unsaturated Fat: 6g
- Trans Fat: 0g
- Carbohydrates: 58g
- Fiber: 10g
- Protein: 18g
- Cholesterol: 5mg