
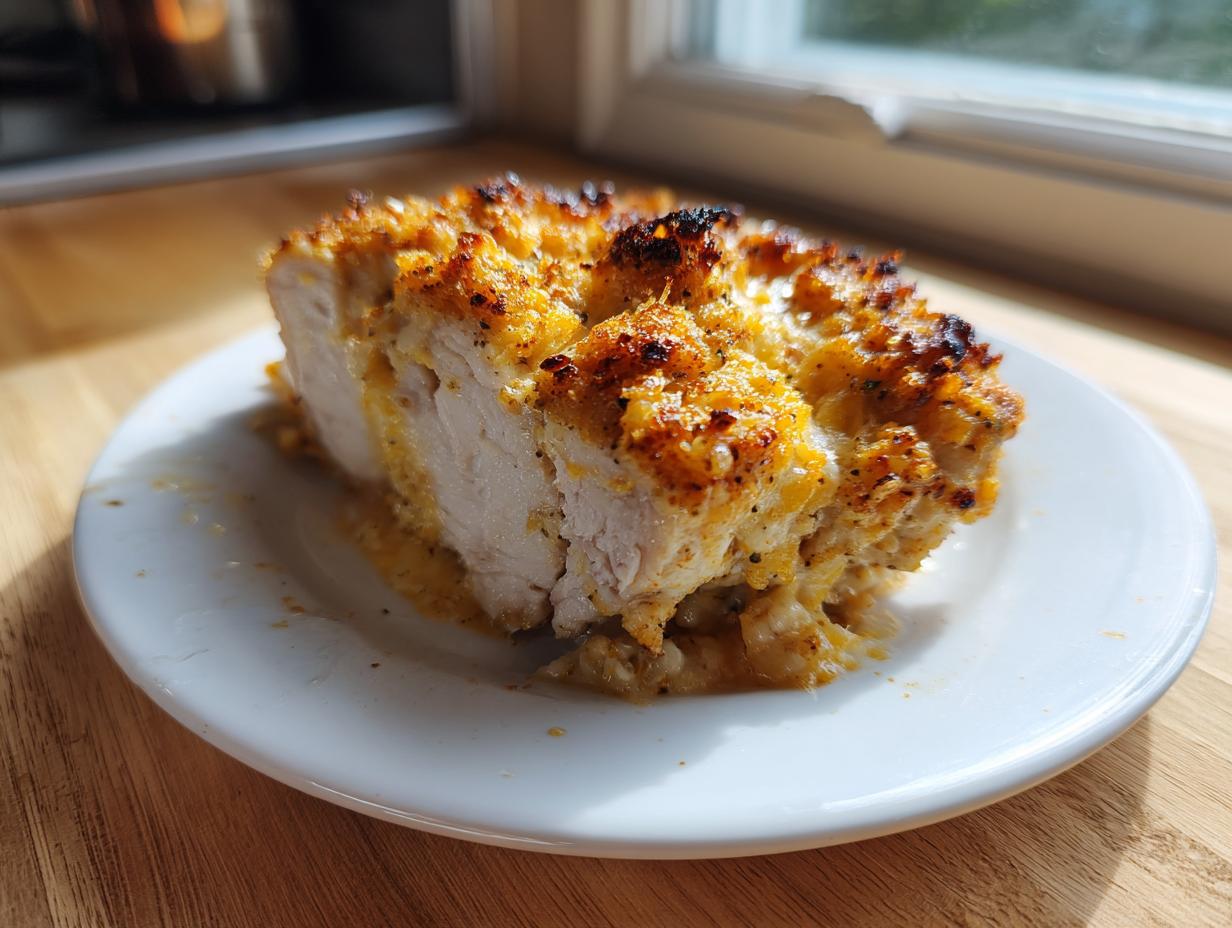
If you’ve ever sworn off baking chicken breasts because they always turn out dry and sad, trust me, I get it! But that ends today. This Creamy Parmesan Baked Caesar Chicken recipe is the answer to your prayers because it absolutely guarantees a melt-in-your-mouth result, every single time. I spent years working in professional test kitchens, and my background in nutrition shows me exactly how to build flavor while locking in every bit of moisture. This isn’t just guesswork; it’s science mixed with a whole lot of comfort. You need this easy Caesar chicken in your weeknight rotation now. If you’re looking for more quick meals, check out my favorites for easy weeknight dinners!
- Why This Creamy Parmesan Baked Caesar Chicken is Your New Weeknight Hero
- Essential Ingredients for Perfect Caesar Chicken
- Step-by-Step Instructions for Juicy Oven Baked Chicken
- Tips for the Best Caesar Chicken Dinner
- Serving Suggestions for This Comfort Food Chicken
- Storing and Reheating Your Caesar Chicken
- Frequently Asked Questions About Baked Chicken Dinners
- Nutritional Estimate for Creamy Parmesan Caesar Chicken
- Share Your Melt-In-Your-Mouth Caesar Chicken Experience
Why This Creamy Parmesan Baked Caesar Chicken is Your New Weeknight Hero
I promise you, this is the low-effort chicken bake you’ve been dreaming about. It feels gourmet, but honestly, cleanup is a breeze and you get maximum flavor for minimum fuss. This creamy caesar chicken is going straight to the top of your favorites list.
- Incredible Juiciness: Say goodbye to dry protein in the oven! The creamy topping acts like a blanket, keeping everything tender.
- Flavor Bomb: You get that savory, tangy punch of classic Caesar dressing in every single bite.
- Super Fast: Ten minutes of prep is all it takes before you slide this perfection into the oven.
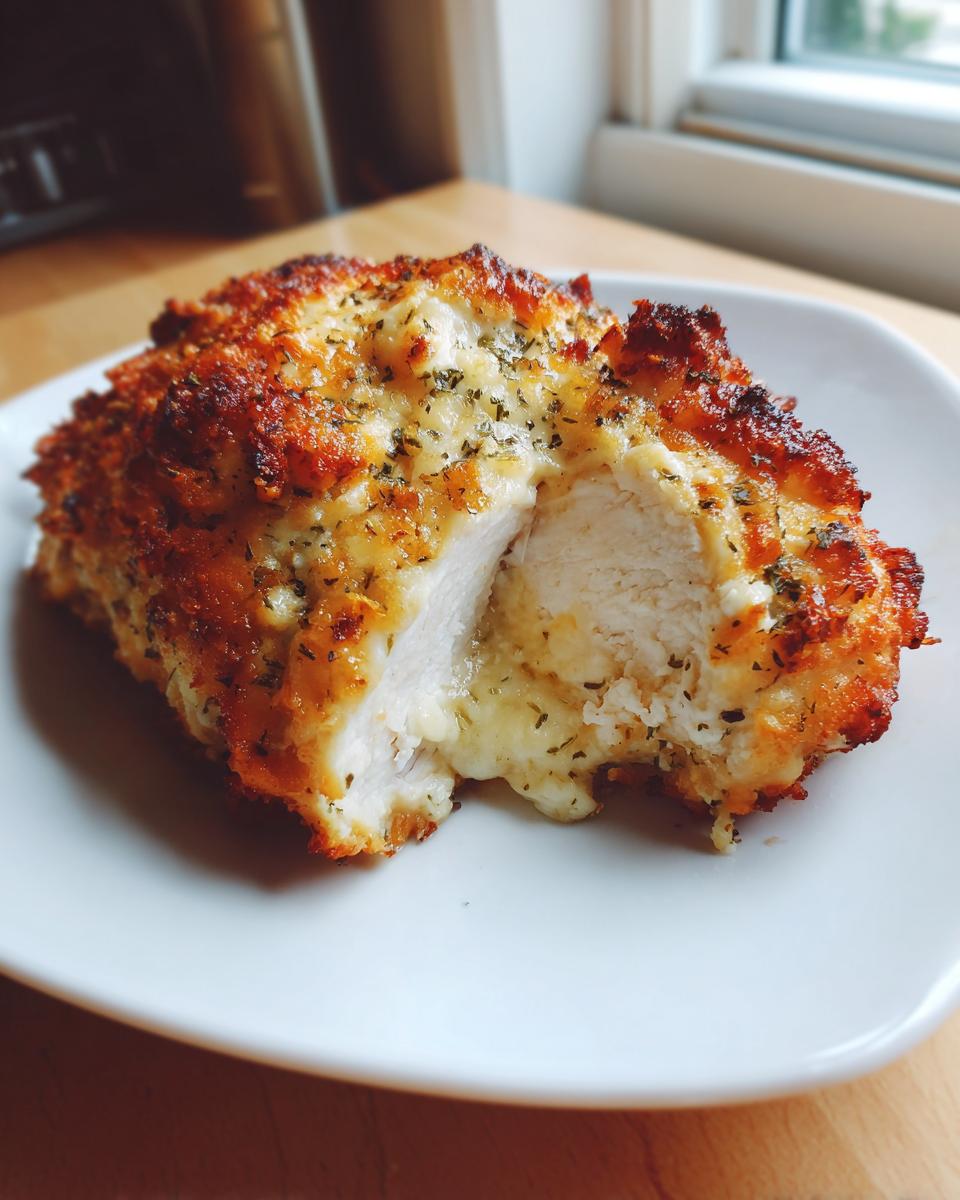
Achieving Melt In Your Mouth Chicken Texture
The secret weapon here is the sauce! When you mix that tangy Caesar dressing with creamy sour cream or yogurt, you create a barrier against the oven’s heat. Baking at 400°F is the sweet spot—hot enough to cook quickly, but the sauce insulates the chicken so it steams gently in its own flavorful coating. That’s how you get that juicy oven baked chicken that’s simply falling apart tender.
Quick Prep for Easy Caesar Chicken Recipe Success
Seriously, it’s so quick. We’re talking 10 minutes to mix up the sauce and spread it over the top. This speed makes the easy caesar chicken recipe perfect for those nights when you walk in the door exhausted, but still want something wholesome and delicious on the table fast. This truly is a low effort chicken bake!
Essential Ingredients for Perfect Caesar Chicken
When we’re aiming for that melt-in-your-mouth texture, the things you put on the chicken matter immensely! Since this is packed with bold flavor, using decent quality Caesar dressing makes all the difference for your easy caesar chicken recipe. I always keep the ingredient list short and rely on the quality of what we are using. If you love Parmesan-forward things, these ingredients will really shine through. You can see how I use Parmesan heavily in my Parmesan Crusted Chicken Copycat, too!
Ingredient Clarity and Preparation Notes
We’re relying on four lovely chicken breasts here—make sure they are boneless and skinless! For the creamy element, we are using about half a cup of sour cream, but if you want to lighten it up slightly, plain Greek yogurt is a wonderful swap for this creamy chicken breast recipe. Don’t forget to grab that Parmesan; you need half a cup mixed in, plus a little extra sprinkled over the top before it bakes. Don’t skimp on the seasoning measuring; those little pinches make a big impact!
Step-by-Step Instructions for Juicy Oven Baked Chicken
Okay, getting this juicy oven baked chicken on the table is truly the easiest part of the whole night! Because we are baking, cleanup is minimal, which is a huge win for any weeknight. Just trust the process—it’s designed by professionals to keep that easy caesar chicken recipe moist and flavorful.
Sauce Mixing and Chicken Prep
First thing’s first: get that oven warming up to 400°F. You need to start baking in a hot environment! Grab a mixing bowl and whisk together your creamy Caesar dressing, the Parmesan cheese, that dollop of sour cream (or yogurt!), garlic powder, Italian seasoning, salt, and pepper. Don’t stop mixing until everything looks perfectly smooth and homogenous. Now, take your prepared baking dish—I always give mine a quick spray just in case—and place your chicken breasts inside. You want them nestled in there so they’re ready for their creamy coating!
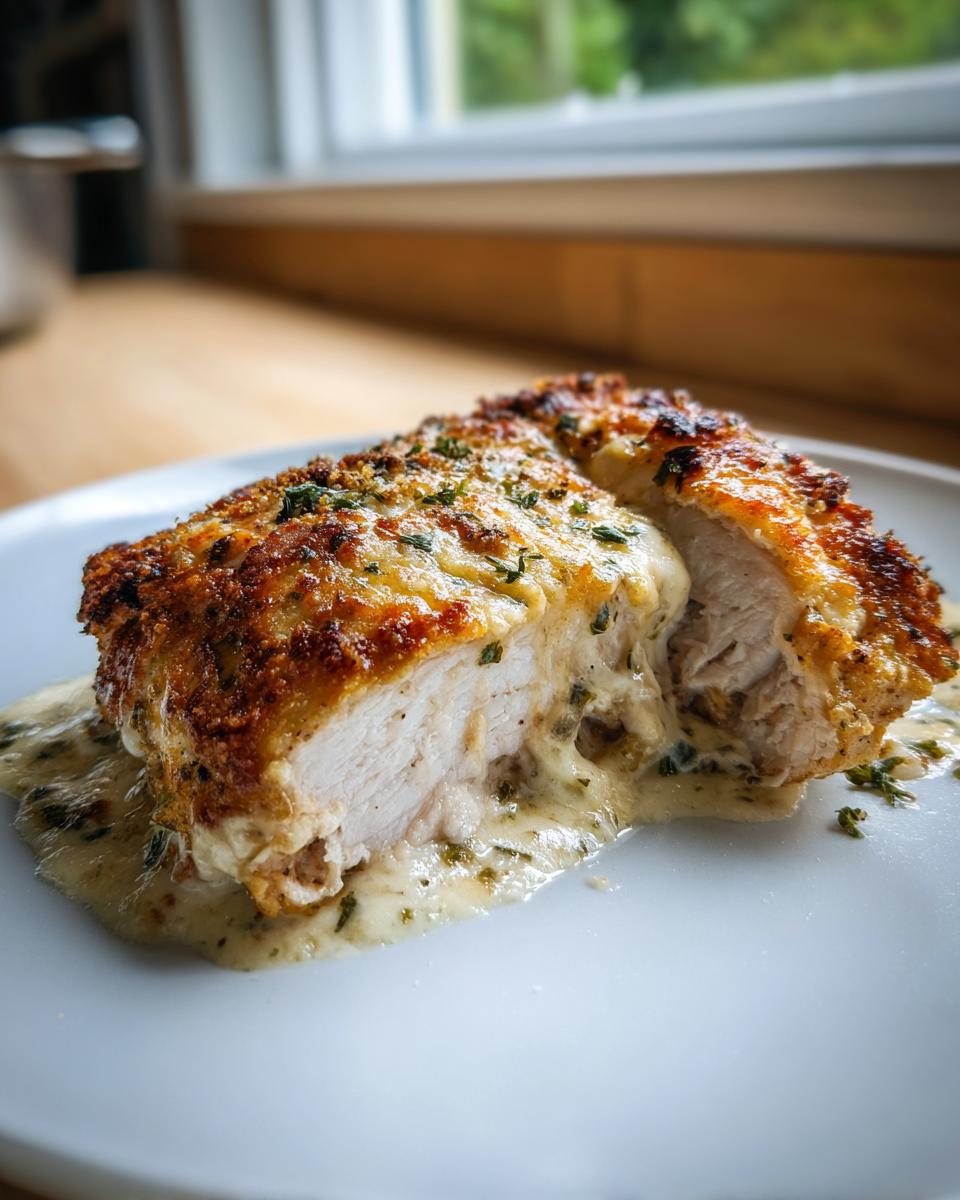
Baking Time and Resting for Caesar Chicken
Take that luscious sauce and spoon it evenly over every single piece of chicken, making sure breasts are fully covered. If you want that little bit of crunch, now is the time to add the breadcrumbs on top! Slide that dish into the hot oven and let it bake for about 20 to 25 minutes. The critical part for food safety and quality is hitting that magic number: 165°F internal temperature. Once you pull that sizzling caesar chicken out, you absolutely must let it rest on the counter for five minutes before cutting. This resting step is what seals in the juices and guarantees that melt-in-your-mouth final texture!
Tips for the Best Caesar Chicken Dinner
When I was testing recipes in the kitchen, I found that the difference between a good baked chicken and a truly fantastic one often comes down to a couple of tiny tweaks. These tricks help ensure you get that juicy oven baked chicken every time you make this caesar chicken, no matter how busy your weeknight is. Trust me on these pointers; they make a huge difference!
Techniques for Maximum Juiciness
If you look at your chicken breasts, you’ll notice they are thicker on one end than the other, right? That’s why so many people end up with one dry end and one slightly undercooked end! Before you even mix the coating, try lightly pounding those thick spots with a meat mallet or even the bottom of a heavy pan. You want them to be an even thickness, maybe half an inch to three-quarters of an inch thick. This ensures they cook evenly. Also, please, please, please invest in a dependable instant-read thermometer—it’s the ultimate way to guarantee you pull the chicken out right as it hits 165°F, keeping it incredibly tender and juicy. If you ever need a good creamy dipping sauce for leftovers, check out my recipe for easy creamy garlic aioli!
Achieving a Golden, Cheesy Top
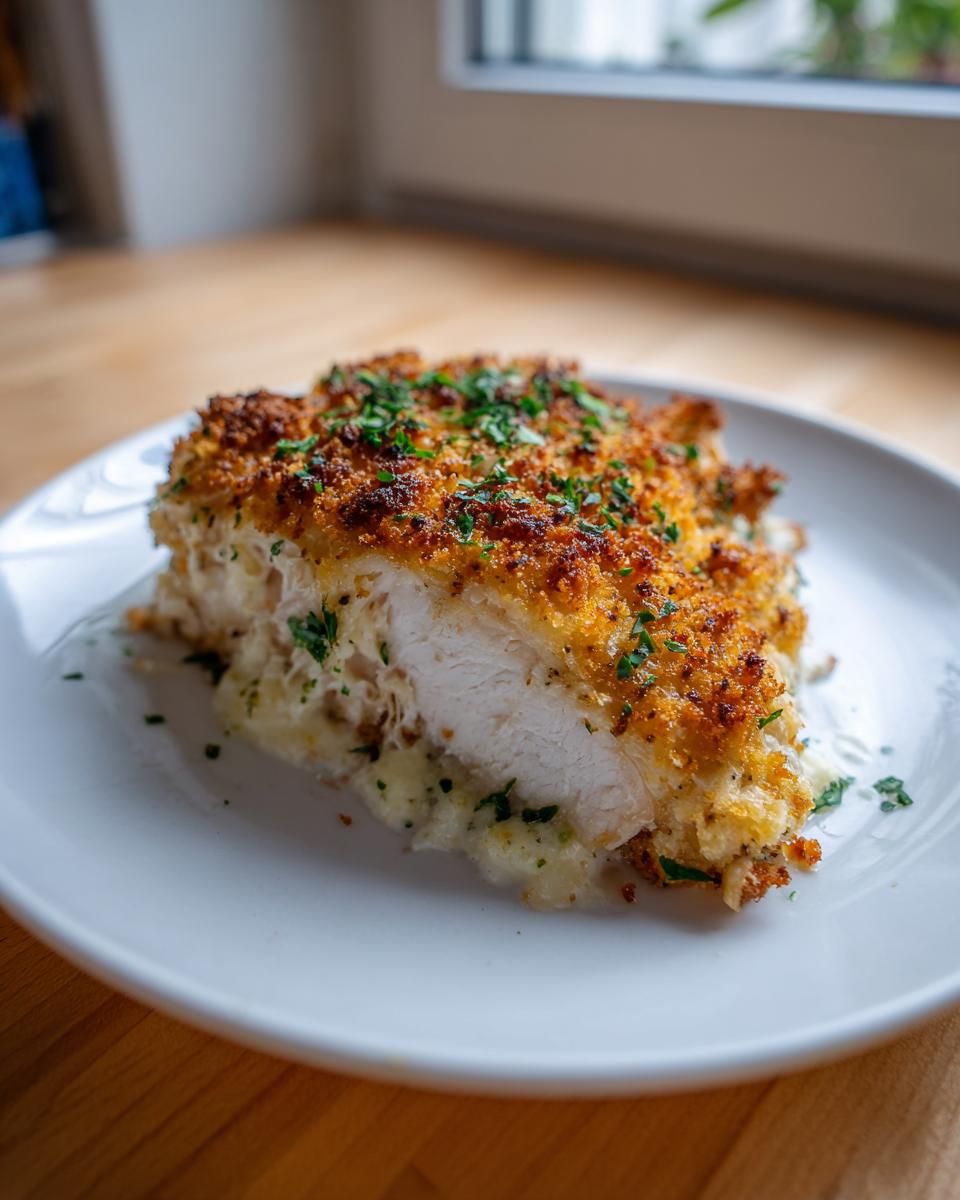
If you skipped the breadcrumbs or just want that extra bubbly, slightly charred top layer from the Parmesan, I have a little test kitchen secret for you. Once your timer goes off and the internal temp is perfect, switch your oven setting to the broiler. Move the rack up high—but not too close! Broilers work fast. Watch it like a hawk for about 60 to 90 seconds until the cheese is golden brown and bubbly. I mean it, watch it closely! It can go from perfection to burnt in about five seconds flat. That little blast of top heat gives you a wonderful finish for your caesar chicken dinner.
Serving Suggestions for This Comfort Food Chicken
Okay, you’ve got this incredible, creamy, cheesy chicken sitting there, and now you need to build the rest of the plate! Because this caesar chicken is so rich and savory, I always lean toward sides that are either bright and fresh to cut through the richness or some classic comfort starch to soak up some of that extra sauce.
Seriously, don’t overthink it. This dish is already the star! For a full comfort food chicken night, you cannot beat creamy goodness next to more creamy goodness. I am obsessed with pairing this directly over a big bed of my favorite creamy roasted garlic mashed potatoes. The chicken sauce just melts right into the potatoes—it’s pure heaven.
But if you’re looking for something lighter, keep it green! Since we have all those amazing Italian seasonings in the topping, roasted asparagus or steamed broccoli tossed with just a tiny bit of lemon juice is fantastic. It adds that necessary texture contrast without fighting the Caesar flavor. For all my easy vegetable pairings, you can browse my full list of side dish recipes!
Oh, and one last thought: If you’re serving this over pasta, use something that can really hold onto that sauce, like fettuccine or penne. Toss the warm pasta with a little bit of butter and maybe a splash of reserved pasta water right before plating the chicken on top. Instant, easy, restaurant-quality meal!
Storing and Reheating Your Caesar Chicken
Even though this caesar chicken is so good you’ll probably eat it all tonight, if you have leftovers, you need to store them right! Keep the chicken in an airtight container in the fridge, and honestly, it lasts beautifully for about three days. When you reheat it, you really want to bring back that creamy feel. Skip the microwave if you can!
Pop the leftovers onto an oven-safe plate, maybe add just a teeny splash of water or chicken broth underneath to steam it slightly, cover it tightly with foil, and warm it in a 300°F oven for about 10 to 15 minutes. This gentle heat protects that melt-in-your-mouth texture we worked so hard to achieve with this baked caesar chicken recipe!
Frequently Asked Questions About Baked Chicken Dinners
I totally get it; sometimes you need a little extra reassurance before committing meat to the oven, especially when you’re aiming for that perfect, tender result. I’ve gathered the most common questions I hear about making this type of baked chicken dinner. These answers should help you feel totally set up for success!
Can I use chicken thighs instead of breasts?
Oh yes, you absolutely can! Chicken thighs are naturally more forgiving than breasts, so they often stay juicy even if you overshoot the timing slightly. Because they are smaller and have more fat, they do take a little longer to fully cook through. Just make sure you use that meat thermometer—you’re aiming for 165°F internally, just like with the breasts, but you might need to bake for closer to 28 or 30 minutes depending on your dish size. They turn out wonderfully for these quick chicken dinner ideas.
What if I don’t have sour cream?
No problem at all! If you’re looking to substitute in this creamy chicken breast recipe, my number one recommendation is using plain Greek yogurt. It brings the exact kind of tang and richness we need in that sauce to balance the Caesar dressing flavor. Just use a one-to-one swap. If you’re scrambling for ingredients, remember to check out my tips for quick, easy breakfasts, just in case you have some yogurt sitting in the fridge!
Is this a Keto-friendly caesar chicken?
That’s a great question, especially since folks are always looking for low effort chicken bake options that fit different diets! This recipe is naturally very low in carbs, meaning it’s already close to Keto-friendly. The main thing you have to watch is your Caesar dressing bottle—always check the label to make sure it doesn’t have sneaky added sugars, as that happens sometimes. If you make sure your dressing is low-carb, then definitely omit those breadcrumbs for a strict Keto version, and you are good to go!
Nutritional Estimate for Creamy Parmesan Caesar Chicken
Now, I always preach that you don’t need to stress over nutrition labels when you cook real food at home, but I know sometimes people like to keep track! These numbers are just estimates based on the main ingredients for one juicy serving of this caesar chicken (one breast). Remember, since we’re using whole ingredients, the final count can shift a bit based on your specific dressing or Parmesan brand. This is designed to be a wonderful comfort food chicken option!
- Serving Size: 1 breast
- Calories: 380
- Protein: 38g
- Fat: 22g
- Carbohydrates: 6g
Share Your Melt-In-Your-Mouth Caesar Chicken Experience
I pour my heart into making sure these recipes work perfectly for you at home, and honestly, nothing makes me happier than hearing when you’ve made something delicious! If this Creamy Parmesan Baked Caesar Chicken saved your weeknight, please let me know! Did it live up to the ‘melt-in-your-mouth’ promise? Did you try it over pasta like I suggested?
Don’t be shy! Head down to the comments below and give this caesar chicken recipe a star rating. Real feedback helps other cooks feel confident trying it out. If you snapped a picture of your bubbly, cheesy bake, spread the love online! Tag me on social media so I can see your beautiful, juicy results. I always love seeing your takes, and if you have any lingering questions, feel free to send me a note through my contact page. Happy cooking, friend!
PrintMelt-In-Your-Mouth Creamy Parmesan Baked Caesar Chicken

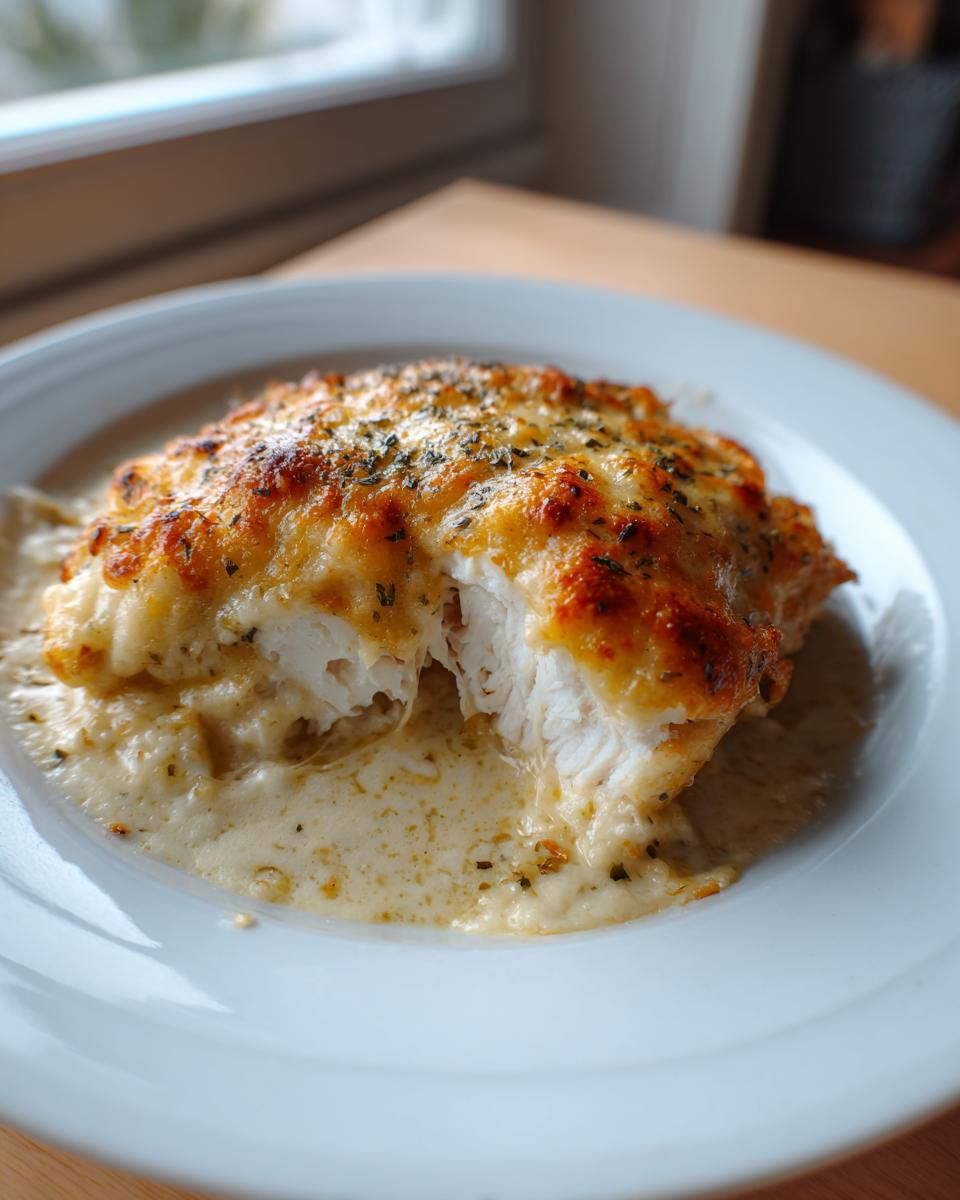
Create incredibly juicy and tender baked Caesar chicken breasts coated in a rich, creamy Parmesan sauce. This easy recipe is perfect for a satisfying weeknight dinner with minimal effort.
- Prep Time: 10 min
- Cook Time: 25 min
- Total Time: 35 min
- Yield: 4 servings 1x
- Category: Dinner
- Method: Baking
- Cuisine: American
- Diet: Low Fat
Ingredients
- 4 boneless, skinless chicken breasts
- 1 cup creamy Caesar dressing
- 1/2 cup grated Parmesan cheese, plus extra for topping
- 1/4 cup sour cream or plain Greek yogurt
- 1 teaspoon garlic powder
- 1/2 teaspoon dried Italian seasoning
- 1/4 teaspoon black pepper
- 1/4 teaspoon salt
- 1/2 cup breadcrumbs (optional, for topping)
Instructions
- Preheat your oven to 400°F (200°C). Lightly grease a baking dish or line it with parchment paper.
- In a medium bowl, mix together the Caesar dressing, Parmesan cheese, sour cream, garlic powder, Italian seasoning, salt, and pepper until smooth. This is your creamy sauce.
- Place the chicken breasts in the prepared baking dish.
- Spoon the creamy Caesar mixture evenly over the top of each chicken breast, spreading it to cover completely.
- If using, sprinkle the breadcrumbs over the sauce layer for added texture.
- Bake for 20 to 25 minutes, or until the internal temperature of the chicken reaches 165°F (74°C) and the topping is golden brown.
- Let the chicken rest for 5 minutes before serving. Serve immediately for a melt-in-your-mouth experience.
Notes
- For extra juicy chicken, you can lightly pound the chicken breasts to an even thickness before coating them.
- If you prefer a crispier top without breadcrumbs, increase the baking time by 2-3 minutes under the broiler at the very end, watching closely to prevent burning.
- This dish pairs well with pasta, roasted asparagus, or a simple green salad.
Nutrition
- Serving Size: 1 breast
- Calories: 380
- Sugar: 3
- Sodium: 550
- Fat: 22
- Saturated Fat: 9
- Unsaturated Fat: 13
- Trans Fat: 0
- Carbohydrates: 6
- Fiber: 0
- Protein: 38
- Cholesterol: 110