
Oh, you know those days when only rich, dark, molten chocolate will do? I totally get it! That’s why I’m so excited to share my absolute favorite, can’t-mess-it-up recipe for the perfect chocolate lava cake. Forget everything you heard about fussy desserts; this one is unbelievably quick—we’re talking under 30 minutes total! Because I spent time honing my timing in professional test kitchens, I can promise you crisp edges and that gloriously silky, gooey center every single time. This isn’t just dessert; it’s instant, decadent joy made simple.
- Why This Chocolate Lava Cake Recipe Works Every Time
- Gathering Ingredients for Your Homemade Lava Cake Guide
- Step-by-Step Instructions for a Foolproof Lava Cake
- Tips for Success When Making Your Best Lava Cake
- Serving Suggestions for Your Indulgent Chocolate Treats
- Storage and Reheating Instructions for Leftover Lava Cake
- Variations on the Classic Chocolate Lava Cake
- Frequently Asked Questions About Making Lava Cake
- Nutritional Estimates for One Chocolate Lava Cake
Why This Chocolate Lava Cake Recipe Works Every Time
When I developed this recipe, I didn’t just want it to taste good; I needed it to be completely reliable, especially when I was on a tight schedule. That’s where my test kitchen experience really helped! I streamlined the process so you get maximum chocolate impact with minimal fuss. If you’re looking for an easy chocolate dessert that impresses every time, trust me, this is the one. You can see exactly what I mean when you browse my collection of dessert recipes.
Here’s why this chocolate lava cake consistently nails the landing:
- It bakes fast, usually under 15 minutes, perfect for a last-minute treat.
- The ratio of liquid batter to supportive cake structure is mathematically spot on.
- The process is straightforward—no fancy folding or tempering required.
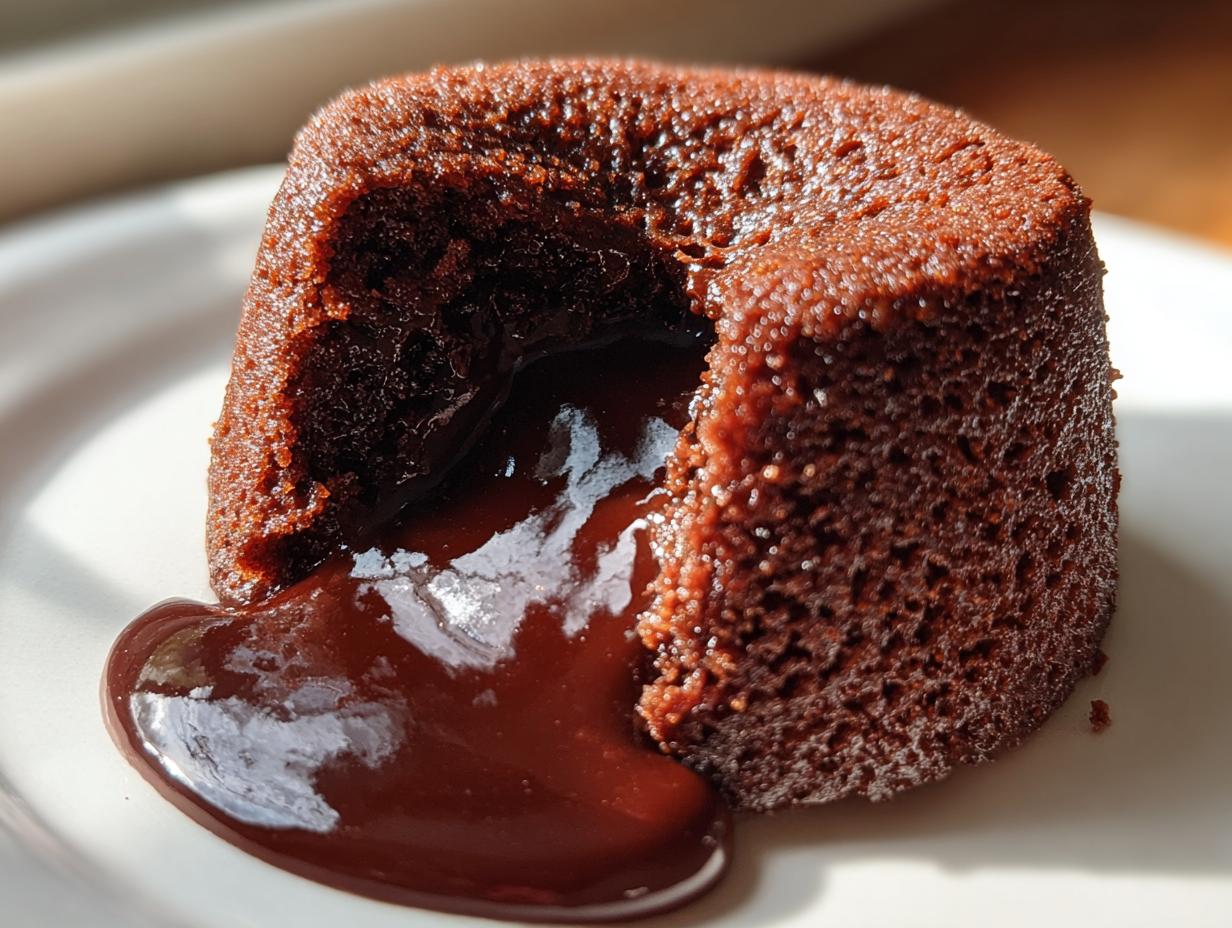
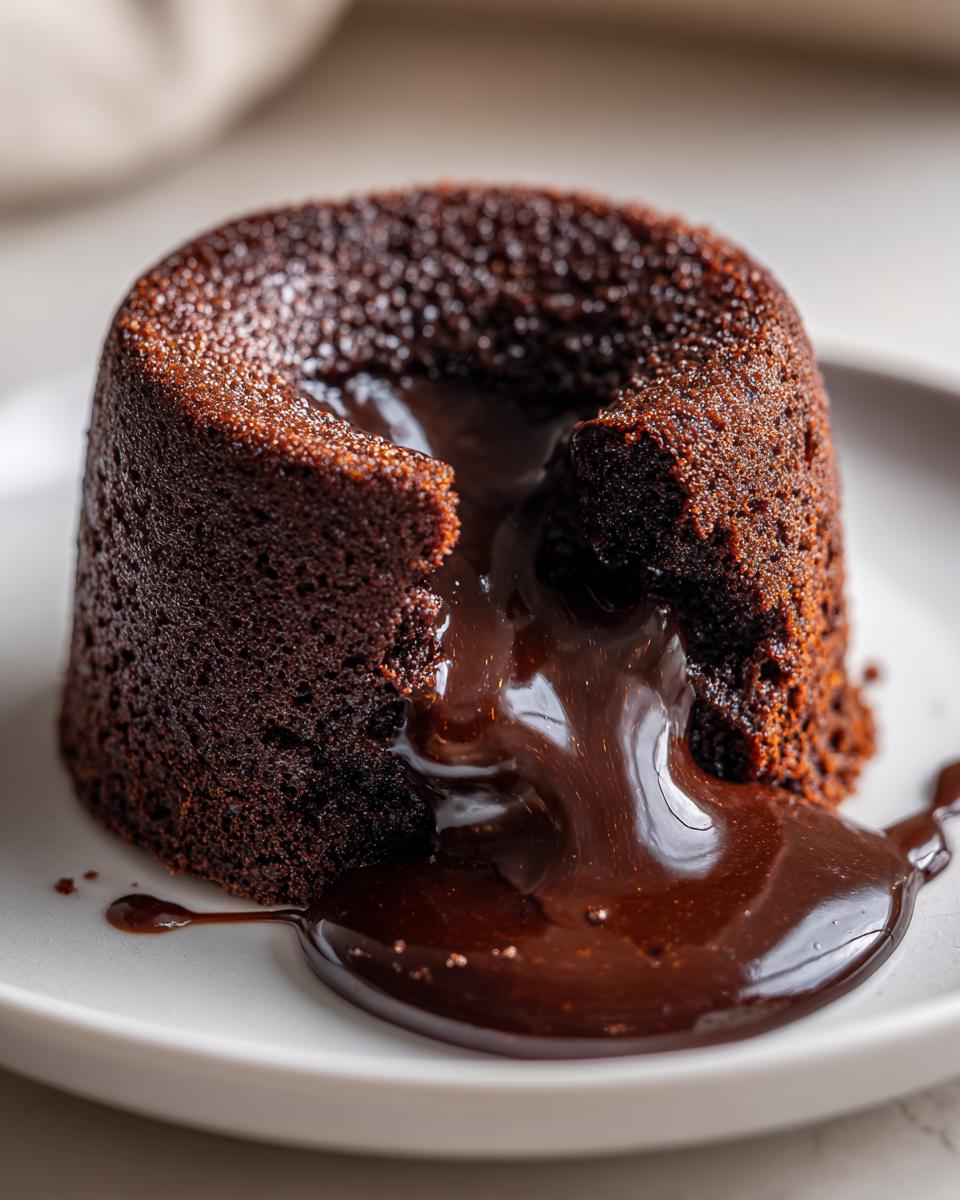
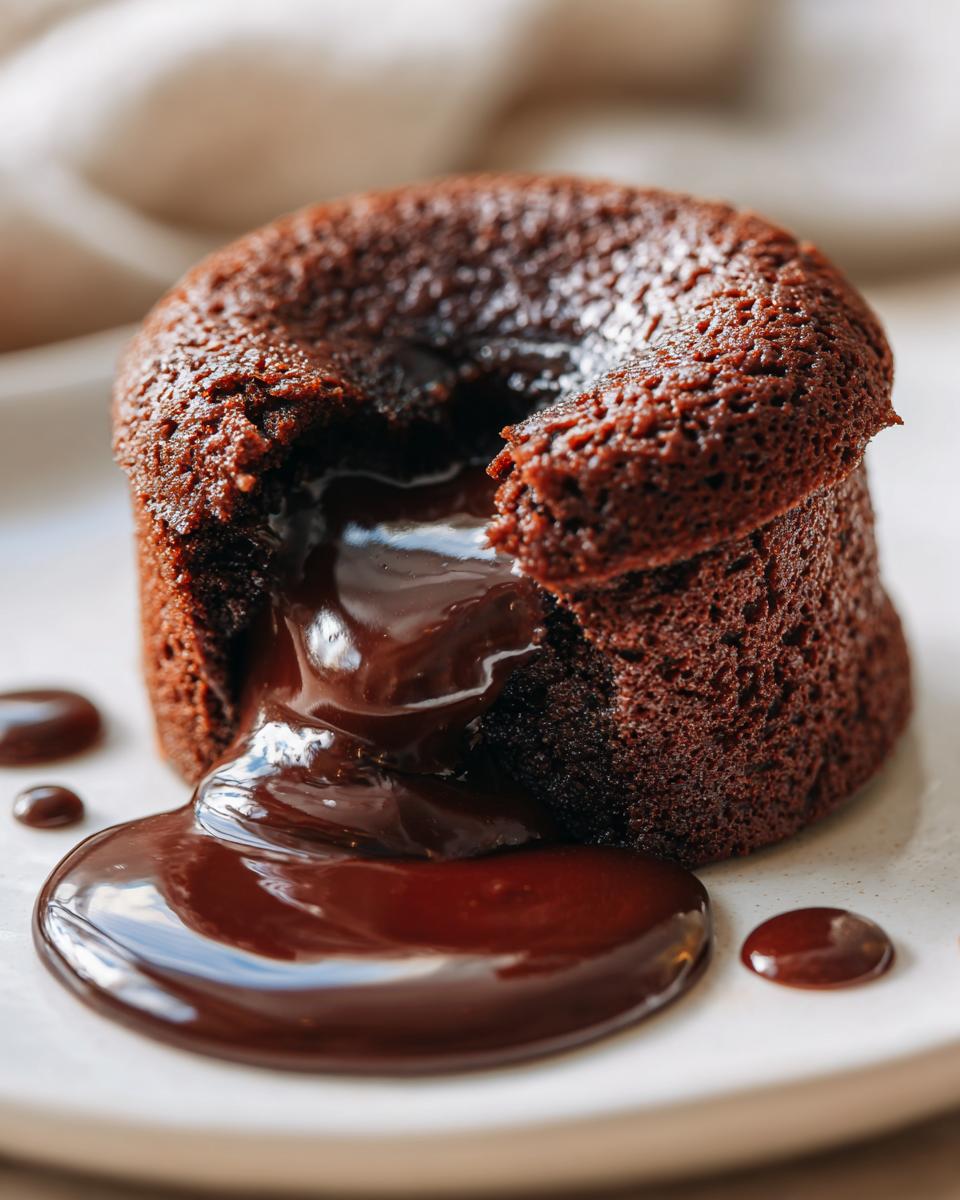
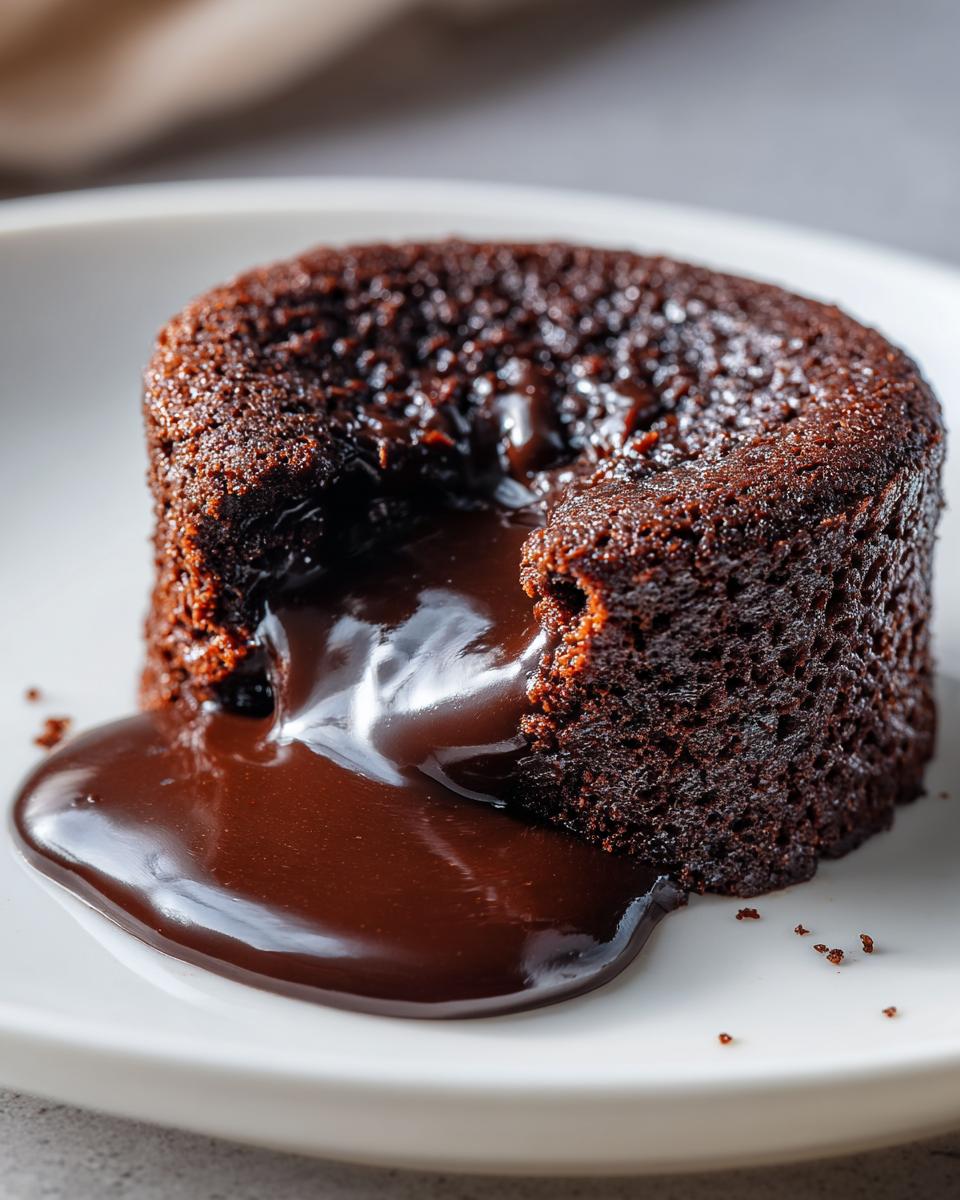
Achieving the Perfect Gooey Center Dessert
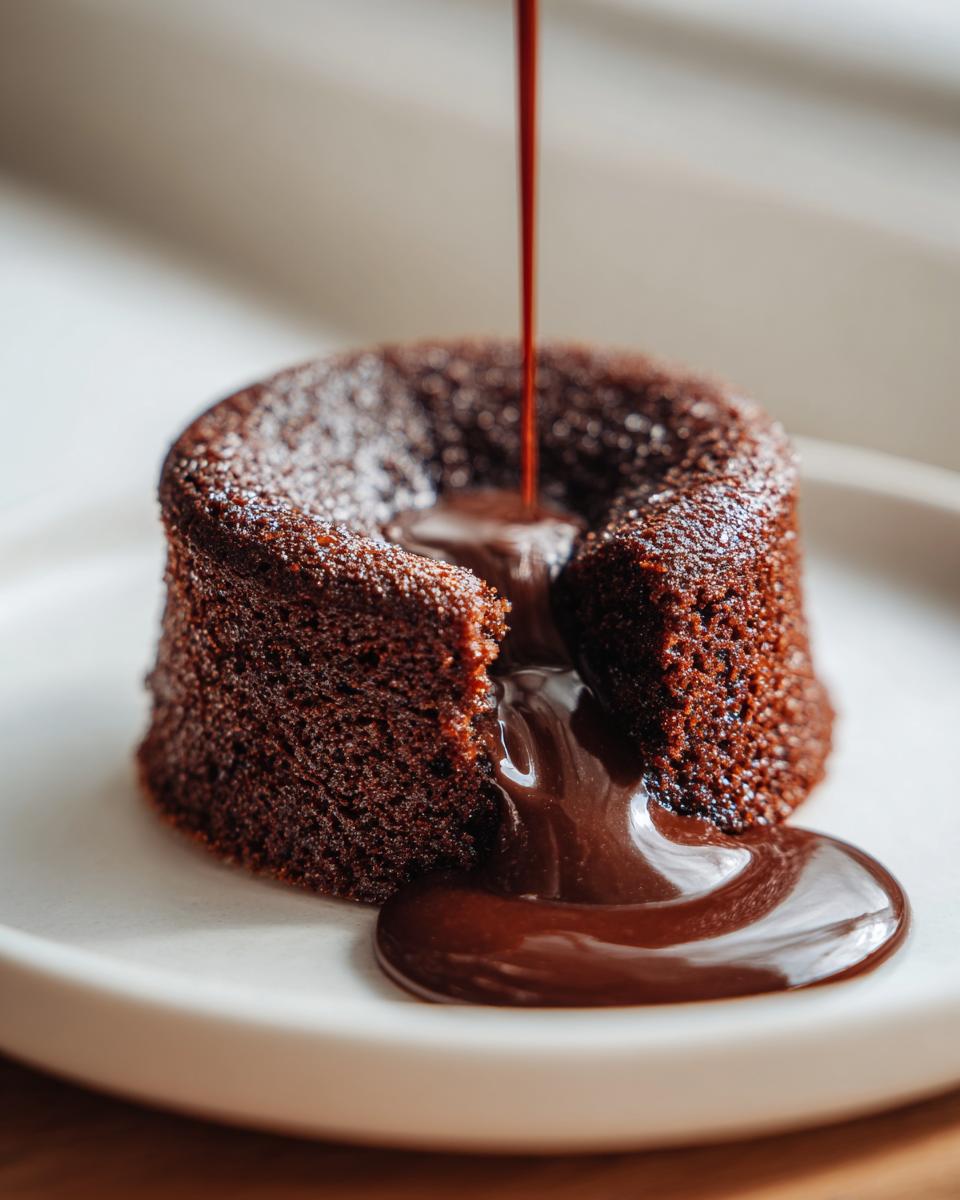
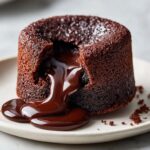
The secret to that magnificent flowy middle is truly all about timing and temperature. We are intentionally underbaking the center just slightly. The high heat sets the exterior edges quickly, giving you that lovely, soft cake shell. What’s left inside is pure, warm, liquid bliss. It’s magic, but it’s really just science applied correctly to create the ultimate gooey center dessert.
The Quick Lava Cake Recipe Advantage
Seriously, who has hours for dessert sometimes? I developed this so you can go from pantry items to decadent dessert in about 24 minutes total. That speed makes this recipe a weeknight hero when you need something truly indulgent but fast. It’s the ultimate quick lava cake recipe when you need a little chocolate lift right now!
Gathering Ingredients for Your Homemade Lava Cake Guide
Okay, let’s talk about what you need to have on hand for this truly fantastic lava cake. The beauty of this dessert is that it uses things you probably already keep stocked in your pantry, which is why it’s always my go-to when a chocolate emergency strikes! We only need a few high-impact items to pull off this bakery-style magic at home.
Here is what you need for four individual cakes:
- 4 ounces bittersweet chocolate, chopped (Make sure it’s good quality!)
- 4 ounces unsalted butter
- 2 large eggs
- 2 large egg yolks (Yes, we need the extra yolks for richness!)
- 1/4 cup granulated sugar
- 1 tablespoon all-purpose flour
- Pinch of salt
- Butter and cocoa powder for dusting the ramekins
Ingredient Notes and Substitutions for Your Lava Cake
Listen, using the right chocolate makes a massive difference here. Since this recipe is so focused on deep flavor, I strongly recommend using bittersweet chocolate, around 60% to 70% cocoa. Using semi-sweet is okay if that’s all you have, but you won’t get that deep, complex flavor we’re aiming for in a great rich dark chocolate cake. Resist the urge to swap out the butter for oil; the butter is crucial for texture and richness. And please, use high-quality eggs—they are working overtime to give structure!
Step-by-Step Instructions for a Foolproof Lava Cake
Alright, grab your bowls! This is where the magic of your homemade chocolate dessert from scratch really happens. Remember, reading the steps first helps, but the timing once you start mixing is everything. We are aiming for speed here because once the eggs and chocolate are combined, we want that batter hot into the oven pronto!
Preparing Ramekins: The Secret to Easy Release for Your Lava Cake
This step sounds boring, but trust me, it’s the difference between a perfect cake on a plate and a giant, sad chocolate mess stuck in ceramic. First, crank your oven up to 425 degrees F. Generously butter all four of your 6-ounce ramekins until every nook is covered. Then, you must dust them with cocoa powder—not flour! Tapping out the excess makes sure that when you flip your finished lava cake out, it slides right onto your plate.
Mixing the Batter for a Decadent Individual Cake
Start by melting your chocolate and butter together slowly. You can use a microwave in short bursts or set the bowl over barely simmering water. Once that’s silky smooth, set it aside just until it’s not scorching hot. In another bowl, whisk those eggs, extra yolks, and sugar until they look pale and creamy. Now, gently whisk the slightly cooled chocolate mix into the egg mixture. Then, very carefully, whisk in just the flour and that tiny pinch of salt. Stop mixing the second you don’t see any white streaks of flour left. Seriously, stop! Overmixing is what turns this into an actual cake instead of a decadent individual cake.
Baking Time: Mastering the Molten Center Cake
Divide that gorgeous batter evenly among your prepped ramekins and get them straight onto the baking sheet and into that hot oven. This is the most important part! Bake them for exactly 12 to 14 minutes. You’ll know they are done when the edges look firm and set, but the center still jiggles a tiny bit when you gently nudge the pan. Don’t panic about the jiggle—that’s your liquid gold! Knowing exactly how to make molten center cake is all about watching those edges.
Tips for Success When Making Your Best Lava Cake
I’ve pulled these tips straight from my own experience making hundreds of these little chocolate beauties! The single biggest challenge with a lava cake is trusting when it’s ‘done.’ Don’t rely solely on a toothpick test here; that will just give you a slightly dried-out center. Instead, watch those edges carefully! They must look firm and slightly pulling away from the ramekin sides. The middle should look soft, almost wet, and definitely have that tell-tale wobble when you move the pan.
Also, never let these cool down too much before serving. While you can let them rest for just one minute to firm up enough to invert, they are best served piping hot so that center flows immediately upon cutting. If you are prepping ahead, you can assemble the batter in the ramekins and keep them in the fridge for up to 24 hours. Just add 2 to 3 extra minutes to the baking time if they go in cold. For more detailed checks and tricks, read through my full homemade lava cake guide!
Serving Suggestions for Your Indulgent Chocolate Treats
That rich, glorious chocolate flow deserves the perfect supporting act! The real fun comes when you get to plate these up because the contrast in temperature and texture is what takes this from being a great dessert to an absolutely unforgettable moment. These little cakes are so rich, they beg for something bright or cold to cut through that intensity, making them the ultimate indulgent chocolate treat.
I always try to have fresh fruit nearby, even if it’s just a dusting of powdered sugar. But if you want the full wow factor, you absolutely need a scoop of something creamy alongside it.
Pairing Chocolate Lava Cake with Ice Cream
This is the classic pairing for a reason, folks! Serving your piping hot chocolate lava cake next to a scoop of vanilla bean ice cream is heaven itself. The cold ice cream immediately melts into that molten chocolate center when you serve it, creating this wonderful creamy sauce. A good strong coffee flavor or even a caramel swirl ice cream works wonders too if you’re feeling adventurous with your chocolate lava cake with ice cream.
Storage and Reheating Instructions for Leftover Lava Cake
I’m going to be honest with you: this chocolate lava cake is truly best eaten the minute it comes out of the oven. That perfect molten center firms up pretty quickly as it cools down! If you do have any leftovers, cover them tightly and try to keep them at room temperature for up to a day. Don’t stick them in the fridge if you can help it, because that will dry out the cake base.
To reheat, you need gentle warmth. Pop the leftover cake in a small, oven-safe dish and warm it at a low temperature, maybe 300 degrees F, for just 5 to 7 minutes. Watch it closely! The goal is just to bring the center back to that gorgeous, oozy temperature without cooking the sides all the way through. It takes a little patience, but it’s worth saving that last bit of indulgence!
Variations on the Classic Chocolate Lava Cake
While this basic chocolate lava cake is absolutely perfect as is, I love playing around with flavors once I know the texture is locked in. It’s so simple to customize! You can add a teaspoon of peppermint extract to the melted chocolate if you’re feeling minty, or even swirl in a spoonful of raspberry jam right before baking for a fruity burst. The structure holds up to a little creativity, which is wonderful!
Making a Rich Dark Chocolate Lava Cake
If you crave that intense, almost bitter chocolate hit—the kind you get at a serious bakery—you’ll want to bump up the cocoa intensity! To make a truly rich dark chocolate cake experience, simply swap out the bittersweet chocolate for something even darker, like 72% cacao or higher. You might need an extra tiny sprinkle of sugar to balance it, but the depth of flavor is unbelievable.
Frequently Asked Questions About Making Lava Cake
I know you might have a few lingering questions once you see how easy this recipe is! That’s honestly the best part about perfecting a classic like this—the stress melts away. Here are the questions I get asked most often whenever I share my lava cake secrets.
What if my chocolate center doesn’t ooze?
Oh man, that’s the worst feeling! If you cut into your cake and it’s just solid—don’t worry! It just means you baked it a touch too long. It will still be a delicious, rich, fudgy cake, but it won’t be molten. Next time, pull it out one minute sooner, even if the edges look a little too soft. You are looking for that definite jiggle in the middle! This is the key to a great gooey center dessert.
Can I prepare the batter ahead of time?
Yes, you absolutely can! This is a great trick for when you have company over for dinner. You can mix the batter, pour it into your buttered and cocoa-dusted ramekins, cover them tightly with plastic wrap, and keep them in the fridge for up to 24 hours. Just remember that when you bake them straight from the cold, you’ll need an extra 2 to 3 minutes on the baking time. They still cook up beautifully!
Can I skip the ramekins and bake this as one cake?
You totally can if you don’t have four little dishes, though you miss out on that cute individual presentation. If you bake this as one cake—say, in a greased 6-inch round pan—you need to bake it longer. I usually add about 5 to 8 more minutes, but you must check it carefully, as the center needs that extra time to firm up a little more than the individual portions do.
Is this the same as a molten chocolate cake recipe?
Yes! They are essentially the same indulgent dessert. Sometimes you hear them called individual chocolate fondants, but a lava cake is specifically designed to have that runny, liquid center that bursts out when you pierce the baked shell. It’s the hallmark of a true show-stopping dessert!
Nutritional Estimates for One Chocolate Lava Cake
Now, I always have to throw in a little disclaimer here because while I studied nutrition, cooking for a family is about joy, not counting every single calorie! These numbers are just estimates based on the exact amounts listed in the recipe above. If you use different chocolate percentages or add a huge dollop of whipped cream on top, things are going to change!
But for one serving of this decadent lava cake recipe, here is a general idea of what you are looking at. Remember, this is a truly indulgent chocolate treat, so it’s meant to be enjoyed!
- Serving Size: 1 cake
- Calories: 380
- Sugar: 22g
- Sodium: 110mg
- Fat: 26g
- Saturated Fat: 15g
- Carbohydrates: 30g
- Protein: 8g
If you are tracking macros or watching sugar, remember that using higher quality bittersweet chocolate (which often has less sugar than milk chocolate) can often help balance things out while keeping the flavor deep and rich.
PrintFoolproof Chocolate Lava Cake Recipe
Make this classic chocolate lava cake for a fast, indulgent dessert. You get crisp edges and a silky molten center every time. This recipe is perfect for date nights or when you need a bakery-style dessert without stress.
- Prep Time: 10 min
- Cook Time: 14 min
- Total Time: 24 min
- Yield: 4 servings 1x
- Category: Dessert
- Method: Baking
- Cuisine: American
- Diet: Vegetarian
Ingredients
- 4 ounces bittersweet chocolate, chopped
- 4 ounces unsalted butter
- 2 large eggs
- 2 large egg yolks
- 1/4 cup granulated sugar
- 1 tablespoon all-purpose flour
- Pinch of salt
- Butter and cocoa powder for dusting ramekins
Instructions
- Preheat your oven to 425 degrees Fahrenheit. Generously butter four 6-ounce ramekins. Dust the inside of each buttered ramekin with cocoa powder, tapping out any excess. Place the prepared ramekins on a baking sheet.
- In a heatproof bowl set over a saucepan of simmering water (or using a microwave in short bursts), melt the chopped chocolate and butter together until smooth. Stir until fully combined, then remove from heat and let it cool slightly.
- In a separate medium bowl, whisk together the eggs, egg yolks, and granulated sugar until the mixture is pale yellow and slightly thickened, about 2 minutes.
- Gently whisk the slightly cooled chocolate mixture into the egg mixture until just combined.
- Whisk in the flour and salt until no streaks of flour remain. Do not overmix.
- Divide the batter evenly among the four prepared ramekins.
- Bake for 12 to 14 minutes. The edges should look set, but the center should still look soft and jiggly. This timing is key for the molten center.
- Let the cakes cool in the ramekins for 1 minute. Carefully run a thin knife around the edge of each cake. Invert each cake onto a small serving plate.
- Serve immediately, perhaps with ice cream or fresh berries.
Notes
- For a guaranteed molten center, do not overbake. Check the cakes at 12 minutes.
- If you do not have ramekins, you can bake this as one small cake in a greased 6-inch round pan, increasing the bake time by about 5 to 8 minutes.
- Dust the finished cake with powdered sugar just before serving for a professional look.
Nutrition
- Serving Size: 1 cake
- Calories: 380
- Sugar: 22
- Sodium: 110
- Fat: 26
- Saturated Fat: 15
- Unsaturated Fat: 11
- Trans Fat: 0.5
- Carbohydrates: 30
- Fiber: 2
- Protein: 8
- Cholesterol: 155