
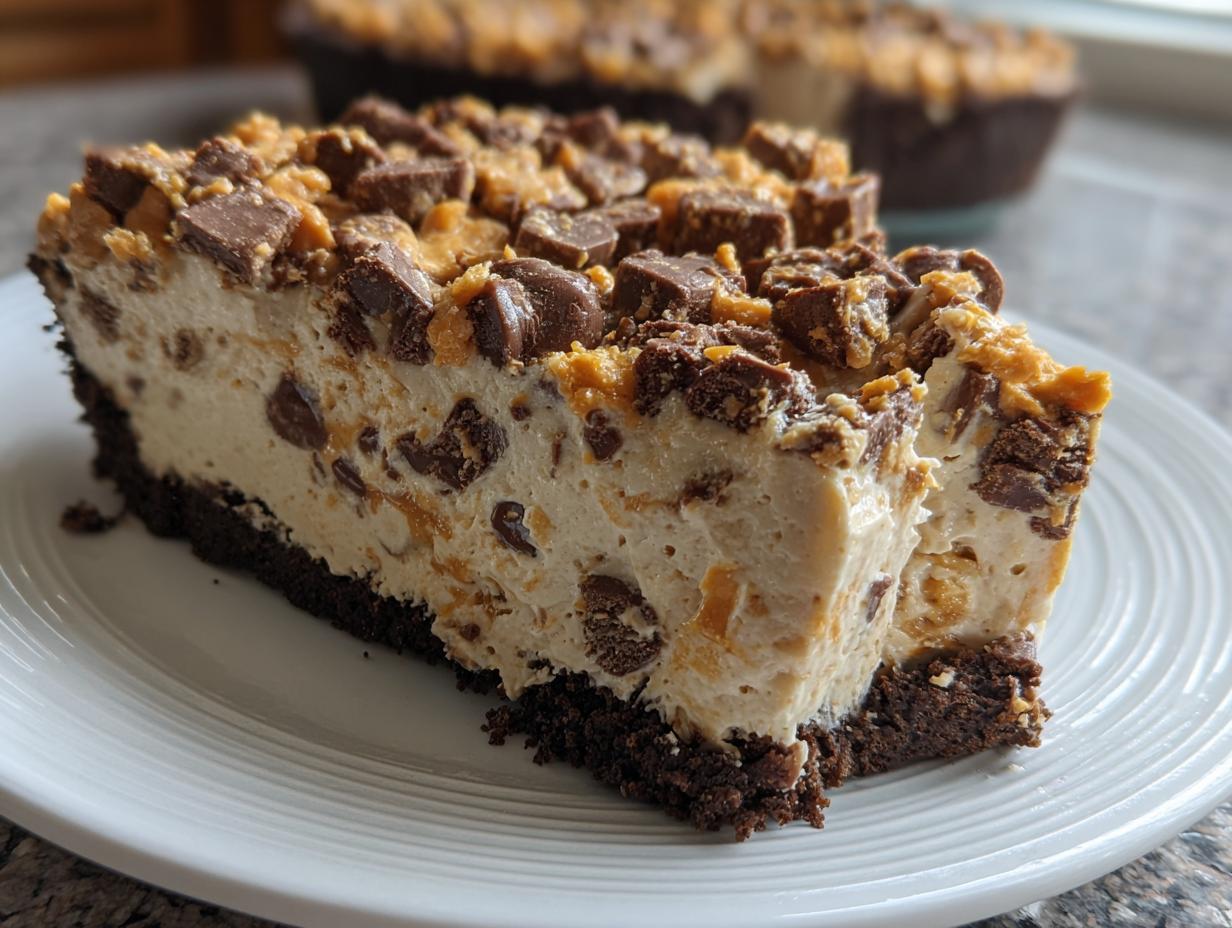
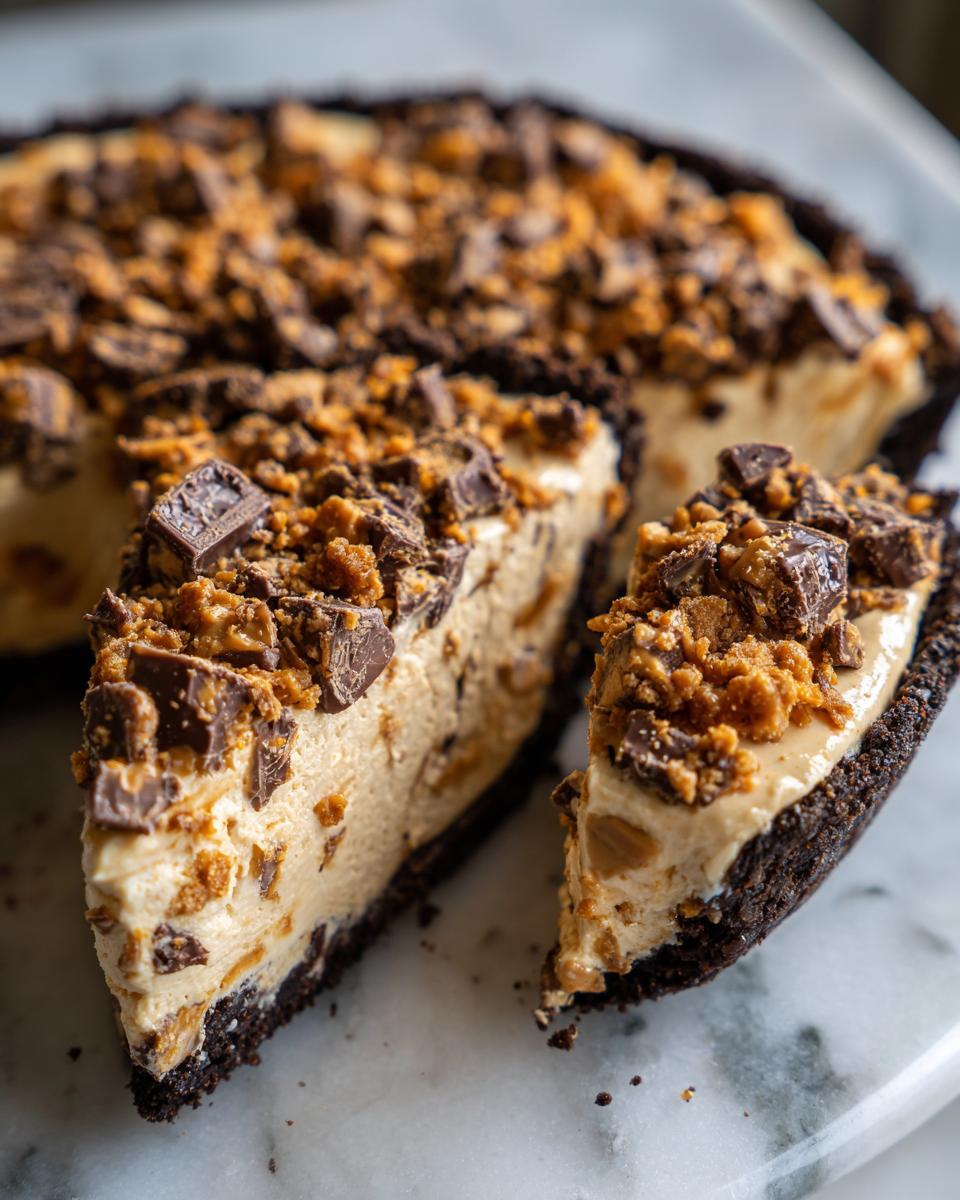
When you suddenly realize you need a show-stopping dessert but don’t want to heat up the oven, I have got you covered! We all love those rich, indulgent treats, right? That’s why I’m sharing what I promise is truly the **easiest no-bake Butterfinger Pie** recipe you will ever find. Seriously, this thing comes together in about 20 minutes of prep work. When I was first developing recipes, just like Jade learned in her test kitchen, which you can read more about here at the Cooking by Jade story, I realized that reliability and speed are everything for busy folks like us. This pie delivers that huge, creamy, peanut-butter-and-crunch satisfaction without any fuss at all. You’re going to love how simple this candy bar pie is!
- Why This Easy Butterfinger Pie Recipe Works for Everyone
- Gathering Ingredients for Your No Bake Butterfinger Pie
- Step-by-Step Instructions for the Easiest Butterfinger Pie
- Tips for Success When Making Butterfinger Pie
- Serving Suggestions for This Indulgent Dessert
- Storage and Reheating Instructions for Your Quick Candy Bar Pie
- Frequently Asked Questions About Butterfinger Pie Recipe
- Estimated Nutritional Data for This Indulgent Dessert
- Share Your Dreamy Dessert Creations
Why This Easy Butterfinger Pie Recipe Works for Everyone
This recipe is my go-to for last-minute needs because it checks every single box. We’re talking about pure dessert satisfaction with zero oven time required. This is what good, simple cooking is all about—taking great flavors and making them foolproof!
- It’s genuinely **no bake**, so you don’t have to worry about preheating or even turning on the stove!
- Prep time is right around 20 minutes, which is huge when you need a quick candy bar pie.
- That texture? Oh my goodness, it’s the creamiest peanut butter dessert you can imagine.
- It holds up perfectly, making it the ultimate potluck dessert.
Quick Candy Bar Pie: Perfect for Potlucks and Family Gathering Dessert
If you’re rushing out the door for a party, this is your instant hero. Because it’s a **no oven recipe**, you can throw it together while you’re doing other things. It looks fancy sitting on the dessert table, but trust me, pulling this together for a family gathering dessert is ridiculously easy. It’s honestly one of the best **butterfinger pie** recipes you’ll find for when you need something fast and crowd-pleasing!
Gathering Ingredients for Your No Bake Butterfinger Pie
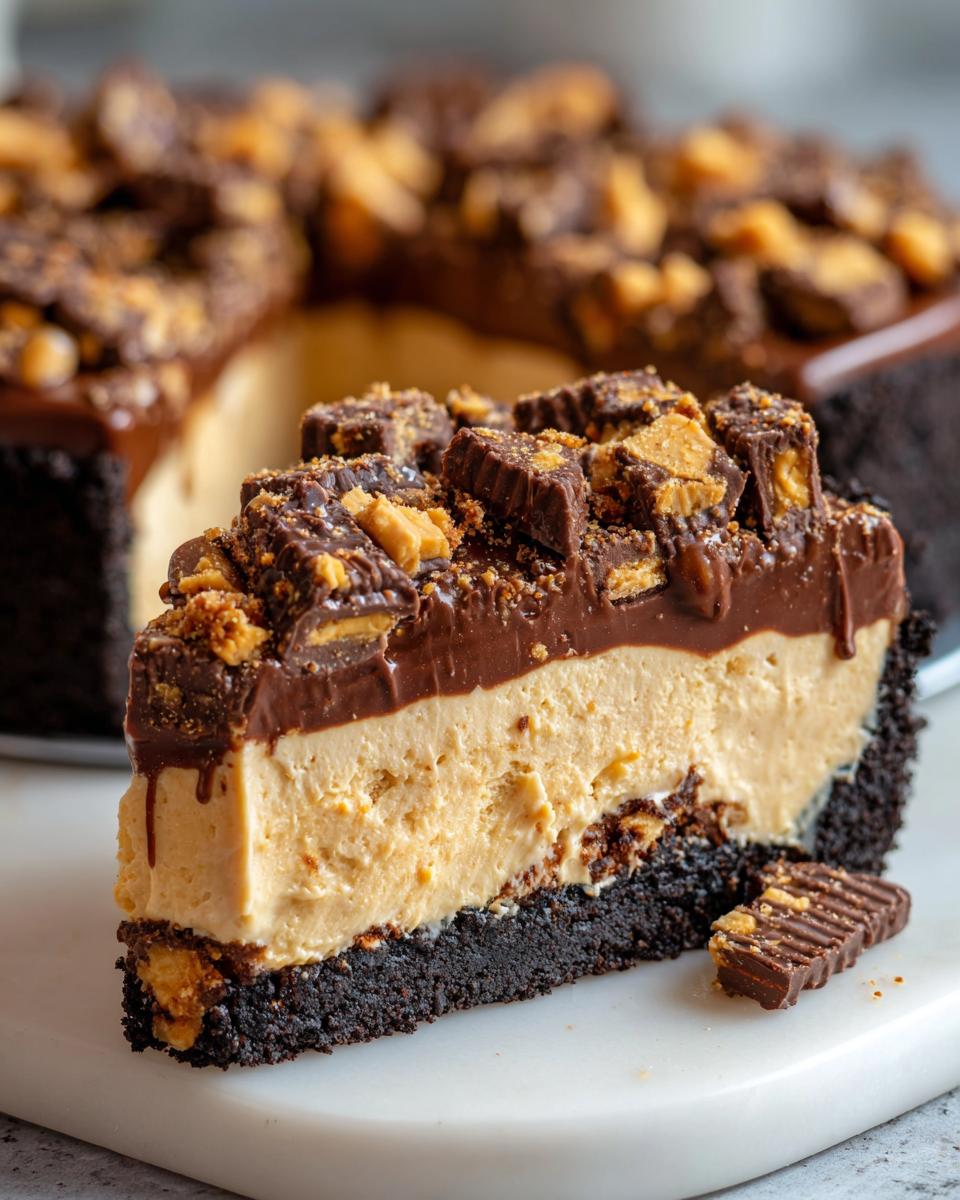
Okay, getting this **butterfinger pie recipe** ready is half the battle, and the best part is you likely have most of this stuff already! The list is short, relying on accessible pantry staples and, of course, those glorious crunch bars. Just make sure you grab that pre-made chocolate cookie crust pie plate because that’s the secret to keeping this truly no-bake!
Ingredient Notes and Substitutions for Creamy Peanut Butter Pie
A little guidance here makes this creamy peanut butter pie turn out perfectly every time. Remember, I’m committed to reliable recipes, so pay attention to these details!
First thing: the cream cheese absolutely must be softened. Pull it out about an hour before you plan to start mixing so it beats up smoothly without any weird lumps. Second, for the whipped cream, make sure your heavy whipping cream is ice cold—that’s how you get those stiff peaks we need for volume.
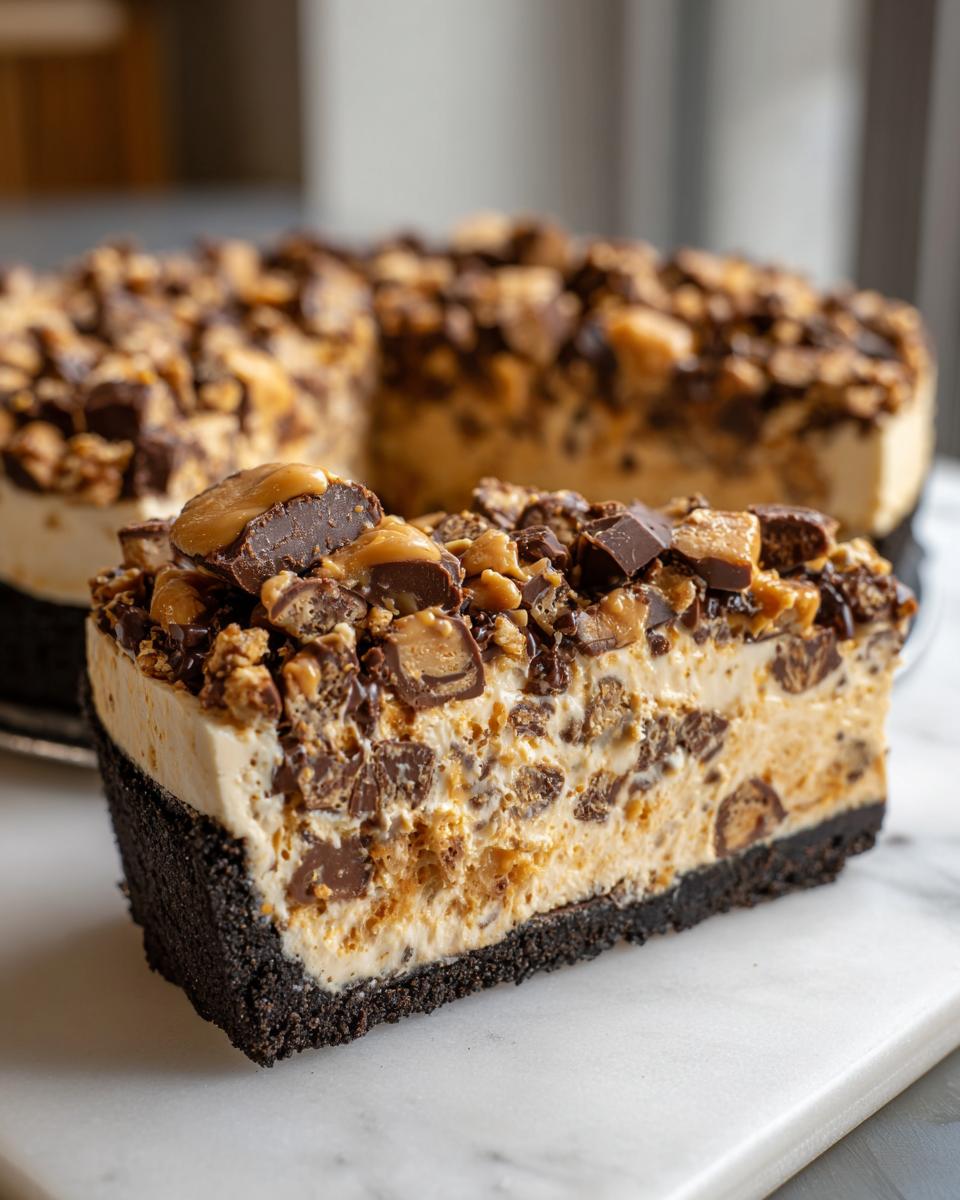
When you get to crushing the Butterfingers for your **butterfinger dessert**, don’t use a food processor unless you want dust! Put the bars in a sturdy zip-top bag, seal it, and then just whack them a few good times with a rolling pin or the bottom of a heavy saucepan. You want those satisfying chunks!
If you’re really pressed for time, you can swap the heavy cream and the whipping step for an 8-ounce tub of frozen whipped topping that you thaw slightly. Just fold that in during the final step instead of making your own whipped cream. It’s a cheat, but hey, it still tastes amazing for a 20 minute dessert!
Step-by-Step Instructions for the Easiest Butterfinger Pie
Alright, this is where the magic happens, and it flies by! We’re moving fast, but we still need that classic creamy texture, so don’t rush the folding part—that’s super important when making this butterfinger pie. I’ve broken down the instructions so you can practically do this with your eyes closed!
Preparing the Chocolate Cookie Crust Pie Base
Step one is all about setting up that great foundation. If you grabbed a store-bought crust—and honestly, for a 20-minute prep time, I highly recommend it—toss that plate right into the freezer now. We want it nice and cold before it gets any filling in there! If you made your own, make sure you press those crumbs down really firmly so you don’t end up with a crumbly mess later.
Creating the Dreamy Dessert Peanut Butter Filling
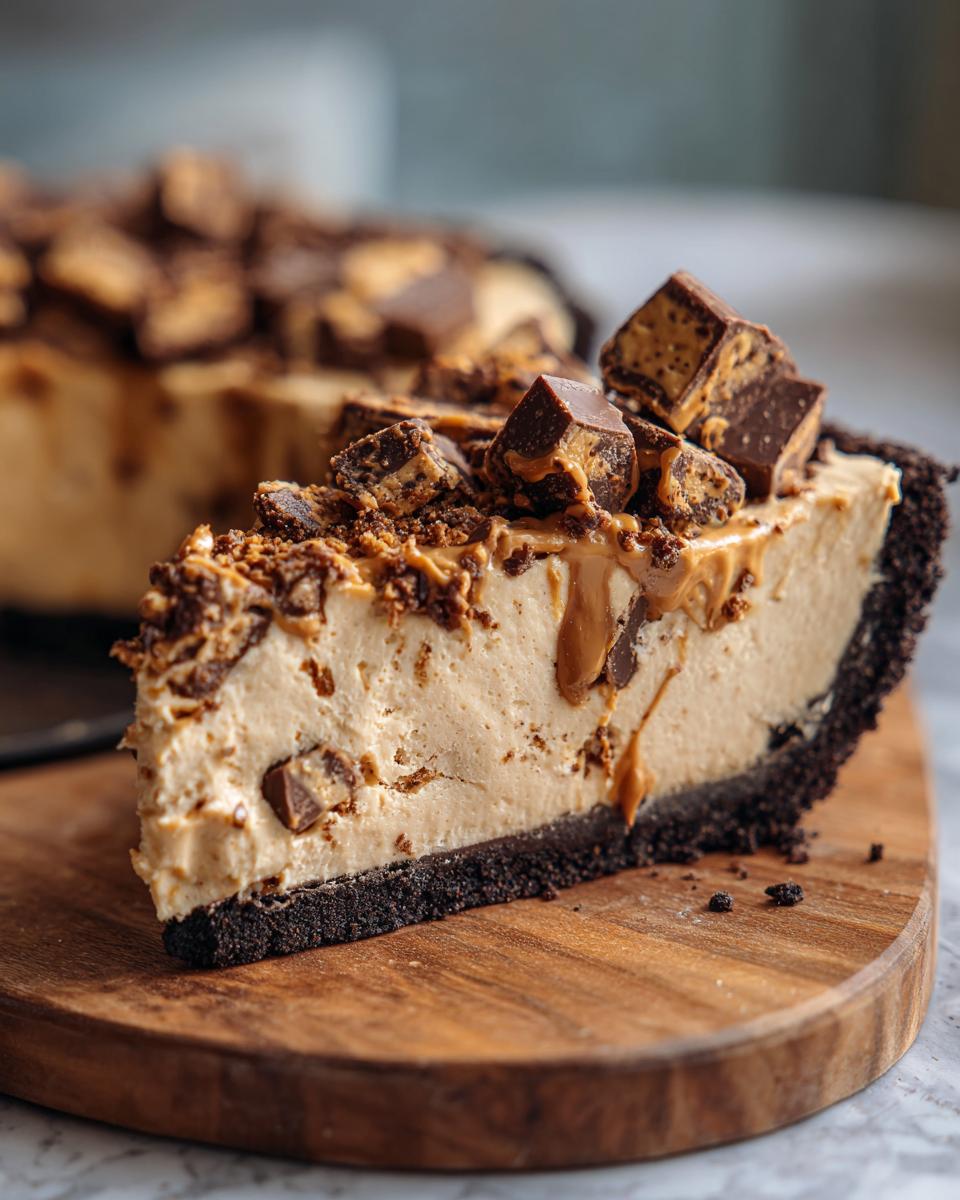
First, grab your electric mixer and beat that softened cream cheese until it looks like silk. Seriously, no lumps! Then, add your peanut butter, powdered sugar, and vanilla. Mix that up until everything is totally smooth; this makes our *creamy peanut butter pie* base.
Now, in a completely separate, clean bowl, whip that cold heavy cream until you see those stiff peaks—you know, when you lift the beaters out and the cream stands up tall? That’s the volume we need! Then, you gently fold the whipped cream into the peanut butter mix. Use a spatula and fold gently! We don’t want to knock all that air out. This step is key to the *dreamy dessert* texture.
Assembling and Chilling Your Candy Crunch Pie
Once your base is dreamy, take that main cup of crushed Butterfingers and gently fold those right into the filling. Next, spoon that whole masterpiece into your chilled chocolate cookie crust pie. Smooth off the top nicely.
Now we wait. Cover it loosely and put it in the fridge for at least four hours to fully set up. If you absolutely can’t wait, you can put it in the freezer for about two hours—it turns into a wonderful frozen pie recipe that way! Just before you serve your fabulous candy crunch pie, sprinkle that extra half cup of crushed Butterfingers right over the top.
Tips for Success When Making Butterfinger Pie
Even though this is a super easy **butterfinger dessert**, a couple of little secrets will take it from great to spectacular. You want that perfect, melt-in-your-mouth smoothness, right? It’s all about how you handle those ingredients!
Achieving the Best Texture in Your Butterfinger Dessert
Remember what I said about the cream cheese? Make sure it’s truly room temperature. If it’s cold, you’ll end up with little bits of cheese in your mix, and nobody wants that in their icebox pie. When you fold in that lovely whipped cream, be gentle! Use big, slow strokes. We are trying to keep all those air bubbles we worked so hard to create—that’s what makes this pie airy and not too dense.
And please, trust me on the chilling time. You really need those four hours in the fridge. If you try to slice this creamy peanut butter pie too soon, it just collapses into a puddle. Give it time to firm up, and you’ll get those beautiful, clean slices every single time!
Serving Suggestions for This Indulgent Dessert
Now that you have this incredible, easy **butterfinger pie**, how should you serve it up? Since this is such a rich and satisfying **creamy peanut butter pie**, you don’t need much to go with it! A little something light on the side really helps cut through the sweetness.
I love serving a slice alongside a tiny spoonful of fresh, lightly sweetened whipped cream—it just adds a lovely little cloud of white against all that chocolate and brown. A drizzle of high-quality chocolate syrup never hurts either, if you are feeling extra decadent!
For me, though, the best pairing is just a really strong, hot cup of black coffee. The bitterness of the coffee just sings when it meets that salty peanut butter crunch! It makes the whole experience feel complete.
Storage and Reheating Instructions for Your Quick Candy Bar Pie
The hardest part about this quick candy bar pie is maybe having leftovers, but if you do, storing it is super simple! Since this is a no-bake beauty, you won’t be reheating anything—it has to stay cold to keep that fantastic texture.
Just cover that pie plate tightly with plastic wrap or pop it into an airtight container. It stays perfect in the refrigerator for up to three days. Honestly, it tastes almost better on day two because the flavors meld nicely. But remember, this needs to be served chilled, straight from that cold spot!
Frequently Asked Questions About Butterfinger Pie Recipe
I know you might have a few lingering questions once you see how simple this recipe is! It’s good to ask! Making sure your **butterfinger pie** turns out perfectly smooth and set is what we’re aiming for here. I pulled together some of the questions I get all the time from people trying out this awesome **butterfinger dessert**.
Can I make this no bake butterfinger pie ahead of time?
Oh, yes, you absolutely can! That’s one of the best things about an icebox pie like this. You need that chilling time anyway, so feel free to assemble the whole thing the morning before you need it, or even the day before. Just make sure it’s covered well. I find the flavor is even better the next day! It keeps beautifully in the fridge for about three days.
What is the best way to crush the candy for the butterfinger pie?
I mentioned this earlier, but I’ll say it again because it’s so important for getting those tasty chunks! Forget the noisy food processor. Just put your candy bars in a strong zip-top bag, seal out most of the air, and then use a heavy rolling pin or even the bottom of a sturdy skillet to smash them up. You want crunch, not dust! This gives you the perfect texture for your candy crunch pie.
Can I use a graham cracker crust instead of a chocolate cookie crust pie?
You certainly *could* swap it out, and nobody is going to stop you! Graham crackers make a fine crust for any peanut butter dessert. However, I really recommend sticking to the chocolate cookie crust for this specific **butterfinger pie recipe**. The dark, rich chocolate flavor really balances out the sweetness of the peanut butter filling and the Butterfinger candy. It’s a much needed contrast!
If you’ve got other questions, feel free to check out our privacy policy here, or go see how friends over at Spicy Southern Kitchen made their version over there!
Estimated Nutritional Data for This Indulgent Dessert
When enjoying a rich and **indulgent dessert** like this, it’s always smart to know what you’re getting into! The following chart shows the estimates for one slice of this wonderful **butterfinger pie**. Just remember, these are just my best guesses based on the ingredients I use—your actual numbers will change slightly depending on the brands of cream cheese or peanut butter you grab!
- Serving Size: 1 slice
- Calories: 450
- Sugar: 35g
- Fat: 30g
- Protein: 8g
It’s certainly a treat, but wow, is it worth it for a simple, no-fuss dessert!
Share Your Dreamy Dessert Creations
Whew! I hope you’re heading straight for the kitchen because you are about to make the easiest, most satisfying **butterfinger pie** ever invented. Seriously, once this sets, you won’t even believe how little effort you put in!
Now, I absolutely love hearing from you guys once you’ve made one of my recipes. Did it turn out perfectly creamy? Did your family devour it before you could get a good picture? Please come back and leave me a rating and a comment below! I read every single one, and it helps me know which recipes to keep sharing.
And if you snapped a picture of that perfect slice with the chocolate crust peeking out, tag me on social media! I always share my favorites to my stories. It brings me such joy seeing my recipes show up on your tables. You can always reach out to me through the contact page if you have specific questions, or check out how Hana made her delicious version right here!
Happy baking—or rather, happy chilling!
PrintEasiest No-Bake Butterfinger Pie (Ready in 20 Minutes!)
Make this easy, no-bake Butterfinger Pie featuring a creamy peanut butter filling, crunchy Butterfinger pieces, and a chocolate cookie crust. It is a quick dessert perfect for potlucks and family gatherings.
- Prep Time: 20 min
- Cook Time: 0 min
- Total Time: 4 hr 20 min
- Yield: 8 servings 1x
- Category: Dessert
- Method: No-Bake
- Cuisine: American
- Diet: Vegetarian
Ingredients
- 1 pre-made 9-inch chocolate cookie crust (like Oreo)
- 1 cup creamy peanut butter
- 8 ounces cream cheese, softened
- 1 cup powdered sugar
- 1 teaspoon vanilla extract
- 1 cup heavy whipping cream, cold
- 1 cup Butterfinger candy bars, crushed (about 6–8 standard bars)
- 1/2 cup Butterfinger candy bars, crushed (for topping)
Instructions
- Prepare the crust: If using a store-bought crust, place it in the freezer while you prepare the filling. If making your own, press the crumb mixture into a 9-inch pie plate and chill.
- Make the filling base: In a large bowl, use an electric mixer to beat the softened cream cheese until smooth. Add the creamy peanut butter, powdered sugar, and vanilla extract. Beat until the mixture is fully combined and creamy.
- Whip the cream: In a separate, clean bowl, whip the cold heavy whipping cream until stiff peaks form.
- Combine fillings: Gently fold the whipped cream into the peanut butter mixture until just combined. Do not overmix.
- Fold in candy: Gently fold in 1 cup of the crushed Butterfinger candy bars into the peanut butter mixture.
- Assemble the pie: Spoon the filling evenly into the chilled chocolate cookie crust. Smooth the top with a spatula.
- Chill: Cover the pie loosely with plastic wrap and refrigerate for at least 4 hours, or until firm. For a faster set, you can freeze it for about 2 hours.
- Serve: Before serving, sprinkle the remaining 1/2 cup of crushed Butterfinger bars over the top of the pie. Slice and serve cold.
Notes
- You can use a frozen whipped topping instead of whipping heavy cream to save time. If you do this, skip step 3 and fold the topping in during step 4.
- For the best texture, crush the Butterfinger bars by placing them in a zip-top bag and crushing them with a rolling pin or the bottom of a heavy pan.
- This pie is best served chilled or slightly frozen. It keeps well in the refrigerator for up to three days.
Nutrition
- Serving Size: 1 slice
- Calories: 450
- Sugar: 35g
- Sodium: 320mg
- Fat: 30g
- Saturated Fat: 12g
- Unsaturated Fat: 18g
- Trans Fat: 0.5g
- Carbohydrates: 40g
- Fiber: 1g
- Protein: 8g
- Cholesterol: 45mg