
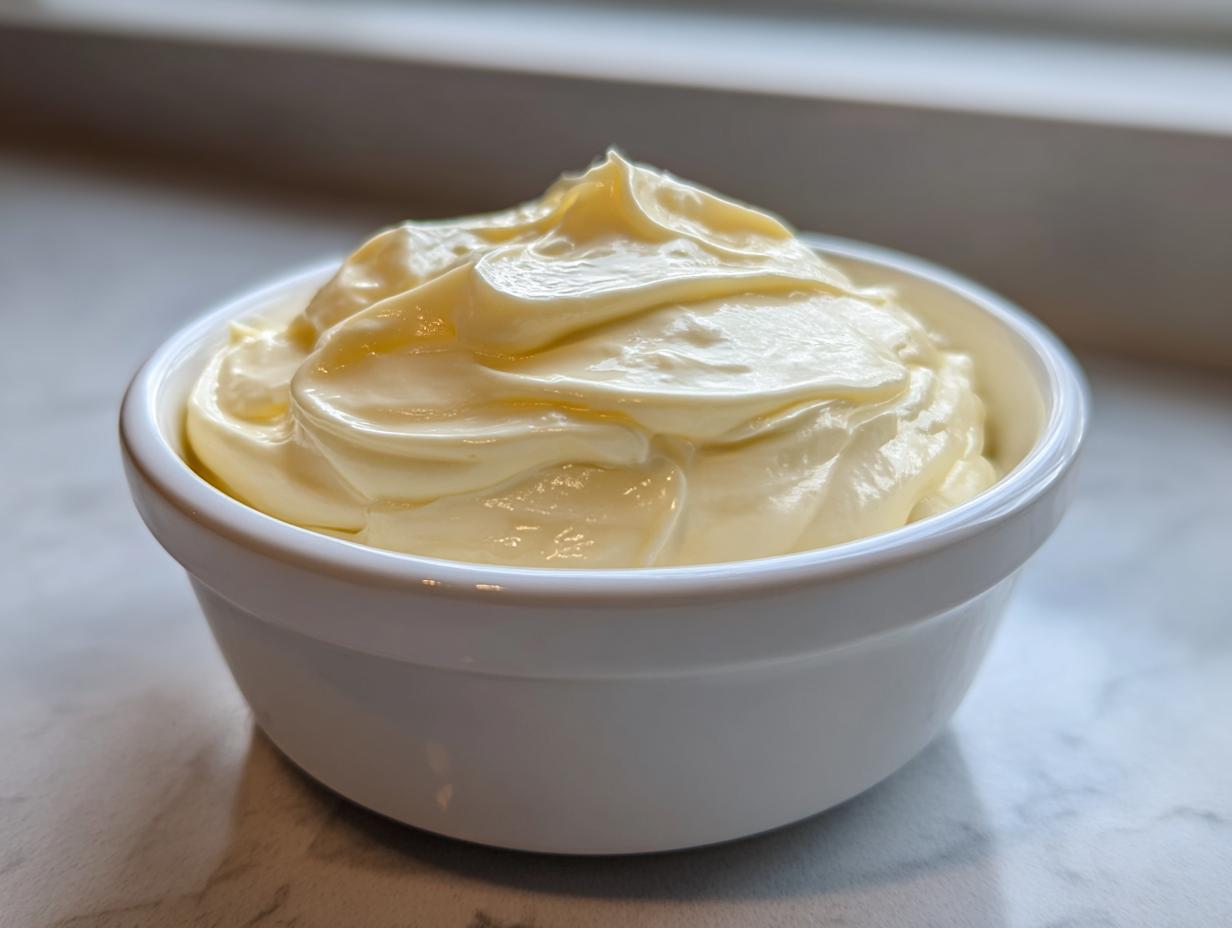
Let’s be honest: jarred condiments are fine, but when you taste what you can make yourself, you’ll never look back. I remember standing on my tippy-toes in my mom’s kitchen, realizing that something as fundamental as mayonnaise didn’t need preservatives or stabilizers. It just needed a little confidence! That’s why I developed this quick, failproof recipe for homemade mayonnaise. It truly is the benchmark for what a creamy condiment should taste like. If you’ve been intimidated by making an emulsion before, don’t worry. I promise this blender method is so simple, you’ll feel like you’ve unlocked a major kitchen secret in less than five minutes. You are going to be obsessed with how satisfying this easy mayonnaise from scratch turns out. To learn more about the philosophy behind keeping home cooking simple and delicious, check out my story on the About Page.
- Why This Homemade Mayonnaise Recipe Works Every Time
- Gathering Ingredients for Your Homemade Mayonnaise
- How to Make Mayonnaise: Step-by-Step Instructions
- Troubleshooting: Fixing Broken Homemade Mayonnaise
- Tips for Next-Level Homemade Mayonnaise Flavor
- Serving Suggestions for Your Fresh Mayonnaise
- Storage and Shelf Life of Homemade Mayonnaise
- Understanding the Nutrition in Your Homemade Mayonnaise
- Share Your Creamy Homemade Mayo Creations
Why This Homemade Mayonnaise Recipe Works Every Time
I know so many people who are genuinely afraid to try making mayonnaise from scratch. They picture a broken, oily mess! But that fear disappears when you use this failproof mayonnaise technique, which centers on two non-negotiables: room temperature ingredients and patience with the blending speed. This method is designed to create a perfectly stable, creamy homemade mayo without any drama.
The beauty of using an immersion blender (or a small food processor) is that it forces the oil in immediately, giving you total control over the speed at which the emulsion forms. It’s fast, reliable, and honestly, kind of fun to watch! You’ll see how easy it is to transition this base into something amazing like homemade tartar sauce and see why I love homemade tartar sauce.
The Science Behind Perfect Homemade Mayonnaise
Mayonnaise is an emulsion—it’s oil suspended perfectly within an egg base. The lecithin in the egg yolk acts like a tiny magnet, grabbing those fat molecules from the oil and holding them in place so they don’t separate back out. If your ingredients are too cold, the egg can’t grab the oil properly, and boom—you get soup instead of sauce!
Quick Condiment Recipe: Ready in Under 10 Minutes
Seriously, you cannot beat the speed here. This is a legitimate quick condiment recipe that comes together faster than you can find a jar in your pantry. Because we are sticking to just five core ingredients, there is very little measuring fuss involved. If you need a batch of fantastic, thick mayo for dipping or a sandwich right now, this is the only way to go. Planning ahead for a great dipping sauce is easy with this base, too!
Gathering Ingredients for Your Homemade Mayonnaise
Okay, the list for this homemade mayonnaise recipe is beautifully short, which is why I love it so much! We only need just six things total, but success hinges totally on using quality ingredients and making sure they are the right temperature. Don’t substitute major players here; the flavor profile depends on getting these proportions exactly right. We are taking the guesswork out of making this kitchen staple recipe!
Ingredient Clarity and Temperature Checks
This is where we build that trust! Every single item needs to be at room temperature before you start blending. That means letting the egg, Dijon mustard, fresh lemon juice, and white wine vinegar sit out for about 30 minutes. If anything is cold, the emulsion will definitely rebel on you. For the oil, you need exactly 1 cup of a neutral oil—I always grab canola or avocado oil because they don’t impart a strong flavor into the final mayonnaise sauce.
- 1 large egg, room temperature
- 1 teaspoon Dijon mustard
- 1 teaspoon fresh lemon juice
- 1/2 teaspoon white wine vinegar
- 1/4 teaspoon salt
- 1 cup neutral oil (like canola or avocado oil), room temperature
How to Make Mayonnaise: Step-by-Step Instructions
Alright, let’s get blending! I promise, this is the easiest part of the entire process once your ingredients are ready. You’re going to see that light, fluffy base turn into luscious, thick homemade mayo right before your eyes. This is truly an inspiring moment, and following these steps will guarantee rich results for your fresh mayonnaise tutorial.
The Emulsion Start: Combining the Base Ingredients
Grab your immersion blender jar—or small food processor vessel—since we’re making this fast! Drop in your room-temperature egg, the Dijon mustard, the fresh lemon juice, the white wine vinegar, and the salt. Secure the blender head, making sure it’s touching the bottom of the container. Give it a quick 10-second whir. We just want to see the mix get a little frothy and fully combined before we introduce the oil.
Slowly Drizzling Oil for the Best Homemade Mayo
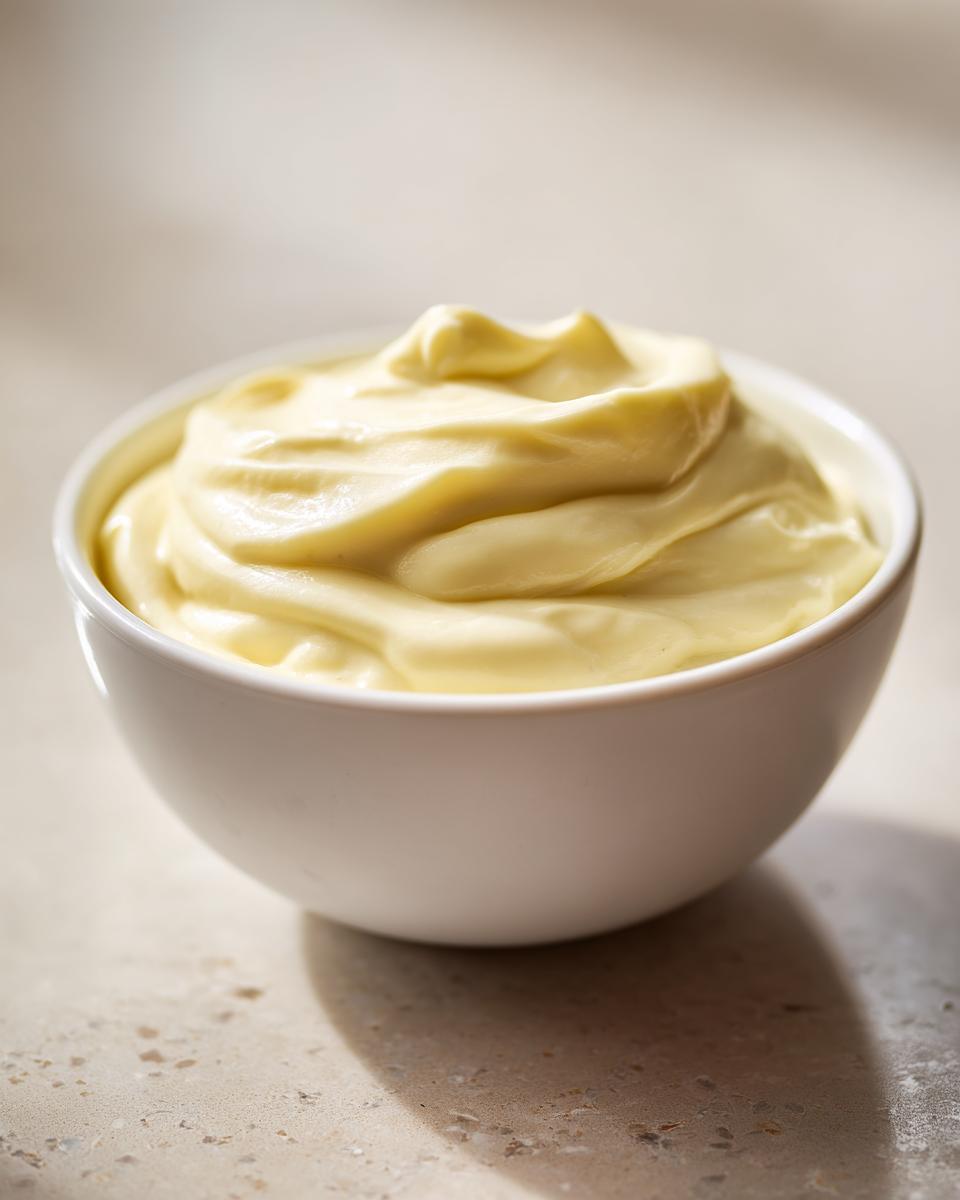
This step is crucial for success in learning exactly how to make mayonnaise. Keep the blender running constantly on medium speed—don’t stop it! Now, grab your 1 cup of oil and begin pouring, but listen to me closely: it must be a very thin, steady stream. Think of a slow trickle, not a drizzle or a pour. If you add the oil too fast, the emulsion breaks. Keep that steady flow going for a full minute or two until you see the mixture balloon up into pale yellow thickness!
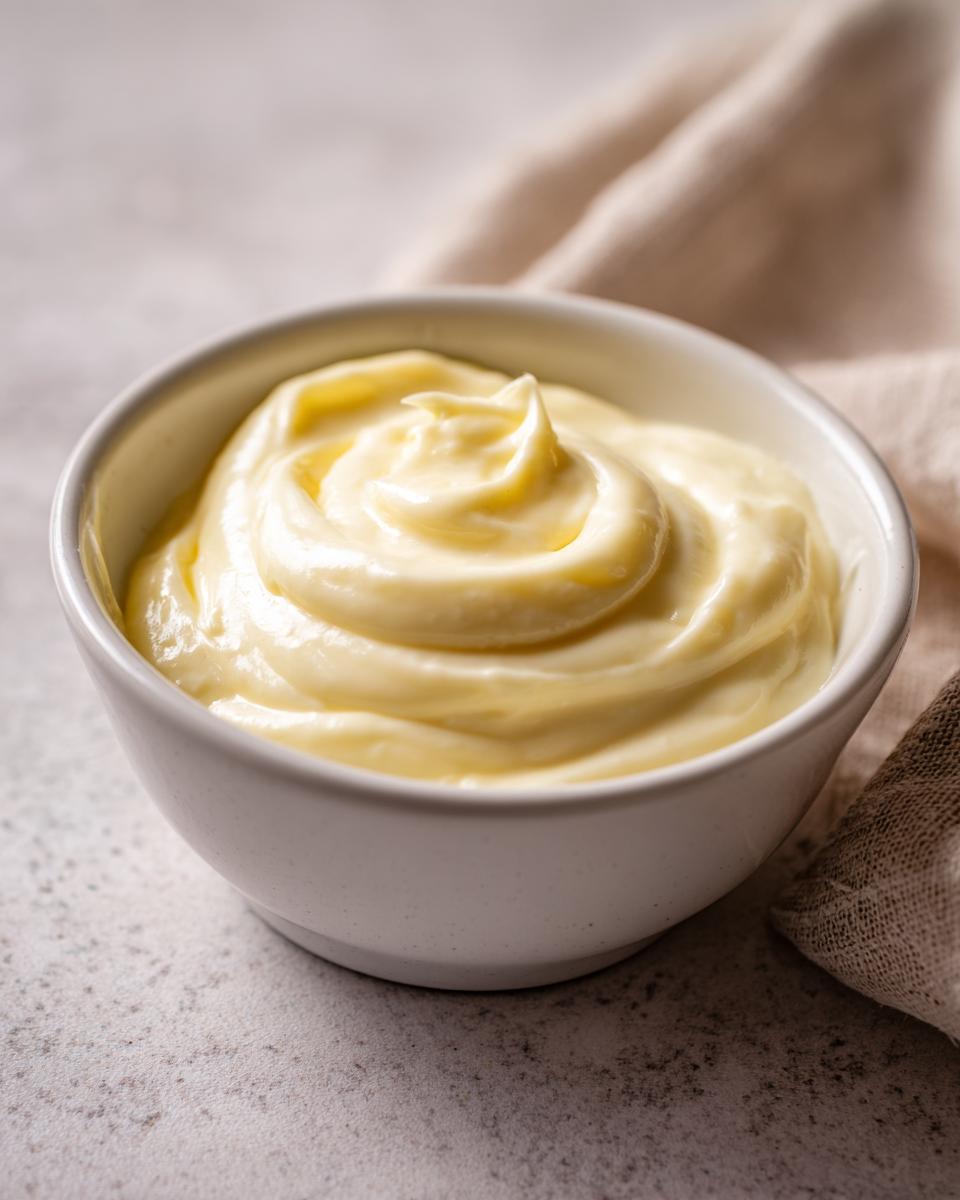
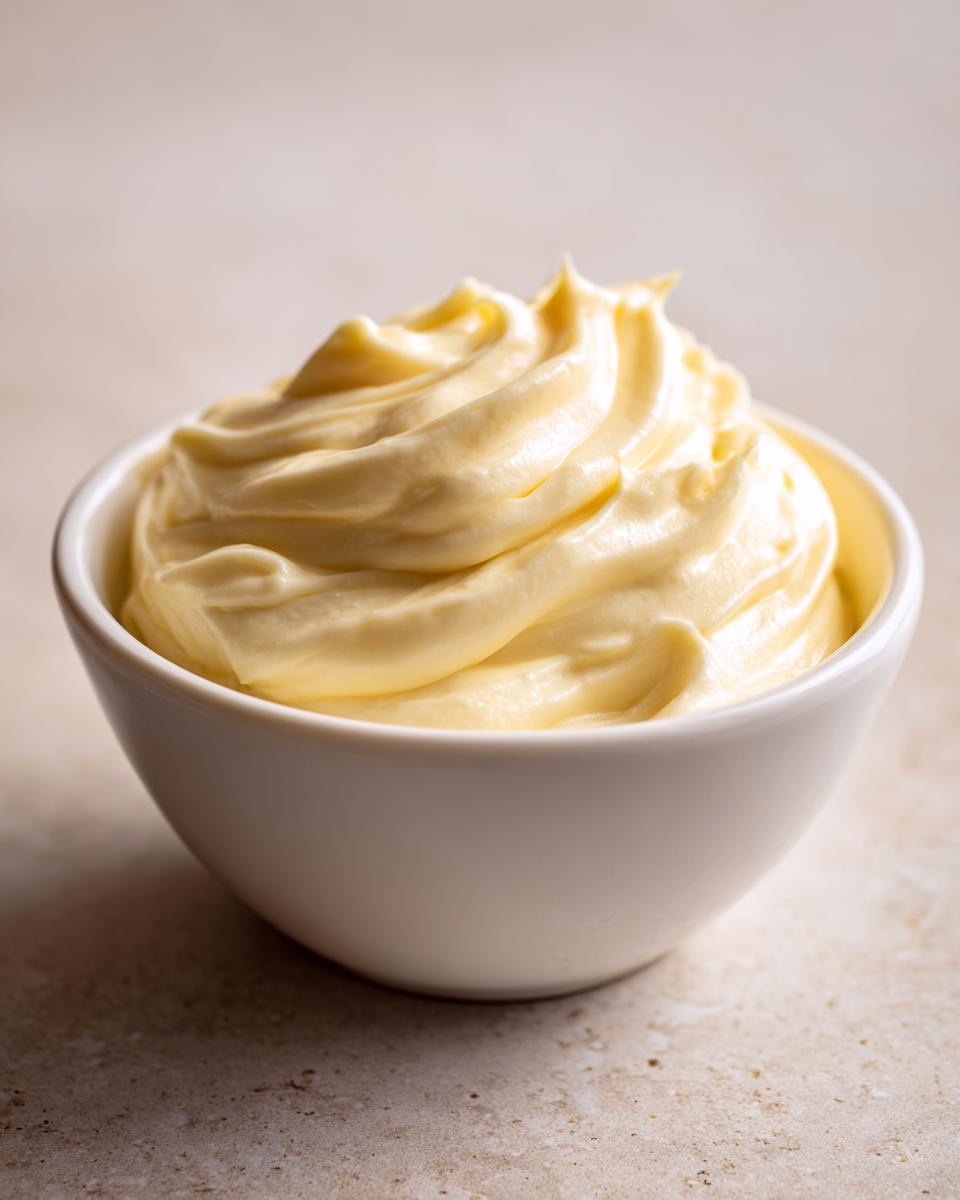
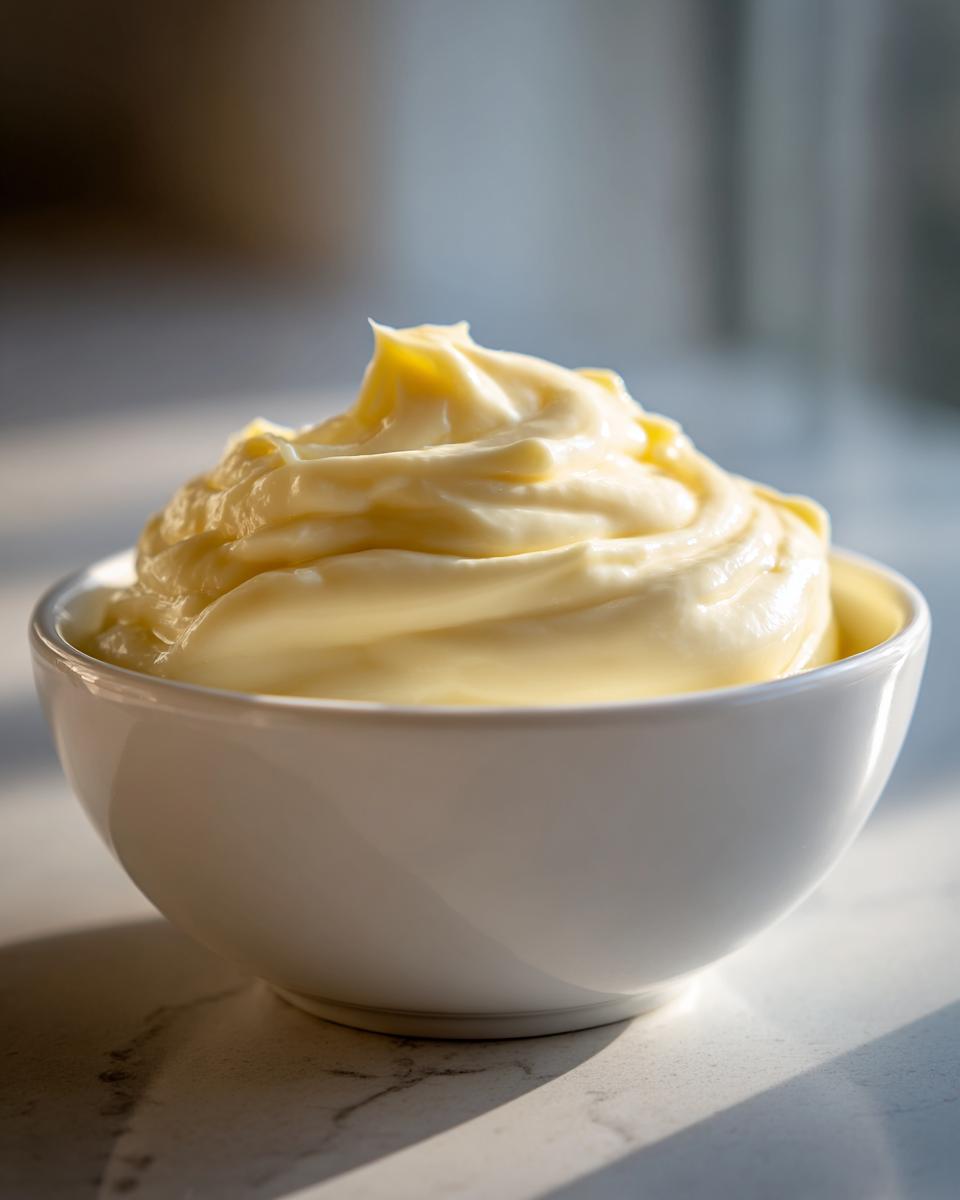
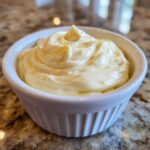
Achieving Thick, Creamy Homemade Mayo Consistency
Once all that oil is incorporated (it happens fast once it starts!), stop the blender. You might notice the sides have some unmixed oil clinging to them, so spatula those down quickly. If your creamy homemade mayo looks a little too stiff—which happens sometimes—just blend in a little warm water, just a teaspoon at a time, until it’s perfect. Transfer everything to an airtight container and give it at least 30 minutes in the fridge. That chilling time seriously improves the flavor and guarantees you get to enjoy the best homemade mayo sample!
Troubleshooting: Fixing Broken Homemade Mayonnaise
Okay, let’s talk about the worst-case kitchen scenario. Maybe you poured the oil a little too fast, or maybe your egg was secretly cold. Whatever the reason, if your mixture looks thin and watery instead of thick and beautiful, don’t panic! This is where knowing the backup plan for your emulsion recipe guide comes in handy. A broken batch of homemade mayonnaise is absolutely fixable—it’s one of the most satisfying kitchen saves you can pull off!
Luckily, we already know the fix for this common issue. The secret is an extra little bit of emulsifier to stabilize the whole mess. If this happens, just grab a fresh, clean bowl and put just one fresh egg yolk in it. Then, very, very slowly, you need to whisk your broken, separated mixture into that new yolk, one teaspoon at a time. Keep whisking until the mixture tightens up again. If you need more ideas for next-level sauces, you can check out the tips over at The Spanish Apron!
Tips for Next-Level Homemade Mayonnaise Flavor
Now that you’ve mastered the easy mayonnaise from scratch method, it’s time to stop thinking of this recipe as just a base and start seeing it as a flavor canvas! Store-bought jars are usually one-note, but because you are in charge here, you can customize every batch. Want something spicy to go with fries? Want something brighter for poaching chicken? We’ve got you covered with simple additions you can fold right in at the end. These steps elevate your mayonnaise sauce from a simple staple to something truly special.
Flavor Variations: Garlic and Tang
The easiest way to make a huge impact is by turning your basic batch into garlic mayonnaise. This is amazing slathered on roast beef sandwiches or used as a base for dipping crispy appetizers. Right when you are blending the initial ingredients (the egg, mustard, salt, etc.), just toss in one clove of finely minced garlic. The power of fresh garlic transforms the flavor profile immediately.
If you’re craving that bright, sharp kick—that’s the tangy mayonnaise preparation coming through! Your recipe already has lemon juice and vinegar, but you can easily amp that up. Once the mayonnaise has fully thickened, taste it. If it needs more zing, just slowly whisk in an extra half teaspoon of fresh lemon juice or white wine vinegar until it sings to you. If you’re looking for other bright, flavorful sauces, I have a fantastic recipe for horseradish sauce that uses a similar creamy base concept!
Serving Suggestions for Your Fresh Mayonnaise
The hardest part of making this best homemade mayo is actually letting it chill for 30 minutes! Once it’s cold, you’ll want to slather it on everything. It makes the most incredible base layer for any sandwich—way better than anything pale and plasticky from the store. Seriously, toast two slices of good sourdough, add some turkey, and finish it with this mayo; you won’t believe the difference.
It’s also the secret weapon for turning leftover canned salmon into something spectacular. Speaking of which, if you want a fantastic recipe to put that fresh mayo to use right away, check out my easy salmon salad recipe. Beyond salads, use it as a thick base for quick dips or alongside fresh-cut veggies. It tastes so bright and clean!
Storage and Shelf Life of Homemade Mayonnaise
Now that you’ve got this gorgeous, rich mayonnaise for dipping and spreading, we have to talk about storing it correctly. Since this is beautifully fresh mayonnaise made with a raw egg base and zero preservatives, we need to treat it with respect! You can’t just leave it on the counter like that jarred stuff you buy at the store.
The very first thing you must do is transfer all of your freshly made condiment into a truly clean, airtight container before it even thinks about cooling down too much. An old jam jar works perfectly well, as long as it has a tight lid. Then, straight into the refrigerator it goes! This is non-negotiable for food safety.
Here is where I need you to listen closely: Because we are skipping all those stabilizers and chemicals, the shelf life for this homemade mayonnaise is much shorter than commercial brands. I would strongly advise that you aim to use up every last bit within about one week, maximum. Seriously, ditch it after seven days, even if it looks okay. The incredible fresh flavor is worth the small effort of making a new, tiny batch when you run low. It’s easier than keeping it around too long!
Understanding the Nutrition in Your Homemade Mayonnaise
When you skip the jarred stuff, the first question I always get is about nutrition—and that’s smart thinking! People often assume that because they made something at home, it’s automatically low-calorie, but when you’re making an oil-based emulsion like this, the fat content will naturally be the highest component. That said, you are swapping out unnecessary additives and stabilizers for high-quality, single-source fat, which feels a lot healthier in my book. This is a great option if you’re looking to make more healthy homemade condiments!
Since this homemade mayonnaise is based on the precise recipe I gave you (using 1 cup of standard neutral oil), I ran the numbers so you know exactly what you’re dealing with. Remember, this is an estimate based on the ingredients used, and your actual numbers might vary slightly depending on the specific oil you choose. It’s fascinating to see how much flavor we pack into just one small spoonful!
For a standard serving size of just one tablespoon, based on this recipe yielding about 1 1/4 cups, here is the nutritional snapshot:
- Calories: Approximately 95
- Fat: Around 10 grams (mostly unsaturated fat, which is great!)
- Sodium: About 70 mg
- Carbohydrates & Protein: Very low, close to zero.
See? It’s mostly pure, wonderful fat, which is what gives you all that delicious richness and satisfying texture. Don’t be scared of the fat content when you control the quality of the ingredients going in!
Share Your Creamy Homemade Mayo Creations
Now that you have absolutely zero excuses not to try this recipe—because seriously, if you can turn on an immersion blender, you can make this!—I would be thrilled if you gave it a go. Seeing your successes is truly the best part of developing these recipes for you.
Please come back and leave a rating! I want to know exactly how many stars you give this easy blender mayonnaise. Did you use canola oil? Avocado oil? Did it turn out perfectly thick on the first try? Drop all those details in the comments below. If you’re feeling extra chatty, let me know what you used your incredibly fresh mayonnaise for—was it on a killer burger, or maybe mixed into a potato salad?
If you snap a picture of your beautiful, pale yellow, thick batch—and I really hope you do—tag me on social media! Seeing your take on this classic condiment makes my day and helps other cooks gain the confidence they need to try it next. And if you have any last-minute questions while you’re making it, maybe something about adjusting tanginess or what to do next, don’t hesitate to reach out through my Contact Page. Happy blending!
PrintEasy, Creamy Homemade Mayonnaise Recipe
Make rich, thick homemade mayonnaise from scratch using this simple, failproof blender method. This 5-ingredient recipe tastes much better than store-bought versions.
- Prep Time: 5 min
- Cook Time: 0 min
- Total Time: 5 min
- Yield: About 1 1/4 cups 1x
- Category: Condiment
- Method: Blending
- Cuisine: American
- Diet: Gluten Free
Ingredients
- 1 large egg, room temperature
- 1 teaspoon Dijon mustard
- 1 teaspoon fresh lemon juice
- 1/2 teaspoon white wine vinegar
- 1/4 teaspoon salt
- 1 cup neutral oil (like canola or avocado oil), room temperature
Instructions
- Place the egg, Dijon mustard, lemon juice, vinegar, and salt into the container of an immersion blender or a small food processor.
- Blend these ingredients for about 10 seconds until they are fully combined and slightly frothy.
- With the blender or processor running continuously on medium speed, slowly drizzle the oil into the mixture in a very thin, steady stream. This slow addition is key to forming the emulsion.
- Continue blending until all the oil is incorporated and the mixture thickens into a creamy, pale yellow mayonnaise. This usually takes 1 to 2 minutes after you start adding the oil.
- Stop the blender. Scrape down the sides with a spatula. If the mayonnaise is too thick, blend in 1 teaspoon of warm water until you reach your desired consistency.
- Transfer the fresh mayonnaise to an airtight container. Chill for at least 30 minutes before serving for the best flavor and texture.
Notes
- Use room temperature ingredients. Cold ingredients increase the chance of the emulsion breaking.
- If your mayonnaise breaks (looks thin or watery), place one egg yolk in a clean bowl. Slowly whisk in the broken mixture one teaspoon at a time until it re-emulsifies.
- For a tangy mayonnaise preparation, add 1/2 teaspoon more lemon juice or vinegar at the end.
- This recipe makes a great base for garlic mayonnaise; add one clove of minced garlic with the initial ingredients.
Nutrition
- Serving Size: 1 tablespoon
- Calories: 95
- Sugar: 0
- Sodium: 70
- Fat: 10
- Saturated Fat: 1.5
- Unsaturated Fat: 8.5
- Trans Fat: 0
- Carbohydrates: 0
- Fiber: 0
- Protein: 0.5
- Cholesterol: 25