
If you’ve ever stared down a tray of carefully cut sugar cookies and felt that little knot of panic about the icing, I promise you, I get it! Decorating should be fun, not frustrating. That’s why I’m handing you my absolute best, foolproof royal icing recipe—the one I spent time perfecting in the test kitchen because I needed guaranteed results, every single time. This recipe uses meringue powder, which means it’s super reliable and much easier for beginners than dealing with raw egg whites. Trust me when I say, mastering this smooth, glossy cookie icing will change your baking game instantly. Get ready for decorations that look professional without all the fuss!
- Why This Royal Icing Recipe Works for Everyone
- Gathering Ingredients for Your Royal Icing Recipe
- Step-by-Step Instructions: How to Make Royal Icing
- Mastering Consistency: Piping Icing Consistency Guide
- Royal Icing Tips and Tricks for Success
- How This Hardening Icing Recipe Dries Firm
- Frequently Asked Questions About This Royal Icing Recipe
- Estimated Nutritional Information for This Royal Icing Recipe
- Share Your Perfect Cookie Glaze Creations
Why This Royal Icing Recipe Works for Everyone
When I share recipes here, I want you walking away feeling totally confident, and this royal icing recipe is built on trust. My goal is always to give you something reliable—something that won’t crack halfway through decorating or refuse to dry right. Using meringue powder is a total game-changer because it keeps things consistent whether you’re baking cookies in July or December! I learned the science behind stable frostings during my time working professionally, and I brought all that knowledge home to make this recipe foolproof for you.
- It sets incredibly hard, which is essential if you plan on stacking cookies or building a gingerbread house!
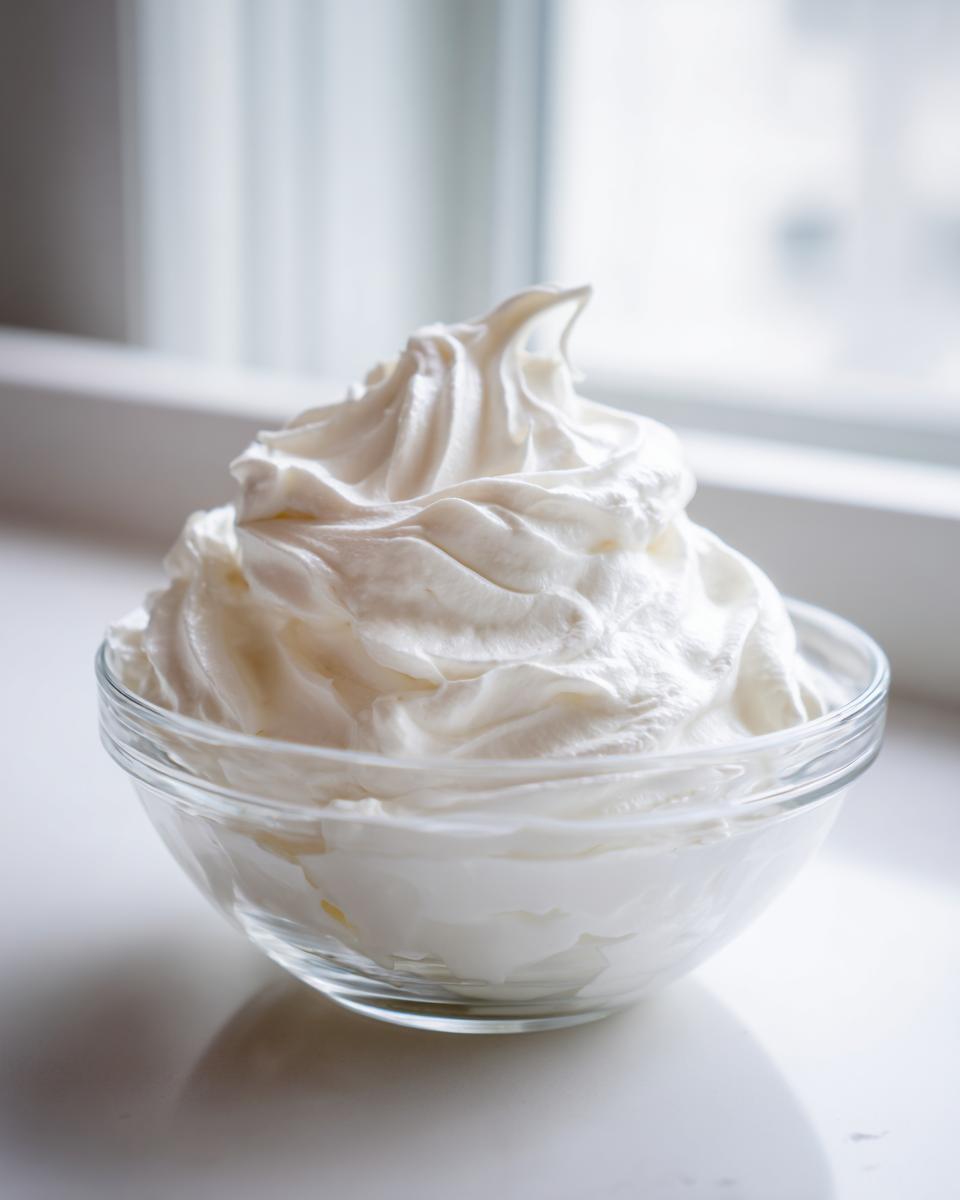
- It gives you that stunning, professional, glossy cookie icing look without demanding fancy extra steps.
- It’s incredibly versatile; we’ll talk about thinning it out right after this!
You can read more about my journey bringing professional reliability to home kitchens right over here at our About Page if you’re curious!
Beginner-Friendly with Meringue Powder Royal Icing Recipe
Look, I know raw eggs can scare people off, and honestly, they add variability we just don’t need when we are trying to decorate cookies. That’s why this is my go-to Beginner Royal Icing. Meringue powder is shelf-stable and gives you that excellent structure without any food safety worries associated with egg whites. It’s a much more stable base for any No Egg White Royal Icing project you can dream up.
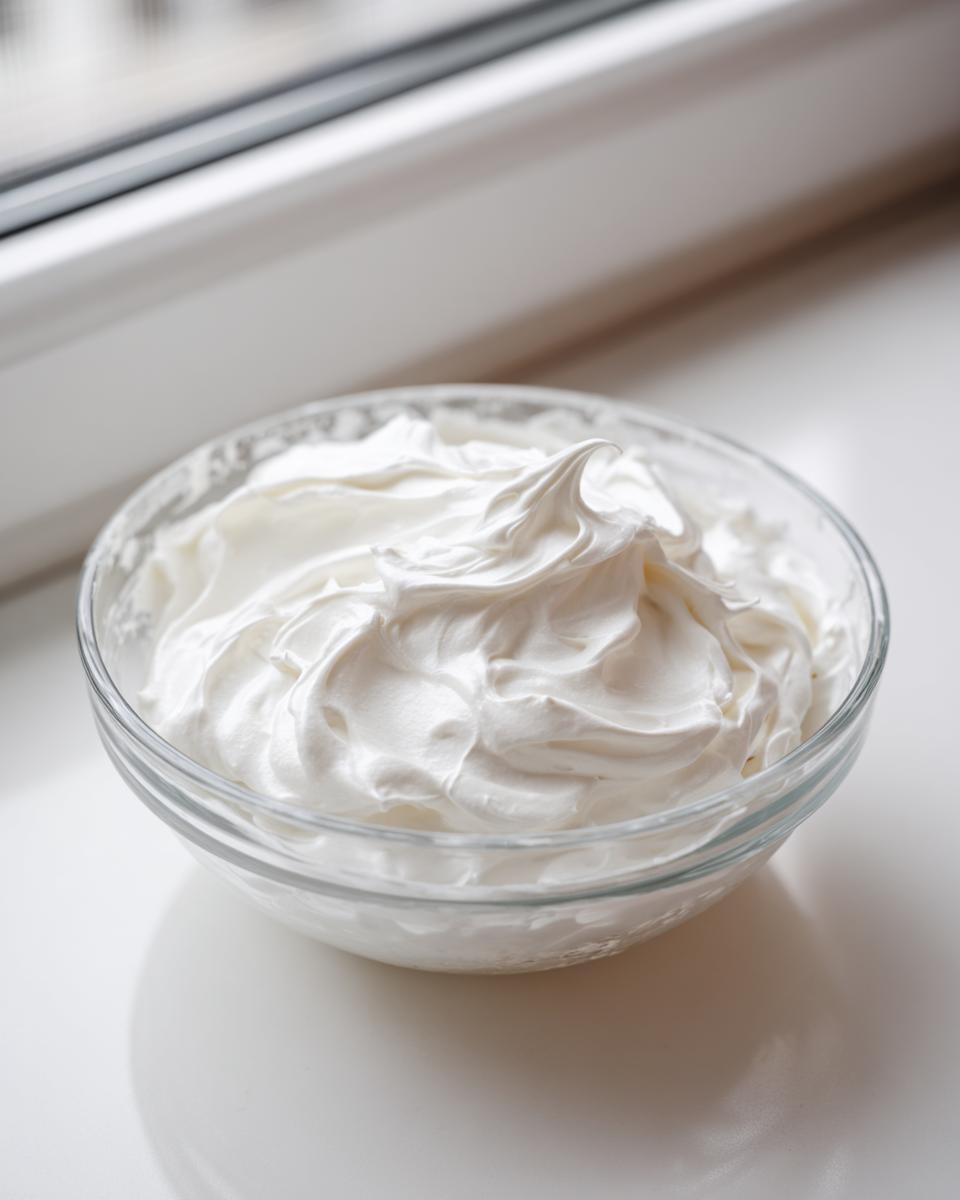
Achieving That Perfect Glossy Cookie Icing Finish
That shiny, almost porcelain finish you see on professional cookies? It comes largely from two things: using high-quality powdered sugar and beating the heck out of it! Plus, a tiny pinch of cream of tartar that I sneak in acts like an insurance policy against crystallization. When you beat this royal icing recipe long enough, you incorporate just enough air to make it ultra-smooth while locking in that beautiful shine when it finally hardens.

Gathering Ingredients for Your Royal Icing Recipe
Alright, let’s get this straight: baking is science, and rushing the ingredient gathering phase is recipe suicide! My royal icing recipe relies on simple pantry staples, but prep work—like sifting—is non-negotiable if you want that amazing, smooth texture we talked about. Don’t just dump things in the bowl; pay attention to what goes where. Having everything ready to go makes the actual mixing part feel like a breeze!
Ingredient List: The Basic Royal Icing Formula
For this fantastic, glossy batch that yields about four cups, you’re going to need four tablespoons of meringue powder whisked together with eight tablespoons of warm water first. Then, you absolutely must measure in four cups of powdered sugar, and make sure it’s sifted! That little step stops clumps dead in their tracks. Next, grab one teaspoon of clear vanilla extract—we want clear so it doesn’t tint our white icing—and if you want extra insurance, a quarter teaspoon of cream of tartar is optional but honestly, I always add it for stability checks.
Step-by-Step Instructions: How to Make Royal Icing
Okay, now that we have our carefully measured ingredients ready, this royal icing recipe moves super fast! The key here is patience during the long beat, but speed during the initial mix. Don’t walk away from the mixer, especially when you get to the glossy stage. When I first learned this process, I rushed the whipping time, and the icing looked dull. Trust me on the full five to seven minutes!
Mixing the Meringue Powder and Sugar Base
First things first, grab a nice big bowl. You need to whisk your four tablespoons of meringue powder right into the eight tablespoons of warm water until you see just a little froth—that takes about a minute. Then, add *all* that sifted powdered sugar and the cream of tartar if you’re using it. Start your mixer on the absolute lowest speed. We don’t want a sugar cloud erupting in the kitchen! Mix everything on low until it forms a thick, ugly paste. Stop the mixer, and make sure you scrape down all those sides really well so everything gets incorporated properly.
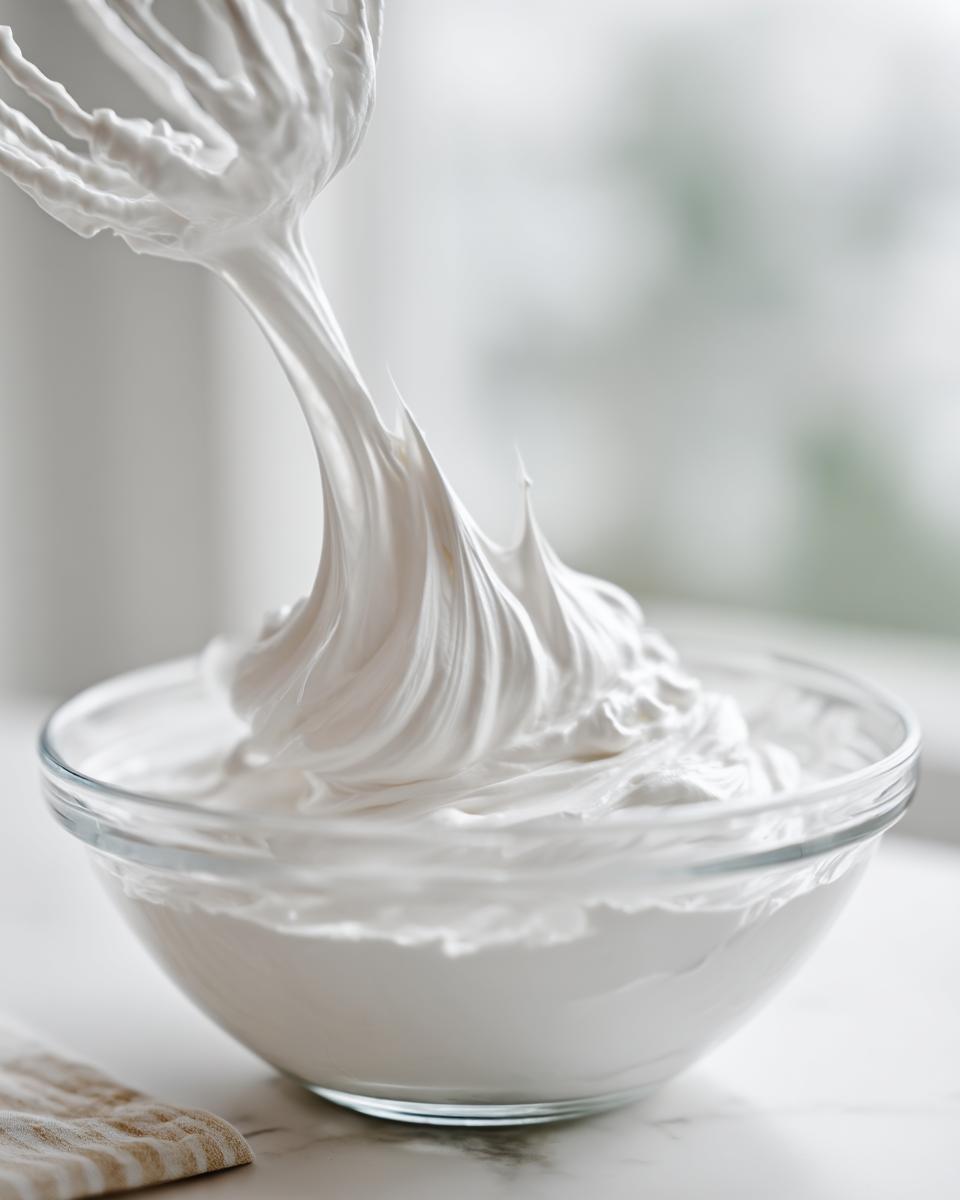
Achieving Stiff Peaks for Piping Icing Consistency
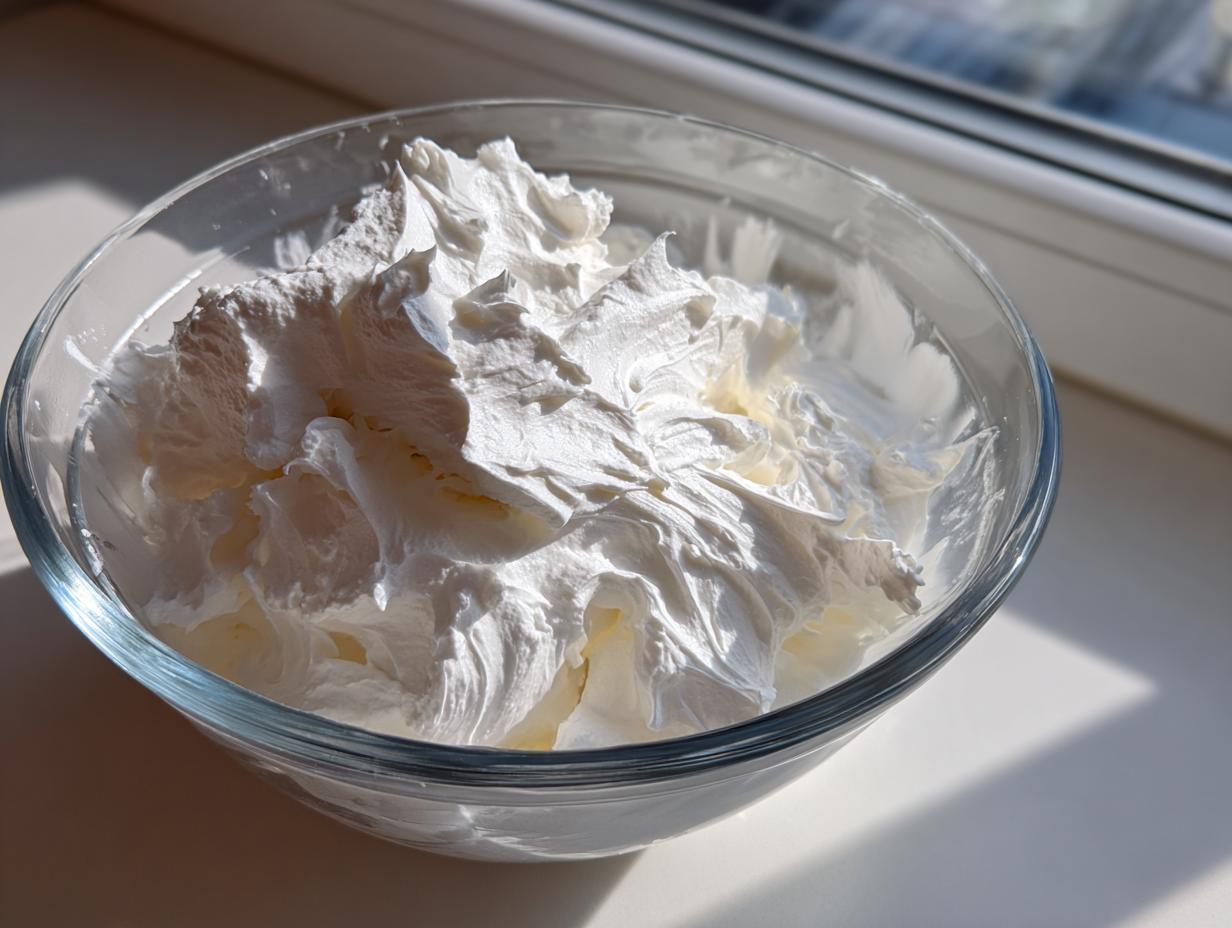
This is where the magic happens for that beautiful, smooth look. You’re going to add your vanilla extract now and then crank the mixer up to medium-high. You need to beat it, consistently, for a full five to seven minutes straight. Seriously, set a timer! When it’s done, it should look super glossy, incredibly bright white, and very stiff. At this stage, you’ve got your perfect stiff consistency, ready to use for outlining immediately. If you need thinner stuff, we cover that next, but this base is the gold standard for beautiful Piping Icing Consistency. For more tips on getting those stiff lines just right, check out this great resource on getting professional cookie lines!
Also, remember that if you’re storing any leftover icing, you must put plastic wrap directly onto the surface of the icing in the bowl. Otherwise, that lovely, glossy top layer will turn crusty overnight, and you’ll have to scrape it off. I learned that the hard way once when I was testing out my storage methods.
Mastering Consistency: Piping Icing Consistency Guide
You know how frustrating it is when you want to outline a cookie, but the icing just bleeds into the space? Or worse, you want to flood that beautiful background, but the icing won’t smooth itself out? That’s why understanding consistency is the real key to success with this royal icing recipe. Once you master the flow, you can decorate anything from gingerbread houses to intricate Christmas cookies. It’s all about adding just a tiny, tiny bit of liquid or sugar until it behaves exactly how you need it to.
Adjusting for Flood Consistency Icing
If you just finished the main mix, you likely have stiff icing—perfect for piping borders! But to flood that space so it looks perfectly smooth, you need to thin it down. Take about a cup of that stiff icing and start adding warm water, half a teaspoon at a time. You’re aiming for the perfect Flood Consistency Icing. How do you know when it’s ready? Here’s my favorite trick: drizzle some icing off a spoon into the bowl. If that trail sinks back down and disappears totally into the rest of the icing within about 10 seconds flat, you nailed it! That’s your cue for a perfect smooth fill.
Thick Consistency Icing for Outlining and Detail Work
Sometimes, even right after mixing, the icing might seem a touch too soft for really sharp outline work, or maybe you took too much out for flooding and need some stiff icing again. Don’t panic! We just add more structure back in. If you need it thicker—say, for writing tiny letters or creating structural elements for Icing for Decorated Cookies—just mix in a tablespoon or two of sifted powdered sugar at a time. It firms right up! You want peaks that hold their shape sharply when they come off the mixer. For more help getting those gorgeous, sharp edges, take a peek at this expert guide on getting smooth icing.
Royal Icing Tips and Tricks for Success
Now that you have the perfect base, let’s talk about keeping it perfect while you work! Nothing is more annoying than having the icing you just mixed start cracking or drying out before the whole batch is decorated. Since this is a workhorse recipe, I always keep the unused portions covered up like they’re royalty. Trust me, you don’t want to find a hard shell on top of your beautiful white icing reservoir—it’s a waste of time picking it off!
Coloring and Storing Your Icing
If you want color, you simply must use gel food coloring, not the liquid drops you find near the baking soda at the grocery store. Liquid color adds too much moisture and can ruin your consistency instantly, making your icing runny. Only use a toothpick dipped into a high-quality gel color and mix it really well into the portion you need to tint. For storage, this is crucial: take a small sheet of plastic wrap and actually press it down right onto the surface of the icing in the bowl. This blocks all the air out! If you just cover the top of the bowl, the icing dries out from the top down. For some more serious pro advice on handling different colors, I found this guide from a custom cookie expert really useful for advanced layering.
How This Hardening Icing Recipe Dries Firm
One of the best things about this specific royal icing recipe is its incredible ability to set up hard and fast! If you’re making cookies for a holiday platter or stacking gingerbread house walls, you need icing that isn’t going to smoosh under pressure. That’s the beauty of using meringue powder; it creates a structure that cures beautifully when exposed to the air.
It’s not magic; it’s just chemistry doing its job! Once you’ve flooded or piped your design and left it sitting out, the moisture evaporates, leaving behind a durable, rock-solid shell. This means you can decorate your cookies one day and happily box them up the next without worrying about them sticking together or smudging. This reliable hardening quality is why I trust this recipe for all my big projects!
Frequently Asked Questions About This Royal Icing Recipe
I always figure if I have a question popping into my head while I’m mixing, chances are you do too! Getting a simple, reliable batch is the goal, so here are a few things people often ask about this specific royal icing recipe. Having this information just makes the whole decorating process smoother.
Can I make this Easy Royal Icing ahead of time?
Oh yes, you absolutely can! I often make a big batch and then store the different consistencies I need in airtight containers. The number one rule is that plastic wrap—or an airtight lid—has to be pressed directly onto the surface of the icing so no air can get to it. It keeps great on the counter for a couple of days, maybe even three. If you notice it’s a little stiff after resting, just check the consistency by adding half a teaspoon of water at a time until you hit that perfect flow again. Don’t forget to check out my contact page if you need to send me a note later!
What is the best extract to use in my White Royal Icing Recipe?
This is an important one if you want that pure, brilliant white color for your White Royal Icing Recipe! I nearly always default to clear vanilla extract. Regular vanilla extract has natural color, and while it adds phenomenal flavor, it can give your icing a slight beige tint, which defeats the purpose if you’re trying to make vibrant colors later, like bright reds or deep blues. If you are using lemon extract, that’s usually clear too, and it gives a lovely little zing that compliments sugar cookies wonderfully. I saw a great breakdown of flavor choices over at this expert post, too.
Estimated Nutritional Information for This Royal Icing Recipe
Because this royal icing recipe is made out of such simple components—sugar, water, and meringue powder—we can estimate the nutrition pretty easily, but I want to be clear upfront: this is just an estimation based on the amounts used! This isn’t coming from a lab, just from me trying to give you a transparent look at what you’re enjoying when you use this Perfect Cookie Glaze. It’s definitely a treat, but look how little fat there is!
These numbers are calculated based on a serving size of about 1/4 cup of the finished icing. It yields about four cups total, so do your math from there. It’s mostly going to be sugar, which is what makes it hardens so well, but it’s great to know for context!
- Calories: Around 180 per serving.
- Sugar: Yep, about 45 grams, since powdered sugar is the main event here!
- Carbohydrates: Following right behind sugar, we’re at about 45 grams.
- Protein: You get a tiny little boost, about 1 gram, which is likely from the meringue powder.
- Fat: Excellent news—zero grams of fat, saturated or unsaturated!
You can feel good knowing that while this is a sweet topping for your Icing for Decorated Cookies, it’s not sneaking in any extra fats or cholesterol.
Share Your Perfect Cookie Glaze Creations
That’s it! You now have the absolute best, most dependable royal icing recipe in your arsenal. Seriously, I hope you’re feeling ten feet tall right now because making beautiful work with icing is an accomplishment! But don’t just put the mixer away and forget about this recipe—I genuinely want to know how it went for you!
When you try out this Glossy Cookie Icing on your next batch of cookies for gifting or just for a weeknight treat, please come back and leave a little rating below. Tell me what you decorated! Did you edge them, flood them, or maybe try making some tiny royal icing flowers? Your feedback helps other bakers feel confident stepping in and trying this recipe too, and honestly, seeing your decorated cookies is my favorite part of running this site!
Don’t be shy! Drop your thoughts in the comments. We’re building a community here where we celebrate every perfect little piped line made using this Perfect Cookie Glaze. Happy decorating, and I can’t wait to see what beautiful things you create!
PrintThe Best Foolproof Royal Icing Recipe Using Meringue Powder
This recipe provides a reliable method for making smooth, glossy royal icing using meringue powder, perfect for decorating sugar cookies and gingerbread houses. Learn how to adjust the consistency for outlining and flooding.
- Prep Time: 10 min
- Cook Time: 0 min
- Total Time: 10 min
- Yield: About 4 cups 1x
- Category: Baking
- Method: Mixing
- Cuisine: American
- Diet: Vegetarian
Ingredients
- 4 tablespoons meringue powder
- 8 tablespoons warm water
- 4 cups powdered sugar, sifted
- 1 teaspoon clear vanilla extract or lemon extract
- 1/4 teaspoon cream of tartar (optional, for extra stability)
Instructions
- In a large bowl, whisk together the meringue powder and warm water until the mixture is frothy, about 1 minute.
- Add the sifted powdered sugar and cream of tartar (if using) to the bowl.
- Using an electric mixer on low speed, mix the ingredients until they form a thick paste. Scrape down the sides of the bowl.
- Add the vanilla extract. Increase the mixer speed to medium-high and beat for 5 to 7 minutes until the icing is very stiff, white, and glossy.
- To achieve different consistencies, thin the icing with small amounts of water (1/2 teaspoon at a time) or thicken it by adding more sifted powdered sugar.
- Use immediately or cover tightly with plastic wrap pressed directly onto the surface to prevent drying.
Notes
- For outlining consistency (stiff peaks), use the icing as it is after mixing.
- For flooding consistency (medium flow), add water slowly until the icing flows smoothly off a spoon and the trail disappears into the bowl in about 10 seconds.
- For fine detail work, you may need a thicker consistency than the initial mix. Add powdered sugar to thicken.
- To make colored icing, divide the white icing into separate bowls and mix in gel food coloring until the desired shade is reached.
- This icing dries firm and hard when exposed to air, making it ideal for stacking cookies.
Nutrition
- Serving Size: 1/4 cup
- Calories: 180
- Sugar: 45g
- Sodium: 5mg
- Fat: 0g
- Saturated Fat: 0g
- Unsaturated Fat: 0g
- Trans Fat: 0g
- Carbohydrates: 45g
- Fiber: 0g
- Protein: 1g
- Cholesterol: 0mg