
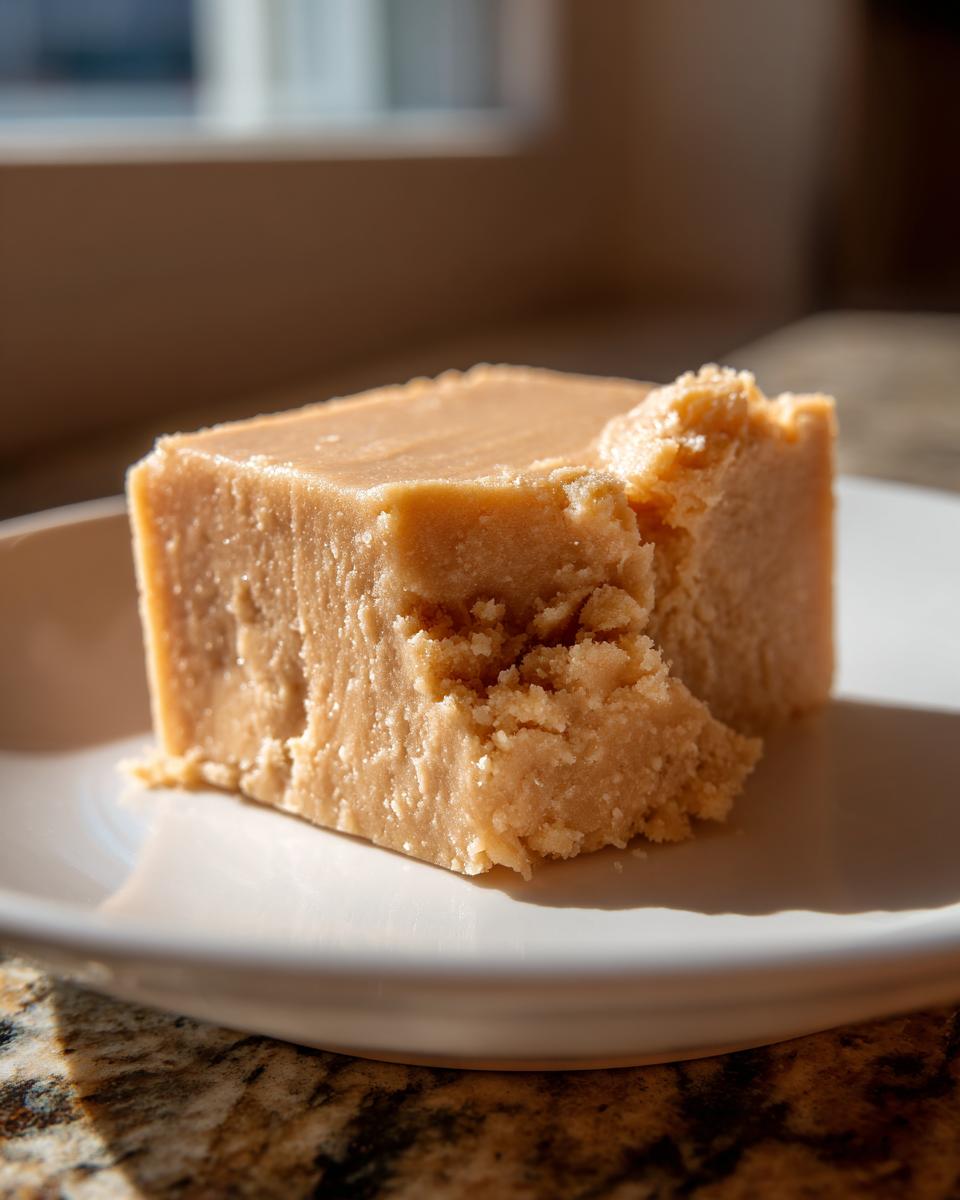
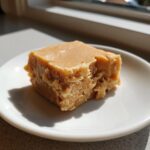
If you’re like me, sometimes you just need something unbelievably decadent but you don’t want to turn on the oven or spend an hour fussing over candy thermometers. That’s where this peanut butter fudge comes in! Seriously, this is the quickest, most reliable recipe for the best peanut butter fudge you will ever make because it only requires three simple things. I developed this recipe based on my philosophy: great food doesn’t need complication, it just needs reliable instructions. As someone who spent years perfecting simple, foolproof meals, I promise this no-bake treat delivers the creamiest, melt-in-your-mouth texture every single time. If you want real comfort food in about ten minutes of hands-on time, you need to try this recipe right now. You can learn more about my mission for simple cooking over at the About page!
- Why This Creamy Peanut Butter Fudge Recipe is a Must-Try
- Ingredients for Your 3-Ingredient Peanut Butter Fudge
- Step-by-Step Instructions for Perfect Peanut Butter Fudge
- Tips for Achieving Melt-in-Your-Mouth Peanut Butter Fudge
- Variations on Classic Peanut Butter Sweets
- Storage and Making Ahead for Holiday Peanut Butter Candy
- Frequently Asked Questions About This Peanut Butter Fudge Recipe
- Estimated Nutritional Data for Your Homemade Candy Recipes
- Share Your Creamy Peanut Butter Fudge Creations
Why This Creamy Peanut Butter Fudge Recipe is a Must-Try
I know you have options when it comes to recipes, so I want to be super clear about why you should grab your bowl for this one. When I make this creamy peanut butter fudge recipe, I know exactly what I’m getting: perfection without the fuss.
- It’s the definition of easy homemade fudge—literally three main ingredients, no cooking required!
- It sets up perfectly in the fridge, giving you that satisfyingly soft texture.
- It cures those intense sweet cravings faster than anything else I’ve got!
- These little squares are absolutely ideal for gifting because they always turn out beautifully.
Ingredients for Your 3-Ingredient Peanut Butter Fudge
Okay, let’s talk ingredients. Since there are only three main players here, you can’t really hide if one of them isn’t performing, right? This is where sticking exactly to the measurements makes your peanut butter fudge turn out rich and amazing instead of crumbly or greasy. Trust me, even with minimal components, precision matters!
- 1 cup creamy peanut butter – You want smooth here, not crunchy, because we are going for that melt-in-your-mouth texture we talked about.
- 1 (14 ounce) can sweetened condensed milk – This is the binder and the sweetener all in one. Don’t grab evaporated milk by mistake!
- 3 cups powdered sugar, sifted – Please, please, please sift this. Those little lumps of powdered sugar will ruin the smooth consistency of the final candy.
That’s really it for the base! If you are making variations, that’s when other things come into play, but for the purest, easiest fudge, these three work like magic together.
Step-by-Step Instructions for Perfect Peanut Butter Fudge
This is hands-down the fastest way to get rich peanut butter fudge on the counter. Since we are relying on the microwave, timing is key, but honestly, it’s almost impossible to mess up! You are looking for a smooth, cohesive base before you add the sugar. If you have time after this batch, you should definitely check out my peanut butter cookies—they are just as easy, but you get that warm, gooey texture instead of candy!
Preparing the Pan and Melting Base Ingredients
First things first, get your 8×8 inch pan ready. I like to line mine with parchment paper, making sure I leave a little overhang on the sides—this acts like handles so you can lift the finished candy out later. A tiny bit of grease on the paper helps too. Now, grab your big bowl. Combine the creamy peanut butter and the can of sweetened condensed milk. Pop that mixture into the microwave for exactly 60 seconds on high. After that first minute, stir it really well. If it’s not completely smooth, microwave it for another 15 seconds and stir again until you have one uniform, glistening base. Don’t rush this smoothness part!
Mixing and Pressing the Peanut Butter Fudge
This next part is where you’ll build the structure. Take your sifted powdered sugar and start adding it gradually to your warm peanut butter mixture. You might want to do this in three additions, stirring slowly after each splash. It gets thick *fast*, kind of like a really heavy frosting. Keep stirring until every grain of sugar is incorporated. Don’t worry if it feels too stiff; that’s exactly what you want for a solid fudge! Once it’s mixed, turn it out into your prepared pan. Use a spatula or the back of a spoon to press it down evenly and get the top nice and flat.
Chilling and Cutting Your Quick Fudge Dessert
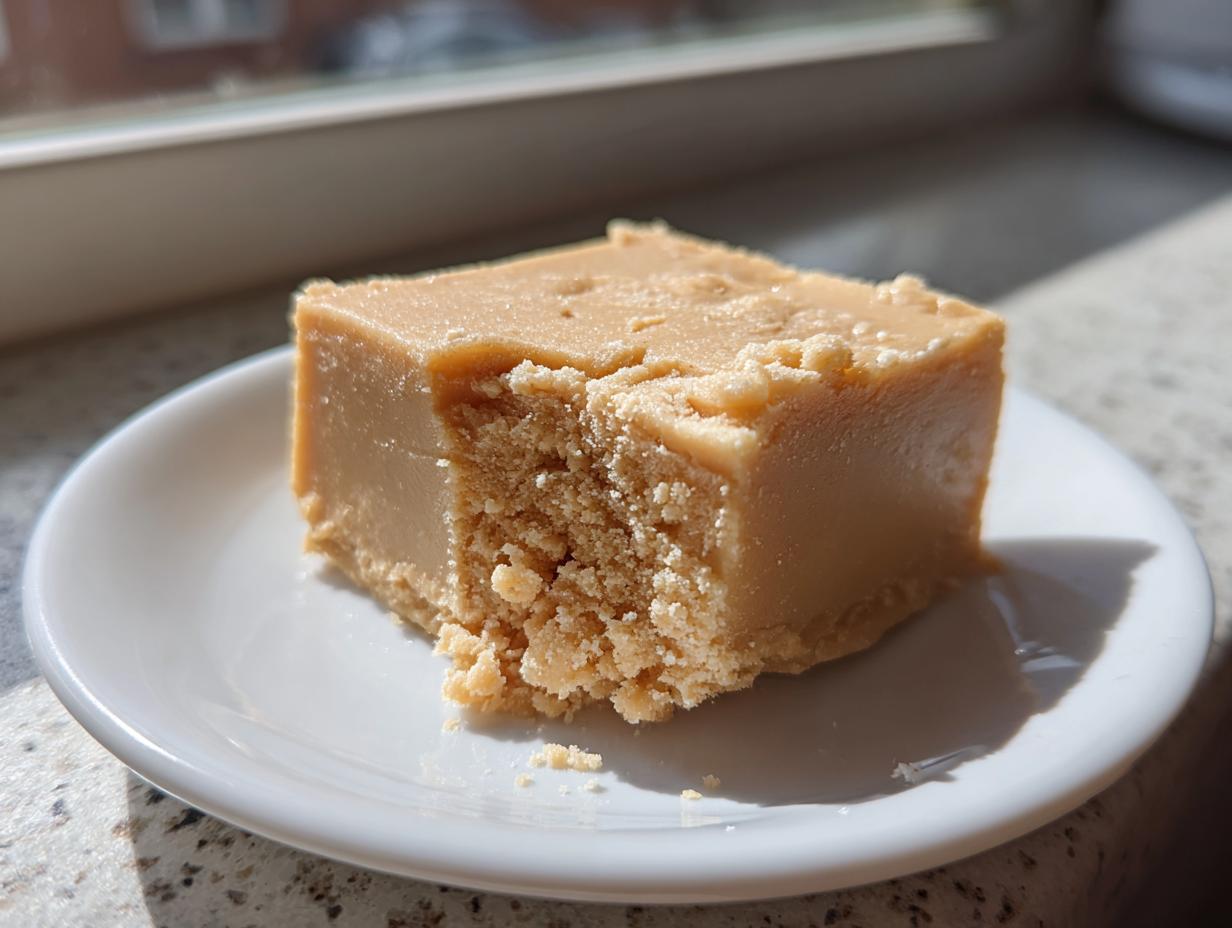
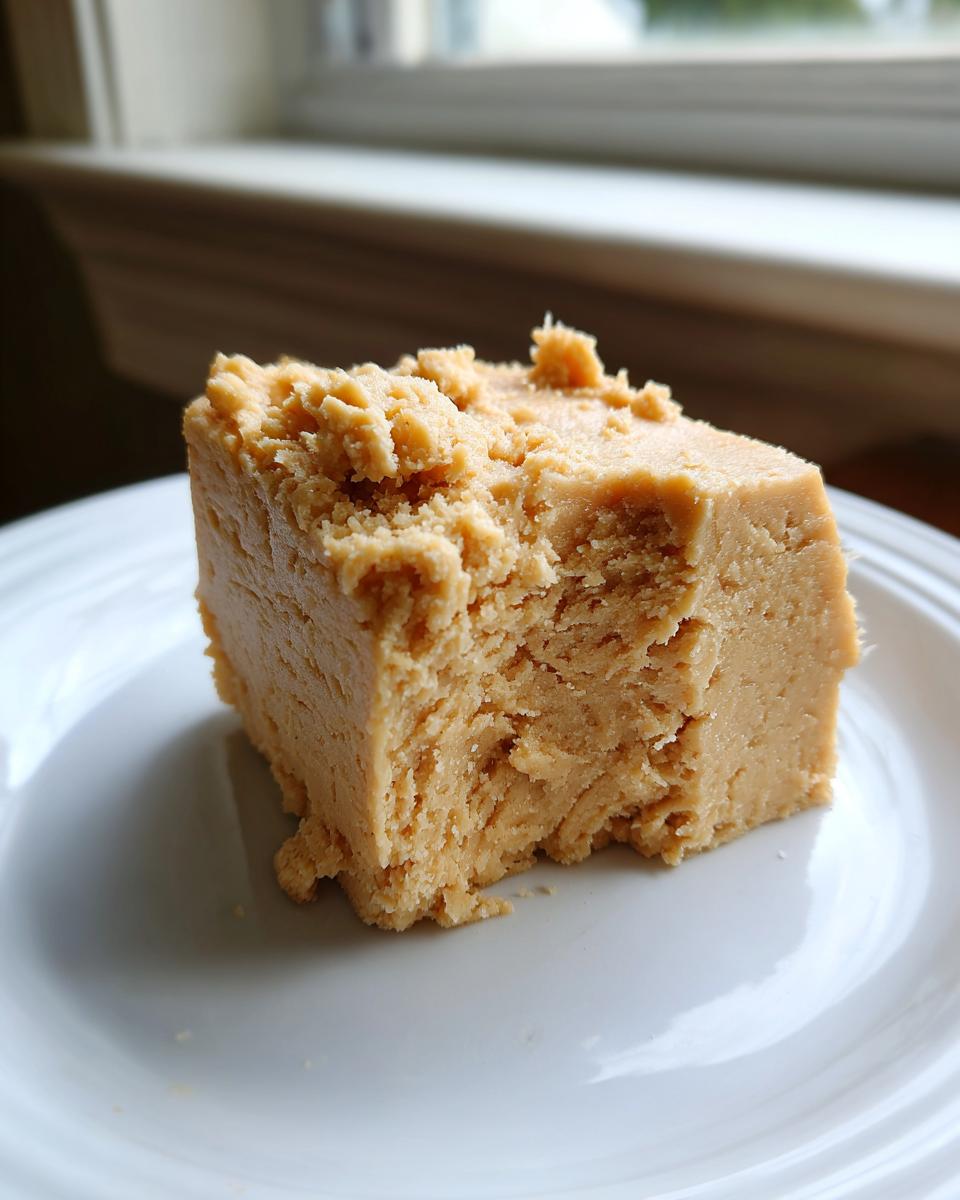
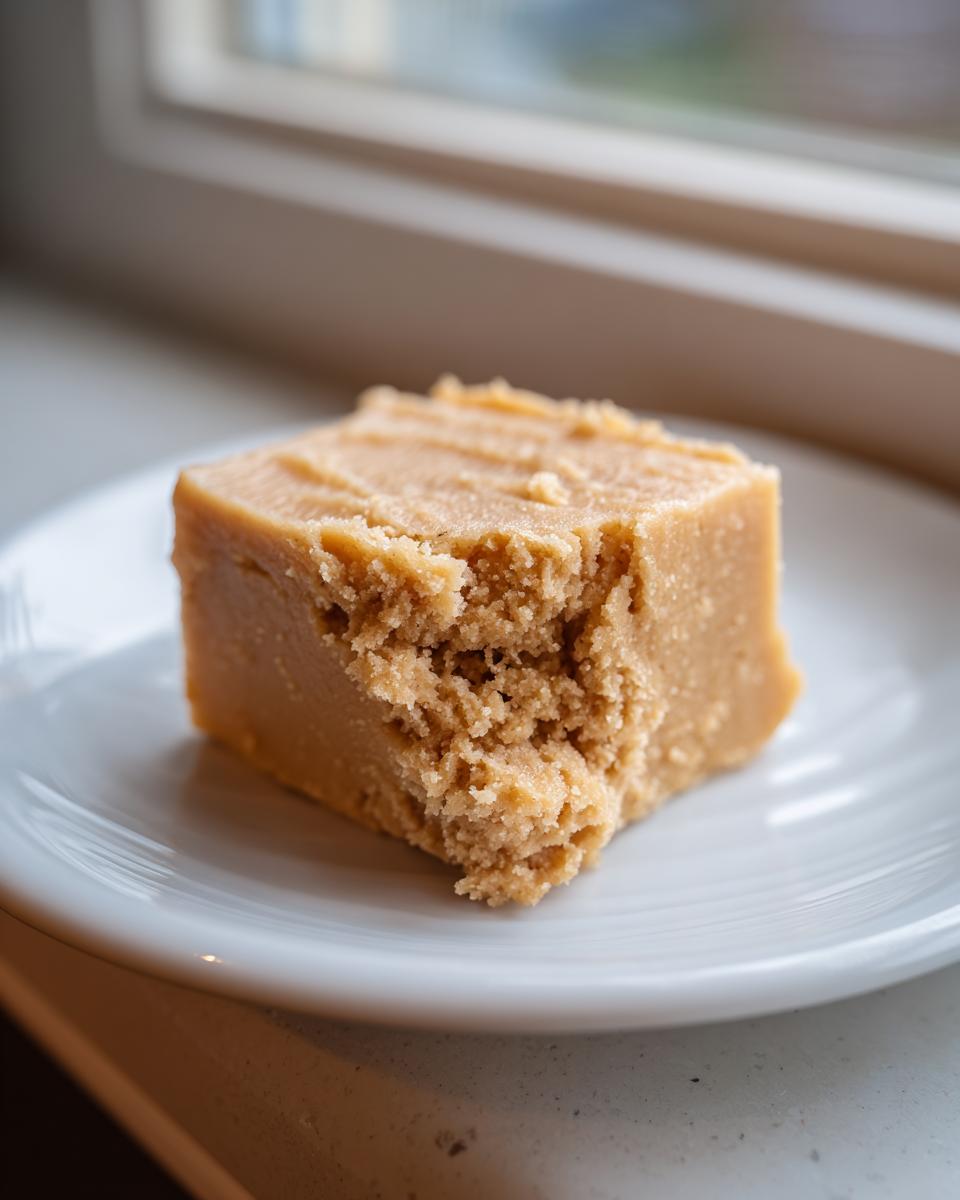
Your kitchen might smell amazing right now, but patience, friend! We need to chill this glorious peanut butter fudge until it’s firm enough to handle. Pop the pan into the refrigerator for a minimum of two hours. Seriously, don’t try to rush this with the freezer unless you want rock-hard fudge. Once it’s totally firm, lift it out using those parchment paper handles. Use a sharp knife to cut it into small squares—I usually get 36 little bites out of the batch. Store any leftovers in the fridge; this quick fudge dessert is best kept cool!
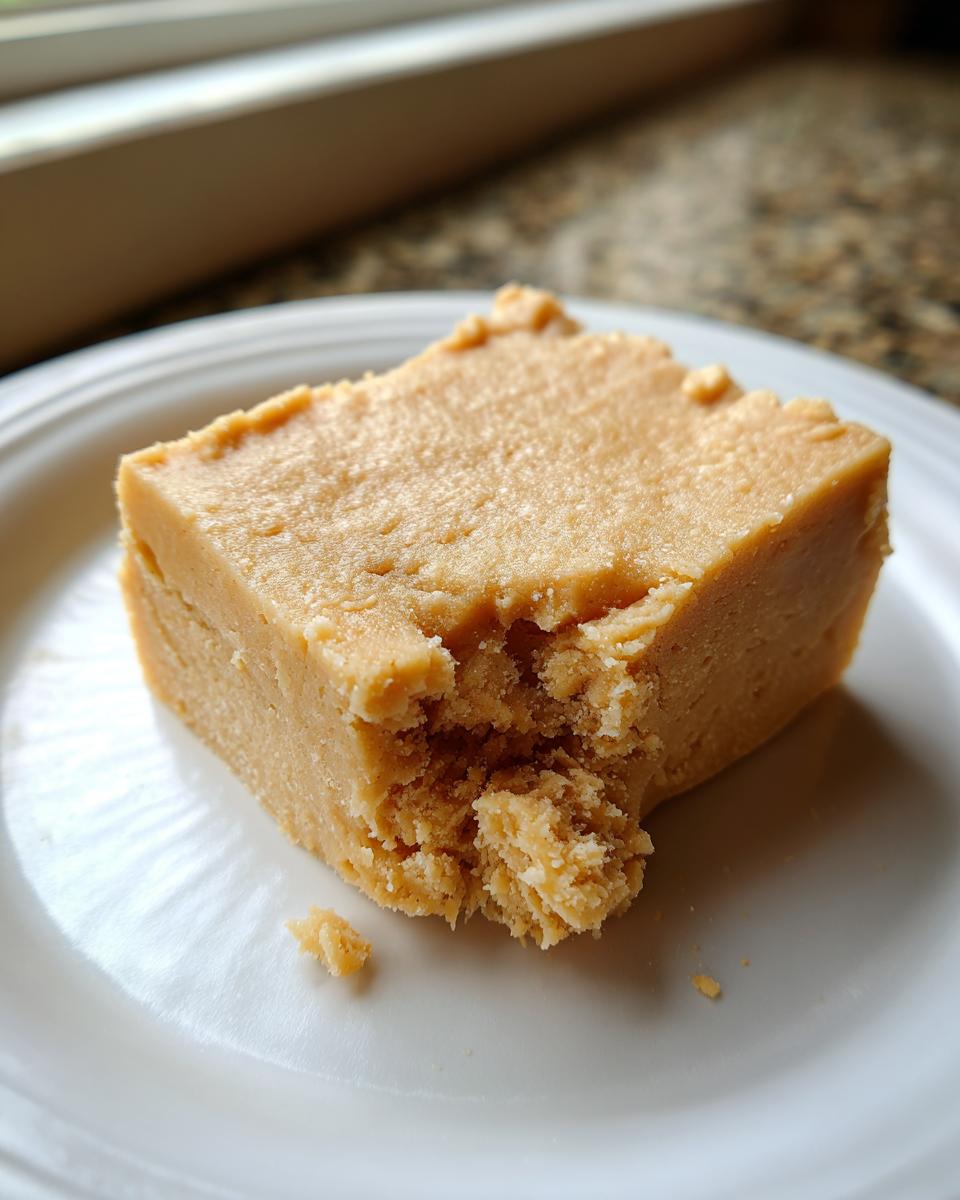
Tips for Achieving Melt-in-Your-Mouth Peanut Butter Fudge
You want that melt in your mouth fudge experience, right? It’s all about using the right stuff and treating your ingredients gently. Since this peanut butter fudge recipe is so straightforward, the quality of your peanut butter really shines through. If you have natural peanut butter, go ahead and use it, but be warned—you have to stir that jar until it’s totally uniform first, or you’ll end up with pockets of oil, which completely throws off the texture.
Another thing I learned from testing batches galore is that the sugar needs to be sifted. I cannot stress this enough! If you skip sifting, you’re basically adding tiny, dense pebbles to what should be smooth candy. Those little clumps don’t dissolve well when you mix everything together, and suddenly, your creamy dream turns into something… well, less dreamy. For the smoothest results possible, make sure you stir that warm mixture patiently until it’s beautifully homogenous before folding in the sugar.
If you ever want to see what other folks are doing for super quick treats, I saw a great little batch recipe over at Eating on a Dime that shows how easy this candy can be!
Variations on Classic Peanut Butter Sweets
While my three-ingredient peanut butter fudge is my go-to for speed, I know some people really miss that slightly richer, slightly firmer texture of the old fashioned peanut butter fudge they grew up with. If you find the condensed milk version just a touch too soft for your liking, I have a neat swap for you! You can ditch the powdered sugar entirely and pivot to a stovetop method.
Instead of microwaving the milk and peanut butter, melt together 1 cup of good quality white chocolate chips, 1/2 cup of butter, and your peanut butter gently over low heat on the stove. You stir until everything is just liquid and smooth. This version sets up a bit firmer and has a distinctly different, less sweet flavor profile. It still requires almost no effort, but it gives you a lovely variation on classic peanut butter candy.
Storage and Making Ahead for Holiday Peanut Butter Candy
The best part about this peanut butter fudge? It’s a dream for planning ahead, making it fantastic holiday peanut butter candy! You absolutely should make this several days before you need it. Once it’s chilled and cut, store the squares snugly in an airtight container. Keep it right there in the refrigerator—it really holds up well for about a week.
If you happen to have any leftover (which is highly unlikely!), it stays fresh and delicious. Making a big batch for an event is super smart because you aren’t scrambling the day of. These simple, no-bake treats are way less stressful than cookies, I will tell you that! If you’re looking for another great no-bake option for your holiday table, you might love my no-bake Butterfinger pie!
Frequently Asked Questions About This Peanut Butter Fudge Recipe
I get so many questions about this recipe—and that’s totally fine! It’s that good, and sometimes people worry when a recipe seems too easy. Here are the biggest questions I get about turning these few ingredients into creamy peanut butter fudge.
Can I use natural peanut butter because I prefer it?
This is the big one! To get that easy homemade fudge texture we crave, you really need the stabilized peanut butter. Natural peanut butter separates, and if you don’t stir it perfectly and measure correctly, those oil pockets can prevent the sugar from binding properly. You’ll end up with something softer, almost like a thick peanut butter sauce rather than a firm candy. Stick to the creamy, non-natural kind for the most reliable results here.
What happens if I skip the refrigeration step?
Don’t skip the chilling time! If you try to cut it right after mixing, you’ll just end up with a sticky, gooey mess all over your cutting board. The chilling time is essential for the powdered sugar to absorb the moisture and set the structure, giving you those perfect little squares. You’re aiming for a firm, sliceable texture, which needs at least two hours in the cold.
I don’t have sweetened condensed milk; what can I substitute?
Honestly, this is where the magic lives in this particular quick fudge dessert! The condensed milk is what provides the sweetness and the creamy base without needing any cooking or tempering. If you don’t have it, this specific three-ingredient recipe simply won’t work as designed. You’d actually need an entirely different recipe, maybe one that requires melting chocolate or using marshmallows instead. For this version, the condensed milk is a non-negotiable ingredient.
Can these homemade candy recipes be made in loaf pans?
Yes, they absolutely can! If you want thinner pieces, or maybe you just want to make a smaller batch, a loaf pan works great. Remember, the thinner the layer, the faster it sets up in the fridge. If you use a loaf pan, you might get away with 90 minutes of chilling time instead of two hours. If you’re enjoying these during the holidays and need more ideas for simple treats, you might want to check out my tips for fudgy brownies—another great make-ahead item!
Estimated Nutritional Data for Your Homemade Candy Recipes
Because eating something this delicious shouldn’t come with a side of mystery, I wanted to lay out the estimated nutritional information right here for you. Remember, this is just a ballpark idea since the exact figures swing a little depending on which brand of peanut butter or powdered sugar you happen to have lurking in your pantry. I always tell people, this is a treat, not a health food, but it’s good to know what you’re working with!
This data is calculated based on yielding 36 small squares:
- Serving Size: 1 square
- Calories: 145
- Total Fat: 7g (Saturated Fat: 2g)
- Carbohydrates: 20g
- Protein: 4g
- Sugar: 18g
- Sodium: 65mg
This is just an estimate, of course! If you use a lower-sugar peanut butter, those numbers will definitely adjust. But seeing those stats helps me feel a little better about sneaking a piece (or three) with my afternoon coffee. It’s always about balance, right?
Share Your Creamy Peanut Butter Fudge Creations
Now that you have this incredibly simple recipe for peanut butter fudge, I just know you are rushing off to the kitchen! When you finish chilling and cutting your batch, don’t forget to come back here and tell me what you thought. Did it turn out perfectly creamy? Did you manage to stick to just three ingredients, or did you sneak in some extra chocolate chips?
Leaving a rating and a quick review really helps other home cooks see that this recipe is the real deal—reliable, fast, and totally delicious. I read every single comment, and I genuinely love seeing your success stories! If you managed to snap a picture of your beautiful little squares, please share them with me over on my contact page or tag me on social media. It feeds my soul to see these simple, wonderful treats making it onto your family tables. Happy fudging, everyone!
PrintIrresistibly Creamy 3-Ingredient Peanut Butter Fudge
Make this easy, no-bake peanut butter fudge using only three simple ingredients for a melt-in-your-mouth dessert that is perfect for gifting or quick sweet cravings.
- Prep Time: 10 min
- Cook Time: 2 min
- Total Time: 12 min
- Yield: 36 small squares 1x
- Category: Dessert
- Method: No Bake
- Cuisine: American
- Diet: Vegetarian
Ingredients
- 1 cup creamy peanut butter
- 1 (14 ounce) can sweetened condensed milk
- 3 cups powdered sugar, sifted
Instructions
- Line an 8×8 inch baking pan with parchment paper, leaving an overhang on the sides for easy removal. Lightly grease the paper.
- In a large microwave-safe bowl, combine the peanut butter and sweetened condensed milk. Microwave on high for 60 seconds.
- Stir the mixture until it is completely smooth. If necessary, microwave for another 15 seconds and stir again until fully combined and smooth.
- Gradually add the sifted powdered sugar to the peanut butter mixture, stirring until fully incorporated. The mixture will become very thick.
- Press the fudge mixture evenly into the prepared baking pan. Use a spatula or the back of a spoon to smooth the top.
- Refrigerate the fudge for at least 2 hours, or until firm enough to cut.
- Lift the fudge out of the pan using the parchment paper overhang. Cut into small squares before serving.
Notes
- For a richer flavor, use natural peanut butter, but ensure you stir it well before measuring.
- If you prefer a classic, slightly firmer fudge, you can substitute the powdered sugar with 1 cup of melted white chocolate chips and 1/2 cup of butter, omitting the microwave step and melting all ingredients together on the stovetop over low heat.
- Store leftover peanut butter fudge in an airtight container in the refrigerator for up to one week.
Nutrition
- Serving Size: 1 square
- Calories: 145
- Sugar: 18g
- Sodium: 65mg
- Fat: 7g
- Saturated Fat: 2g
- Unsaturated Fat: 5g
- Trans Fat: 0g
- Carbohydrates: 20g
- Fiber: 1g
- Protein: 4g
- Cholesterol: 5mg