
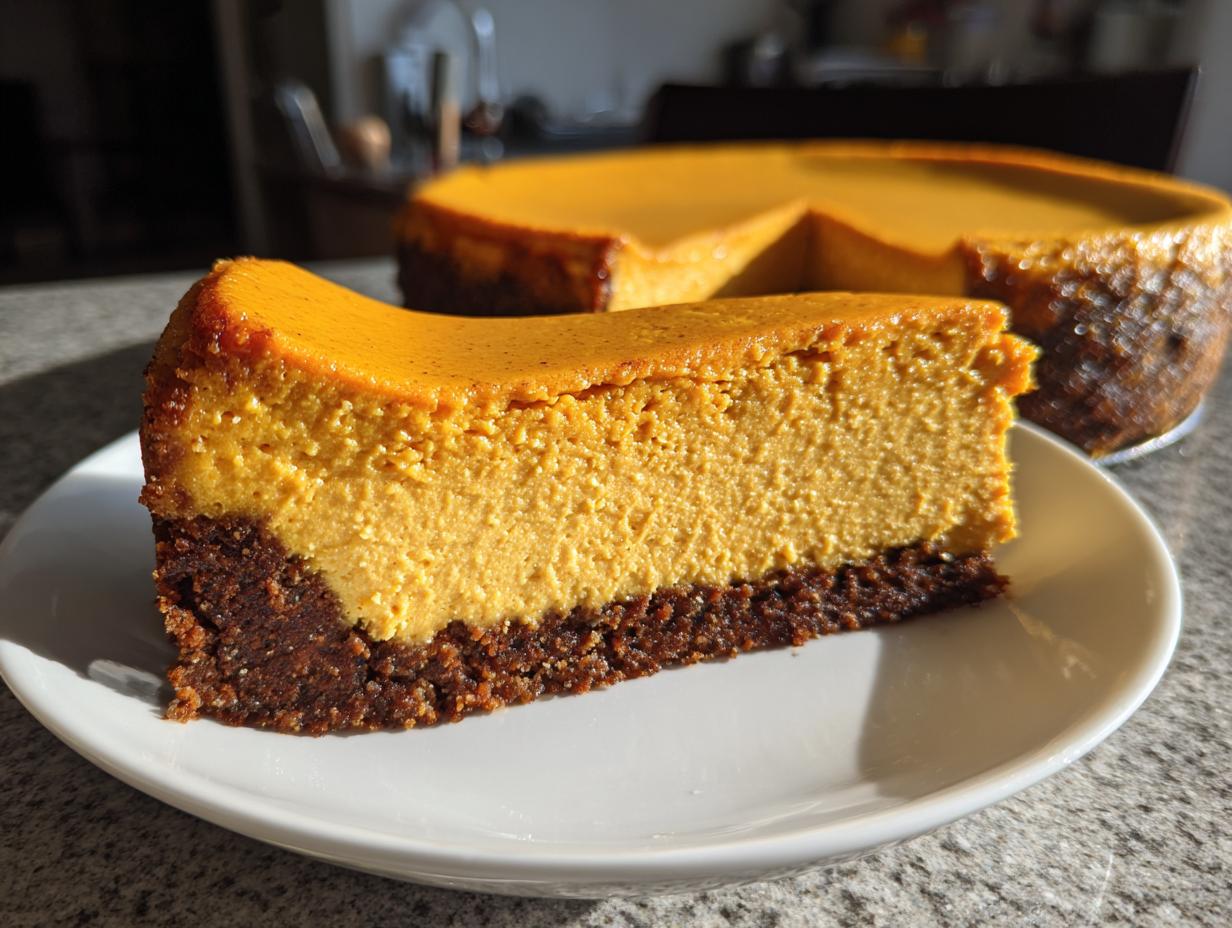
Oh my gosh, can you already smell the crisp air and feel the need for serious comfort food? When the leaves start turning gold, there’s only one dessert that truly says “Fall” to me, and that’s pumpkin cheesecake. Forget those flimsy, watery attempts you sometimes see!
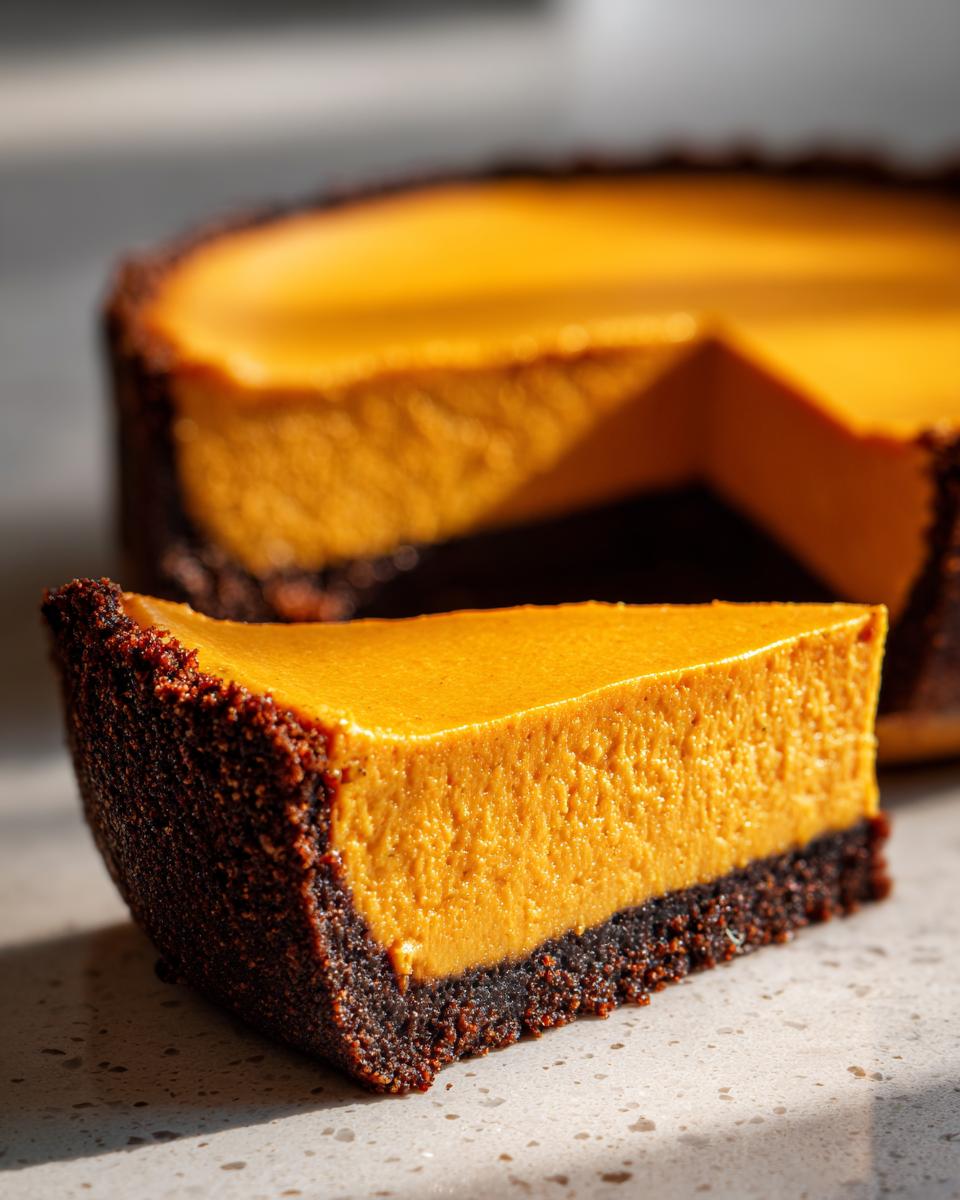
I’m handing over the keys to my absolute favorite, the Ultimate Creamy Baked Pumpkin Cheesecake with Gingersnap Crust. This isn’t just some trendy thing; this is the recipe I’ve tested and perfected in my kitchen until it promised that flawlessly smooth, rich texture every single time. If you need a showstopper Thanksgiving dessert cheesecake that tastes like spiced autumn heaven and never cracks on you, you’ve found it. Trust me, this one works, and that’s why it’s become my reliable cornerstone recipe.
If you’ve been looking for amazing pumpkin treats, make sure you check out my recipe for pumpkin bars with cream cheese frosting for another easy option!
- Why This Creamy Pumpkin Cheesecake Is Your Go-To Fall Cheesecake Recipe
- Gathering Ingredients for Your Ultimate Pumpkin Cheesecake
- Step-by-Step Instructions for Perfect Pumpkin Cheesecake
- Tips for the Best Homemade Pumpkin Cheesecake
- Storage and Make Ahead Fall Dessert Planning
- Frequently Asked Questions About Pumpkin Cheesecake
- Estimated Nutritional Data for This Rich Autumn Dessert
- Share Your Homemade Pumpkin Cheesecake Experience
Why This Creamy Pumpkin Cheesecake Is Your Go-To Fall Cheesecake Recipe
I know that baking a classic cheesecake can feel a little scary—everyone worries about those dreaded cracks! But this creamy pumpkin cheesecake is designed for success. It’s the kind of dessert that genuinely feels special for the season but doesn’t require a degree in pastry arts.
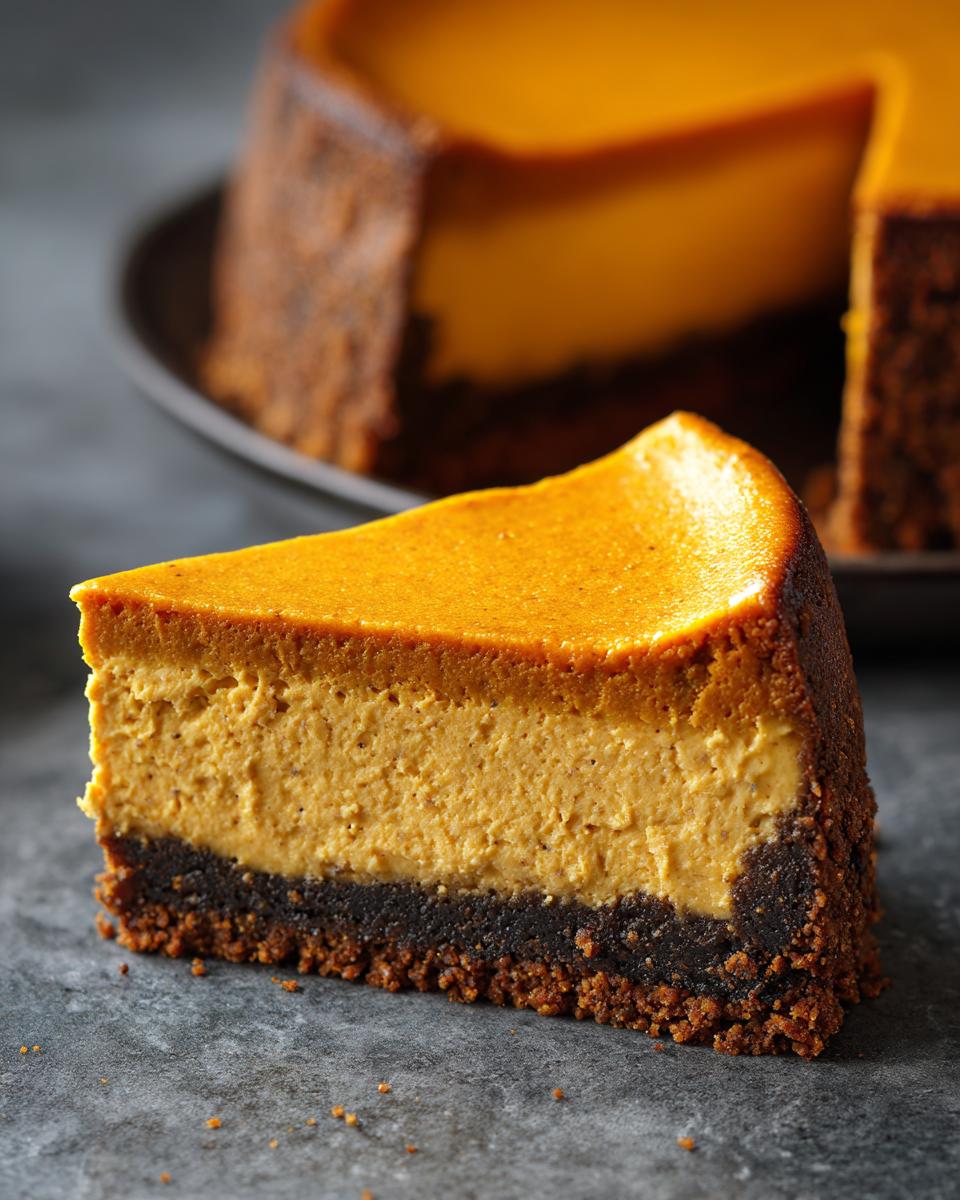
- It delivers that signature smooth, velvety texture we all crave.
- The water bath and slow cooling guarantee a beautiful, crack-free top.
- That spicy gingersnap crust makes it leagues better than plain old graham cracker crust!
It’s truly the perfect, rich autumn dessert to anchor your holiday table.
Speaking of other great desserts, if you’re into chocolate, you have to see my foolproof German Chocolate Cheesecake recipe next!
Recipe Snapshot: Prep Time, Cook Time, and Yield
Here are the quick facts so you can plan your baking day. Prep is only 25 minutes, and once it’s baked (about 1 hour 15 minutes), you are set! This makes 12 generous servings and is just a wonderful, festive baked dessert.
Gathering Ingredients for Your Ultimate Pumpkin Cheesecake
Okay, before we even touch the mixer, we need to talk about the players in this delicious show! Getting the right ingredients, especially at the right temperature, is half the battle for making a truly creamy pumpkin cheesecake that shines. Don’t panic about running out for specialty things; almost all of this is stuff you probably have or can find easily.
You’ll notice I’m super specific below—that’s how we avoid texture trouble! Make sure you give yourself time; cold cream cheese is the absolute enemy of a smooth batter, you hear?
For the Gingersnap Crust Dessert Base
This crust is just spicy and crunchy enough to cut through the richness of the filling. It’s way more exciting than the standard crust, I promise!
- 1 1/2 cups gingersnap cookie crumbs (Don’t stress if you don’t have gingersnaps! You can totally swap these out for graham cracker crumbs if you prefer—I list that option in my extra notes for flexibility, but I truly love the spice here.)
- 1/4 cup granulated sugar
- 6 tablespoons unsalted butter, melted
For the Rich Pumpkin Cheesecake Filling
This is where the magic happens. Seriously, take your cream cheese and your eggs out on the counter at least an hour before you plan to mix anything. Room temperature ingredients blend seamlessly, giving you that luxurious, creamy pumpkin cheesecake texture we’re aiming for.
- 3 (8 ounce) packages cream cheese, softened (Room temperature is non-negotiable!)
- 1 1/2 cups granulated sugar
- 1 teaspoon vanilla extract
- 1/2 teaspoon ground cinnamon
- 1/4 teaspoon ground ginger
- 1/8 teaspoon ground cloves
- 1 (15 ounce) can pumpkin puree (And listen, for this recipe, make sure it’s just the plain puree, NOT the pumpkin pie filling mix. We are controlling the spices here!)
- 3 large eggs (Also room temperature!)
If you need a quick refresher on making amazing frosting or toppings one day, check out my guide for the best cream cheese frosting recipe—though honestly, this pumpkin cheesecake barely needs anything extra!
Step-by-Step Instructions for Perfect Pumpkin Cheesecake
Alright, let’s get your pumpkin cheesecake into the oven, nice and gentle! I’m going to walk you through the whole process, focusing really heavily on the cooling steps, because that’s where most folks run into trouble. Patience here means a smooth, gorgeous dessert later, so follow these steps exactly, and you’ll be golden for your fall gathering.
Preparing the Crust and Oven Setup
First things first, get your oven warmed up to 325 degrees Fahrenheit—we need it ready to go. Because we are using a water bath (don’t skip this!), you need to wrap the outside of your 9-inch springform pan super tightly with heavy-duty aluminum foil. Wrap it twice, or even three times, to make sure zero water leaks through when it’s bathing! Then mix up your gingersnap crumbs, sugar, and butter and press that firmly into the bottom. Pop it in the oven for 8 minutes, then pull it out to cool just a touch.
Mixing the Creamy Pumpkin Cheesecake Batter
This is where we build that incredible texture. Grab that softened cream cheese and beat it in a big bowl until it looks like perfection—smooth, no lumps at all. Next, we fold in the sugar, vanilla, and all our lovely spices: cinnamon, ginger, and cloves. Mix that just until it’s combined. Then, add your pumpkin puree and mix until that’s totally incorporated. Scrape down the sides—always scrape the sides! Now for the eggs: add them one single egg at a time on low speed. The secret to that creamy pumpkin cheesecake is to stop mixing as soon as that last yolk disappears. Seriously, over-mixing the eggs is how you get air pockets and cracks later on!
Baking and Cooling: Preventing Cracks in Your Pumpkin Cheesecake
Time for the water bath! Place that foil-wrapped pan inside a much larger roasting pan. Then, carefully pour hot water into the roasting pan until it goes halfway up the side of your springform pan. Bake this beauty for 60 to 75 minutes. You know it’s done when the edges look solid, but the middle inches still have a tiny jiggle, like Jell-O. Once it’s done, here’s the real cheat code: turn the oven OFF. Prop the oven door open slightly—I usually use a wooden spoon handle. Leave the cheesecake in that slowly cooling environment for a full hour. This gradual cool-down period is precisely how we stop temperature shock and stop those frustrating surface cracks from forming!
Once it’s cooled off the heat, take it out of the water bath, keep that foil off, and let it sit on a wire rack until it hits room temperature. Need a truly amazing dip to go beside your dessert spread? Check out my recipe for easy pub-style beer cheese dip—it’s totally different but equally delicious!
Tips for the Best Homemade Pumpkin Cheesecake
We’ve made it through the mixing and the baking, but finishing touches are where you really show off that you know your way around a great holiday treat. These little bits of advice are the things I picked up over test after test, moving this from a “good” pumpkin cheesecake to the “best.” They aren’t hard steps, but they are the difference between okay and wow!
Remember those basic notes I put in the recipe card? They are there for a reason! Let’s talk specifics about getting it perfectly smooth and perfectly spiced.
Achieving Maximum Creaminess: Temperature Matters
I harp on this because I simply can’t stress it enough: if your cream cheese is even slightly cool, your batter won’t be as smooth as glass. Cold cream cheese mixes unevenly, leaving little lumps that bake hard into the texture. That’s the number one enemy of that melt-in-your-mouth finish we want in a creamy pumpkin cheesecake. Pull your blocks out early! And while we are at it, the eggs need to be room temperature too. When cold eggs hit that smooth fat base, they can shock the batter, leading to separation later on. A little planning goes a really long way here.
Spice Level Adjustments for Your Spiced Pumpkin Dessert
The spice measurements I gave you—cinnamon, ginger, and cloves—are my sweet spot for balancing the richness of the cheese and the sweetness of the pumpkin. But hey, maybe you want something that punches a little harder with warmth, or maybe you like it milder!
- To amp up the autumn flavor in your spiced pumpkin dessert, try adding just a pinch (maybe 1/8 teaspoon) more cinnamon. Cinnamon is really forgiving.
- If you love that clean bite of ginger, you could bump that ginger up to 3/4 teaspoon, but be careful with the clove! Cloves are super powerful ghosts in the spice rack; too much and your dessert tastes like toothpaste, which we definitely don’t want!
Also, don’t forget how much quality matters. If you have access to fresh, whole nutmeg, grating a touch fresh into the mix adds an unbeatable aromatic depth. I sometimes pair these flavors with my fluffy sweet potato biscuits—it just screams cozy!
Storage and Make Ahead Fall Dessert Planning
One of the best things about this amazing pumpkin cheesecake is that it just gets better with age (within reason, of course!). This makes it the perfect make ahead fall dessert because you aren’t scrambling on Thanksgiving Day. Seriously, if you can bake it the day before, please do!
For keeping it fresh in the fridge, you want to wrap it really well—that means covering the top tightly with plastic wrap, making sure it doesn’t touch the surface if you worry about condensation, and then maybe popping it into a cake carrier or an airtight container. It will be fantastic for up to four days this way. The flavors actually deepen overnight, which is what makes it taste so much richer the next day.
Do you need to freeze it? Yes, absolutely! If you’re prepping weeks ahead, freeze it unwrapped until it’s solid, and then wrap the entire thing tightly in a couple of layers of plastic wrap followed by heavy-duty foil. Label it clearly so you don’t accidentally grab it thinking it’s just frozen regular *blank* cheesecake! It keeps beautifully in the deep freeze for about a month.
When you are ready to serve that frozen masterpiece, just let it thaw in the fridge overnight. Don’t try to rush it at room temperature; that throws off the texture. For serving, make sure you run a thin knife around the edge before fully releasing that springform ring. That little bit of effort makes the presentation flawless after all that hard work!
For more timing tricks and planning for your holiday menu, you absolutely must check out my guide on make ahead fall dessert strategies!
Frequently Asked Questions About Pumpkin Cheesecake
I totally get that sometimes you have a craving but maybe not the time for baking, or maybe you just want to know exactly what sets this recipe apart from others you see online. I put this little FAQ section together to answer the most popular questions I get about making the pumpkin cheesecake!
Can I make this a No Bake Pumpkin Cheesecake?
That’s a great question, especially when your oven is already packed full of turkey on Thanksgiving! This specific recipe—the one with the gingersnap crust and the water bath—is definitely a baked version designed for that deep, classic richness. If you are totally opposed to turning on the oven, you absolutely can find separate recipes for a no bake pumpkin cheesecake that use gelatin or whipped topping to set up in the fridge. They are super convenient, but they won’t have the exact dense texture that our baked version delivers.
If you are looking for something simple and no-bake in general, I have a fantastic recipe for easy avalanche cookies that might satisfy that sweet craving without the oven heat!
What is the difference between this and Pumpkin Pie Cheesecake?
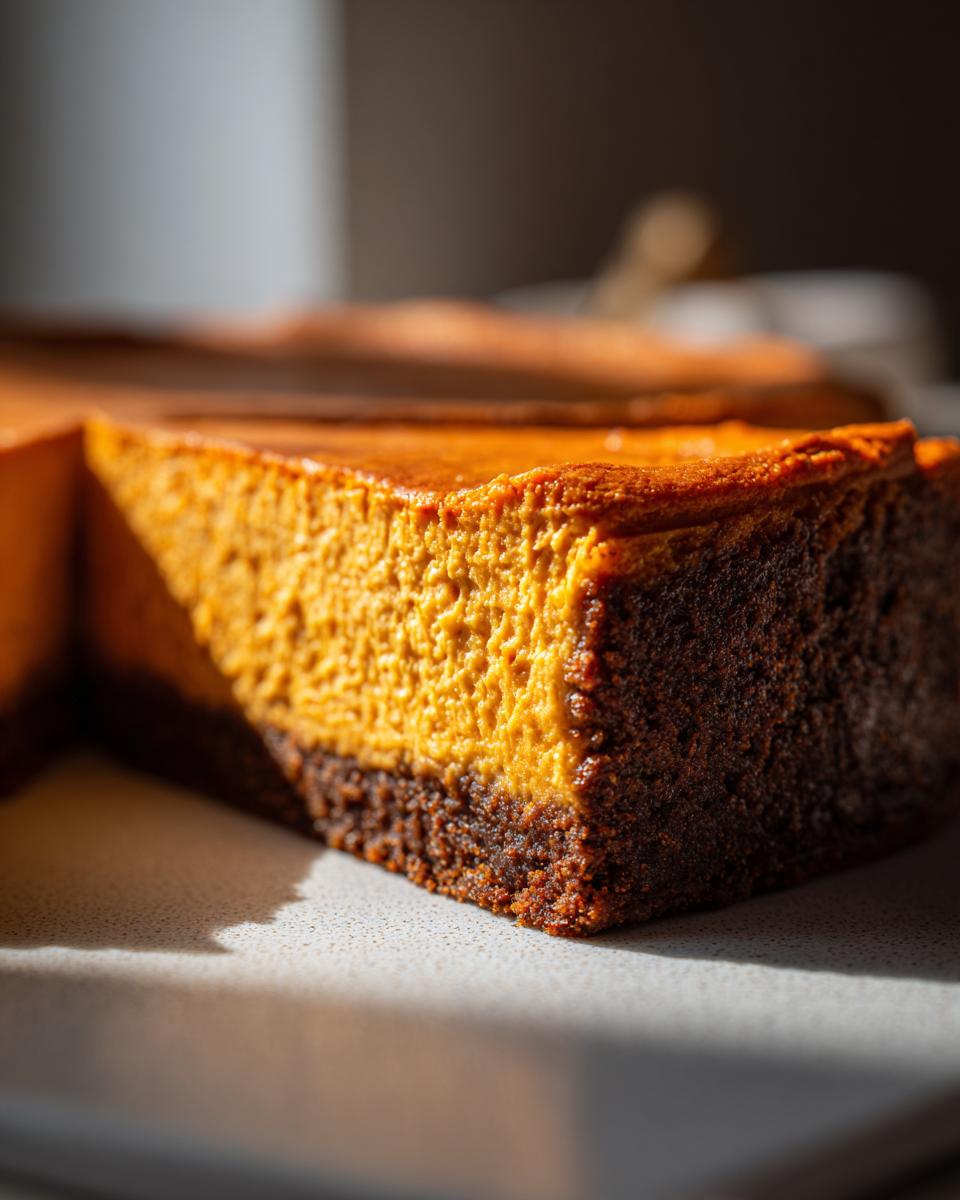
This is a subtle but important distinction, especially if you search around for different options. When someone talks about a pumpkin pie cheesecake, they usually mean a dessert that tries to mimic the lighter, almost custard-like texture of traditional pumpkin pie, often using some condensed milk or less cream cheese relative to the pumpkin. Because we use three full blocks of cream cheese and only one can of puree, our cheesecake is distinctly thick, decadent, and firm. It’s a true cheesecake that tastes like pumpkin spice, not a pie in a crust!
My last one cracked! Do I still need the water bath?
Yes, yes, a million times yes, if you want the smoothest finish! The water bath (or *bain-marie*) is your insurance policy against cracks because it surrounds the cheesecake with moist heat. This gentle, even temperature prevents the outside edges from setting too fast before the middle catches up. That temperature difference is what causes cracks. We also follow it up with that super slow cool-down in the turned-off oven, which is just as important for a perfect, crack-free top on your next batch of homemade pumpkin cheesecake.
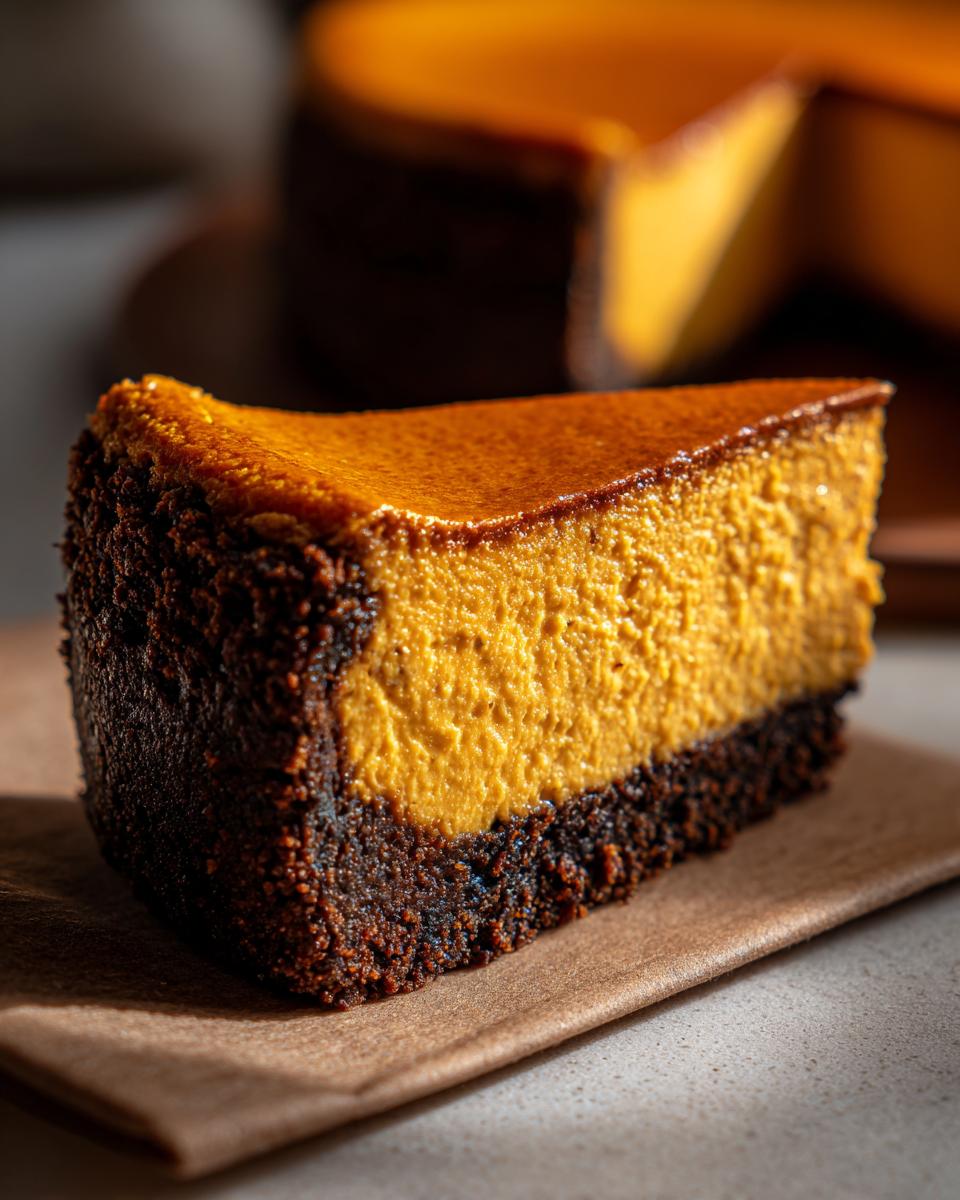
Why did you choose a gingersnap crust over graham crackers?
Oh, easy choice! While a graham cracker crust works fine for any fall cheesecake recipe, the gingersnap crust provides that little burst of spice and molasses flavor right at the start. It stands up perfectly to the rich filling and complements the cinnamon and ginger in the batter beautifully. It just makes the whole dessert feel warmer and more complete, ready for any holiday cheesecake ideas you might have planned!
Estimated Nutritional Data for This Rich Autumn Dessert
Okay, I always try to be upfront with you all because when something is this delicious and rich, it’s good to know what you’re dealing with! I’ve calculated the nutritional breakdown based on the ingredients listed for this rich autumn dessert, but keep in mind this slice-by-slice data is just an estimate.
The actual numbers can shift a little bit based on which brand of cream cheese or pumpkin puree you use, but this gives you a solid ballpark figure for planning your holiday spreads. Think of this less as a diet plan and more as a guide for when you decide to indulge in the very best slice!
- Serving Size: 1 slice
- Calories: 450
- Sugar: 35g
- Fat: 30g (18g Saturated Fat)
- Carbohydrates: 40g
- Fiber: 1g
- Protein: 7g
- Cholesterol: 110mg
- Sodium: 320mg
It’s definitely not low-calorie, right? But oh my gosh, is it worth it when you take that first bite of intensely creamy pumpkin cheesecake! If you’re looking for something that is still autumnal but maybe lighter (and includes one of my favorite secret ingredients!), you should check out my recipe for moist Greek yogurt banana bread—it’s a total winner for a lighter treat.
Share Your Homemade Pumpkin Cheesecake Experience
Now that you’ve navigated the water bath, endured the slow cool-down, and finally sliced into this masterpiece—I just have to know! Did it deliver on that promised creamy texture? Was that spicy gingersnap crust everything you dreamed it would be?
I want to hear all about it! Did you manage to have zero cracks? Or maybe you topped it with toasted pecans instead of plain whipped cream? Drop a comment below and let me know how your ultimate pumpkin cheesecake turned out. Hearing about your success stories is genuinely the best part of my day, and it helps other home cooks feel more confident trying it out too!
If you snapped a picture of your beautiful, spiced autumn dessert, please tag me on social media! And if you have any last-minute tweaks or ideas that you think might enhance this recipe for the next batch, I’m always open to suggestions. If you want to send me specific feedback or questions directly, you can always get in touch via my contact page.
If you try this out and love it, I would be so grateful if you could leave the recipe a rating!
For more amazing fall inspiration, I saw a great recipe over at Tasty Dive for a standard Pumpkin Cheesecake Recipe that’s worth checking out if you want to compare methods. Happy baking, and enjoy every single rich bite!
PrintUltimate Creamy Baked Pumpkin Cheesecake with Gingersnap Crust
Make a rich, creamy pumpkin cheesecake with a spiced gingersnap crust. This recipe guides you to a smooth texture perfect for fall gatherings.
- Prep Time: 25 min
- Cook Time: 75 min
- Total Time: 100 min
- Yield: 12 servings 1x
- Category: Dessert
- Method: Baking
- Cuisine: American
- Diet: Vegetarian
Ingredients
- 1 1/2 cups gingersnap cookie crumbs
- 1/4 cup granulated sugar
- 6 tablespoons unsalted butter, melted
- 3 (8 ounce) packages cream cheese, softened
- 1 1/2 cups granulated sugar
- 1 teaspoon vanilla extract
- 1/2 teaspoon ground cinnamon
- 1/4 teaspoon ground ginger
- 1/8 teaspoon ground cloves
- 1 (15 ounce) can pumpkin puree (not pumpkin pie filling)
- 3 large eggs
Instructions
- Preheat your oven to 325 degrees Fahrenheit. Wrap the outside of a 9-inch springform pan tightly with heavy-duty aluminum foil.
- Prepare the crust: In a medium bowl, combine the gingersnap crumbs and 1/4 cup sugar. Pour in the melted butter and mix until the crumbs are evenly moistened. Press the mixture firmly into the bottom of the prepared springform pan. Bake the crust for 8 minutes. Remove from the oven and let it cool slightly.
- Prepare the filling: In a large bowl, use an electric mixer to beat the softened cream cheese until it is completely smooth. Add 1 1/2 cups sugar, vanilla extract, cinnamon, ginger, and cloves. Beat until just combined and smooth.
- Beat in the pumpkin puree until fully incorporated. Scrape down the sides of the bowl.
- Add the eggs one at a time, mixing on low speed after each addition only until the yolk disappears. Do not overmix the batter once the eggs are added.
- Pour the filling over the cooled crust in the springform pan.
- Create a water bath: Place the foil-wrapped springform pan inside a larger roasting pan. Carefully pour hot water into the roasting pan until the water reaches about halfway up the sides of the springform pan.
- Bake for 60 to 75 minutes. The edges should look set, but the center 2 inches should still have a slight jiggle when gently nudged.
- Turn off the oven, but leave the cheesecake inside with the oven door propped open slightly (use a wooden spoon) for 1 hour. This slow cooling helps prevent cracks.
- Remove the cheesecake from the water bath and remove the foil. Let it cool completely on a wire rack at room temperature.
- Once cool, cover the cheesecake loosely and refrigerate for at least 6 hours, or preferably overnight, before serving. Run a thin knife around the edge before releasing the springform sides.
Notes
- For the creamiest texture, bring your cream cheese and eggs to room temperature before starting.
- If you prefer a different base, substitute graham cracker crumbs for the gingersnaps in the crust mixture.
- If you want to avoid the water bath, reduce the baking time slightly and cool the cheesecake slowly in the turned-off oven as directed.
Nutrition
- Serving Size: 1 slice
- Calories: 450
- Sugar: 35
- Sodium: 320
- Fat: 30
- Saturated Fat: 18
- Unsaturated Fat: 12
- Trans Fat: 0
- Carbohydrates: 40
- Fiber: 1
- Protein: 7
- Cholesterol: 110