
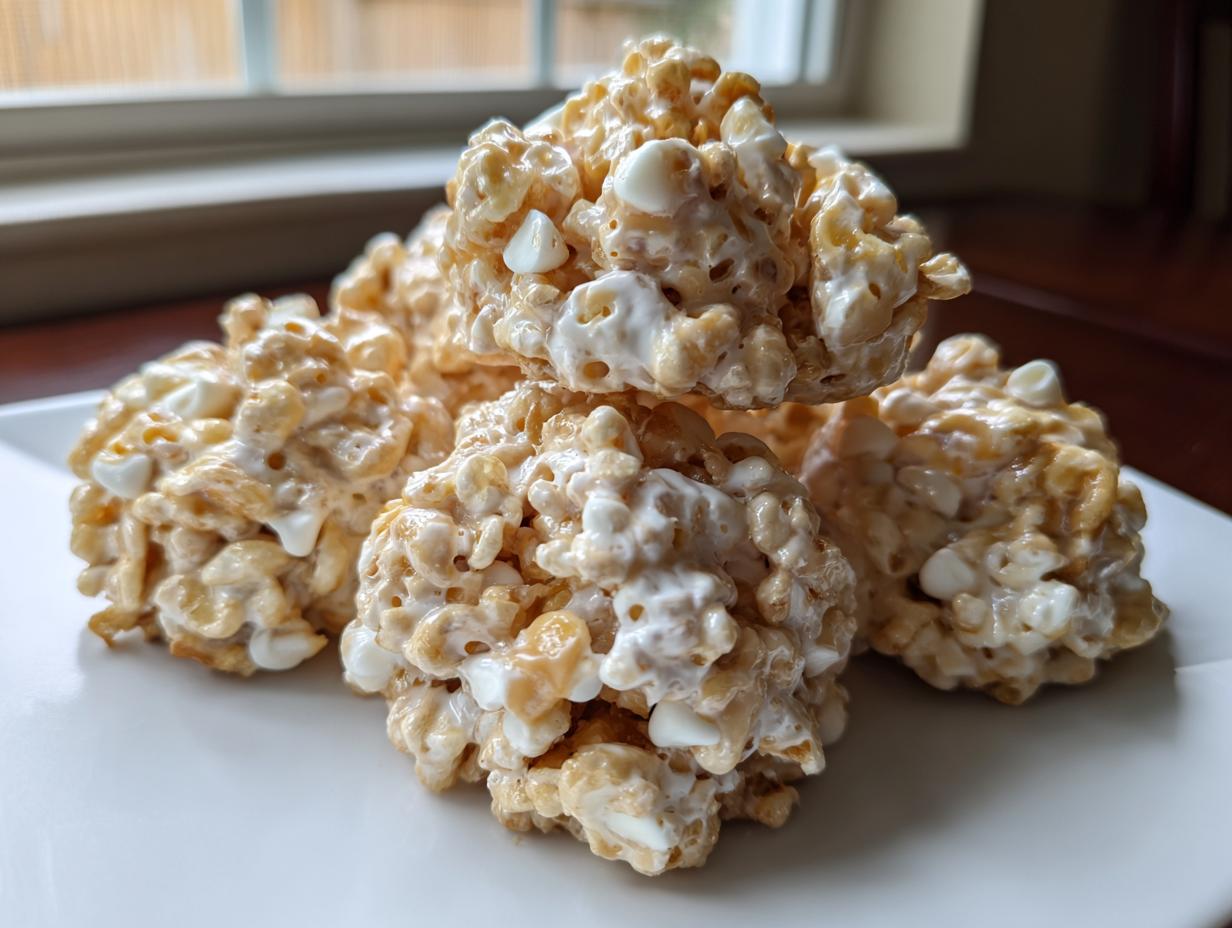
Oh my gosh, if you are racing the clock and need a sweet, satisfying hit in about five minutes flat, you have landed in the absolute right spot! Forget turning on that oven; we are diving headfirst into what I firmly believe are the best avalanche cookies you will ever make. Why? Because these brilliant little clusters rely on just four core ingredients—that’s it! Jade Carter, who started this whole kitchen adventure, always believed cooking shouldn’t be a stressor. She built this site on foolproof recipes, and these no-bake wonders are a testament to that. You can read all about her journey in our story. They are so unbelievably easy, yet they look like you spent all afternoon fussing over them!
- Why This is the Best No Bake Avalanche Cookies Recipe
- Gathering Ingredients for Your Avalanche Cookies
- Step-by-Step Instructions for No Bake Avalanche Cookies
- Tips for Success with Your Avalanche Cookies Recipe
- Serving Suggestions for These No Oven Desserts
- Storage and Make-Ahead Tips for Avalanche Cookies
- Frequently Asked Questions About Avalanche Cookies
- Nutritional Estimates for These Simple Candy Clusters
- Share Your Experience Making These Easy Avalanche Cookies
Why This is the Best No Bake Avalanche Cookies Recipe
Look, I test a lot of things in this kitchen, but when I need a win that requires zero oven time, these No Bake Avalanche Cookies are number one on my list, trust me. They deliver massive flavor for minimal effort. They’re simply the best because they ditch all the hassle and focus on what matters: snacking satisfaction!
- They are true 4 Ingredient Cookies—you probably have half of them already!
- They set up fast, making them one of my go-to Quick Dessert Recipes.
- The texture is unbelievable: creamy, crunchy, and chewy all at once.
If you want foolproof treats that impress everyone, especially when you’re busy prepping for the holidays, bookmark this page right now. You can see some of my other fast meals over here if you’re interested!
Speed and Simplicity: Making Easy Avalanche Cookies
The best part? We are not baking anything! This is pure assembly. You melt, you stir, you drop. That’s it! If you are nervous about baking or maybe your oven is broken (oops!), these Easy Avalanche Cookies shine. They transform into perfect little Simple Candy Clusters in under 40 minutes total. Seriously, you won’t believe how fast they come together.
The Perfect Sweet and Salty Cookies Balance
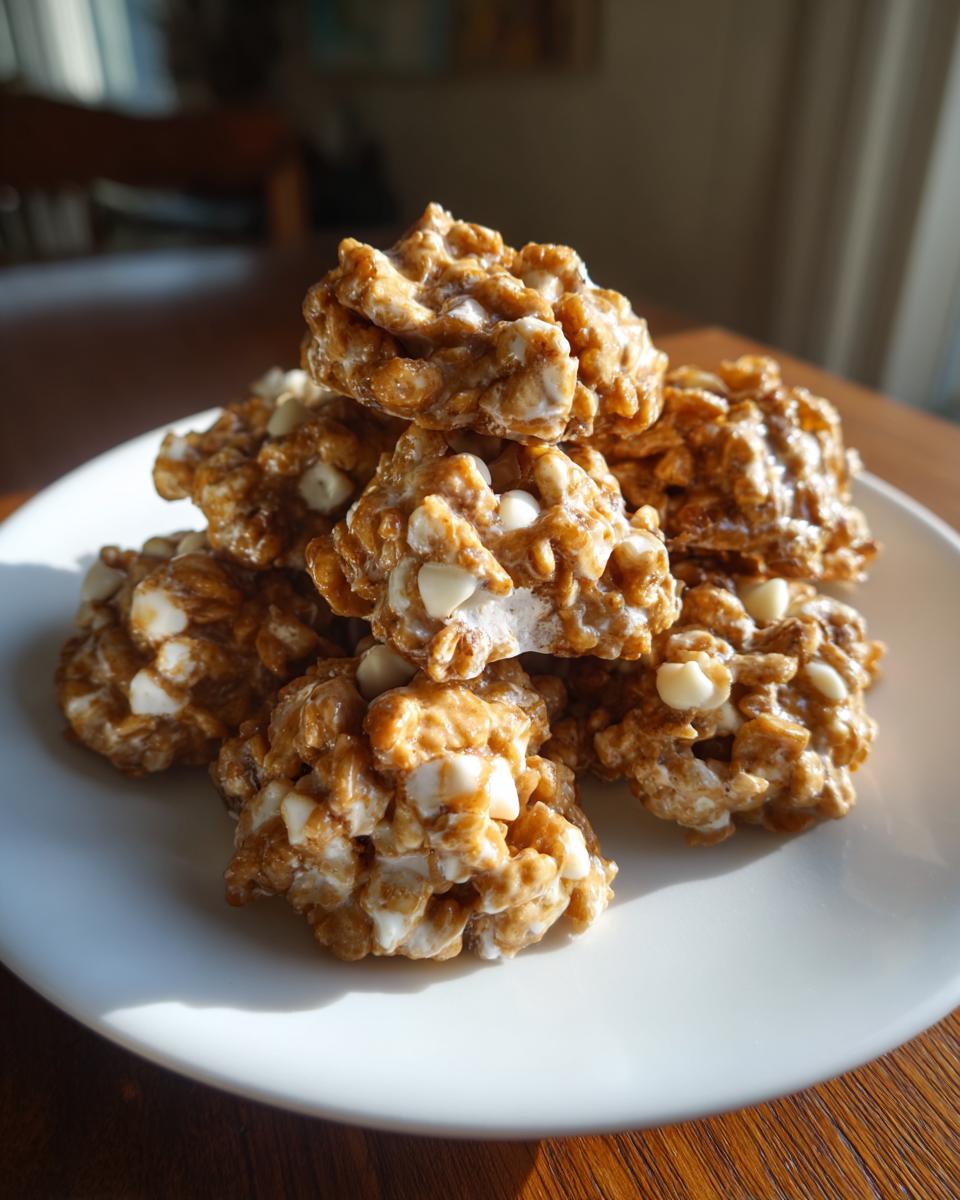
This isn’t just a chocolate clump; it’s a perfectly engineered bite! That rich, slightly salty peanut butter cuts right through the sweetness of the white chocolate coating. Then you get that satisfying snap from the cereal hiding inside. It hits all the marks for those perfect Sweet and Salty Cookies you crave. It’s dangerously good!
Gathering Ingredients for Your Avalanche Cookies
Before we get mixing, we have to talk about what goes into these beauties. Since this is a recipe with so few components, trust me when I say the quality of what you use really matters! I spent a lot of time testing what gives us the best texture, so I’m going to be very specific here. This is where we solidify our standing as the go-to source for reliable, fantastic results, which is what Jade always aimed for!
Making these 4 Ingredient Cookies means every single item gets its moment in the spotlight. You won’t be making a shopping list that takes up half a page, but you do need the right stuff for those ultra-smooth coatings.
Key Components for Perfect Avalanche Cookies
You only need four items for the core recipe. When you melt the white chocolate, you have to use something reliable. I always reach for white chocolate melting wafers or almond bark. Please don’t try substituting regular baking chips if you can avoid it; those chips often have stabilizers that prevent them from melting smoothly, and we don’t want seized, clumpy chocolate when we are aiming for those perfect Melted Chocolate Cookies!
Then you need creamy peanut butter—no crunchy stuff here; we want everything else to handle the crunch. Lastly, grab your crispy rice cereal and a bag of mini marshmallows. That combination of creamy, puffy, and crispy is the magic sauce that makes these cookies set up perfectly every time.
Step-by-Step Instructions for No Bake Avalanche Cookies
Okay, this is the fun part where we put everything together! Since these are No Bake Avalanche Cookies, timing is everything once the chocolate gets warm. You have to be ready to move quickly once that peanut butter melts in, or your mixture might start getting stiff before you can drop the cookies. Don’t panic though; I’ll walk you through exactly when to hustle. You can check out my directions for an even faster no-bake delight here if you need more instant gratification!
Melting the Base for Your Avalanche Cookies
Step one is setting up your workspace by lining a large baking sheet with parchment paper. That step is mandatory! Then, grab your big microwave-safe bowl. Melt your white chocolate wafers or almond bark according to the package directions in the microwave—usually 30-second bursts, stirring well in between each burst until it is beautifully smooth. Once that’s liquid silk, stir in your cup of creamy peanut butter immediately! You want this mixture to be totally uniform before anything else hits the bowl. This rich, combined base is what gives you those amazing, fudgy pockets in your future Peanut Butter No Bake Treats.
Combining Cereal and Marshmallows into Chewy Crispy Cookies
Now for the hustle! As soon as the chocolate and peanut butter are swirling perfectly together, gently fold in the 6 cups of crispy rice cereal and all those little mini marshmallows. Don’t just stir aggressively; you need to fold them in. Think gentle under and over motions until everything is just coated. You are aiming for that perfect mix where every piece of cereal and every marshmallow is wrapped in chocolatey goodness. You’ve got about three minutes before this starts to firm up, which is exactly what we want for those fantastic Chewy Crispy Cookies texture!
Setting the Finished Avalanche Cookies
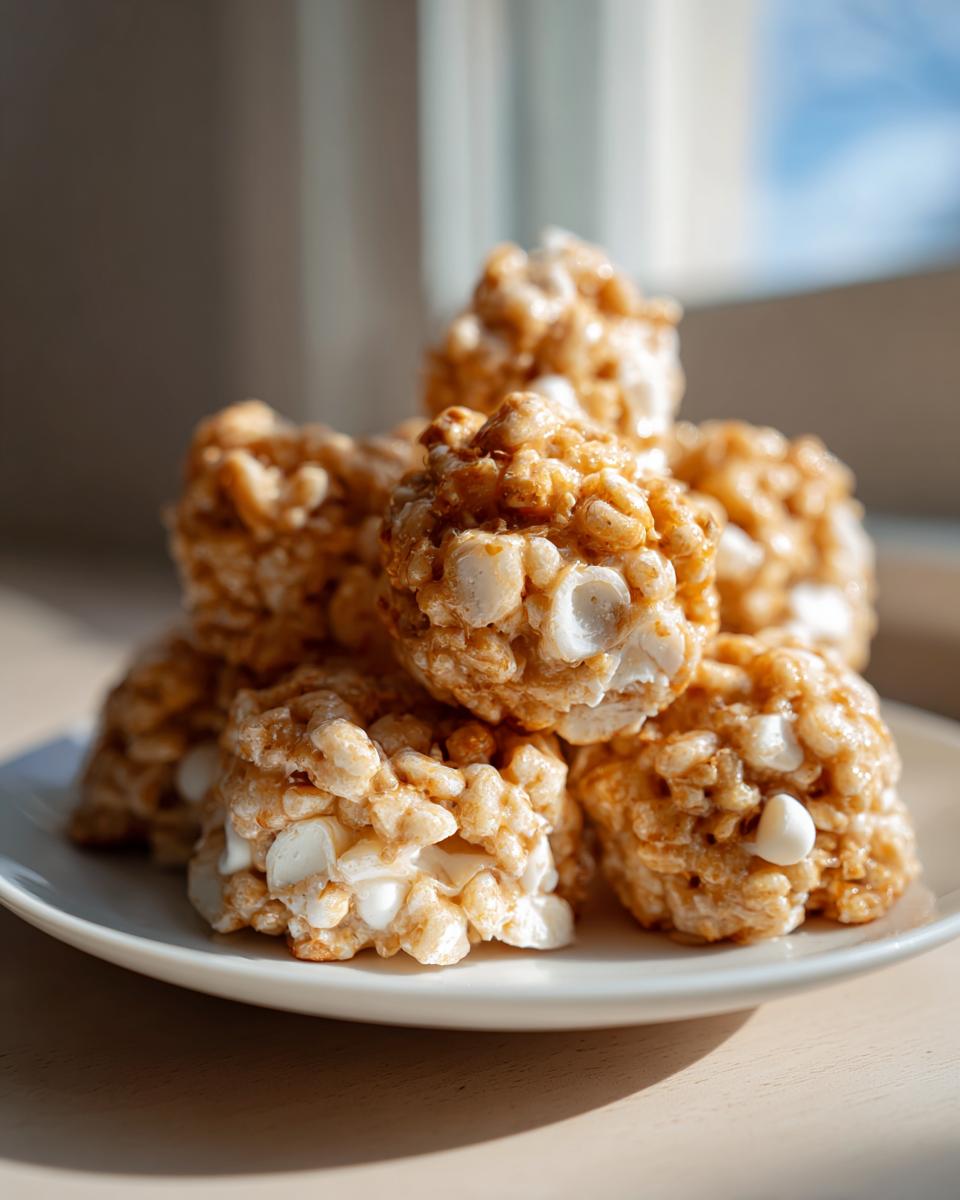
Once you’ve incorporated everything, use two spoons or a small cookie scoop to drop rounded spoonfuls onto that parchment-lined sheet. Don’t worry about making them perfect circles; they are called Avalanche Cookies for a reason! They look best when they are rustic little mounds. They only need about 30 minutes at room temperature to set solid. If you’re impatient like me, pop them into the fridge for about 15 minutes instead. Either way, they are ready to eat fast!
Tips for Success with Your Avalanche Cookies Recipe
Even though these are simple No Oven Desserts, I have a few tricks up my sleeve to make sure your clusters turn out perfectly every time. We absolutely want smooth chocolate, not grainy messes! I always check my white chocolate melting wafers instructions carefully—if they call for a little oil to help things along, that’s my cue to add just a tiny touch more. I actually have a whole guide on my other favorite no-bake recipes if you’re interested in more quick wins!
Ingredient Substitutions for Classic Avalanche Cookies
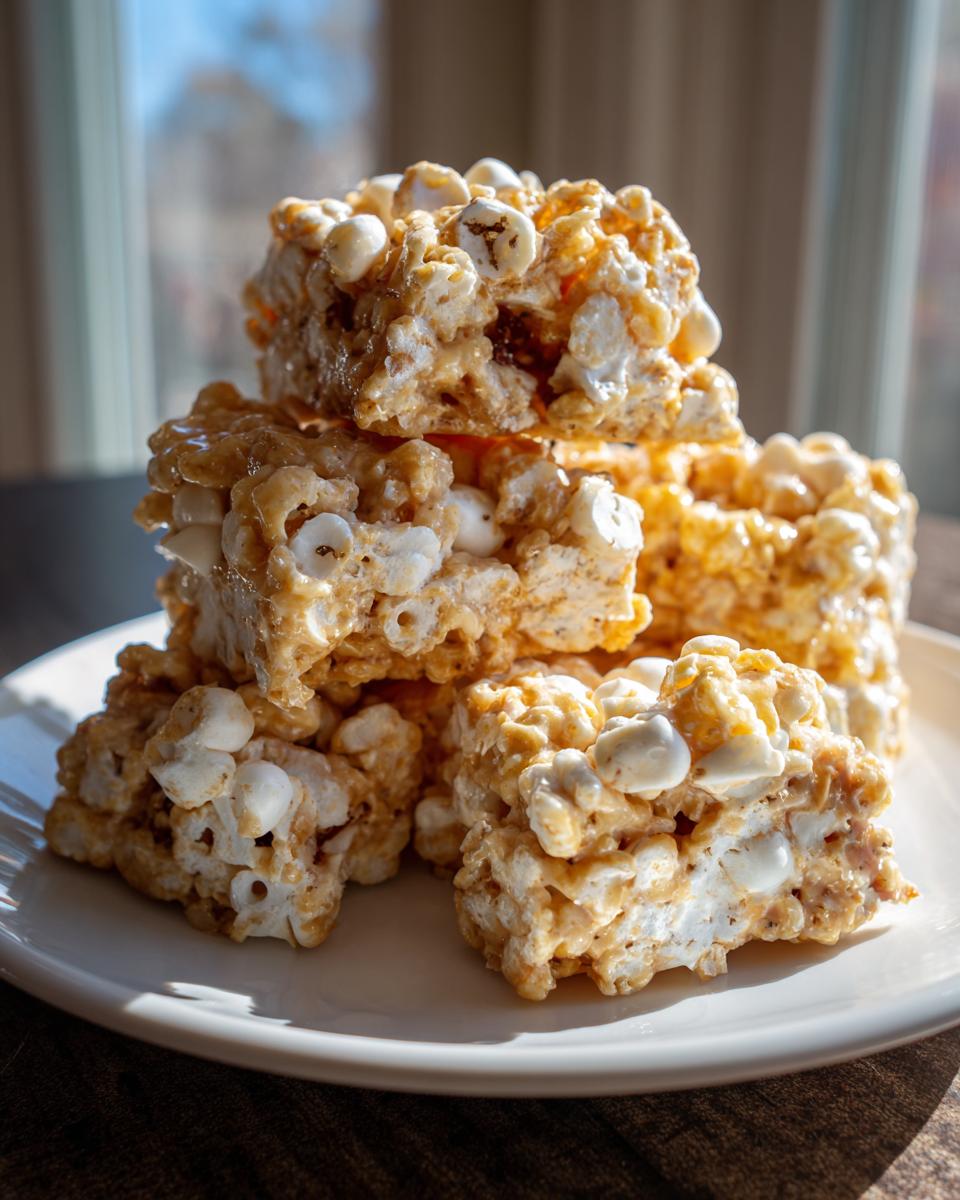
I love how adaptable these Avalanche Cookies are! If you want to lean into that sweet and salty vibe, definitely try out the suggestion from my notes: swap out one cup of the crispy cereal for some chopped pretzels or even mini peanut butter chips. That little bit of extra salty crunch inside makes them even more addictive, honestly. You can also use Chex cereal if you have that on hand instead of the rice cereal, though the texture will be slightly different!
Making Gluten Free Avalanche Cookies
If you’re making these for a friend who avoids gluten—and I always try to keep that in mind when assembling holiday platters—it is actually so simple to make these Gluten Free Avalanche Cookies. The rice cereal is almost always fine, but you must double-check the box; look for the “Certified Gluten Free” symbol. That’s the only change you need to make to keep these safe for your gluten-sensitive friends. Easy peasy!
Serving Suggestions for These No Oven Desserts
Honestly, these No Oven Desserts are perfect for every single occasion, but they truly shine when you need something fast for a crowd. They are my go-to when assembling Holiday No Bake Cookies trays because they look so festive dusted with a little powdered sugar!
Because they hold their shape so well, they travel like a champion. If you’re heading to a party or needing to contribute to a big gathering, these are top-tier options for your Potluck Dessert Bars and Cookies contribution. Try dropping them into little miniature cupcake liners—it makes them look super professional for gifting!
Storage and Make-Ahead Tips for Avalanche Cookies
Since these are such fantastic No Oven Desserts, storage is usually a breeze, but we still need to keep things organized! I always let mine cool completely—and I mean completely—at least an hour before storing them. Once they are solid, pop them right into an airtight container. They actually hold up really well on the counter at room temperature for several days. If you want them to stay extra firm, you can certainly chill them, but often a cool pantry is totally fine!
Frequently Asked Questions About Avalanche Cookies
I know you might have a few little lingering questions before you dive into making these, and that’s totally normal! Especially with no-bake recipes, people worry about things setting up right. Don’t stress! I’ve gathered up the questions I hear most often about these Easy Avalanche Cookies. If you need quick meal ideas after you’re done treating yourself, sometimes I post those over here!
Can I substitute the peanut butter in the avalanche cookies recipe?
Yes, you totally can! Peanut butter is classic, but if you have allergies or just want a change, creamy almond butter works really well. It gives a slightly different, warmer flavor. Sunflower seed butter is another great swap if you need to avoid nuts entirely. Just remember, the texture might change ever so slightly because different nut butters have different fat ratios, but they will be delicious regardless!
How long do these No Bake Avalanche Cookies last?
Because these are No Bake Avalanche Cookies and they’re basically held together by magic (and white chocolate!), they stay fresh for quite a while. If you store them in a good airtight container at cool room temperature, you can expect them to be delicious for about a full week. They don’t typically dry out, what happens is the cereal sometimes softens up a bit after about day five, but honestly, they rarely last that long in my house!
What is the best way to melt the white chocolate for the cookies?
This is where we build trust with our reader! You want smooth, glossy chocolate, not a bowl of grainy cement. Microwave melting is fastest, but you *must* melt it low and slow. I use 30-second intervals, stirring really well between each one, even if it looks mostly melted. If you’re wary of the microwave, use the slow cooker trick mentioned earlier—just melt the chocolate and peanut butter together on LOW until they are smooth. Low and slow prevents any burning or seizing!
Nutritional Estimates for These Simple Candy Clusters
Now, I know some of you are watching macros and others of you are just trying to figure out how many you can sneak before dinner—and that’s fine! We believe in keeping things honest here, so I pulled the estimates for these amazing Simple Candy Clusters. Remember, since these are no-bake treats and you might decide to toss in pretzels or skip the marshmallows one day, these numbers are just starting points!
These estimates are calculated based on one standard cookie using the recipe card above (4 ingredients, yielding about 24 cookies). They show a good balance of carbs and fat, which is what you expect from a treat combining crispy cereal and creamy peanut butter!
- Serving Size: 1 cookie
- Calories: 210
- Sugar: 18g
- Sodium: 110mg
- Fat: 12g (with 6g of that being Saturated Fat)
- Carbohydrates: 24g
- Protein: 4g
Because we are using white chocolate and peanut butter, they are naturally higher in fat, but that’s what makes them so rich and satisfying! If you want a lower-sugar option, I’ve experimented with sugar-free wafers, but you absolutely have to manage that melting time perfectly, or you’ll find your chocolate seizing up faster than you can say ‘Avalanche Cookie’!
Share Your Experience Making These Easy Avalanche Cookies
Now that you see just how easy these Easy Avalanche Cookies come together, I truly want to know what you think! Have you tried them out yet? Did you stick to the core four ingredients, or did you go wild with the pretzels or peanut butter chips? Let me know down in the comments—I love hearing how everyone customizes their treats.
If you made a batch for a holiday tray or as last-minute Gifting Cookies Ideas, I’d be thrilled if you snapped a picture and tagged us on social media. Seeing these little clusters pop up everywhere makes my day! If you found this recipe helpful, please give it a rating using the star system; it really helps other busy cooks find these simple, no-bake gems.
If you are already obsessed with peanut butter desserts like me, you should check out my guide to making the perfect classic Peanut Butter Cookies next. Happy clustering!
PrintEasy No-Bake Avalanche Cookies

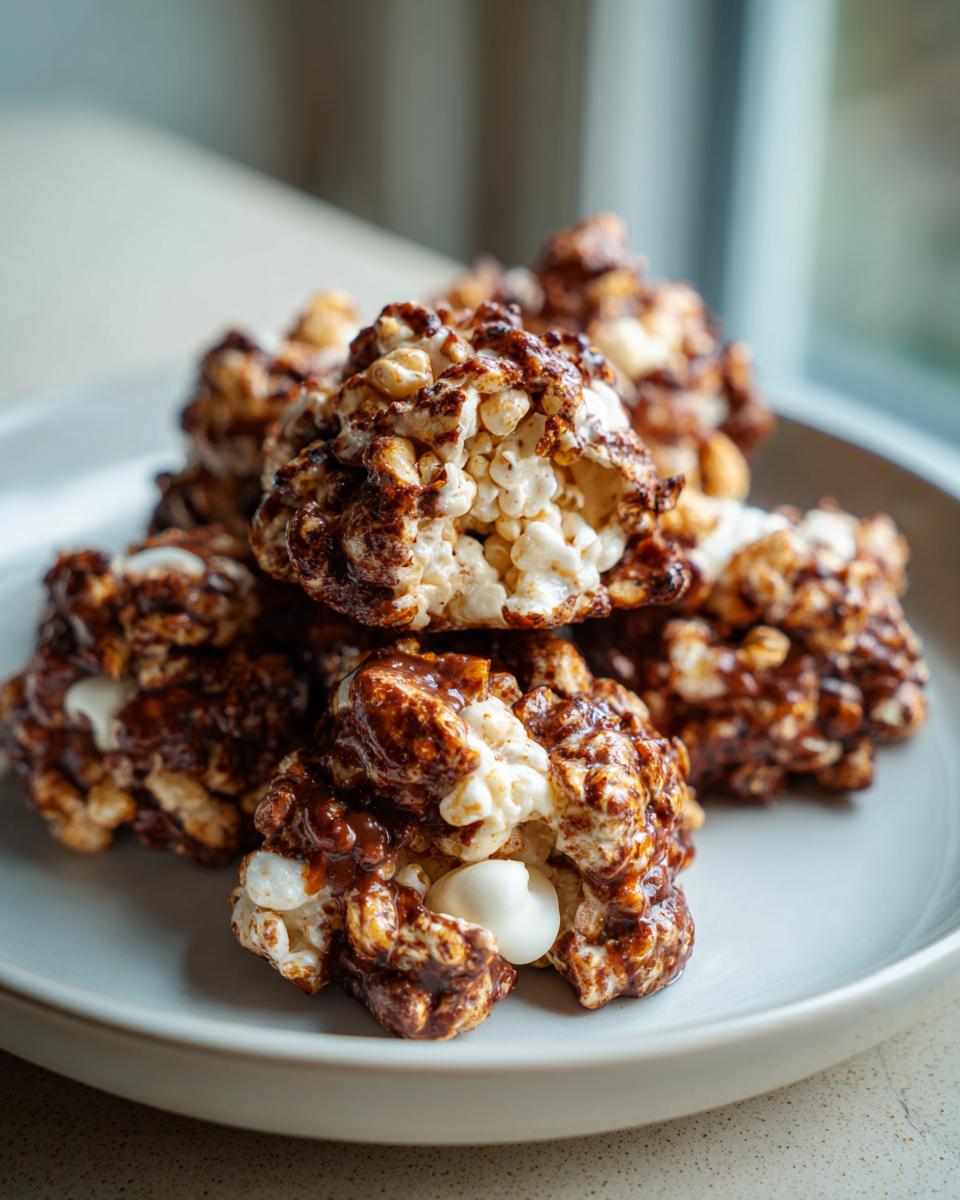
Make these simple, no-bake Avalanche Cookies using just four main ingredients. They combine peanut butter, crispy cereal, marshmallows, and white chocolate for a quick, sweet, and salty treat perfect for holidays or snacking.
- Prep Time: 10 min
- Cook Time: 0 min
- Total Time: 40 min
- Yield: About 24 cookies 1x
- Category: Dessert
- Method: No-Bake
- Cuisine: American
- Diet: Vegetarian
Ingredients
- 12 oz white chocolate melting wafers or almond bark
- 1 cup creamy peanut butter
- 6 cups crispy rice cereal (Rice Krispies)
- 3 cups mini marshmallows
Instructions
- Line a baking sheet with parchment paper.
- In a large microwave-safe bowl, melt the white chocolate or almond bark according to package directions, stirring until smooth.
- Stir the peanut butter into the melted chocolate until fully combined.
- Gently fold in the crispy rice cereal and mini marshmallows until all ingredients are evenly coated. Work quickly before the mixture sets.
- Drop spoonfuls of the mixture onto the prepared baking sheet, forming cookie shapes.
- Allow the cookies to set completely at room temperature for about 30 minutes, or chill them in the refrigerator for 15 minutes for faster setting.
- Serve or store in an airtight container.
Notes
- For a variation, substitute 1 cup of the crispy rice cereal with mini peanut butter chips or chopped pretzels for a sweet and salty crunch.
- If you prefer using a slow cooker instead of a microwave, combine the chocolate and peanut butter in the slow cooker on low until melted, then stir in the dry ingredients.
- These cookies are naturally gluten free if you use certified gluten free crispy rice cereal.
Nutrition
- Serving Size: 1 cookie
- Calories: 210
- Sugar: 18g
- Sodium: 110mg
- Fat: 12g
- Saturated Fat: 6g
- Unsaturated Fat: 6g
- Trans Fat: 0g
- Carbohydrates: 24g
- Fiber: 1g
- Protein: 4g
- Cholesterol: 5mg