
Oh, there is just nothing quite like the smell of fresh bread baking right in your own kitchen, is there? It’s the ultimate comfort food, but sometimes making yeasted dough feels like a huge chore—I totally get it! That’s why I’m thrilled to share this recipe for making homemade English muffins. This isn’t some fussy, knead-until-your-arm-aches kind of bread, either. We are keeping it super simple with a totally no-knead English muffins approach. My whole philosophy, which I learned back when I first started teaching friends how to cook, is to take overwhelming recipes and make them achievable. Trust me, you can absolutely nail that bakery-style texture, complete with those famous little pockets, right on your stovetop. You’re going to love how easy these come together for your next batch of quick, easy breakfasts.
- Why This is the Best English Muffin Recipe for Home Bakers
- Ingredients for Fluffy Homemade Muffins
- Easy English Muffins Recipe: Step-by-Step Stovetop Cooking
- Finishing the Homemade English Muffins in the Oven
- Tips for Success When You Make English Muffins at Home
- Serving Suggestions for Your Homemade English Muffins
- Storage and Reheating Instructions for Homemade English Muffins
- Frequently Asked Questions About Homemade English Muffins
- Nutritional Estimates for Homemade English Muffins
Why This is the Best English Muffin Recipe for Home Bakers
I’ve tweaked and tested countless bread recipes over the years, but this one is my gold standard for everyone wanting the best homemade English muffins without the fuss. The secret weapon here is keeping the dough sticky and skipping the kneading entirely! That’s right, since we aren’t developing gluten aggressively, the dough stays tender. Then, we use that genius two-step process: a gentle sear on the griddle followed by a quick trip to the oven. This hybrid method is what guarantees you get genuine bakery style English muffins that are cooked all the way through but still soft inside.
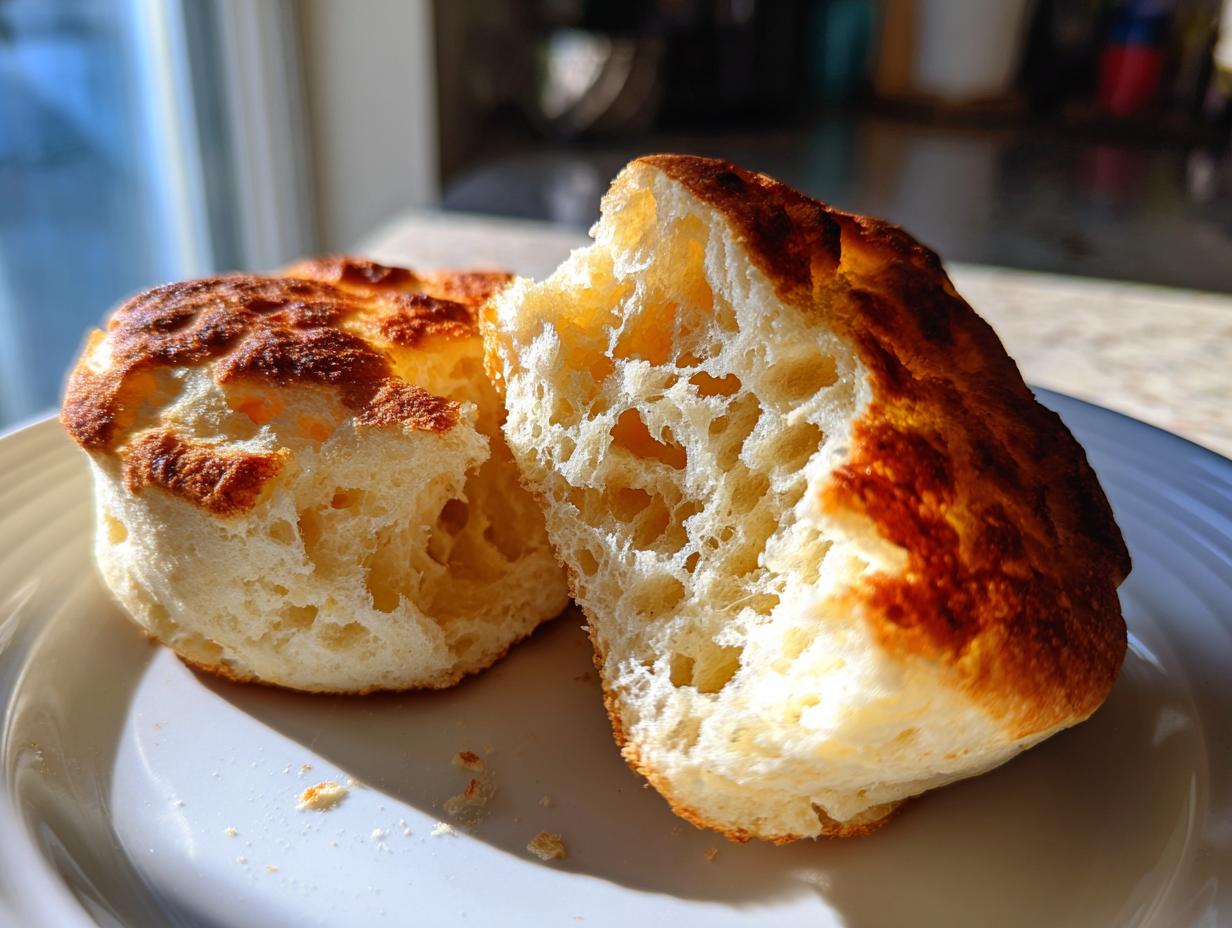
Achieving Perfect English Muffin Nooks and Crannies
Everyone asks me how to get those little tunnels—the famous English muffin nooks and crannies—and it all comes down to gentle handling. Because we don’t knead this dough, all those little air pockets stay intact. You must resist the urge to use a knife when splitting them; use a fork instead! Gently pierce the edges and pull them apart. That rough surface is what traps all the melted butter and jam. Minimal mixing and a gentle teardown is the key; don’t overthink it!
Ingredients for Fluffy Homemade Muffins
When you’re aiming for those light, airy interiors we talked about, the ingredients matter, but honestly, it’s simple stuff! You don’t need anything fancy gathering dust in the pantry for these fluffy homemade muffins. I always have these essentials on hand for quick baking projects. Remember standard measurements are key, especially when we are dealing with yeast, so make sure those measuring cups are level. For the full breakdown, here is exactly what you need gathered before you mix anything up today. If you want to start exploring other soft breads, check out my dinner rolls recipe, too!
Ingredient Notes and Substitutions for Homemade English Muffins
Let’s talk specifics, because yeast is sensitive! The milk absolutely needs to be warm, around 105 to 115 degrees Fahrenheit. If it’s too hot, you’ll shock the yeast, and if it’s too cold, it won’t wake up. You want it foamy and bubbly before you add it! Also, I love using cornmeal on the sheet pan—it stops them from sticking and gives the bottom a lovely, authentic texture. Now, if you don’t have plain milk, you can totally swap in buttermilk! It will give your homemade English muffins a bit of a tangy kick, which is delicious, but you might want to reduce the salt just slightly. Don’t be tempted to skip the sugar; the yeast counts on it!
Easy English Muffins Recipe: Step-by-Step Stovetop Cooking
Now that our ingredients are ready to go, it’s time to actually bring this dough together. Even though this is a no knead English muffins recipe, the mixing still needs attention—we want development, but not toughness! The whole process relies on letting time do the heavy lifting once we get these initial steps down. We are aiming for those beautifully golden stovetop English muffins, and the secret starts right here in the bowl. If you need a refresher on working with yeast in general, I mapped out all my easy yeast bread directions over here.
Mixing and First Rise for Homemade English Muffins
First, make absolutely sure your yeast is foamy; that’s its little “hello” to tell you it’s alive! Once that water/yeast mixture is bubbly, pour it into your dry ingredients along with the warm milk and that melted butter. You’ll mix this with a sturdy wooden spoon until everything is *just* combined. I mean shaggy, sticky, and a little messy—that’s perfect! We are not kneading this at all. Cover it up and honestly, walk away for a full hour. The yeast is working overtime to create those beautiful air pockets we want in our homemade English muffins.

Cutting and Second Rest Period
Once doubled, dump that lovely dough out onto a lightly floured surface. Gently pat or nudge it into a thick rectangle, about ¾ inch high. Use a 3-inch cutter to punch out your rounds—don’t twist the cutter, just press straight down! Collect the scraps, give them a little pat back together, and cut the rest. Place these rounds on a baking sheet that you’ve dusted really well with cornmeal or flour. Pop them somewhere warm to rest for 30 minutes. This second rest is important before they hit the heat!
The Dry Frying Technique: Cooking on the Griddle
Here is where we get that signature crust! Heat up your best cast iron skillet or griddle over medium-low heat. I cannot stress enough: MEDIUM-LOW. If it’s too hot, you’ll end up with burnt hockey pucks instead of the softest griddle cooked bread. Cooking them dry (no butter in the pan!) for about 6 to 8 minutes per side lets them puff up perfectly. They should look lightly golden brown, not dark brown. If they darken too fast, turn your heat down immediately—you want them cooked through, not just colored!
Finishing the Homemade English Muffins in the Oven
Okay, so your English muffins look beautiful and toasted on the outside after their dance on the stovetop. But sometimes, especially if your heat wasn’t perfectly low, that beautiful exterior hides a slightly doughy middle. That’s why I use this little trick I picked up in the test kitchen! We transfer them right onto a baking sheet and pop them into a 375°F oven for just 5 to 7 minutes. This quick bake ensures that the inside is fully cooked and fluffy, solidifying this as one of the best homemade English muffins recipes out there. It completes the bake without hardening the crust we worked so hard to create on the griddle!
Tips for Success When You Make English Muffins at Home
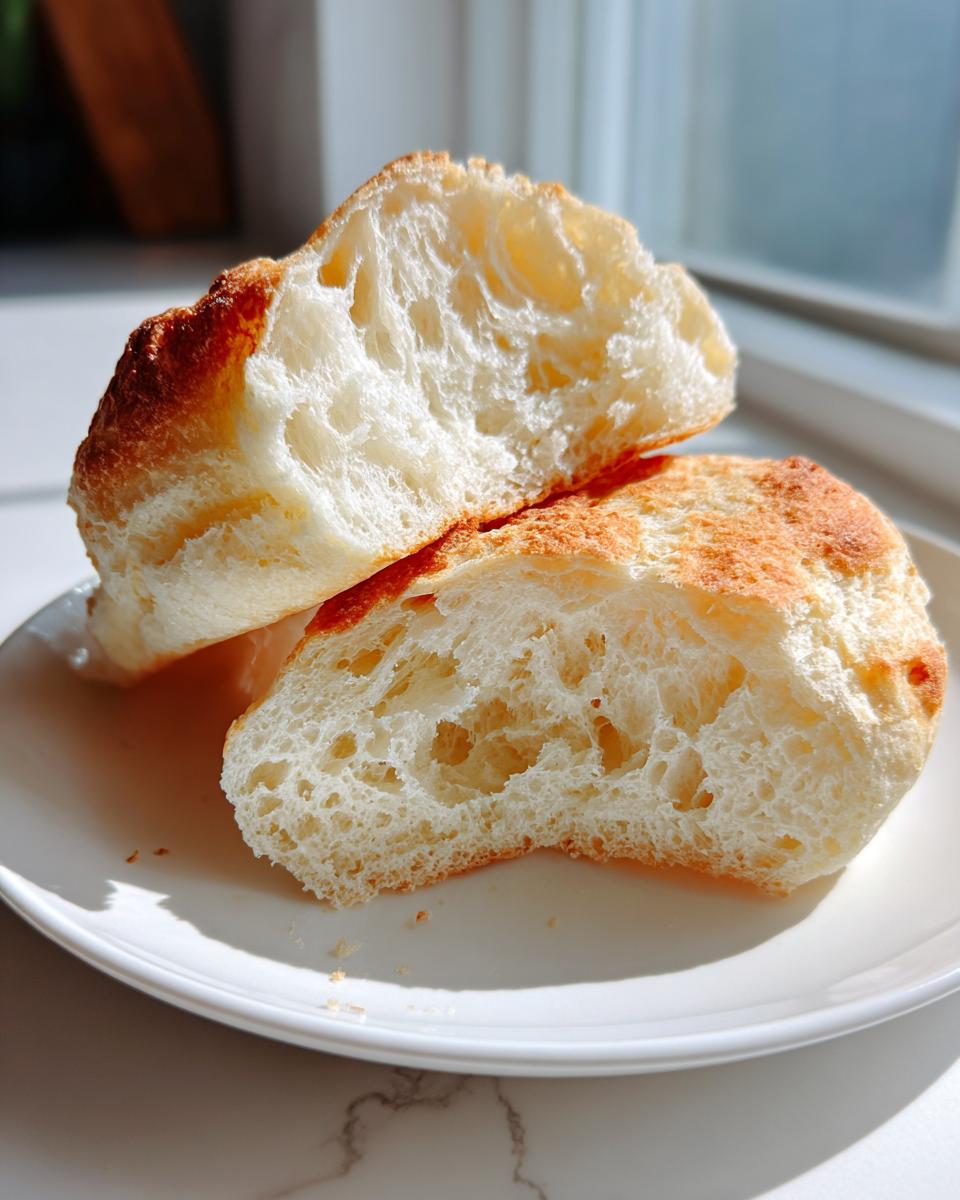
When you want to successfully make English muffins at home, I have a few personal takeaways from my testing sessions that I just have to share. The absolute biggest game-changer for texture is how you open them after they cool a bit. Please, please, please do not use a sharp knife to slice them in half. A knife cuts right across those delicate air tunnels we worked so hard to create, squishing them flat! Grab a sturdy fork, pierce the side near the edge, and gently pull apart. That rough, torn surface is where the nooks and crannies truly shine and hold all that butter.

Speaking of dough, if you find your dough is just *too* sticky when you go to pat it out, don’t panic! It’s normal for this no knead English muffins recipe because we purposely keep the hydration high for softness. Just dust your hands generously with flour before you touch it. That small layer of flour gives you enough grip to handle it without needing to add extra flour to the actual dough, which would toughen the final product. For a great dip for your leftover muffin tops, you absolutely have to try my cheddar beer cheese dip!
Serving Suggestions for Your Homemade English Muffins
Now that you have these beautiful, fluffy rounds cooling, the biggest question is: how do you eat them first? Honestly, you can’t go wrong with the absolute classic way. Split one open with your fork, toast it until those edges are slightly crispy, and just let a real pat of good butter melt into all those little hiding spots. A little drizzle of your favorite berry jam never hurts either!

But let’s get real—these are absolutely required for making next-level English muffin breakfast sandwiches. You need the structure of a good homemade English muffin to handle eggs, thick slices of cheese, and maybe some crispy bacon. They hold up so much better than flimsy store-bought ones. Keep a batch ready for brunch, or just make a couple extra for quick weekday breakfasts!
Storage and Reheating Instructions for Homemade English Muffins
These are best eaten the day you make them, but they store really well, so don’t worry if you have extras! Once they are completely cool—and I mean *completely* cool—place your homemade English muffins in a tightly sealed zip-top bag at room temperature for about two days. If you need them to last longer, they freeze like a charm in a freezer bag for up to two months. If you want to reheat them, ditch the microwave entirely! Always split them and toast them to bring back that perfect golden crust and open up those inner nooks. You can find a fun dessert version using crescent rolls here if you’re feeling ambitious later!
Frequently Asked Questions About Homemade English Muffins
I know when you’re trying something new from scratch, little questions pop up right when you need them answered. Don’t stress—that’s why I’m here! These are the sticking points I hear most often when folks are trying this quick English muffin recipe for the first time. We want you to get those perfect results on your very first try, even with this no knead English muffins recipe! If you’re looking for a lightning-fast savory idea, you should check out my seared tuna steak recipe!
Can I use bread flour instead of all-purpose flour for homemade english muffins?
You absolutely can! Bread flour has higher protein, so it will develop more gluten. This results in muffins that are a little chewier, closer to a traditional artisan loaf, versus the softer texture you get with all-purpose flour. Both work, you just trade a bit of tenderness for chewiness!
How long can I let the dough for homemade english muffins rest?
The dough really needs that full hour for the first rise, or until visibly doubled. If you let it go much longer, say two hours, you risk over-proofing, which means the structure can collapse when you cook them. You want it puffy and nearly ready to overflow the bowl—that shows you the yeast is happy!
Nutritional Estimates for Homemade English Muffins
I always tell folks nutrition is important, but when we are making homemade English muffins from scratch, flavor has to come first, right? That said, based on the standard recipe above, here are some ballpark estimates for comparison purposes. Please remember these numbers change depending on the exact brand of flour or the percentage of fat in the milk you choose. I’ve developed these based on using whole milk. If you want to see what I use for low-carb baking, check out my almond flour pancakes recipe!
- Serving Size: 1 Muffin
- Calories: Approximately 160
- Total Fat: About 3g
- Carbohydrates: Roughly 29g
- Protein: Around 5g
Easy Homemade English Muffins with Perfect Nooks and Crannies

Make bakery-style English muffins at home. This simple recipe uses basic ingredients and a stovetop-to-oven method to achieve soft, fluffy interiors full of classic nooks and crannies.
- Prep Time: 20 min
- Cook Time: 45 min
- Total Time: 1 hour 45 min
- Yield: 10 muffins 1x
- Category: Breakfast
- Method: Stovetop and Baking
- Cuisine: American
- Diet: Vegetarian
Ingredients
- 2 1/2 cups all-purpose flour
- 1 tablespoon sugar
- 1 teaspoon salt
- 1 packet (2 1/4 teaspoons) active dry yeast
- 1 cup warm milk (about 105-115°F)
- 1/4 cup water, warm
- 2 tablespoons unsalted butter, melted
- Extra flour or cornmeal for dusting
Instructions
- In a large bowl, whisk together the flour, sugar, and salt.
- In a separate small bowl, dissolve the yeast in the warm water and let it sit for 5 minutes until foamy.
- Pour the activated yeast mixture and the warm milk into the dry ingredients. Add the melted butter.
- Mix with a wooden spoon until a shaggy, sticky dough forms. Do not overmix.
- Cover the bowl with plastic wrap and let the dough rise in a warm place for 1 hour, or until doubled in size. This is a no knead english muffins recipe, so the rise does the work.
- Lightly dust a clean surface with flour. Gently scrape the dough out and pat it into a rough rectangle about 3/4 inch thick.
- Use a 3-inch round cutter (or the rim of a glass) to cut out the English muffins. Gather the scraps, gently re-pat, and cut out the remaining muffins.
- Dust a baking sheet generously with cornmeal or extra flour. Place the cut rounds on the sheet, leaving space between them. Cover loosely and let them rest for 30 minutes.
- Heat a large, dry cast iron skillet or griddle over medium-low heat. You are dry frying them on the stovetop.
- Carefully place the dough rounds onto the hot griddle, cooking 3 or 4 at a time without crowding. Cook for 6 to 8 minutes per side until golden brown. They should not brown too quickly.
- Transfer the partially cooked muffins to a baking sheet. Bake in a preheated oven at 375°F (190°C) for 5 to 7 minutes to finish cooking the centers.
- Remove from the oven and cool on a wire rack. Split them open with a fork to reveal the nooks and crannies. Toast before serving with butter and jam.
Notes
- To get the best ‘nooks and crannies,’ avoid kneading the dough and use a fork to split the muffins open after toasting, rather than slicing with a knife.
- Use a medium-low heat on your griddle; if the heat is too high, the outside will burn before the inside cooks through.
- These are excellent for making homemade breakfast sandwiches.
Nutrition
- Serving Size: 1 muffin
- Calories: 160
- Sugar: 2
- Sodium: 250
- Fat: 3
- Saturated Fat: 2
- Unsaturated Fat: 1
- Trans Fat: 0
- Carbohydrates: 29
- Fiber: 1
- Protein: 5
- Cholesterol: 10