
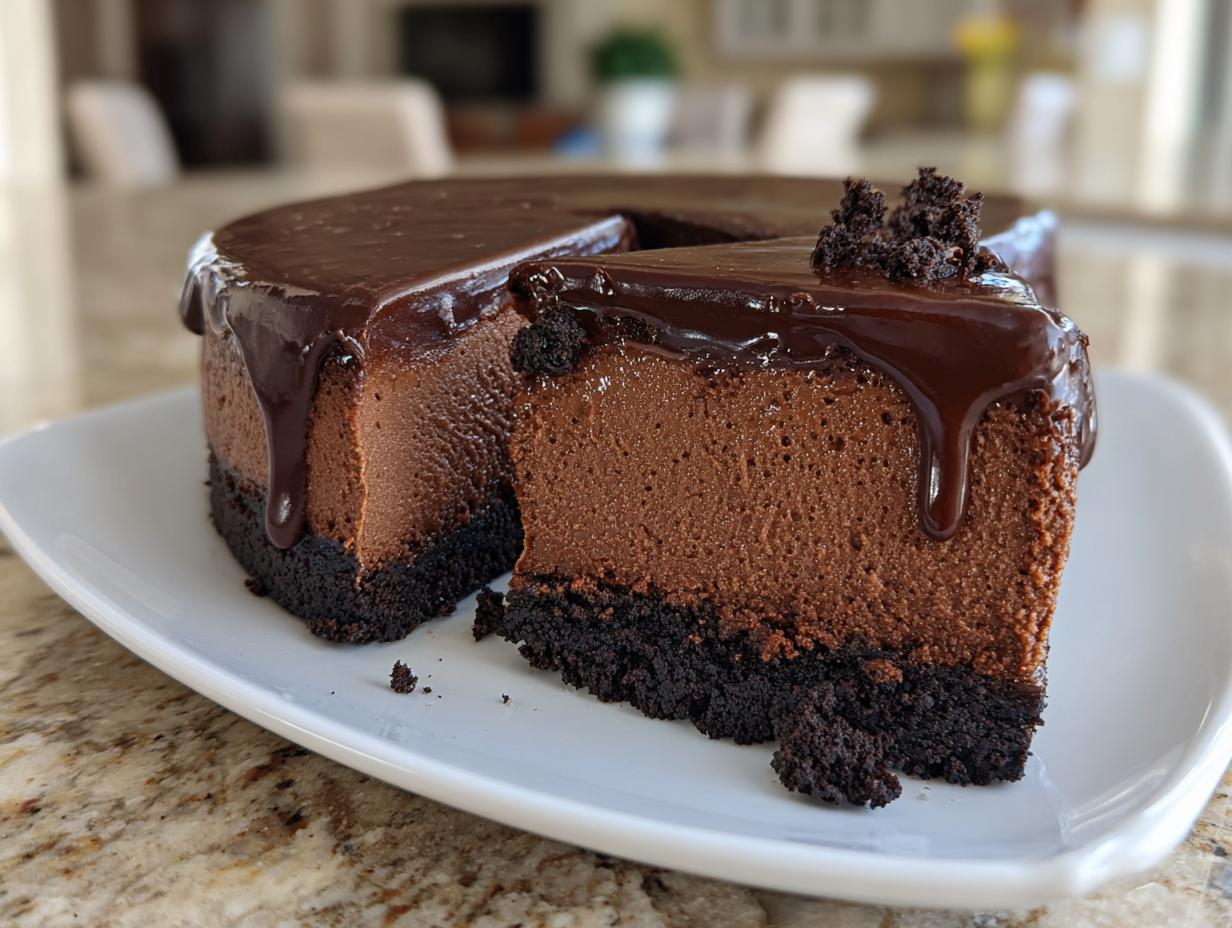
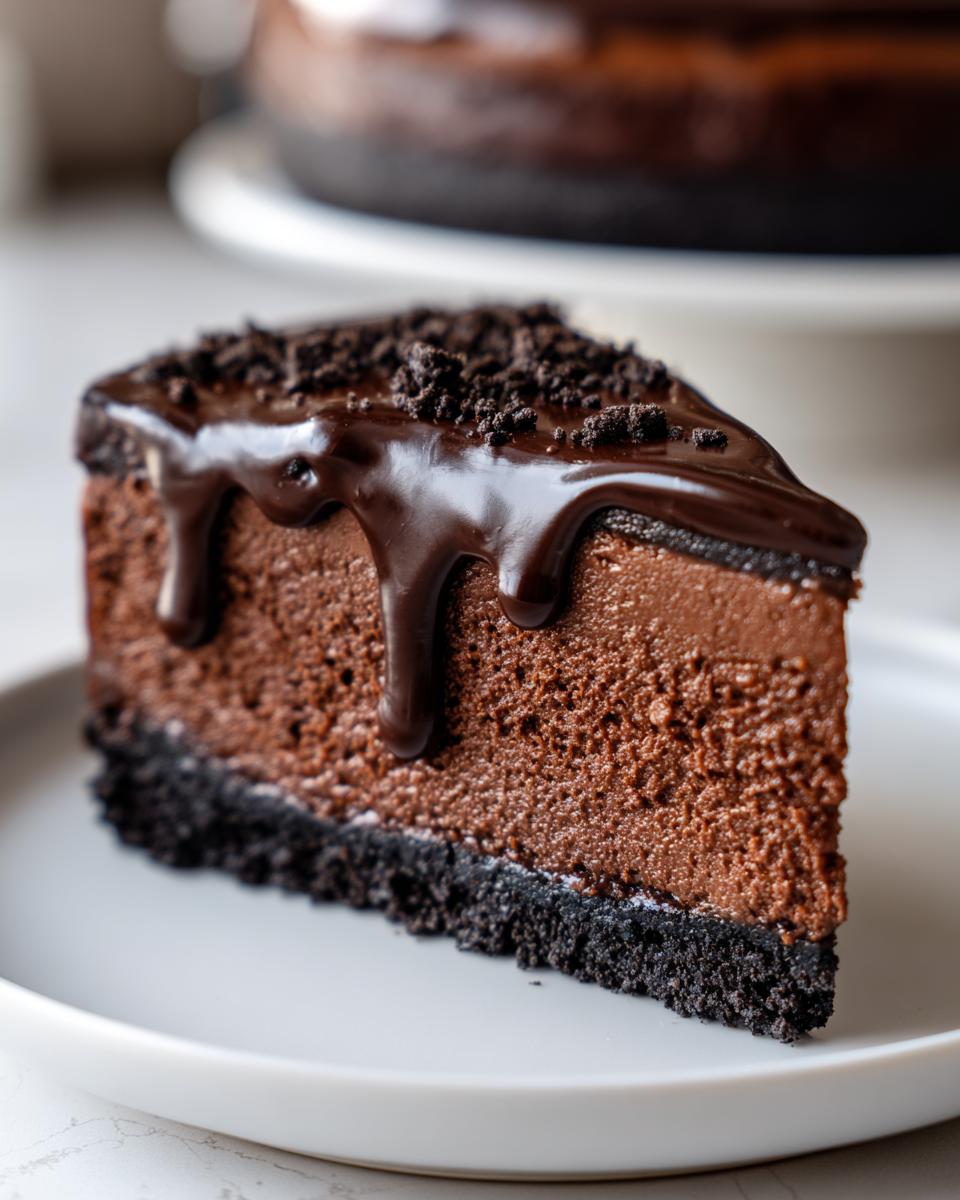
When the craving for something truly decadent hits, you can’t go wrong with chocolate. Forget those hours spent babysitting an oven; I’ve got the secret to the Ultimate No-Bake Triple Chocolate Cheesecake that knocks any heavy, baked version out of the park. This recipe delivers an incredibly rich chocolate cheesecake that is surprisingly easy to tackle, even on a busy evening.
As someone who spent years studying nutrition and testing recipes rigorously in a professional kitchen, I promise you this is foolproof. It’s all about maximizing flavor—the Oreo crust, the velvety filling, and that glossy ganache top. Trust me, this indulgent chocolate treat is destined to become your party must-have. You can find more reliable dessert inspiration in my collection of favorite dessert recipes here.
- Why This No Bake Chocolate Cheesecake Recipe Works for You
- Gathering Ingredients for Your Ultimate Chocolate Cheesecake
- Step-by-Step Instructions: How to Make Chocolate Cheesecake
- Tips for the Best Homemade Chocolate Cheesecake Success
- Serving Suggestions for Your Decadent Chocolate Dessert
- Storage and Reheating Instructions for Chocolate Cheesecake
- Frequently Asked Questions About This Easy Chocolate Cheesecake Recipe
- Nutritional Estimates for This Indulgent Chocolate Treat
- Share Your Homemade Chocolate Cheesecake Experience
Why This No Bake Chocolate Cheesecake Recipe Works for You
Look, sometimes you just need that rich chocolate hit without turning on the oven, right? I designed this recipe specifically for that moment. It’s the perfect solution when you need a showstopper dessert that doesn’t stress you out. You get maximum flavor with minimum fuss.
- Zero Oven Time: Seriously, you mix, you chill, you eat! This eliminates any guesswork about cracking tops or water baths.
- Serious Decadence: We aren’t skimping on the chocolate here. Every layer screams rich and indulgent.
- Picture Perfect: Because it sets so beautifully, it always looks impressive when you bring it out for company.
If you’re looking for ways to simplify your weeknights but still want a great dessert, check out some of my easy weeknight dinner ideas for inspiration!
Achieving a Velvety Cheesecake Filling
The magic that makes this a truly creamy chocolate cheesecake is all in the filling technique. We fold in heavy whipped cream that’s been beaten to stiff peaks. This step whips air right into the cream cheese base, giving you that incredible, light, velvety texture that melts in your mouth, rather than that heavy, dense mouthfeel you sometimes get.
Gathering Ingredients for Your Ultimate Chocolate Cheesecake
Okay, for this ultimate chocolate cheesecake, getting the ingredients right before you start is the real secret weapon that keeps things simple. Since this is no-bake, the texture relies entirely on starting with the right temperatures—softened cream cheese and cold cream are non-negotiable! I’ve broken down exactly what you need so you aren’t scrambling mid-recipe. Remember, perfect prep equals perfect dessert, every single time!
If you love chocolate in every form, you should definitely check out my recipe for moist chocolate banana bread—it’s another guaranteed crowd-pleaser!
Ingredients for the Oreo Crust Cheesecake Base
We are sticking with those classic chocolate sandwich cookies for maximum payoff here. This base is so easy!
- 24 full Oreo cookies (no need to remove the filling, we want that flavor!)
- 6 tablespoons unsalted butter, melted
Components for the Rich Chocolate Cheesecake Filling
This is where that gorgeous, rich chocolate cheesecake flavor comes from. Make sure you have your cream cheese fully softened and that heavy cream is straight out of the fridge!
- 16 ounces cream cheese, softened
- 1 cup granulated sugar
- 1/2 cup unsweetened cocoa powder
- 8 ounces semi-sweet chocolate, melted and cooled slightly
- 1 teaspoon vanilla extract
- 1/4 teaspoon salt
- 1 1/2 cups heavy whipping cream, cold
Making the Chocolate Ganache Topping
This glossy layer is what takes it over the top and gives you that amazing chocolate cheesecake with ganache finish. It’s so simple but looks completely professional.
- 1 cup semi-sweet chocolate chips (for ganache)
- 1/2 cup heavy whipping cream (for ganache)
Step-by-Step Instructions: How to Make Chocolate Cheesecake
Alright, let’s get down to business! This is where we turn those lovely ingredients into the most decadent chocolate dessert you’ve ever made, and the best part is we do it without touching the oven. Follow these steps closely, and you’ll have the perfect home made chocolate cheesecake that looks like it took hours!
Preparing the Oreo Crust and Chilling
First things first, we build our foundation. Toss your Oreos into a food processor until they look like fine, dark sand. Dump that buttery crumb mixture into your 9-inch springform pan. Use the bottom of a glass or your fingers to press this firmly and evenly across the bottom. Don’t be shy here—press it down hard!
Once it’s packed, slide that pan into the fridge for at least 30 minutes to chill. This chill time is non-negotiable! It hardens up so the crust doesn’t crumble when you try to slice the final masterpiece.
Mixing the Velvety Chocolate Cheesecake Filling
While the crust chills, get your filling ready. In that big mixing bowl, you’re going to beat that softened cream cheese, sugar, and cocoa powder until it’s smooth as silk. Scrape down the sides—always scrape down the sides!
Next, slowly mix in your semi-sweet chocolate that you’ve already melted and let cool just a bit. Then, the most important part for that light texture: whip your cold whipping cream separately until stiff peaks form. When you add that whipped cream to the chocolate base, you have to gently fold it in. Seriously, use a spatula and fold, don’t stir! We are keeping all those light air bubbles intact.
Setting the Chocolate Cheesecake Base
Pour that gorgeous filling right over your chilled Oreo crust. Smooth the top gently with an offset spatula. Now comes the hardest part: waiting! Cover it loosely with plastic wrap and pop it into the refrigerator. You absolutely need at least 6 hours, but honestly, making this the day before results in the firmest, most luxurious results for your creamy chocolate cheesecake. Patience pays off!
For more simple inspiration on easy baking, check out my tips on easy chocolate dessert ideas!
Finishing with the Glossy Chocolate Ganache
Once the cheesecake is totally set, it’s time for the grand finale. Heat that small amount of heavy cream until it just starts to simmer—we want it hot! Pour that hot cream right over your chocolate chips sitting in a bowl. Let it sit undisturbed for five minutes. Don’t touch it!
After five minutes, whisk it slowly until it transforms into a smooth, shiny miracle. That’s your ganache! Pour it over the set cheesecake filling and spread it quickly to cover the top completely. Pop it back in the fridge for just 30 minutes so the ganache sets up nicely. If you want to see an example of professional results, you can check out how others make quick, easy desserts like this no-bake chocolate cheesecake.
Tips for the Best Homemade Chocolate Cheesecake Success
You’ve made it this far, and you’re about to have the best homemade chocolate cheesecake ever! When you’re working with the rich ingredients we used—especially chocolate—a couple of little tricks from my test kitchen days make all the difference between “good” and “absolutely unreal.” Don’t skip these notes; they are what separate a decent dessert from one that wins you the party!
If you are looking for other ways to ace creamy sauces and dips, check out my recipe for easy creamy garlic aioli—the principles of temperature control are often the same!
Temperature Control for Smooth Chocolate Cheesecake Filling
When we melted that semi-sweet chocolate for the filling, this step is vital: you CANNOT pour hot chocolate into the cream cheese mixture. I mean it! If that chocolate is too hot when you add it, the heat will shock the cream cheese, and you’ll end up with little gritty clumps instead of that smooth, velvety cheesecake filling we worked so hard to create.
My standard check is touching the outside of the bowl where the melted chocolate sits; it should feel warm, not hot, to the touch, almost like warm bath water. Cool it down slightly *before* adding it to the cream cheese. That simple patience prevents curdling!
Variations for Your Chocolate Cheesecake
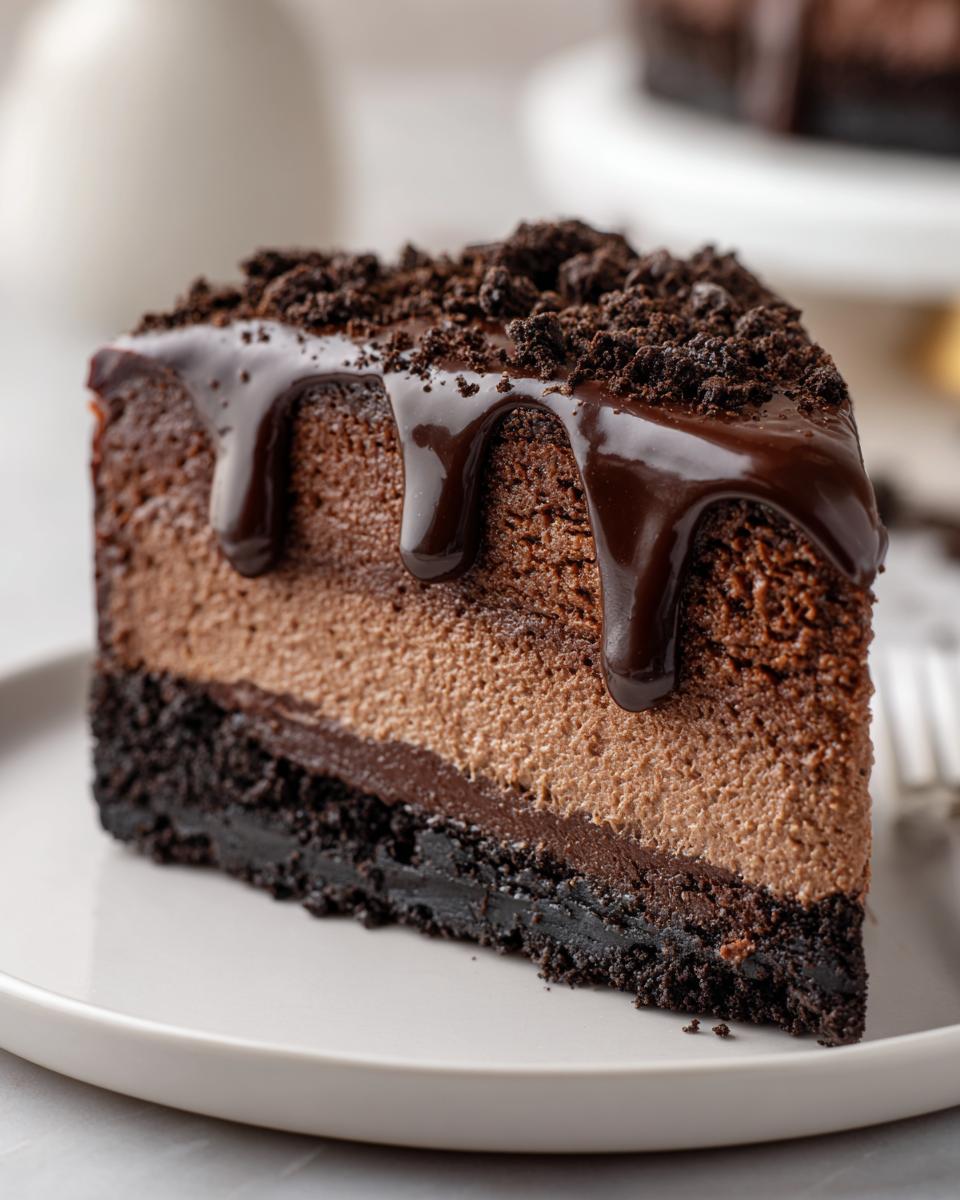
Since this recipe is already so gloriously dark and rich, we can easily elevate it further for an extra special occasion, turning it into that decadent triple chocolate cheesecake everyone talks about. You already have the dark layer in the filling and the semi-sweet in the ganache!
The easiest way to make it *triple* is once the dark ganache sets up a bit (maybe 15 or 20 minutes after pouring), you can melt down some white chocolate chips separately. Warm up just a splash of cream for thinning the white chocolate, then drizzle it artfully back and forth over the top. It looks stunning and gives you that final layer of flavor!
Serving Suggestions for Your Decadent Chocolate Dessert
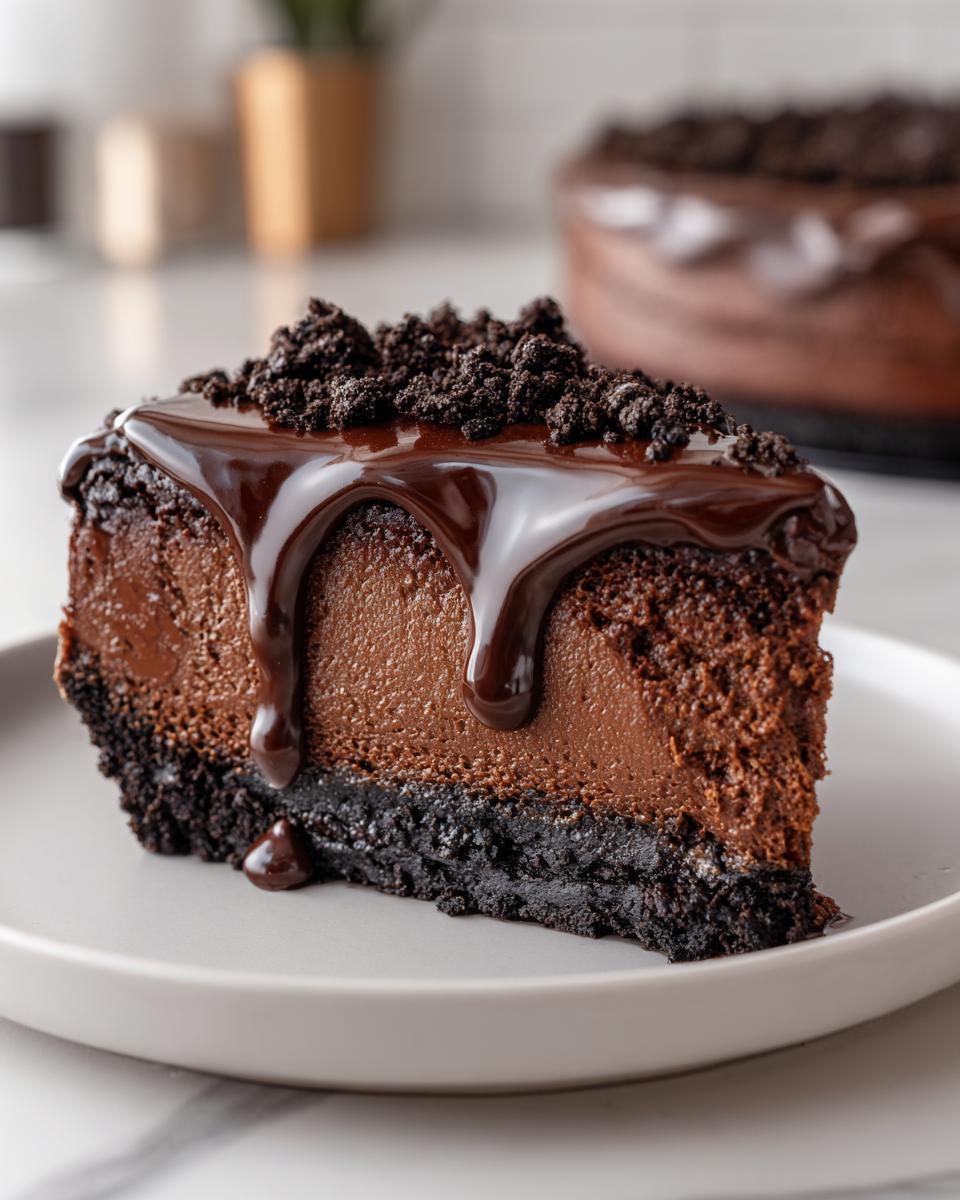
So, your Ultimate No-Bake Triple Chocolate Cheesecake is set, the ganache is glossy, and now it’s time to make it the star of the show! Since this is such an intense and indulgent chocolate treat, presentation actually matters a lot. You want to make sure that rich flavor profile gets the spotlight it deserves when you serve it up.
If you’re planning a party or a holiday gathering, presentation is key. I find that the simplest garnishes work the best because they don’t fight with that deep chocolate flavor. For example, a little dusting of high-quality cocoa powder just before serving really highlights the texture difference between the filling and the topping.
For pairing, think about drinks that can cut through the richness. A strong black coffee or a bold espresso is amazing. If you’re serving a boozy option, something creamy or complementary works best. My recipe for creamy Coquito is actually fantastic served alongside a slice because the coconut brightens everything up!
Here are a few quick ideas for plating:
- Fresh Berries: A small scattering of bright red raspberries or sliced strawberries adds color and a needed bit of tartness to balance the sweetness.
- Chocolate Shavings: Use a vegetable peeler on a nice bar of dark chocolate to create big, delicate curls. Pile them right in the center.
- Simple Dusting: The classic, easy approach. Use a small sieve to lightly dust the entire top surface with powdered sugar or extra cocoa powder.
When slicing, remember the hot knife trick—it instantly makes those perfect, clean wedge shapes!
Storage and Reheating Instructions for Chocolate Cheesecake
Since this rich chocolate cheesecake is a no-bake wonder, keeping it fresh is actually really simple, but temperature matters a lot. We want to protect that gorgeous, airy texture we worked for by ensuring we don’t leave it sitting out on the counter for too long.
The good news is that this recipe is actually even better the next day! The flavors of the chocolate, cocoa, and Oreo crust really meld together beautifully overnight, making it the perfect candidate for making ahead of time for parties.
If you need storage tips, check out how I make my easy raspberry jam—a lot of the same rules about sealing and keeping moisture out apply here!
Here is what you need to know:
- Refrigeration is Key: Because of all that cream cheese and heavy cream, this needs to stay chilled. Once the ganache is set (which takes about 30 minutes after pouring), cover the springform pan tightly with plastic wrap or foil. Make sure the plastic isn’t touching the ganache directly, or it will stick!
- How Long It Lasts: This chocolate cheesecake stays wonderfully fresh in the refrigerator for up to 4 or 5 days. Seriously, if you don’t eat it all faster than that!
- Serving Freshly Chilled: Always let the entire cheesecake sit at room temperature for about 15 to 20 minutes before slicing. This takes the intense chill off the outer layer, ensuring you get the best texture from the filling and the ganache when you cut into it.
- Freezing (A Little Tricky): While you *can* freeze it, I generally don’t recommend it because the texture of the cream cheese filling can get a little grainy upon thawing. If you must freeze, do it *before* you add the ganache topping. Wrap the bare cheesecake tightly in plastic wrap, then foil, and freeze for up to a month. Thaw it overnight in the fridge before adding the ganache and serving.
No reheating needed for this beauty, since it’s never been baked! Just keep it cold and serve it cool.
Frequently Asked Questions About This Easy Chocolate Cheesecake Recipe
When you bake with this much chocolate, questions are bound to pop up! I totally get it. Because I developed this recipe to be foolproof and incredibly easy, most questions revolve around technique or texture. I want you to feel totally confident when you make this dessert for your next gathering.
For those looking into different recipe types, I also have a section on protein cheesecake recipes if you’re trying to balance out all this deliciousness!
Can I bake this chocolate cheesecake instead of making it no-bake?
That’s a great question! While this recipe is specifically drafted to be an easy chocolate cheesecake that skips the oven completely, I did mention in the notes that you *can* bake it if you prefer a baked chocolate cheesecake. If you go that route, you need a water bath, and baking time is usually around an hour at 325°F. But honestly, the entire beauty of this recipe is its simplicity and the guaranteed creamy chocolate cheesecake texture you get from choosing no-bake!
How long does this creamy chocolate cheesecake need to set?
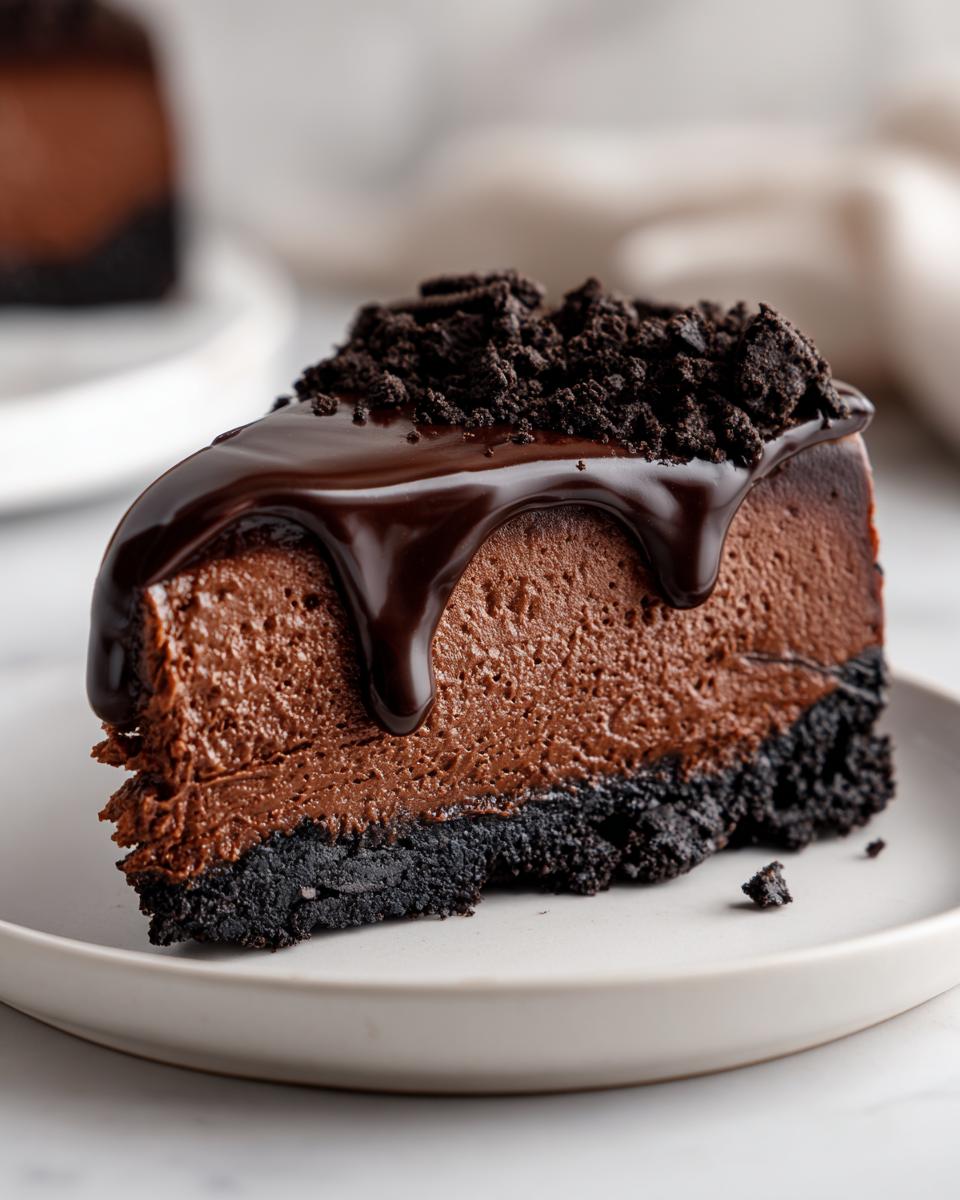
This is my biggest rule for success here! You absolutely cannot rush the set time for this creamy chocolate cheesecake. The minimum time you should leave it in the fridge is 6 hours. However, if you can wait until the next day? Even better! That extra time allows the fat from the cream cheese and the chocolate to solidify completely, resulting in that luxurious, sliceable texture you see in the photos. Seriously, patience is the secret ingredient here.
What is the best way to get clean slices of chocolate cheesecake?
Oh, those perfect slices! If you try to cut this rich dessert while it’s ice-cold from the fridge, your knife will drag and smear that beautiful ganache. To get beautiful, bakery-quality slices every time, use a long, thin, sharp knife—a chef’s knife works well.
Here’s the trick: Fill a tall glass with very hot water. Dip the knife completely into the hot water for about 10 seconds, then quickly wipe the blade completely dry with a clean towel. Make one clean slice into the cheesecake. Before you make the next cut, repeat the hot water dip and dry process. It sounds like extra work, but it keeps the blade slick and warm so it glides right through the crust and the creamy filling without any resistance. It makes all the difference for presentation!
Nutritional Estimates for This Indulgent Chocolate Treat
I know, I know! When you make a decadent chocolate dessert like this, you usually aren’t thinking about spreadsheets and numbers, but since I started out in nutrition, I always like to give you the full picture. Transparency is important, and I want you to feel good about enjoying your slice of the Ultimate No-Bake Triple Chocolate Cheesecake!
Keep in mind that these numbers are just estimates for one serving size. The actual values can shift based on the exact brands of Oreos or chocolate you end up using. But this gives you a solid ballpark idea of what you’re diving into!
If you are looking for ways to balance out those rich desserts with fresh meals during the week, feel free to check out some of my ideas for healthy lunch ideas!
For one generous slice of this rich chocolate cheesecake, here is the breakdown:
- Serving Size: 1 slice
- Calories: 450
- Sugar: 35g
- Fat: 32g (with 18g being saturated fat)
- Protein: 7g
- Carbohydrates: 38g
- Cholesterol: 95mg
There you have it! It’s definitely an indulgent treat, but that’s what desserts are for, right? Remember, these estimates are based on the recipe as written, so enjoy knowing exactly what goes into your perfect slice of chocolate cheesecake goodness.
Share Your Homemade Chocolate Cheesecake Experience
And just like that, we’ve made the most heavenly, zero-stress Ultimate No-Bake Triple Chocolate Cheesecake! I truly hope you loved making this as much as I love sharing it with you. This recipe, my friends, is all about bringing connection and comfort to your table, just like those meals I grew up making.
Now comes my favorite part: hearing from you! Did you make it for a holiday gathering? Did you try the white chocolate drizzle variation? I want to know all about it. Whether you’re a seasoned baker or this is your very first time tackling a rich chocolate cheesecake, your feedback helps build our community here.
Please take a moment after you’ve enjoyed your first slice—maybe with a hot coffee—and leave me a rating and a comment down below telling me how it turned out. Seriously, nothing makes me happier than seeing photos of your successful, homemade chocolate cheesecake creations!
If you want to know more about my journey from that little kitchen stool to developing foolproof recipes like this one, you can always read more about me on the About Page. Happy baking (or, well, no-baking!)!
PrintUltimate No-Bake Triple Chocolate Cheesecake with Oreo Crust
Make this rich, creamy, and decadent no-bake chocolate cheesecake. It features a simple Oreo crust, a velvety chocolate filling, and a glossy chocolate ganache topping for an easy, impressive dessert.
- Prep Time: 25 min
- Cook Time: 0 min
- Total Time: 6 hours 25 min
- Yield: 10 servings 1x
- Category: Dessert
- Method: No-Bake
- Cuisine: American
- Diet: Vegetarian
Ingredients
- 24 Oreo cookies
- 6 tablespoons unsalted butter, melted
- 16 ounces cream cheese, softened
- 1 cup granulated sugar
- 1/2 cup unsweetened cocoa powder
- 8 ounces semi-sweet chocolate, melted and cooled slightly
- 1 teaspoon vanilla extract
- 1/4 teaspoon salt
- 1 1/2 cups heavy whipping cream, cold
- 1 cup semi-sweet chocolate chips (for ganache)
- 1/2 cup heavy whipping cream (for ganache)
Instructions
- Prepare the crust: Place the Oreo cookies in a food processor and pulse until fine crumbs form. Mix the crumbs with the melted butter until combined. Press the mixture firmly into the bottom of a 9-inch springform pan. Chill the crust for 30 minutes while you prepare the filling.
- Make the filling: In a large bowl, beat the softened cream cheese, granulated sugar, and cocoa powder with an electric mixer until smooth. Scrape down the sides of the bowl.
- Beat in the melted and cooled semi-sweet chocolate, vanilla extract, and salt until just combined. Do not overmix.
- In a separate, clean bowl, whip the 1 1/2 cups of cold heavy whipping cream until stiff peaks form. Gently fold the whipped cream into the chocolate cream cheese mixture until no streaks remain. This creates the velvety cheesecake filling.
- Pour the filling over the chilled Oreo crust and spread it evenly. Cover the pan loosely with plastic wrap and refrigerate for at least 6 hours, or preferably overnight, until firm. This is the key to a creamy texture.
- Prepare the ganache topping: Place the 1 cup of chocolate chips in a heatproof bowl. Heat the 1/2 cup of heavy whipping cream in a small saucepan until it just begins to simmer. Pour the hot cream over the chocolate chips. Let it sit for 5 minutes, then whisk until smooth and glossy.
- Pour the chocolate ganache over the set cheesecake. Spread it evenly. Return the cheesecake to the refrigerator for another 30 minutes to allow the ganache to set slightly.
- When ready to serve, carefully release the springform side. Slice and serve this indulgent chocolate treat.
Notes
- For a triple chocolate effect, you can drizzle melted white chocolate over the dark ganache before it sets.
- If you prefer a baked chocolate cheesecake, you must use a water bath and bake at 325°F for about 60-70 minutes. This recipe focuses on the easy, no-bake method.
- Ensure your melted chocolate is not hot when adding it to the cream cheese mixture, or it may cause the filling to curdle.
Nutrition
- Serving Size: 1 slice
- Calories: 450
- Sugar: 35
- Sodium: 250
- Fat: 32
- Saturated Fat: 18
- Unsaturated Fat: 14
- Trans Fat: 0.5
- Carbohydrates: 38
- Fiber: 2
- Protein: 7
- Cholesterol: 95