

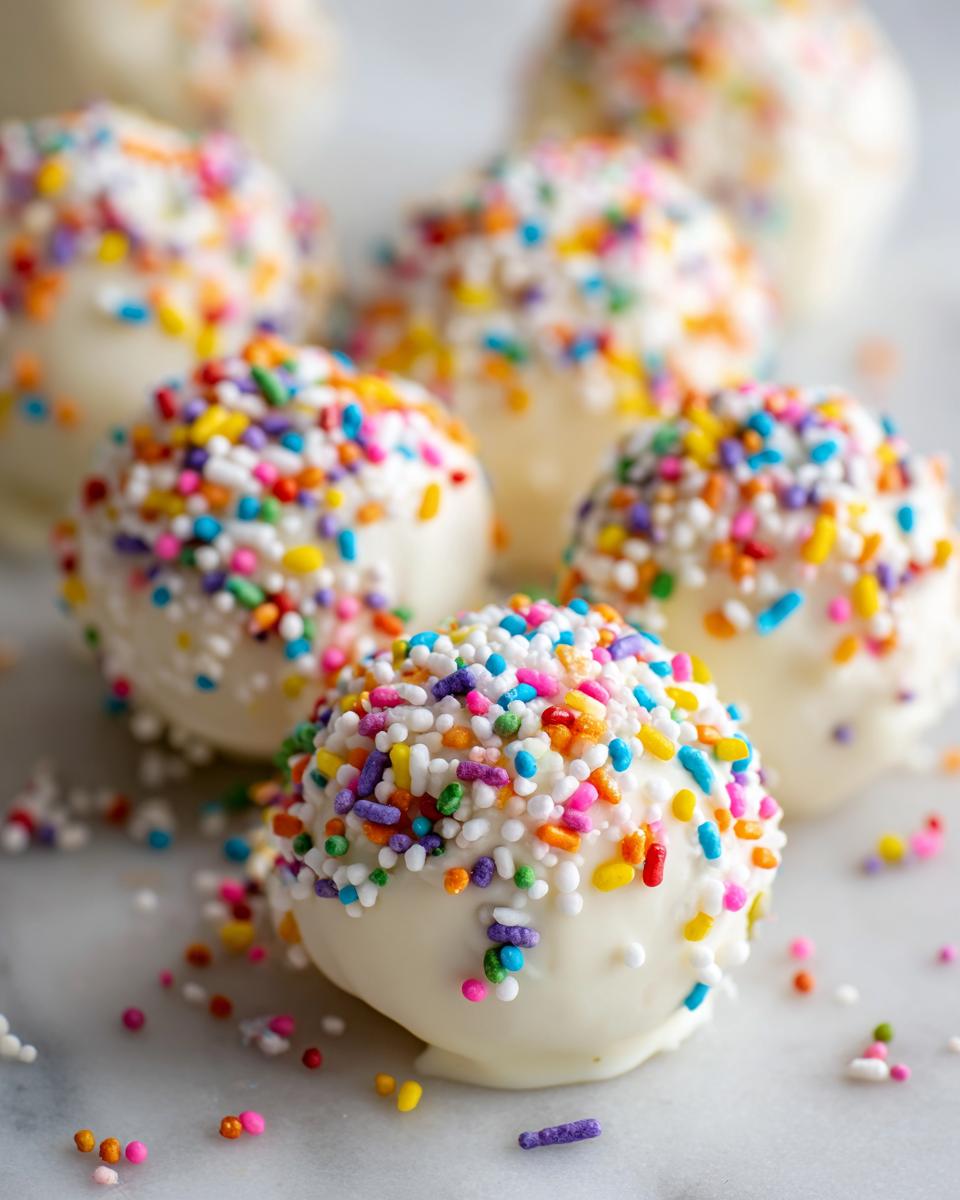
If you’re anything like me, you need that one show-stopping dessert that looks like you spent hours on it, but secretly requires zero oven time. That’s where my absolute favorite creation comes in: the sugar cookie truffles. Seriously, these are magic! They start with store-bought cookies, which means we skip all the fuss—no cooling sheets, no complicated baking times. My time in the test kitchen taught me that the best recipes are often the simplest ones when you nail the ratios, and these truffles are proof. They are creamy, completely decadent, and the ultimate no-bake dessert for when company shows up unexpectedly or you just need a sweet little bite of perfection. If you love quick fixes, you’ll want to check out my guide for easy weeknight dinners too!
- Why You Will Make These Sugar Cookie Truffles Again and Again
- Essential Ingredients for Perfect Sugar Cookie Truffles
- Step-by-Step Guide to Making No Bake Sugar Cookie Truffles
- Tips for Perfect Sugar Cookie Truffles Every Time
- Festive Variations for Your Sugar Cookie Truffles
- Serving Suggestions for These Bite Sized Sweets
- Storage and Make Ahead Tips for Sugar Cookie Truffles
- Frequently Asked Questions About Sugar Cookie Truffles
- Understanding the Nutrition in Your Sugar Cookie Truffles
Why You Will Make These Sugar Cookie Truffles Again and Again
Honestly, these little gems are addictive because they tick every single busy-baker box. When I first tested this template, I knew immediately this was going into my permanent rotation. They deliver huge flavor for tiny effort. You need these in your life, trust me!
- They are completely no bake dessert recipes, which means no sweating near a hot oven, especially during the summer holidays.
- You only need four main ingredients! That’s right—four! It doesn’t get much more accessible than that for a gourmet cookie ball experience.
- They come together faster than most batch cookies. You mix, roll, chill, and dip. It’s straightforward, even if you’re nervous about dipping things in chocolate.
- The texture—oh my goodness—it’s that perfect, dense, creamy center that truly melts in your mouth. It’s pure decadence.
- These make the absolute best make ahead desserts. The longer they sit in the fridge (after dipping, of course!), the firmer and better they get.
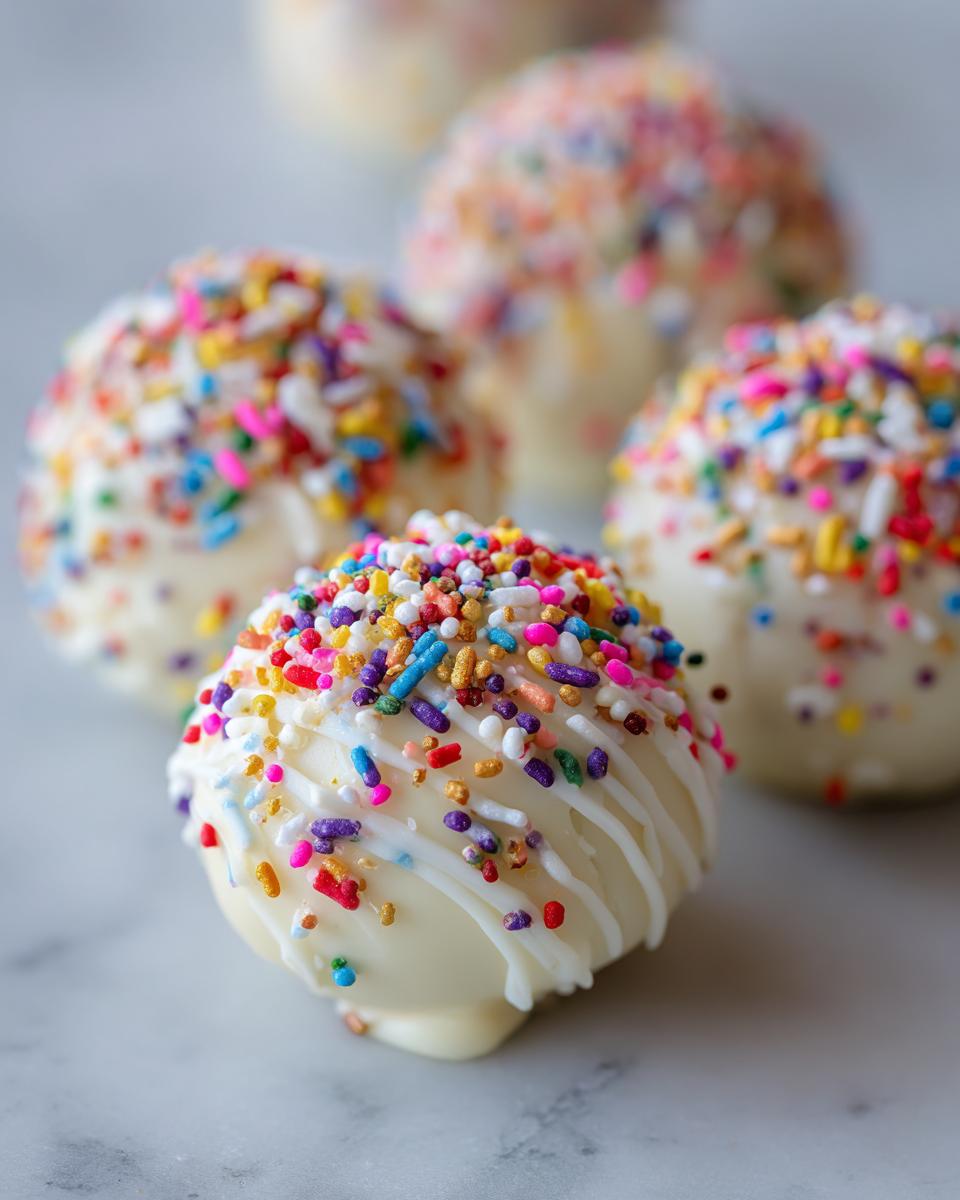
- They look stunning! A perfectly dipped truffle covered in bright sprinkles makes any dessert tray look professionally catered.
Essential Ingredients for Perfect Sugar Cookie Truffles
When I call this recipe simple, I mean it! This list is short and sweet, focusing on components that give us maximum flavor without requiring us to turn on the oven. If you are looking for easy make ahead desserts, this ingredient lineup is your secret weapon. We are relying on store-bought cookies here because, frankly, who has time to bake and cool cookies before crushing them? Not me, when I can get this done in under 30 minutes of active time!
Here’s exactly what you’ll need to whip up a batch of these incredible cream cheese desserts:
- One whole 16-ounce package of those wonderfully soft sugar cookies. If you can find the pre-frosted, thick ones—like the Lofthouse style—even better! They give the creamiest filling.
- 4 ounces of cream cheese. And listen up, this *must* be softened. If it’s cold, you’ll end up with lumps in your truffle dough, and nobody wants that stress.
- 12 ounces of white chocolate melting wafers, sometimes called white candy coating. These are your best friend for dipping because they set up beautifully.
- About 1 tablespoon of vegetable shortening—this is totally optional, but I almost always throw it in the chocolate when melting. It helps thin the coating just enough so it doesn’t crack when you bite into it.
- A handful of assorted sprinkles because every good truffle needs a little sparkle!
Ingredient Notes and Substitutions for Your Sugar Cookie Truffles
Expert advice time! Pay close attention to the cookies you grab. I absolutely love using those Lofthouse-style cookies because they are already tender and sweet, which makes the resulting sugar cookie truffles incredibly soft. If you use a firmer, flatter sugar cookie, your dough might be a little drier, so you might need an extra teaspoon of cream cheese to bring it together. Don’t be afraid to use your hands and feel for that perfect, play-dough-like consistency. For even more sweet inspiration, check out these other easy make ahead desserts on the site!
Now, about that coating. While the white chocolate wafers are perfect for getting those professional-looking white chocolate covered treats, you can absolutely use milk or dark chocolate melting wafers if that’s what you prefer. Just remember the shortening trick works wonders with any type of melting wafer to keep it smooth.
Step-by-Step Guide to Making No Bake Sugar Cookie Truffles
Okay, this is where the fun really starts! Making easy truffle recipes like this requires zero anxiety. Because we aren’t baking, the steps go by incredibly fast. Just follow along, and you’ll have stunning sugar cookie truffles before you know it. The entire process flows beautifully if you tackle it in three main phases: making the dough, chilling, and then the final, gorgeous dip!
Creating the Creamy Truffle Filling
First things first, those cookies need to be crumbs! Easiest way is tossing them in a food processor, but if you don’t want to pull that out, just put them in a sturdy Ziploc bag and smash them with a rolling pin—it’s actually quite therapeutic! Once you have fine crumbs, toss in your softened cream cheese. Now, this is where I always tell people to ditch the spoon and use your hands. You have to really work that cream cheese in until there are no dry spots left and you have a uniform, slightly sticky dough. Don’t rush this part; you want everything blended perfectly before you move on.
Chilling and Rolling Your Sugar Cookie Truffles
Once the dough feels right, it’s time to roll! Grab a small scoop or use a teaspoon to measure out uniform portions. I usually aim for about one inch across—small enough for a perfect bite, but big enough to hold up to dipping. You should get around 28 of those wonderful little balls. This next step is non-negotiable: get them onto parchment paper and into the fridge for at least 30 minutes. Chilling is essential; if they are too soft when you drop them into the chocolate, they’ll crumble, and that’s a disaster!
Mastering the Chocolate Dipping Technique for White Chocolate Covered Treats
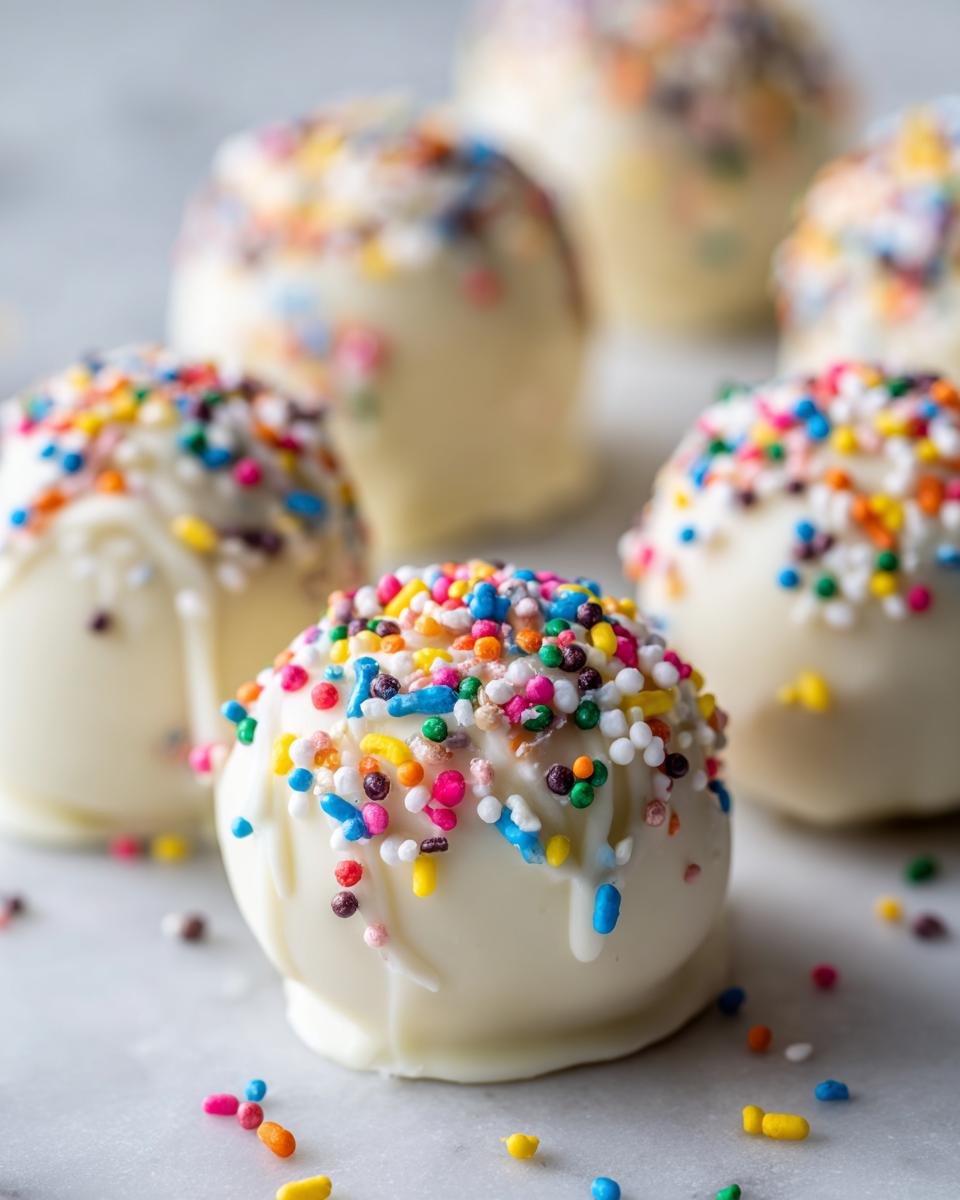
While they’re chilling, melt your white chocolate wafers. I use 30-second bursts in the microwave, stirring thoroughly between each one. Remember that optional shortening? Stir that in now if you’re using it—it makes the melted chocolate silky smooth. Once smooth, drop one cold truffle in at a time. Use a fork to roll it around until it’s fully coated. Lift it out, gently tap the side of the bowl to let the excess drip—this prevents those big pools of chocolate at the base. Place it back on the parchment and immediately dust with your sprinkles before the coating sets. They’ll be hard in about 15 minutes on the counter, or even faster in the fridge!
Tips for Perfect Sugar Cookie Truffles Every Time
Even though this recipe is designed to be foolproof—seriously, you can’t mess up cookie dough truffles this easily—there are a few little secrets I picked up over my test kitchen days to ensure they look store-bought perfect.
If you follow these habits, you’ll stop worrying about cracked shells or dough that won’t firm up. These little tricks turn a good batch into a wow-worthy batch of sugar cookie truffles.
- Don’t Skip the Chill! I cannot stress this enough: the 30-minute chill time for the rolled balls is crucial. If the filling is even slightly warm or soft when it hits the melted chocolate, the temperature shock will cause the coating to seize or crack as it cools. Think of the fridge time as setting the foundation for a beautiful coat.
- The Temperature Game for Dipping. When you melt your chocolate wafers, you want them smooth, but you don’t want them scalding hot. If the melted chocolate is too hot, it can actually start melting the cream cheese binder in the chilled ball, making the truffle fall apart on your fork. Let the chocolate cool for just a minute or two after it’s perfectly melted before dipping.
- Use Enough Coating. When you’re dipping, you need enough melted chocolate so you can completely submerge the ball easily. If you’re struggling to cover the whole thing without scraping the bottom of the bowl, microwave your chocolate for another 15 seconds. A proper coating means a cleaner final product. You can read more tips on getting beautiful coatings over at this recipe for inspiration!
- The Tap is as Important as the Dip. When you lift that chocolate-covered ball out of the bowl, don’t just pull it straight up. Hold it over the bowl for a second, then gently tap the handle of the fork against the side of the bowl. This vibration helps release those extra drips. Those extra drips are what cause the ugly chocolate ‘foot’ or puddle at the bottom—and we want sleek candies, not puddles!
- Handle the Dough Gently. When rolling the mixture, use light pressure. You aren’t kneading bread; you are just persuading the mixture into a ball shape. Too much pressure warms the dough up too fast, making it sticky and harder to coat nicely.
Festive Variations for Your Sugar Cookie Truffles
You know I love sticking to the classic ingredients, but these sugar cookie truffles are built for customization! Since the center is basically a sweet, sturdy dough, it’s just waiting for you to get creative with the coating and toppings. If you’re making these for a specific holiday or just want to jazz them up beyond the rainbow sprinkles, you have so many fun options. These are such great base recipes that you can truly tailor them to any party theme.
This is where you transform a simple no bake dessert into something truly personalized and gourmet by thinking about color and texture.
Let’s talk about changing up that primary white chocolate coating first. That’s where you can make the biggest visual impact for your festive dessert bites!
- Swap the Coating Color: Instead of using white wafers, grab some colored candy melts! Pink melts for Valentine’s Day, bright green or red for Christmas, or even pastel colors for Easter. Just melt them exactly as you would the white chocolate, and go to town. Remember, if you do use food coloring, make sure it’s an oil-based candy color, or it will make your melts seize up—we learned that the hard way in the test kitchen!
- Go Dark or Milk: Swapping white chocolate for milk or dark chocolate wafers is an obvious, delicious change. The richer chocolate pairs beautifully with that sweet, buttery cookie center. This gives you a less sweet, more intensely chocolatey truffle.
- Toppings Beyond Sprinkles: Sprinkles are fun, but sometimes we want more texture! Try dipping the wet truffle balls into something crunchy immediately after removing them from the chocolate. Crushed graham crackers or finely chopped pecans look amazing, especially if you use a dark chocolate coating. For a super elegant look, try dipping half the truffle in white chocolate and letting that set, then dipping the other half in dark chocolate—it creates a lovely, sophisticated two-tone effect.
- A Dusting Finish: If dipping feels like too much work, you can chill the dough balls really well after rolling, and then dust them with powdered sugar or even finely sifted cocoa powder once they are completely firm. This gives you a truffle that looks a bit like a decadent, tiny rum ball. It’s an easy trick for gorgeous easy truffle recipes.

Serving Suggestions for These Bite Sized Sweets
Since these sugar cookie truffles are so tiny and elegant, presentation is really half the fun! They’re incredibly versatile, which is why they land on my list of favorite quick party food ideas. They look impressive placed strategically, but they take exactly zero effort to arrange.
You absolutely don’t need fancy platters to make them shine. A simple white plate, or even a rustic wooden board, really lets the colors of the sprinkles pop against that smooth candy coating. Think about what you’re serving them with!
- The Coffee Pairing: Because they are so sweet and rich, they are absolutely divine alongside a cup of freshly brewed coffee or a strong espresso. They provide that perfect sugary counterpoint without needing a huge slice of cake after dinner.
- Building a Dessert Charcuterie Board: Seriously, try this! Instead of just loading up a plate with one thing, mix these truffles in with some fresh raspberries, maybe some chocolate-covered pretzels, and a few gourmet crackers. The variety makes the whole spread look abundant and appealing. They fill those little gaps beautifully.
- Individual Wraps for Gifting: If you’re taking these to a neighbor or friend, don’t just dump them in a container. Line a small box with festive tissue paper and place each truffle into a tiny paper candy cup—like the ones you use for mini Reese’s. It takes an extra minute, but it turns this no bake dessert into a thoughtful gift!
- Serving Temperature: Make sure they are chilled slightly before serving if possible, or at least served cool from the counter. When they are too warm, that cream cheese center gets a little too soft and might squish when someone picks it up. But don’t chill them so long that the chocolate gets that dull, cloudy look! Room temperature storage after the initial set is usually perfect for parties.
Honestly, these are so good cold out of the fridge, too. If you’re just making them for your own family dessert night, grab a bowl, put the white chocolate covered treats in there, and keep a fork handy. No need for fancy plating when they’re disappearing that fast!
Storage and Make Ahead Tips for Sugar Cookie Truffles
One of the best things about these sugar cookie truffles—besides the fact that they need zero oven time—is that they are fantastic for making way ahead of time! If you’re planning a big holiday party or just hate last-minute baking, this is your recipe. They fall perfectly into the category of easy make ahead desserts because the final dipping and decorating step is really the only thing that ties you to doing it right before serving.
So, where should you keep these beauties before they land on your party platter? That depends mostly on how long you need to keep them, but my go-to is always the fridge after they’ve been coated.
Here’s the rundown on keeping your bite sized sweets tasting fresh:
- Refrigerated Storage: Once the chocolate coating is completely set—and I mean bone dry—transfer your truffles to an airtight container. Make sure they aren’t packed too tightly, or the sprinkles might smudge against each other. Store them in the fridge, and they will stay perfectly firm and delicious for up to a full week. Since they contain cream cheese, keeping them cool is essential for food safety and texture longevity.
- Countertop Shelf Life (Caution!): If you are serving them the same day, or perhaps the next morning, they can sit out on the counter. However, since we used cream cheese in the center, I wouldn’t leave them out for more than about 4 to 6 hours, especially if your kitchen runs warm. If they get too warm, the filling gets soft fast, and those perfectly dipped shells might start sweating or softening.
- Freezing for Long-Term Stashing: Yes! These freeze like a dream, which is fantastic if you are prepping for a huge gathering next month. Place the fully coated and set truffles in a single layer in a freezer-safe container. Put a layer of wax paper between each layer of truffles to prevent sticking. They will keep beautifully for up to two months in the freezer.
When you pull them out of the freezer, don’t just leave them on the counter! Let them thaw slowly in the refrigerator overnight, or for at least 4 hours. This slow thaw prevents condensation from building up on that gorgeous chocolate coating. A little condensation can leave them looking spotty or wet. Planning ahead means you get perfect-looking cream cheese desserts every time you need them!
Frequently Asked Questions About Sugar Cookie Truffles
I know you might still have a few burning questions brewing after reading about the process! That’s totally normal when trying a new, super-easy recipe that seems almost too good to be true. When I was perfecting these, I definitely had my share of hiccups, so let me try to head off any potential road bumps for you! These answers cover everything from ingredients to structure concerning your new favorite cream cheese desserts.
Can I use homemade sugar cookies instead of store-bought ones?
Absolutely! My main goal here is speed, which is why I lean on the store-bought variety for these sugar cookie truffles. But if you have a batch of homemade cookies lying around, go for it! The biggest thing you need to remember is that the cookies must be completely cool—like, room temperature cool, not even slightly warm—before you crush and mix them. If you use a very firm, crisp cookie recipe, you might find the dough a little crumbly without the soft frosting already attached, so just be ready to add an extra teaspoon of cream cheese if needed to bind it up.
Why are my sugar cookie truffles too soft even after chilling?
This almost always comes down to one of two things, and it’s usually related to the binding ingredient. First, did you chill them long enough? They need at least 30 minutes to get firm enough to handle. More often, though, it means you might have added too much cream cheese relative to the amount of cookie crumbs, or your cream cheese wasn’t fully softened to start with. If the dough is too soft *before* rolling, it will stay too soft after dipping. If you find they are still too soft after the first chill, pop them back in for another 30 minutes. If they are still mushy after that, you might need to add just a tablespoon or two of extra crushed cookies to firm up that creamy truffle filling.
Can I use milk or dark chocolate instead of white chocolate wafers?
Yes, you totally can switch up your coating! My go-to is white chocolate because it tastes just like the center of a frosted sugar cookie, making it super seamless. But for richer flavor, milk or dark chocolate melting wafers work wonderfully. Just remember, milk and dark chocolate tend to be a bit thicker than white chocolate when melted. This is where that optional tablespoon of shortening becomes almost mandatory! Adding that little bit of fat helps keep the darker coatings flowing smoothly so you get those perfectly thin, non-cracking shells on your chocolate dipped cookies.
How do I get them perfectly round and uniform?
Consistency is key for both appearance and even coating thickness. I recommend using a small cookie scoop or a measuring spoon—the kind that holds about 1 to 1.5 tablespoons—to portion out the dough before rolling. Roll them between your palms gently; you aren’t trying to compress them tightly, just coax them into a sphere. If you roll them too hard, they warm up and get sticky, which messes up the smooth chocolate coating later. Keep your hands slightly cool, and work quickly!
Understanding the Nutrition in Your Sugar Cookie Truffles
I always get asked about the nutrition side of things, especially since these sugar cookie truffles feel like such a decadent treat! It’s important to me as a recipe developer, given my background in nutrition, to be transparent about what goes into these delicious bites. Remember, this recipe uses store-bought cookies and cream cheese, so these numbers are estimates based on the specific ingredients I listed in the recipe card above. They are just a guideline, but they show that even a satisfying treat can fit into a balanced plan!
When you’re indulging in one of these, here is what you can roughly expect for a single truffle serving. If you happen to make 28 truffles like my recipe suggests, here’s the breakdown:
- Serving Size: 1 truffle
- Calories: 180
- Fat: 11g (with 6g saturated)
- Carbohydrates: 19g
- Sugar: 18g
- Protein: 2g
- Cholesterol: 15mg
See? While they certainly hit the sweet spot with that 18 grams of sugar (hello, white chocolate coating!), they are perfectly portioned as a bite sized sweet indulgence. That’s why having them rolled small is so important; you get that amazing flavor payoff without overdoing it! These are treats meant for celebration, not for snacking like crackers, so enjoy them responsibly, knowing you made them yourself with great simple ingredients!
PrintEasy 4-Ingredient No-Bake Sugar Cookie Truffles

Make these simple, no-bake sugar cookie truffles using crushed sugar cookies, cream cheese, and a smooth chocolate coating. They are rich, bite-sized sweets perfect for parties or quick desserts.
- Prep Time: 20 min
- Cook Time: 5 min
- Total Time: 25 min
- Yield: 28 truffles 1x
- Category: Dessert
- Method: No-Bake
- Cuisine: American
- Diet: Vegetarian
Ingredients
- 1 (16 ounce) package store-bought soft sugar cookies (or Lofthouse style cookies)
- 4 ounces cream cheese, softened
- 12 ounces white chocolate melting wafers (or white candy coating)
- 1 tablespoon vegetable shortening (optional, for smoother melting)
- Assorted sprinkles for decoration
Instructions
- Place the sugar cookies in a large bowl or food processor. Crush the cookies until they form fine crumbs. If using a bowl, use a rolling pin or potato masher.
- Add the softened cream cheese to the cookie crumbs. Mix with a spoon or your hands until the mixture is fully combined and forms a thick, uniform dough.
- Roll the dough into small balls, about 1 inch in diameter. You should get about 24 to 30 truffles. Place the balls on a baking sheet lined with parchment paper.
- Chill the cookie balls in the refrigerator for at least 30 minutes. This step helps them firm up before dipping.
- Melt the white chocolate wafers in a microwave-safe bowl according to package directions. If using shortening, stir it into the melted chocolate now for a thinner consistency. Stir until the chocolate is completely smooth.
- Working with one truffle at a time, drop it into the melted chocolate. Use a fork or a dipping tool to roll the truffle completely in the chocolate. Lift the truffle out, tapping the fork gently against the side of the bowl to let excess chocolate drip off.
- Place the coated truffle back onto the parchment-lined baking sheet. Immediately top with sprinkles before the chocolate sets.
- Allow the chocolate coating to set completely at room temperature, or speed up the process by chilling them for 10 to 15 minutes.
Notes
- If you do not have store-bought sugar cookies, you can bake a batch of your favorite sugar cookie recipe and let them cool completely before crushing them.
- For a different flavor, substitute milk or dark chocolate melting wafers for the white chocolate coating.
- Store leftover sugar cookie truffles in an airtight container in the refrigerator for up to one week.
Nutrition
- Serving Size: 1 truffle
- Calories: 180
- Sugar: 18
- Sodium: 95
- Fat: 11
- Saturated Fat: 6
- Unsaturated Fat: 5
- Trans Fat: 0.1
- Carbohydrates: 19
- Fiber: 0.5
- Protein: 2
- Cholesterol: 15