
Oh, the joy of holiday cookie decorating! There’s nothing better than pulling those perfect cut-out shapes from the oven. But let’s be real—the icing can be a total headache. It either runs everywhere, stays sticky forever, or cracks into a million pieces when you try to stack them for gifting. Seriously, that stress ends right here! I’ve developed this sugar cookie icing recipe after hours in test kitchens to ensure you get the most reliable, foolproof results imaginable. This frosting dries incredibly hard and smooth, giving you that professional, glossy cookie icing finish you see in bakeries. Trust me, Jade Carter has perfected the formula so you can focus purely on the fun part! If you want to use this icing on a big fruit-topped cookie base, check out my fruit pizza sugar cookie recipe for a delicious foundation.
- Why This is the Best Sugar Cookie Icing Recipe for Beginners
- Gathering Ingredients for Your Sugar Cookie Icing Recipe
- Step-by-Step: How to Make Icing for Sugar Cookies
- Tips for Success with Your Smooth Sugar Cookie Glaze
- Storage & Reheating Instructions for This Easy Cookie Icing
- Ingredient Notes and No Corn Syrup Cookie Icing Variations
- Frequently Asked Questions About Sugar Cookie Icing Recipe
- Serving Suggestions for Your Decorated Cookies
- Sharing Your Perfect Cookie Icing for Beginners Results
Why This is the Best Sugar Cookie Icing Recipe for Beginners
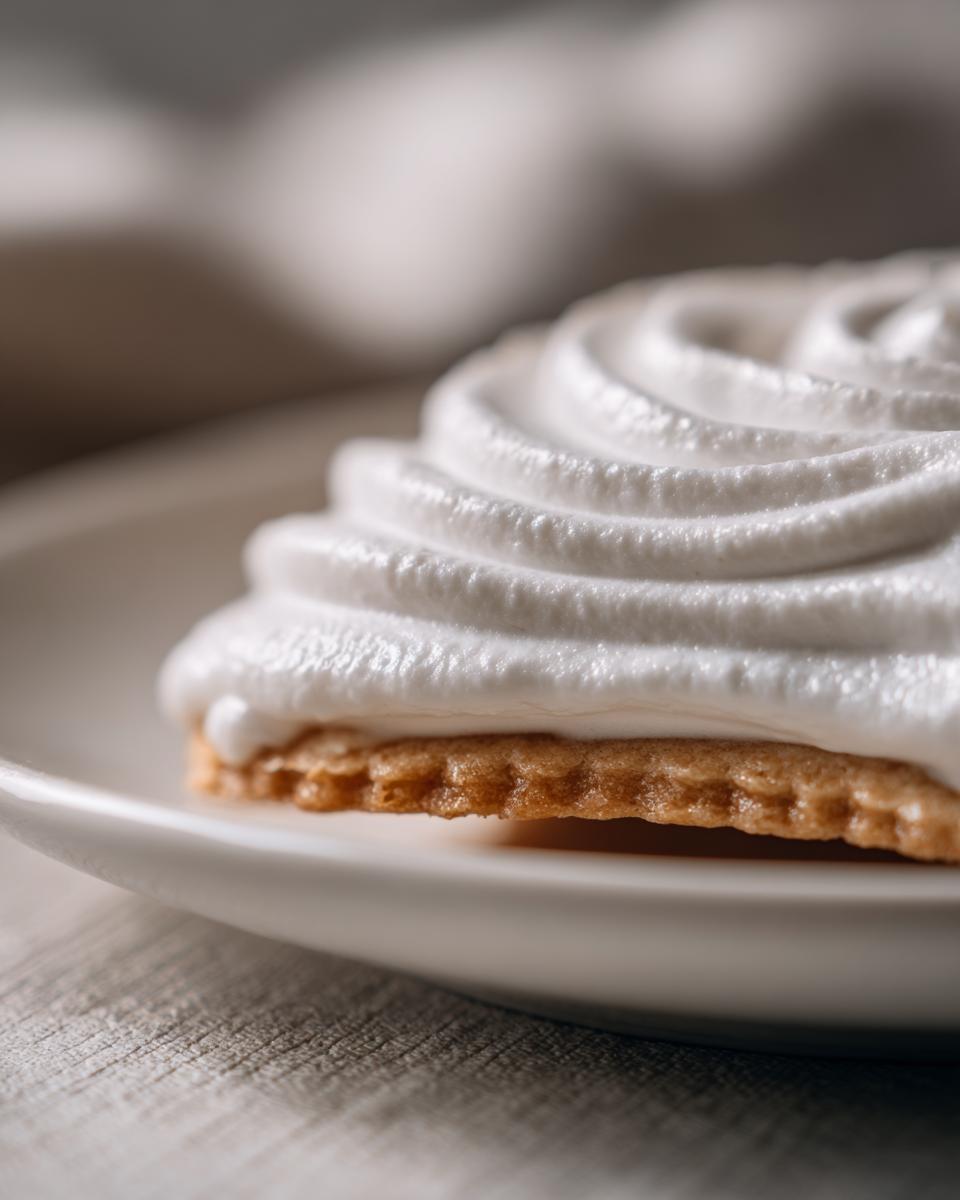
When you’re trying to decorate a huge batch of cookies for the holidays, you don’t need fussy ingredients or complicated steps. You need results! That’s exactly why I call this the perfect cookie icing for beginners. It mixes up fast, and honestly, it’s practically foolproof. It gives you that beautiful, sturdy coating without any drama. If you love my light and airy meringue cookies recipe, you’ll appreciate the science behind this easy cookie icing!
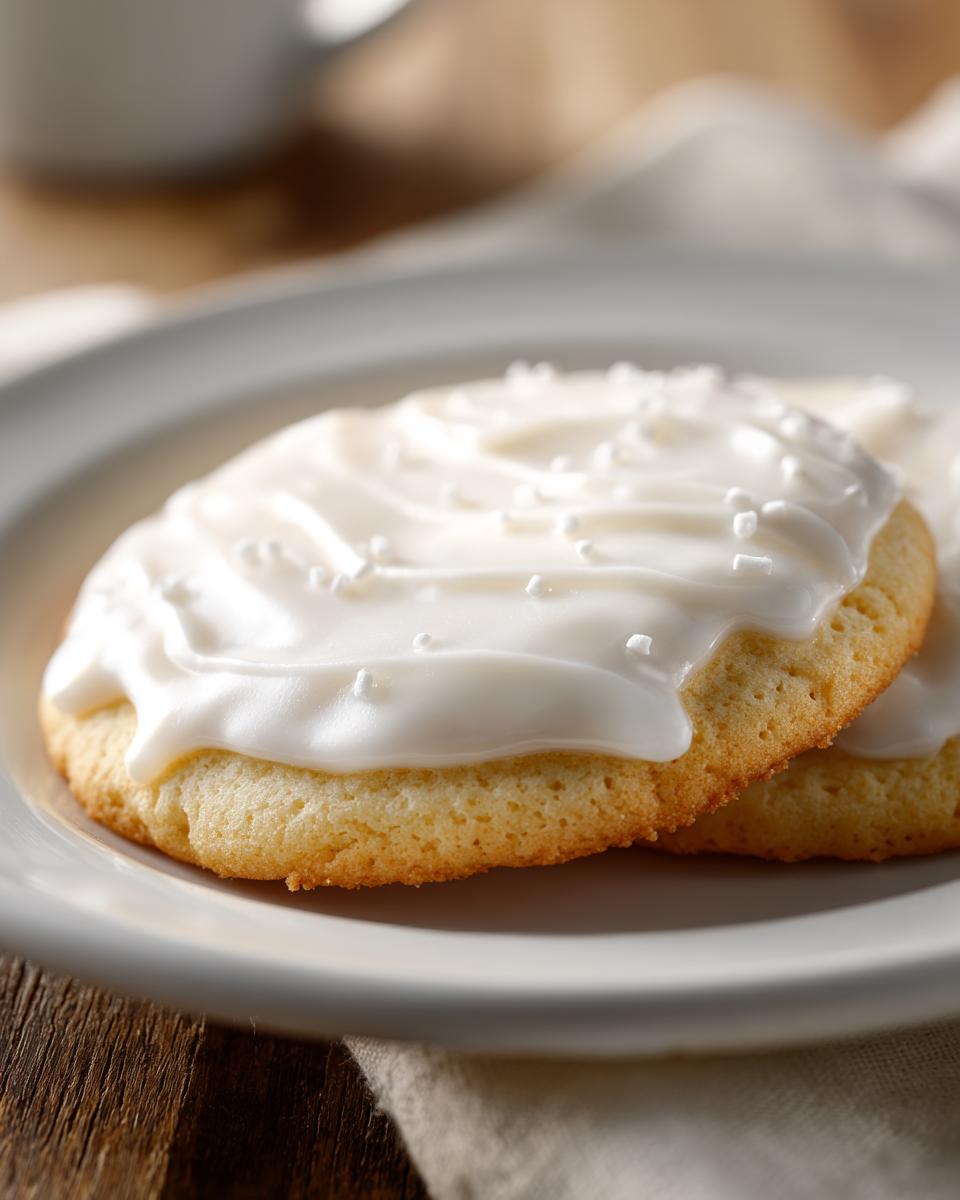
Achieving a Stackable Cookie Icing Finish
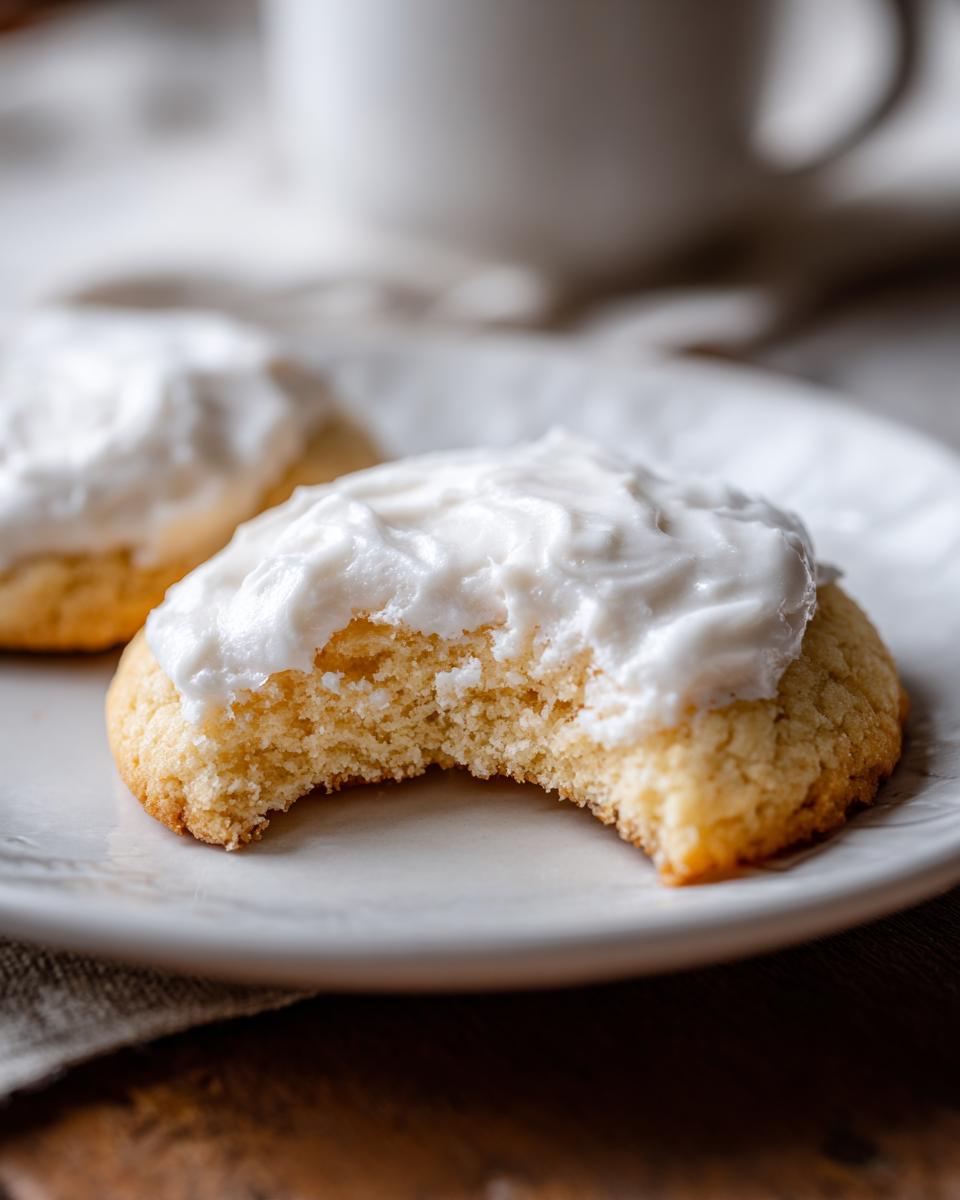
The real game-changer here is the meringue powder. It acts like the scaffolding holding everything up! Unlike standard glazes that might stay a bit tacky, this formula dries completely rock-solid. That means you can decorate your cookies knowing they are truly ready for gifting, shipping, or piling high on your cookie plate. It’s a fantastic royal icing alternative that skips the sometimes tricky egg white step but still delivers the firm seal you need for beautiful, stackable cookie icing.
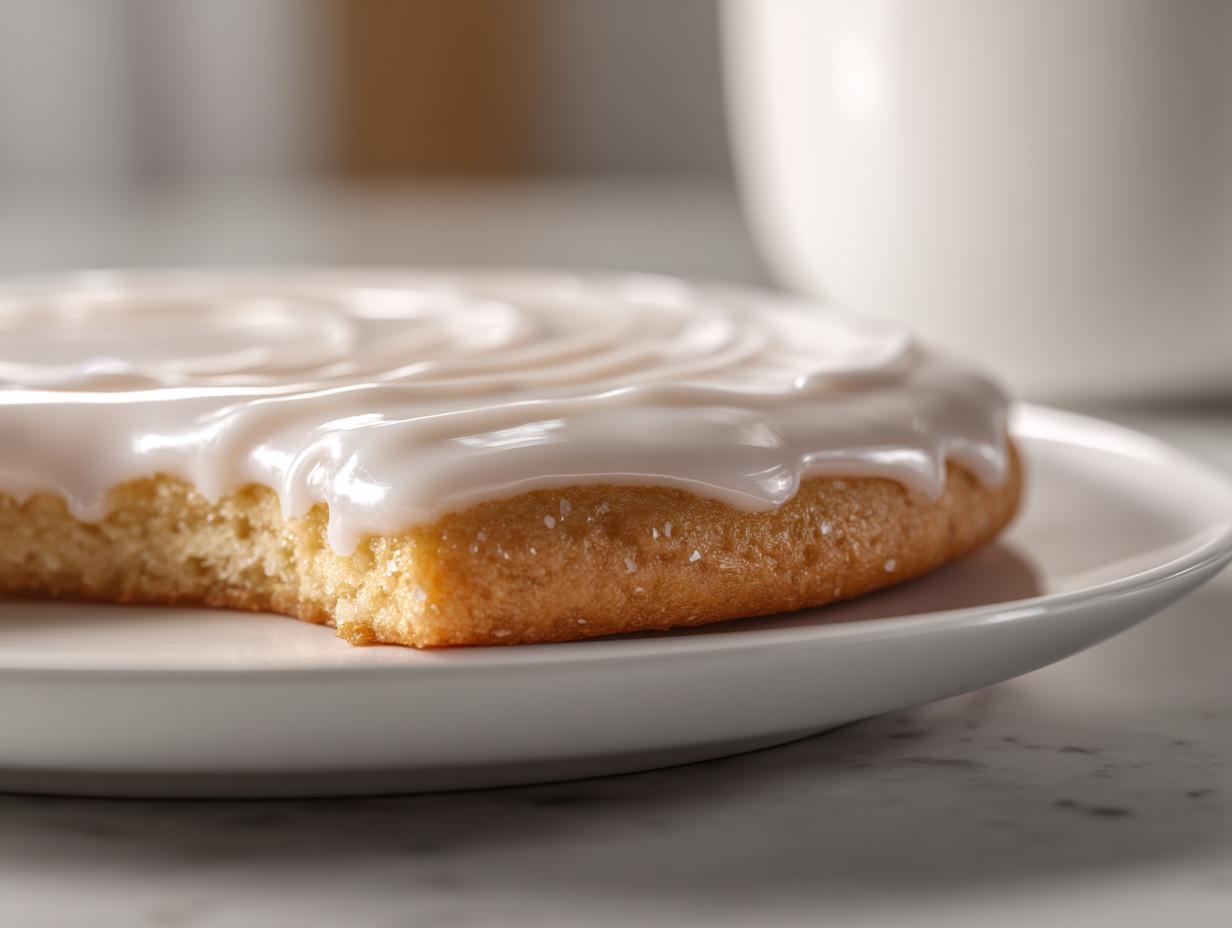
The Secret to a Glossy Cookie Icing Look
Want that showroom shine? It comes from what we do with the mixer! You absolutely have to whip this icing high and fast for a solid five to seven minutes. Don’t peek! That intense whipping incorporates air that sets into the structure. When you pull your mixer out, the icing shouldn’t look dull; it should be dazzling. That high-speed mixing results in that truly glossy cookie icing finish—smooth, professional, and absolutely gorgeous on any cutout shape.
Gathering Ingredients for Your Sugar Cookie Icing Recipe
Getting this simple sugar cookie glaze ready is incredibly quick, which is why I love using it! Remember, precision matters so we can get that perfect hard set. You’ll need four cups of powdered sugar, but please, sift it first to nix any lumps before they get into your beautiful batch. The absolute star here is the meringue powder—we use half a cup! It’s what gives this a stable structure, making it a wonderful royal icing alternative. You’ll also mix in half a cup of warm water, clear vanilla extract, and just a tiny bit of almond extract for flavor depth. Having everything measured and ready before you start the mixer makes the process seamless!
Step-by-Step: How to Make Icing for Sugar Cookies
Now for the fun part—watching this simple base turn into something truly professional! We are going to walk through exactly how to make icing for sugar cookies that behaves perfectly. Remember to have your cookies ready to go because once this icing hits its peak consistency, we need to work quickly! For a deeper dive on technique, take a look at this great guide on hardening icing recipes at this link.
Mixing for the Perfect Consistency
First things first: grab your large bowl and whisk your sifted powdered sugar and meringue powder together really well. We need those dry elements totally integrated before we add any liquid! Now, pour in the warm water, vanilla, and almond extract. Start your electric mixer on the absolute lowest speed. You just want everything to barely combine into a thick, sloppy paste. Stop, scrape down the sides of that bowl—don’t miss the bottom! This is crucial. Then, turn that mixer up to medium-high. You have to whip this for a full five to seven minutes. Seriously, set a timer! You’re looking for that thick, almost unbelievably smooth, and super glossy stage. That extended whipping time is what guarantees that hard, crack-free candy shell we are after.
Adjusting Your Cookie Decorating Icing for Outlining and Flooding
Once that icing is whipped and glossy, it’s likely perfect right now for outlining your cut-out cookies. For outlining, you want it stiff—it should hold its shape neatly on the spoon. If you are working on a batch of beautiful holiday cookies, now is the time to color small sections with your gel tints. When you’re ready to flood the centers? You need thinner icing! Take a spoonful of your outlined icing and drizzle it back into the bowl. Slowly add water, one teaspoon at a time, mixing gently after each addition. When you lift your spoon, the icing should fall back into the bowl and disappear into itself in about 10 seconds flat. That’s the perfect consistency for that smooth center fill! This detail is everything when you are trying to achieve beautiful cookie decorating icing.
Tips for Success with Your Smooth Sugar Cookie Glaze
So, you’ve got your beautiful, glossy base for your smooth sugar cookie glaze—now let’s keep it perfect while you decorate! My best advice, which I learned the hard way, is to stick strictly to gel food coloring. Please, skip the regular liquid drops! Liquid coloring adds too much moisture, and that extra wetness can absolutely ruin the structure we worked so hard to build with that whipping time. Gel colors are concentrated, so a tiny toothpick dip gives you vibrant color without compromising the drying power.
If you find your icing starts looking dull or stiff while you’re taking a break between outlining and flooding, don’t panic. If it’s too thick, just stir in a few drops of water; really only a few! If you accidentally thinned it out too much while you were working on a different batch, just whisk in a tablespoon of powdered sugar until it firms back up. This recipe is super forgiving if you know how to talk to it. For tips on making a lovely, stable frosting for other uses, you might want to see my vanilla buttercream recipe, though remember this glaze is designed to dry hard!
Coloring and Storing Leftover Icing That Hardens
When you’re dividing up your batch for different colors, work quickly, especially if your kitchen is warm—humidity is the enemy of the hard-setting icing! Remember, this is icing that hardens, so it will get crusty if left open. If you need to store any remaining colored icing, cover it tightly. You can keep it airtight at room temperature for the rest of the day, but if you’re putting it away longer, pop it in the fridge in an airtight container. When you bring it out the next day, be prepared to revive it by stirring in just a few drops of water until it loosens; it might need a quick hand whisk to look glossy again before dipping back into your decorating work. For more reliable hardening ideas, check out the guidance over at Charm Recipes.
Storage & Reheating Instructions for This Easy Cookie Icing
One of the best parts about this easy cookie icing is that you can absolutely work ahead, or save any leftovers, because trust me, you’ll want extra for next time!
If you finish decorating for the day but still have some bowls of colored icing sitting out, treating them right is important. You need to seal them really well. I always use plastic wrap pressed directly onto the surface of the icing, then I cover the whole bowl with a tight lid or more wrap. This stops air from getting in and making that crusty top layer form. If you plan to use it the next day, the refrigerator is fine, but make sure that container is completely sealed up tight!
When you pull it out the next morning to use it for your next batch of sugar cookies, don’t worry if it looks totally stiff and unusable—that’s normal! This is where reviving it comes in. I start by taking it out about an hour before I plan to decorate. Then, you will slowly add water, just a drop or two at a time. Mix it gently with a fork or a small spoon until it starts to look loose again. If it seems a little dull after stirring, a quick, very short blast with the electric mixer on low speed—just 15 seconds!—will bring that beautiful, glossy shine right back. Easy peasy, and no need to whip up a whole new bowl!
Ingredient Notes and No Corn Syrup Cookie Icing Variations
I know so many people are actively trying to avoid corn syrup these days, and I totally get it! Maybe you didn’t have any on hand, or maybe you just prefer ingredients you recognize. The fantastic news is that you don’t need it for this formula at all! Because we are relying on meringue powder here, this is an excellent, stable no corn syrup cookie icing option. The structure comes entirely from the powdered sugar and the setting powder, which is awesome for our purposes.
When it comes to flavor extracts, that clear vanilla and almond combo is my go-to because they don’t muddy the white color of the icing, which is super important for that clean, professional look we are aiming for. However, you can absolutely play around with those flavors to match whatever cookie flavor you’re making. If you’re decorating a citrusy cookie, why not swap out that almond extract for lemon? Just a small dash makes a huge difference!
For instance, if you are feeling those bright, sunny flavors, you could check out my lemon meringue pie recipe for inspiration, and borrow that bright zest for your icing! Just remember, extracts are potent, so start small when you experiment. If you are looking for other ways bakers tackle their coatings, you can read how different approaches work in recipes like the one found over at Whole Fully. Experimentation is part of the fun of home baking, but always remember that this recipe guarantees that hard, smooth shell we love!
Frequently Asked Questions About Sugar Cookie Icing Recipe
I always get questions once people try this recipe because it performs so much like professional royal icing! Let’s clear up any lingering doubts you might have about getting that perfect, hard, glossy finish for your cookies. If you’re prepping for your next big bake, you might want to check out my tips for snickerdoodle cookies too—they’re always a crowd-pleaser!
How long does this icing take to dry completely?
This is the big one! Since this is an icing that hardens beautifully, you need patience. Generally, you are looking at anywhere from four to eight hours for the icing to dry completely solid, especially if you’ve done a thick outline or flooded large areas. If you live somewhere really humid, though? It might take closer to ten hours because the moisture in the air slows down the setting process significantly. Don’t try to stack them or put them in a container until you can tap the surface and hear a definite little *thunk* sound!
Can I use regular milk instead of water for this sugar cookie icing recipe?
I strongly suggest sticking to the warm water listed in the sugar cookie icing recipe if your main goal is a hard, glossy finish. Milk contains fats and sugars that can totally interfere with how the meringue powder sets up. If you use milk, you’ll probably end up with a softer set, which is closer to a fluffy frosting rather than a firm icing. If you really want that smooth sugar cookie glaze that dries hard for gifting, water is your best friend here!
What is the difference between this icing and simple sugar cookie frosting?
This is a super common point of confusion, but it’s important for decorating success! What I developed here is truly an icing that hardens so you can stack your cookies without them sticking together or smashing. It sets firm, almost like candy. A simple sugar cookie frosting, on the other hand, usually implies a buttercream or a glaze made with milk or corn syrup that stays soft and spreadable, even after it crusts over slightly. This recipe is for the bakers who want that clean, professional, bakery-shelf look!
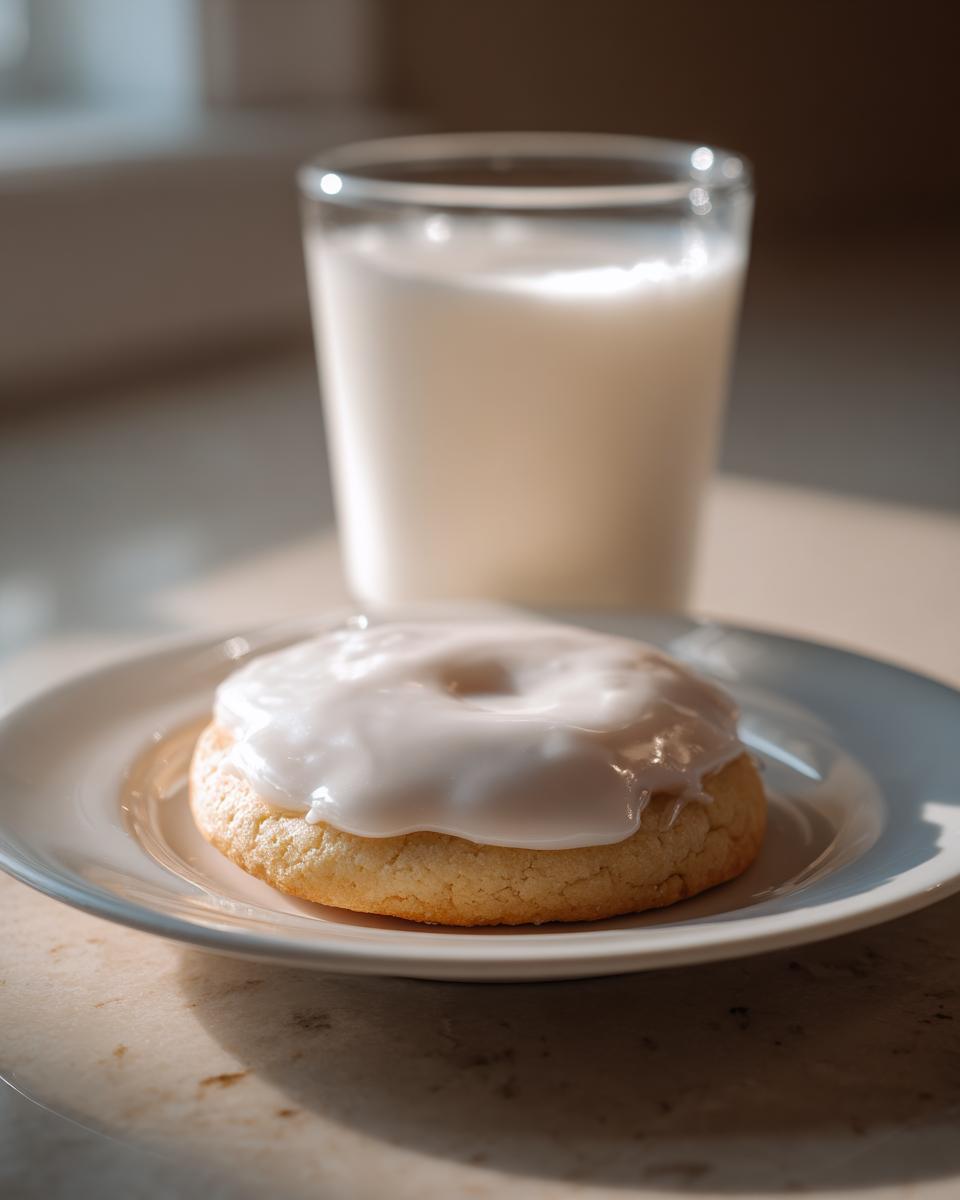
Serving Suggestions for Your Decorated Cookies
Now that you’ve mastered this amazing icing that hardens, you’re officially ready for some serious holiday cookie decorating! The best part about this recipe is that once the icing is dry, those cookies are basically indestructible and ready for anything—which is exactly what we want when we are creating beautiful edible art.
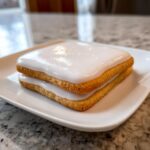
Think about presentation! Because this stackable cookie icing dries so firmly, you can use it to make elaborate cookie gifts. Think little cellophane bags tied with colorful ribbons. You can stack three or four different patterns right on top of each other, and they won’t smudge or stick! It looks so professional, and the credit is entirely yours.
For Christmas, of course, these are perfect centers for a cookie assortment platter. Imagine using red and green icing for festive ornaments or winter scenes. But don’t stop there! This reliable icing is great for birthdays, too. You can outline detailed school logos for graduation parties, or make tiny, perfect little flowers for bridal showers.
If you’re baking for a big gathering, these decorated cookies contrast so nicely with softer baked goods. They offer a little crunch and sweetness that pairs perfectly alongside some cozier treats. If you’re planning the whole menu, you might enjoy my amazing Christmas breakfast casserole recipe for the morning after the decorating marathon is done! Also, if you want some inspiration on how other folks are using their beautifully iced cookies, check out the ideas over at Farmhouse Harvest!
Sharing Your Perfect Cookie Icing for Beginners Results
Well, you did it! You tackled the tricky art of decorating sugar cookies, and I bet your house smells amazing right now. I’m so excited for you to show off your handiwork! Remember how intimidating that hard-drying stuff used to seem? Now you have the secret to beautiful, glossy cookie icing that actually holds up.
I really, truly want to see what you created! Did you stick to simple outlines, or did you try some fancy flooding techniques? Head down to the comments section below and tell me how the easy cookie icing performed for you. Did it dry rock solid while you were waiting? Was the whipping time worth that incredible shine?
Snap a picture of those gorgeous, finished cookies—especially if you’re stacking them high for travel or gifting—and tag us! Seeing your decorating success is honestly the best part of my job. If you want to learn more about the science behind why these recipes work perfectly every time, you can always check out the full story on my About Page. Happy baking, friends, and thanks for trusting me with your holiday decorating!
PrintEasy Sugar Cookie Icing That Dries Hard and Smooth
Make a simple, glossy icing for your cut-out sugar cookies. This recipe dries firm, making it perfect for stacking, gifting, and detailed decorating like outlining and flooding.
- Prep Time: 10 min
- Cook Time: 0 min
- Total Time: 10 min
- Yield: Covers about 3 dozen 3-inch cookies 1x
- Category: Dessert
- Method: Mixing
- Cuisine: American
- Diet: Vegetarian
Ingredients
- 4 cups powdered sugar, sifted
- 1/2 cup meringue powder
- 1/2 cup warm water
- 1 teaspoon clear vanilla extract
- 1/4 teaspoon almond extract (optional, for flavor)
Instructions
- In a large bowl, whisk together the sifted powdered sugar and meringue powder until fully combined.
- Add the warm water, clear vanilla extract, and almond extract (if using) to the dry ingredients.
- Using an electric mixer on low speed, mix the ingredients until they form a thick paste. Scrape down the sides of the bowl.
- Increase the mixer speed to medium-high and beat for 5 to 7 minutes. The icing will become very smooth, thick, and glossy. This whipping action incorporates air, which helps it dry hard.
- Check the consistency. For outlining, the icing should hold a stiff peak. For flooding, add water one teaspoon at a time until the icing flows slowly off the spoon and smooths into itself in about 10 seconds.
- Divide the icing into separate bowls for coloring, if desired. Use gel food coloring for best results.
- Use the icing immediately for outlining cookies. Let the outline dry for 15 to 30 minutes before flooding the center with thinner icing.
- Allow the decorated cookies to sit at room temperature until the icing is completely dry and hard, usually 4 to 8 hours, depending on humidity.
Notes
- If you need a royal icing alternative without corn syrup, this recipe works well as it relies on meringue powder for structure.
- To achieve a professional, glossy cookie icing finish, avoid over-mixing once the desired consistency is reached, as too much air can cause bubbles.
- If the icing becomes too thick while working, stir in a few drops of water. If it is too thin, mix in a tablespoon of powdered sugar.
Nutrition
- Serving Size: 1/4 cup icing
- Calories: 180
- Sugar: 45
- Sodium: 5
- Fat: 0
- Saturated Fat: 0
- Unsaturated Fat: 0
- Trans Fat: 0
- Carbohydrates: 45
- Fiber: 0
- Protein: 1
- Cholesterol: 0