
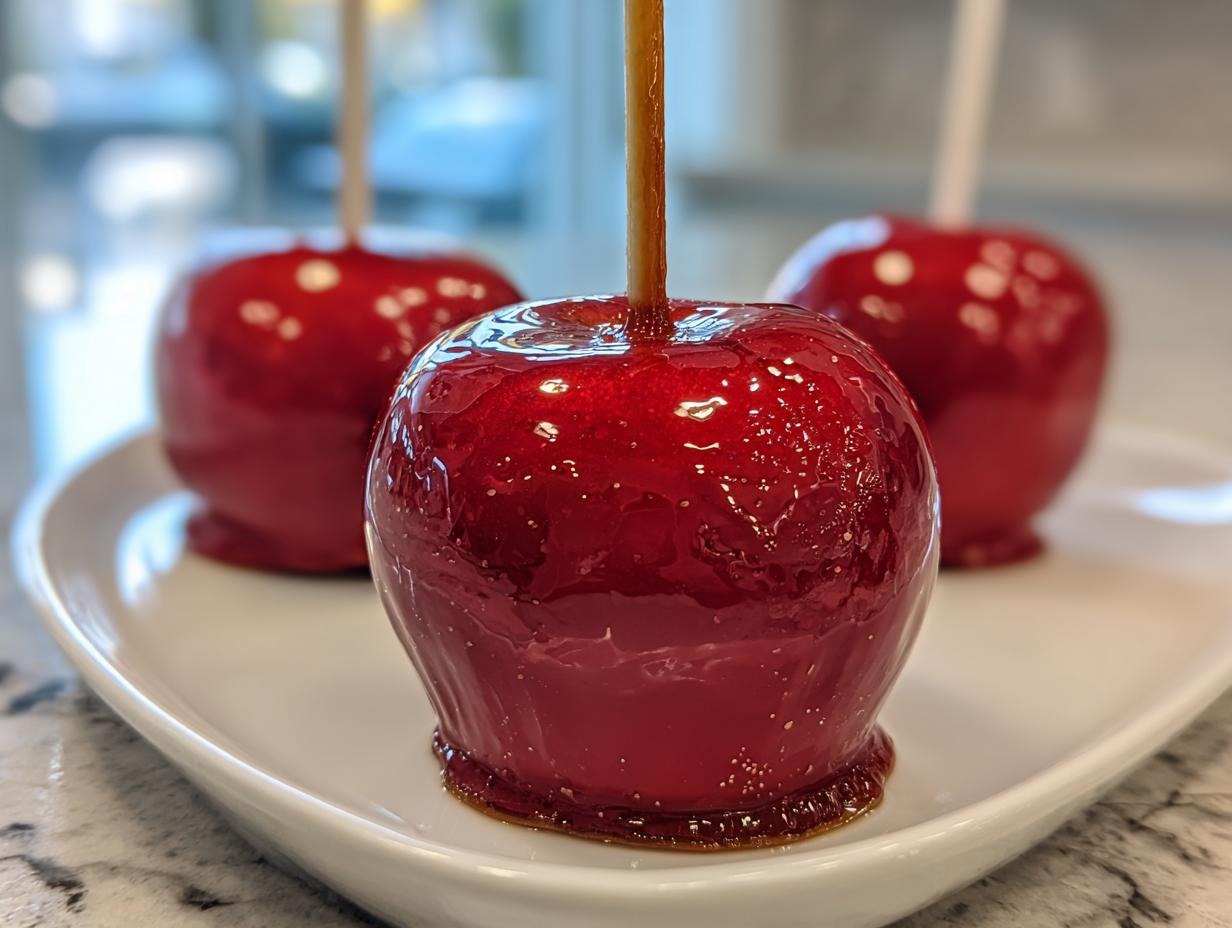
Oh, when autumn rolls around, my heart just sings! I live for those crisp mornings and the excuse to bring out all the cozy flavors. If you’ve ever looked at those gorgeous, shiny creations in the bakery window and sighed, thinking they were too complicated for a weeknight, I’m here to tell you: forget that worry! We are making the most spectacular candy-coated caramel apples today, and I promise, they are totally achievable. I took my time in the test kitchen mastering this two-step dipping method. It combines those pro tricks you need for perfect adhesion, wrapped up in a recipe that feels just like learning from a friend. You are going to master these picture-perfect treats! If you want a chewier starting point before adding that hard candy shell, make sure you check out my chewy homemade caramel apples guide sometime.
- Why This Gourmet Caramel Apple Recipe Works (Festive Fall Treat Ideas)
- Ingredients for Your Candy-Coated Caramel Apples
- The Essential Steps for Homemade Caramel Apples Easy
- Achieving Perfect Adhesion: How to Make Candy Coating Stick
- Step-by-Step Instructions for Candy-Coated Caramel Apples
- Troubleshooting Common Candy-Coated Caramel Apples Issues
- Tips for Perfect Autumn Dessert Recipes Presentation
- Storage and Reheating Instructions
- Frequently Asked Questions About Dipped Apples
Why This Gourmet Caramel Apple Recipe Works (Festive Fall Treat Ideas)
When I designed this recipe, I wanted to create something that truly stood out on the dessert table—a showstopper that tasted just as good as it looked. These aren’t your average sticky treats; they are perfectly balanced, making them a genuinely gourmet caramel apple recipe and a staple for your best festive fall treat ideas. The magic of these candy-coated caramel apples comes down to a few reliable science points I learned back in the test kitchen.
- We use TWO coatings! This layering ensures the caramel stays put and gives you that amazing, shatteringly crisp shell.
- The candy coating melts down to create rich, vibrant colors you just can’t get otherwise.
- The sweet coating finally meets its match because we use a tart apple base.
If you love apples in your fall baking, you should seriously check out my apple dapple cake sometime!
Selecting the Best Apples for Dipping
This step is so important, please don’t skip it! The recipe calls for Granny Smith apples, and I mean it. Their strong tartness cuts right through the incredible sweetness of the caramel and that candy shell. It’s all about balance!
But here’s the real secret to making sure your beautiful coatings stay exactly where they should be: you need to get rid of the natural wax on those apples. If you don’t, the coating will slide right off—we don’t want that! Briefly dip each apple into a pot of boiling water for maybe 5 seconds, then dry them completely. I mean *bone dry*. Pat them down. Once they are totally dry, they are ready to accept that coating!
Ingredients for Your Candy-Coated Caramel Apples
Getting everything ready beforehand is how we keep things stress-free! You’ll need just a few simple things for the base, plus the goodies for that fabulous second layer. Trust me, using exactly what I listed will get you those stunning, vibrant colored candy apples we’re aiming for. I still get a thrill looking at the list of things we need for these amazing candy-coated caramel apples.
- 6 medium Granny Smith apples (these are the best apples for dipping!)
- 6 wooden or paper lollipop sticks
- 1 cup granulated sugar
- 1/2 cup light corn syrup
- 1/4 cup water
- 1/4 cup light brown sugar, packed
- 1/4 cup unsalted butter
- 1 teaspoon vanilla extract
- 1/2 teaspoon salt
- 1 cup hard candy wafers (like Jolly Ranchers, for that color burst!)
- 1/2 cup chopped nuts or sprinkles (optional toppings for apples)
If you are looking for other delicious pairing ideas, my recipe for moist apple brownies is fantastic!
The Essential Steps for Homemade Caramel Apples Easy
Now we get to the good part—the caramel! Making an easy homemade caramel dip that actually works? That’s half the battle won. We need to cook this mixture perfectly to get that lovely chewy texture that holds up to the candy shell later. In your heavy-bottomed saucepan, combine your sugars, corn syrup, and water. Stir it gently just until the sugar dissolves, but the second it hits a boil, you stop stirring! Seriously, leave it alone. This is where your candy thermometer becomes your best friend. I really want you to nail this caramel, because it’s the foundation of our chewy homemade caramel layer, even though we are glazing over it! We need that glossy mixture to hit exactly 245 degrees Fahrenheit—that’s the firm ball stage. I cannot stress this enough: trust the thermometer over your eyesight!
Once you hit that magic number, yank that pan off the heat immediately. Then, add your butter, vanilla, and salt—it will bubble up a bit, so be careful! Stir until everything melts together for your perfect base for these candy-coated caramel apples. You’ve already done the hardest part for this gourmet caramel apple recipe!
Caramel Preparation and Cooling Time
The cooling time is non-negotiable, folks. Don’t rush this! Once the caramel is smooth, let it sit off the heat for about 10 solid minutes. If you dip too soon, the caramel drips right off. If you wait too long, it sets up like concrete. These 10 minutes let it cool enough to thicken slightly, which is exactly what we need for that first layer to adhere beautifully to the apple before we add the final candy coat.
Achieving Perfect Adhesion: How to Make Candy Coating Stick
This is where we turn a great caramel apple into a magnificent, almost unbreakable, candy-coated caramel apple. The secret to making sure that vibrant candy shell sticks (a core part of our picture perfect caramel apples tutorial) is timing! You want to dip the caramel-coated apple when the caramel is slightly tacky but not actively runny. Check it—it should feel a little sticky to the touch after those 10 minutes of cooling. If the caramel starts feeling too firm, gently warm the whole pan over the lowest possible heat just until it loosens up again. You can learn more about getting that foolproof coating over at my page on shiny shell success!
For the candy coating itself, take your hard candy wafers—I love using these because they melt so cleanly—and place them in a small, heavy saucepan. Melt them slowly over the lowest heat setting. Stir constantly; we want smooth, glossy liquid candy, not scorched sugar. If it gets too hot, it browns fast, and that ruins the color!
Caramel and Candy Apple Swirl Tutorial (Optional Color Dip)
Once the first caramel layer has set up just a hair, dip quickly into that melted candy shell. Cover it, but try to keep the layer thin! If you want that awesome swirl effect, this is your chance. You can take a second melted candy color and drizzle it fast over the first layer before it sets. Work quickly but carefully—you’ve got seconds to get that perfect, glossy look for your candy-coated caramel apples!
Step-by-Step Instructions for Candy-Coated Caramel Apples
Okay, deep breath! We’ve got our apples prepped, our caramel is tempered, and our candy is melted. This sequence is crucial if you want those show-stopping, professional-looking candy-coated caramel apples. First, always start with the caramel. Dip one apple at a time into that warm caramel layer. You want to swirl it around to get even coverage, but remember to lift it straight up and let the excess drip back into the pot; don’t scrape it on the rim, or you’ll break the seal.
Place that caramel-dipped apple onto your parchment-lined sheet. Now, here’s the key timing I mentioned: let it cool for about five minutes until that caramel feels slightly tacky. Not hard, just slightly sticky. Once it’s tacky, it’s ready for the second layer! Dip it quickly and smoothly into your melted candy coating. Work fast here; the second layer sets quickly.
As soon as that candy coat is on, if you are using toppings like nuts—remember those crunchy topping ideas for apples—roll the apple immediately! If you wait even a minute, the crushed nuts won’t stick to that glossy surface. If you aren’t topping it, just place it gently back onto the parchment. The beauty of using these two layers is how the candy grabs onto the caramel perfectly. Let these beautiful candy-coated caramel apples set up completely at room temperature before you try to move them again. Honestly, they look like something out of a magazine when they are done!
For other festive recipes, you absolutely have to try my apple pie cookies with caramel drizzle!
Troubleshooting Common Candy-Coated Caramel Apples Issues
Even with the best recipe, sometimes things go a little sideways in the kitchen, right? Don’t panic if your beautiful creation isn’t looking magazine-perfect right away. The biggest worry I hear about with these candy-coated caramel apples is the coating sliding off. If that happens, it usually means your caramel wasn’t tacky enough when you dipped it in the candy, or maybe those apples weren’t totally dry!
If your caramel gets too hard while you are working (it happens!), just remember my trick: gently warm the pan over the absolute lowest heat and stir constantly until it loosens. That’s a lifesaver for keeping the batch going! My thick apple pie filling recipe has a similar temperature trick if you ever need it. Stick with it; you’ll get the hang of this!
Tips for Perfect Autumn Dessert Recipes Presentation
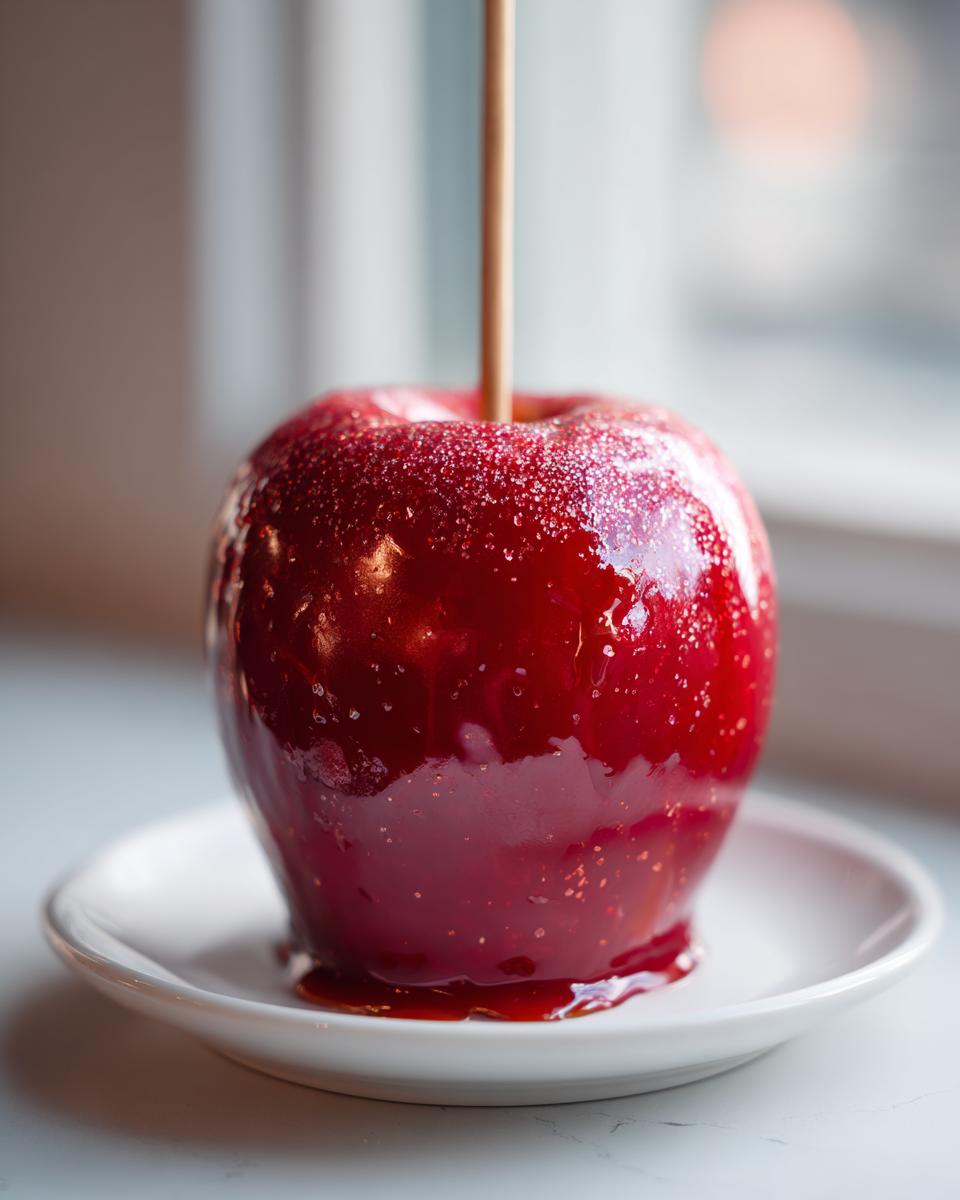
Once you’ve nailed the dipping—and trust me, you will, because this is my foolproof method for the best candy-coated caramel apples—the presentation is what really makes them special. It’s what turns them into genuinely perfect autumn dessert recipes for your Halloween party or a fall festival.
My biggest tip for setting these beauties is to skip the fridge! I know it sounds counterintuitive, especially when you want things firm. But chilling them can actually make that hard candy coating crack when it gets cold too fast. Let them set completely on the counter at room temperature. They’ll be perfectly firm and glossy in about an hour or so.
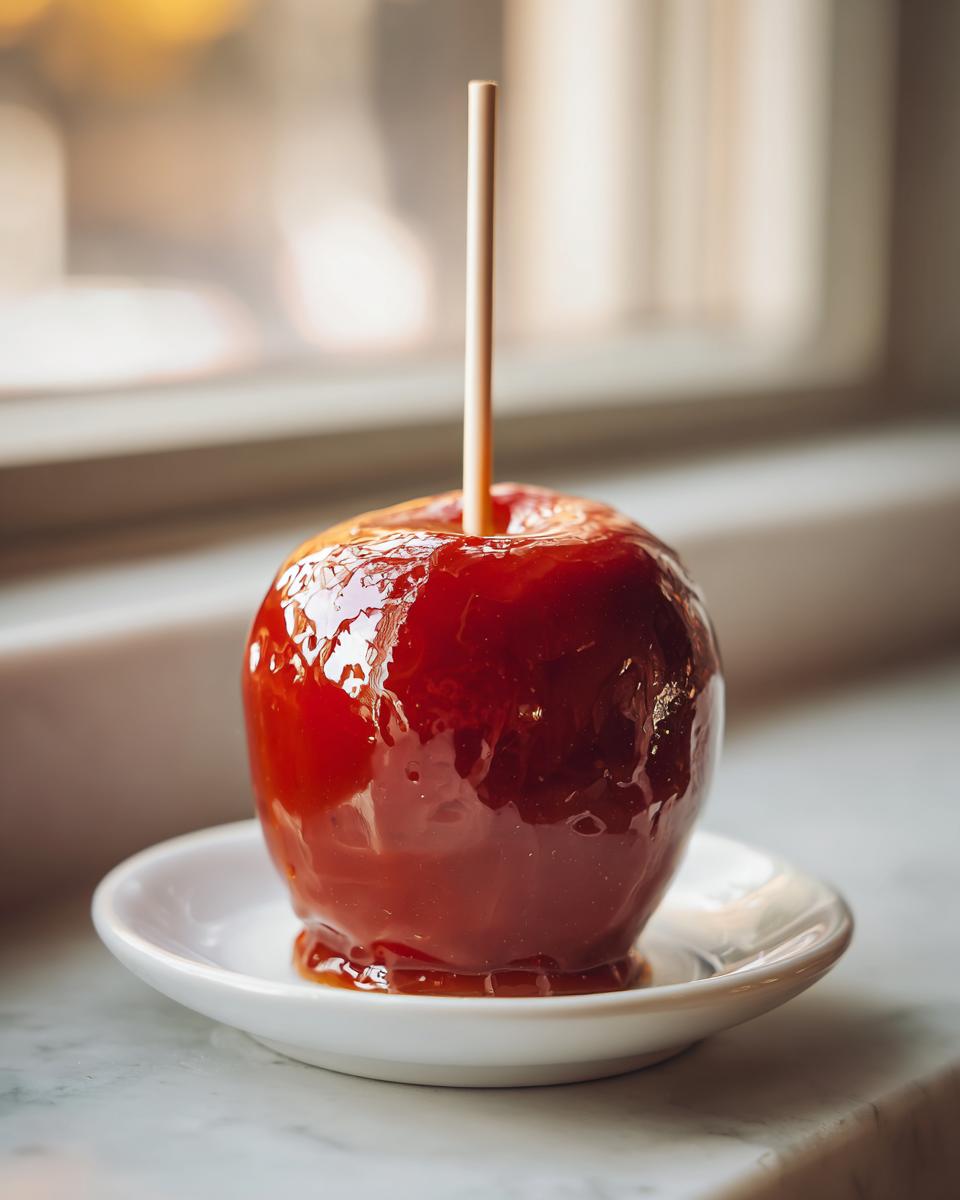
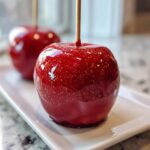
When you arrange them, put them standing upright if you can, maybe on a piece of slate or a pretty wooden board. They look like edible jewels! They are definitely my favorite seasonal sweet snack idea when company comes over.
Crunchy Topping Ideas for Apples
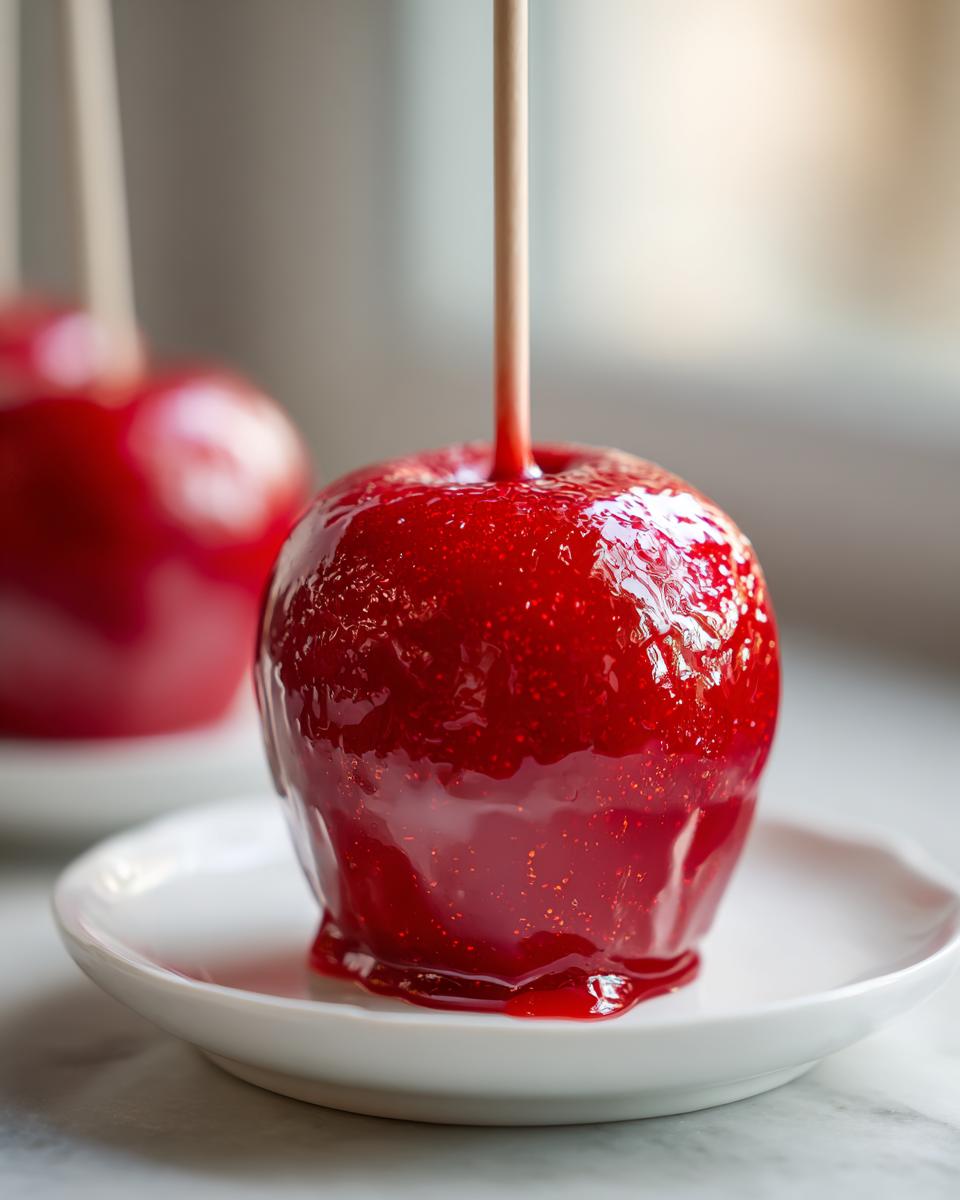
Nuts are great, but let’s get creative with those crunchy topping ideas for apples! The key, remember, is to apply them immediately after the candy dip while it’s still wet. Try crushing up some chocolate sandwich cookies—the Oreo-style ones—for a dark, rich contrast. Or, grab some nonpareils or jimmies in classic orange, black, and gold for an instant festive look.
For a slightly more sophisticated look, dust them lightly with edible gold glitter after the initial toppings have set. If you’re feeling brave, you can even drizzle a contrasting color of melted candy once the first layer is totally hard—just for a little extra flair on your candy-coated caramel apples. Don’t forget to check out my cranberry orange scones if you need another show-stopping item for your dessert spread!
Storage and Reheating Instructions
So, you’ve made these incredible candy-coated caramel apples, and now you’re wondering how to keep them perfect for the party tomorrow, right? This is where I have to be firm with you: do not stick these beauties in the refrigerator! The humidity is the enemy here, and the rapid temperature change after cooling can make that gorgeous hard candy shell crack right away. That’s the worst!
For best results, these really need to be made the day you plan on serving them. If you absolutely must make them ahead—say, 24 hours out—keep them on the counter, loosely covered, in the coolest, driest spot in your house. They need room temperature to maintain that perfect snap in the coating.
And please, promise me you won’t try to reheat them! Once the caramel and candy set, microwaving them just turns them into a sticky, melted mess, and we worked way too hard for that! If you’re looking for other treats that store and reheat wonderfully, my moist applesauce cake is fantastic for making ahead!
Frequently Asked Questions About Dipped Apples
I know you might have a few lingering questions—it happens when you’re diving into something as fun as candy-coated caramel apples! I put together answers for the things I hear most often when people try this recipe. You got this!
What is the best temperature for the caramel dip?
This is the million-dollar question! For the caramel, we are aiming for that sweet spot known as the firm ball stage, which hits exactly 245 degrees Fahrenheit on your thermometer. Why? If it’s too low, your caramel is too soft, and those beautiful candy shells will slide right off because the caramel won’t have enough structure to hold them. If you cook it too high, the caramel becomes rock hard and chewy, which makes biting into your gourmet caramel apple recipe feel like cracking granite!
Can I make these ahead of time for a party?
Honestly, for the absolute best result, I always say make them the morning of your celebration. They are best enjoyed within about 6 to 8 hours. Since we are avoiding the fridge to prevent cracking, they are best served fresh. If you simply must make them the day before, wrap them loosely in plastic wrap and keep them in the coolest, driest spot in your house, away from sun or heat. They are one of those seasonal sweet snack ideas that shine brightest when fresh!
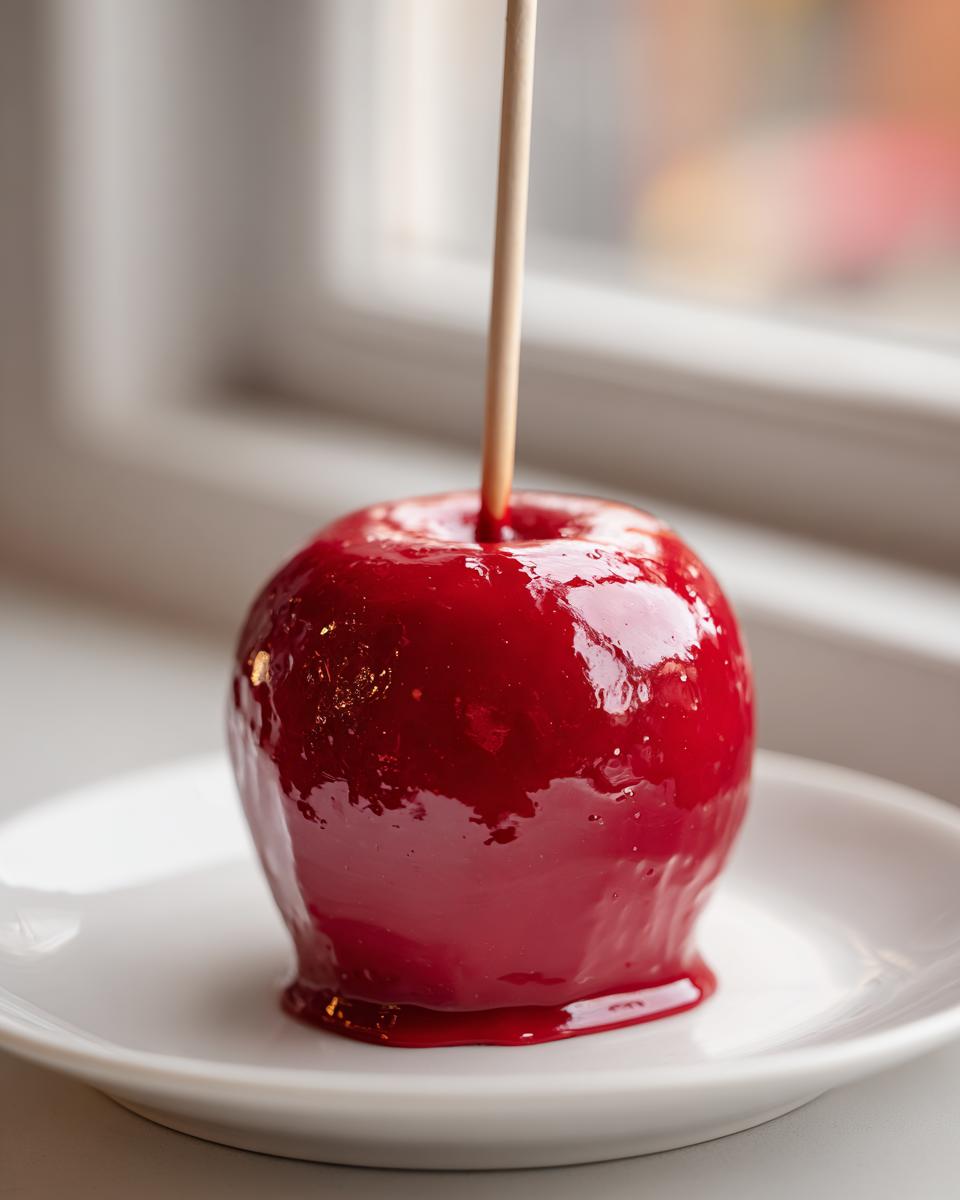
How do I get the vibrant colored candy apples effect?
That beautiful, glossy color comes almost entirely from the quality of the hard candy wafers you choose! I strongly recommend using actual, good-quality, single-color hard candy bricks or wafers rather than just relying on food coloring in a plain sugar mixture. Melt those wafers down slowly over very low heat, stirring until they are completely smooth and liquid. Don’t rush that melting process, or you risk burning the sugar, which will give you a dull, brown coating instead of those perfect, vibrant colored candy apples we want!
If you want to see more of my insights into kitchen science and confidence building, you can always hop over to the About Jade Carter page!
PrintPerfect Candy-Coated Caramel Apples
Follow this reliable recipe to make picture perfect caramel apples with a vibrant candy coating. This guide covers the best apples and dipping techniques for a festive fall treat.
- Prep Time: 25 min
- Cook Time: 20 min
- Total Time: 45 min
- Yield: 6 servings 1x
- Category: Dessert
- Method: Stovetop Dipping
- Cuisine: American
- Diet: Vegetarian
Ingredients
- 6 medium Granny Smith apples (best apples for dipping)
- 6 wooden or paper lollipop sticks
- 1 cup granulated sugar
- 1/2 cup light corn syrup
- 1/4 cup water
- 1/4 cup light brown sugar, packed
- 1/4 cup unsalted butter
- 1 teaspoon vanilla extract
- 1/2 teaspoon salt
- 1 cup hard candy wafers (e.g., Jolly Ranchers, for vibrant colored candy apples)
- 1/2 cup chopped nuts or sprinkles (optional toppings for apples)
Instructions
- Wash and thoroughly dry the apples. Remove any wax residue by briefly dipping them in boiling water, then dry them completely. Insert a stick firmly into the core of each apple.
- Prepare your work surface by lining a baking sheet with parchment paper or a silicone mat. Set aside your chosen toppings if using.
- For the caramel: Combine granulated sugar, corn syrup, water, and brown sugar in a heavy-bottomed saucepan. Stir over medium heat until the sugar dissolves.
- Stop stirring once boiling begins. Cook until the mixture reaches 245 degrees Fahrenheit on a candy thermometer (firm ball stage). This step is key for easy homemade caramel dip.
- Remove the pan from the heat. Carefully stir in the butter, vanilla extract, and salt until smooth. Let the caramel cool slightly for about 10 minutes before dipping.
- For the candy coating: While the caramel cools, place the hard candy wafers in a separate small, heavy-bottomed saucepan. Melt over low heat, stirring until completely smooth. Do not let it get too hot.
- Dip each apple first into the warm caramel, swirling to coat evenly. Let excess caramel drip off. Place the caramel-coated apple onto the prepared sheet to set slightly (about 5 minutes).
- Dip the caramel apple into the melted colored candy coating, ensuring a thin, even layer. Work quickly.
- Immediately roll the coated apple in your chosen toppings, or place it back on the parchment paper to set completely.
- Allow the candy-coated caramel apples to cool and harden fully at room temperature before serving.
Notes
- For the candy coating to stick well, ensure the caramel layer is slightly tacky, not fully hardened, before the second dip.
- If the caramel becomes too stiff while working, gently reheat it over very low heat, stirring constantly.
- Granny Smith apples provide the necessary tartness to balance the sweetness of the coating.
- If you want a swirl effect, drizzle the second color over the first before it sets.
Nutrition
- Serving Size: 1 apple
- Calories: 450
- Sugar: 85g
- Sodium: 120mg
- Fat: 12g
- Saturated Fat: 7g
- Unsaturated Fat: 5g
- Trans Fat: 0g
- Carbohydrates: 88g
- Fiber: 2g
- Protein: 1g
- Cholesterol: 15mg