
If you’re looking for a little moment of pure, edible art in your day—a tiny vacation from the everyday hustle—you have absolutely come to the right place! Today, we are making the gorgeous, incredibly photogenic **Japanese fruit sandwich**, or as it’s known over there, the Fruit Sando. Honestly, this dessert feels like it belongs in a fancy museum display, but trust me, it’s so simple to pull off with my foolproof instructions. As someone who came up through test kitchens after studying nutrition, I obsess over reliable techniques. I’ve broken this whole aesthetic food down so you can create these stunning, perfectly patterned sandwiches without any stress. For more about my philosophy on simple, reliable cooking, you can always check out my About Page. Get ready for your new favorite indulgence!
- Why This Japanese Fruit Sandwich Recipe is Your New Favorite Aesthetic Food
- Gathering Ingredients for Your Japanese Fruit Sandwich
- Step-by-Step Instructions for the Fruit Sando
- Expert Tips for a Perfect Japanese Fruit Sandwich Presentation
- Ingredient Notes and Substitutions for Japanese Dessert Ideas
- Storage and Serving Suggestions for Your Fruit Sando
- Frequently Asked Questions About Making a Japanese Fruit Sandwich
- Nutritional Estimate for This Japanese Fruit Sandwich
- Share Your Aesthetic Food Creations
Why This Japanese Fruit Sandwich Recipe is Your New Favorite Aesthetic Food
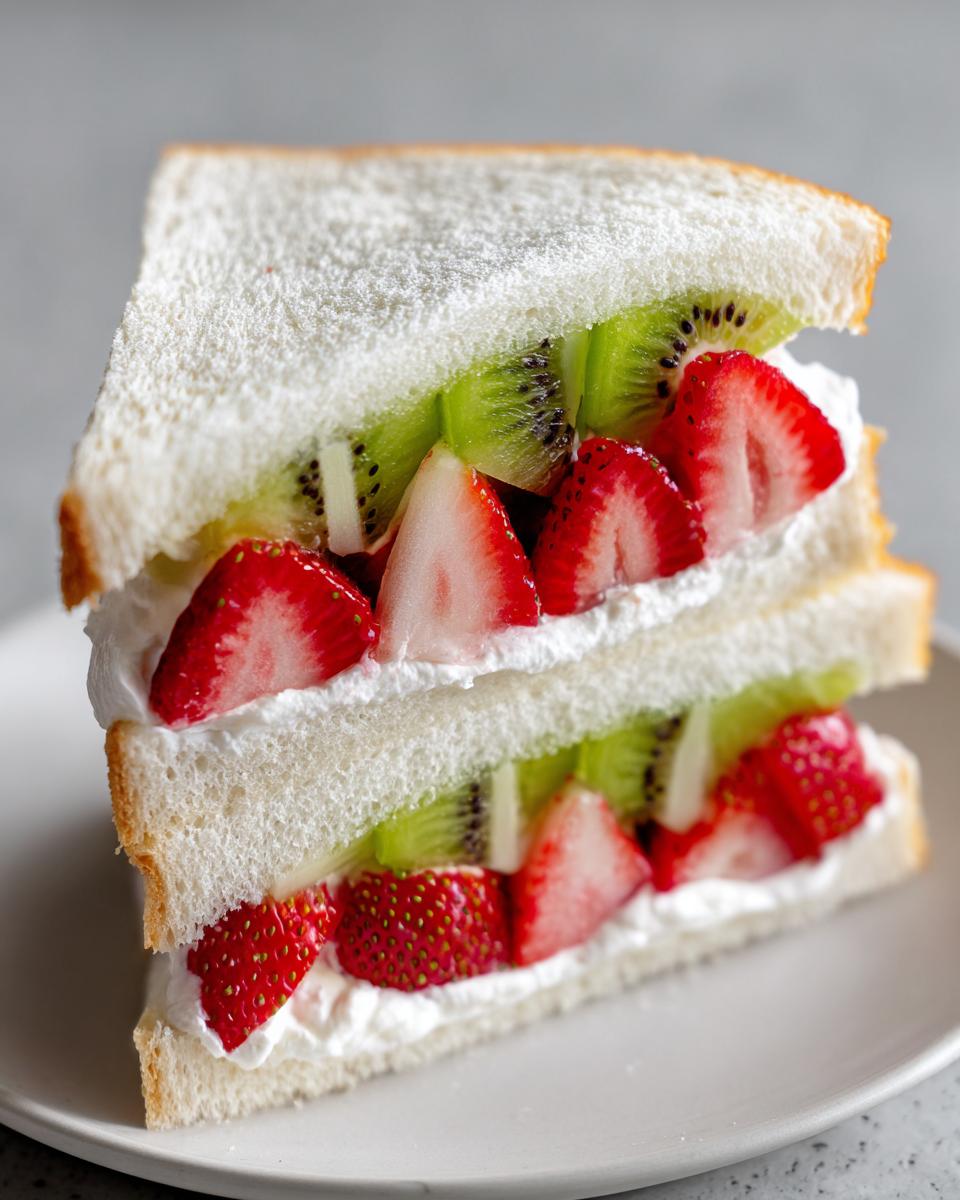
I get it—sometimes you want your food to look as good as it tastes, and honestly, who doesn’t need a little beauty in their life? This **Fruit Sando** delivers that ‘micro-escape’ feeling without needing a complicated baking marathon. It’s all about that stunning cross-section!
- The visual payoff is huge; you get to design your own edible art using bright, fresh fruit.
- The texture is absolutely divine—soft bread meets luxurious, firm cream.
- It’s surprisingly fast to assemble once your fruit is prepped!
Achieving Perfect Edible Art Patterns
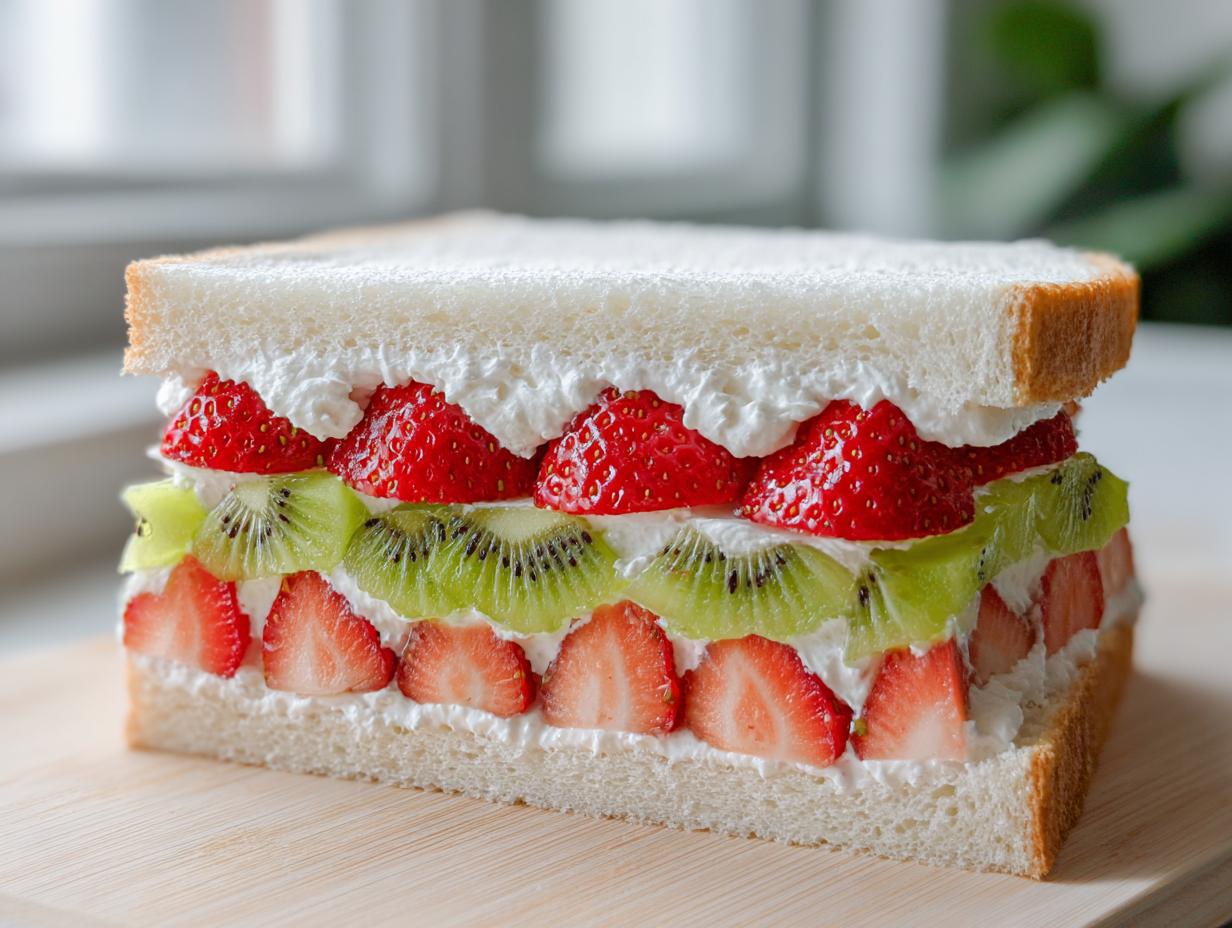
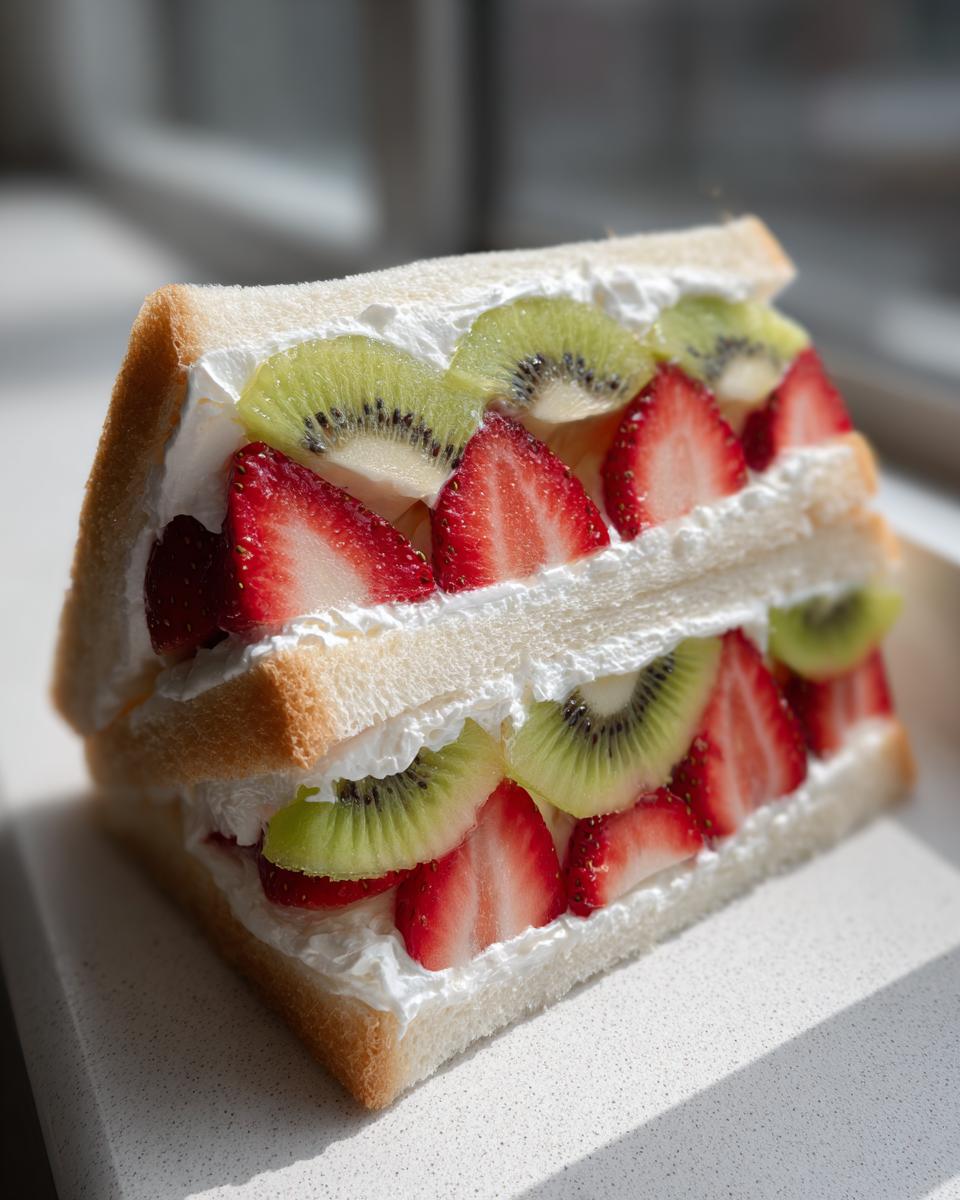
That gorgeous pattern you see? That’s totally in your control! We arrange the fruit tightly against the cream on the bottom slice. Because we choose uniform slices, when you press everything together and slice, you get those incredible, colorful windows of fruit. It truly elevates simple ingredients into something special.
The Secret to Stable Whipped Cream Sandwiches
The biggest fear with any whipped cream sandwich is it turning soupy, right? Nobody wants a messy disaster! That’s why we focus heavily on stabilizing that cream. When the cream is stiff enough to hold its shape, it keeps the whole **Japanese fruit sandwich** looking sharp and pristine, even after chilling. No soggy bread allowed!
Gathering Ingredients for Your Japanese Fruit Sandwich
Okay, let’s talk components. Since this isn’t cooked, every single ingredient has to be top-notch because there’s nowhere for sub-par flavors to hide! I know you can find amazing results right in your own grocery store, but if you can get your hands on true Japanese milk bread, you absolutely should. It is just the softest thing imaginable. I even have a guide for that if you’re up for a challenge later: My Foolproof Soft Loaf Recipe.
For the structure and flavor, you’ll need:
- Four slices of super thick white bread—milk bread is my gold standard here!
- One cup of heavy whipping cream. It needs to be good, cold cream.
- Two tablespoons of plain granulated sugar for sweetening the cream.
- One teaspoon of vanilla extract to make the cream sing.
- About one full cup of your favorite fresh fruit. I usually do strawberries, kiwi, and mandarins for that amazing color contrast.
- And just a dust of powdered sugar at the very end.
That’s it! See how short that list is? It’s all about quality over quantity in this simple **fruit sandwich recipe**.
Bread Choice for the Best Fruit Sandwich Recipe
The bread is crucial, seriously. The traditional **Japanese fruit sandwich** uses what they call *shokupan*, or milk bread. It’s thick, slightly sweet, and incredibly soft, which cushions the fruit and cream perfectly. You can use a very good quality, thick-sliced white bread from your local baker, but make sure the slices are substantial—at least an inch thick if you can get them.
We need that thickness because we are layering cream and fruit generously. Thin bread will just compress into nothing once you wrap it up. The soft texture of the right bread is what contrasts so beautifully with the slightly firmer, stabilized cream. Don’t skimp on this step for the best structural integrity!
Step-by-Step Instructions for the Fruit Sando
Alright, this is where the magic happens! We’re moving from prep to assembly, and it’s all about neatness and taking your time. Don’t rush the chilling part, or you’ll regret trimming those edges! Even though this is a simple **fruit sandwich recipe**, the final look depends entirely on how carefully you handle the assembly.
Preparing the Fruit and Stabilizing the Cream
First things first: get your fruit ready. You need to wash and dry everything super well—we don’t want any rogue water spots messing up our beautiful cream! Slice your strawberries incredibly thinly and evenly. Do the same for the kiwi and any mandarin orange segments. Uniformity is key for that mosaic effect, remember?
Next, the cream! This needs to be stiff enough to support the fruit. Make sure your bowl is chilled! Beat the heavy cream, sugar, and vanilla until you get really firm, stiff peaks. If you lift the whisk and the peak flops over, keep mixing! We need that cream strong enough to hold our patterned fruit in place inside that **Japanese fruit sandwich**.
Assembling and Chilling the Japanese Fruit Sandwich
Lay out your two slices of bread. Now, spread a thin, even layer of that glorious stabilized whip over the entire surface of *both* slices. This gives us a creamy cushion on both the top and bottom.
Take one slice—this is our canvas. Carefully arrange your fruit slices in the tightest, prettiest pattern you can manage. Press them gently into the cream layer. You want color and density packed in there! Once the fruit is set, spread just a little more cream over the top of the fruit arrangement. Then, gently place the second bread slice, cream-side down, on top. Give the whole thing a gentle, loving press.
Here’s the part people skip, and that’s a major oopsie! Trim off all four crusts using a serrated knife—don’t saw aggressively, just guide the knife. Then, wrap the entire sandwich tightly in plastic wrap. You need to press gently but firmly over the plastic wrap to compact everything together. Now, put it in the fridge for at least 30 minutes! Seriously, this chilling time is what guarantees the clean slice we need, whether you’re making a classic **strawberry sando** or using other fruits.
Expert Tips for a Perfect Japanese Fruit Sandwich Presentation
Listen, we’ve done all the hard work, and now we have to protect that beautiful **edible art** we created! Getting that perfect, clean display slice takes a little professional touch, the kind of reliable advice I picked up in the test kitchen. Forget wobbly edges; we want showroom quality! If you ever need reliable recipes for savory sides that accompany these sweet treats—like a really great sandwich spread—check out my creamy garlic aioli!
The absolute most critical thing you can do is use the sharpest, thinnest serrated knife you own. I mean, dust it off and make sure it’s ready! If your knife isn’t keen, it will squish the cream and drag the fruit designs when you slice. Wipe the blade clean with a damp cloth between every single cut. This prevents tiny bits of cream or fruit juice from smearing your next slice.
Pressing the wrapped sandwich before chilling helps keep everything locked in place, which is key for that dense, perfect cross-section of the **Japanese fruit sandwich**. It’s these little things that make the difference between a nice sandwich and a genuine showstopper dessert!
Ingredient Notes and Substitutions for Japanese Dessert Ideas
I love that this **fruit sandwich recipe** allows for so much creativity! While the classic strawberries and kiwi are amazing, feel free to play around with other seasonal fruit. Peaches, blueberries, mango slices—anything that looks vibrant and tastes fresh works wonderfully as part of these **japanese dessert ideas**.
Just remember the slicing rule: keep everything uniform so it stacks neatly. If you use very soft fruit, you definitely need that extra chilling time we talked about!
Now, what if you run out of heavy whipping cream? This is where the structure *can* change, so proceed with caution. If you absolutely cannot use heavy cream, you could try a high-quality, very cold stabilized pastry cream instead, but honestly, it won’t give you that light, airy texture of the stabilized whipped cream. You’d lose some of that ‘melt-in-your-mouth’ quality. For me, if I’m craving that luscious cream, I just wait until I can get the right ingredients.
If you’re playing around with other creamy **japanese dessert ideas** and need a dairy-free alternative, sometimes full-fat coconut cream that has been chilled overnight works as a substitute, but the flavor is obviously different. If you’re interested in experimenting with other creamy, sweet dishes, you should check out how I make my creamy mango sticky rice next!
Storage and Serving Suggestions for Your Fruit Sando
Okay, here’s the hard truth about this stunning **aesthetic food**: because we are using fresh, stabilized whipped cream and no preservatives, these absolutely do not keep well. You have to plan to make and serve your **Fruit Sando** the same day you slice it. If you can possibly bake them first thing in the morning, that’s perfect timing!
If you absolutely have to wait to slice them, keep the assembled, wrapped sandwiches tucked away in the coldest part of your fridge for up to four hours. But once you cut into that beautiful pattern? Eat it quickly! The cream starts to soften and the bread will just slowly wick up moisture, and we definitely don’t want to ruin that perfect texture.
Serving-wise, these shine when paired with something light so they remain the star. I love serving mine with a simple, crisp cup of cold-brewed Japanese green tea or a slightly milky hojicha. They aren’t heavy, so they don’t need a heavy partner. If you’re thinking about pairing them with actual meals, I keep my savory menus really simple, like the quick meals I share, so the sandwich gets all the attention it deserves!
Frequently Asked Questions About Making a Japanese Fruit Sandwich
I know you might have a few lingering doubts—especially when trying to master that perfect slice! We’ve covered the big techniques, but let’s nail down some common questions I get about this **fruit sandwich recipe**. These little details really make sure your Sando looks exactly how you pictured it.
Can I make the fruit sandwich ahead of time?
This is the tricky one. You absolutely *must* chill the assembled and wrapped sandwich for at least 30 minutes before cutting, otherwise, it will squish, and all the beautiful fruit pattern work goes to waste! That being said, if you chill it for longer than, say, 4 hours, the bread starts to get a little sad and damp from the cream. My best advice for this **Japanese fruit sandwich** is to assemble and chill it, and plan to eat it within a couple of hours of that initial chill time. It really shines when it’s very fresh.
What is the best fruit to use for a classic strawberry sando?
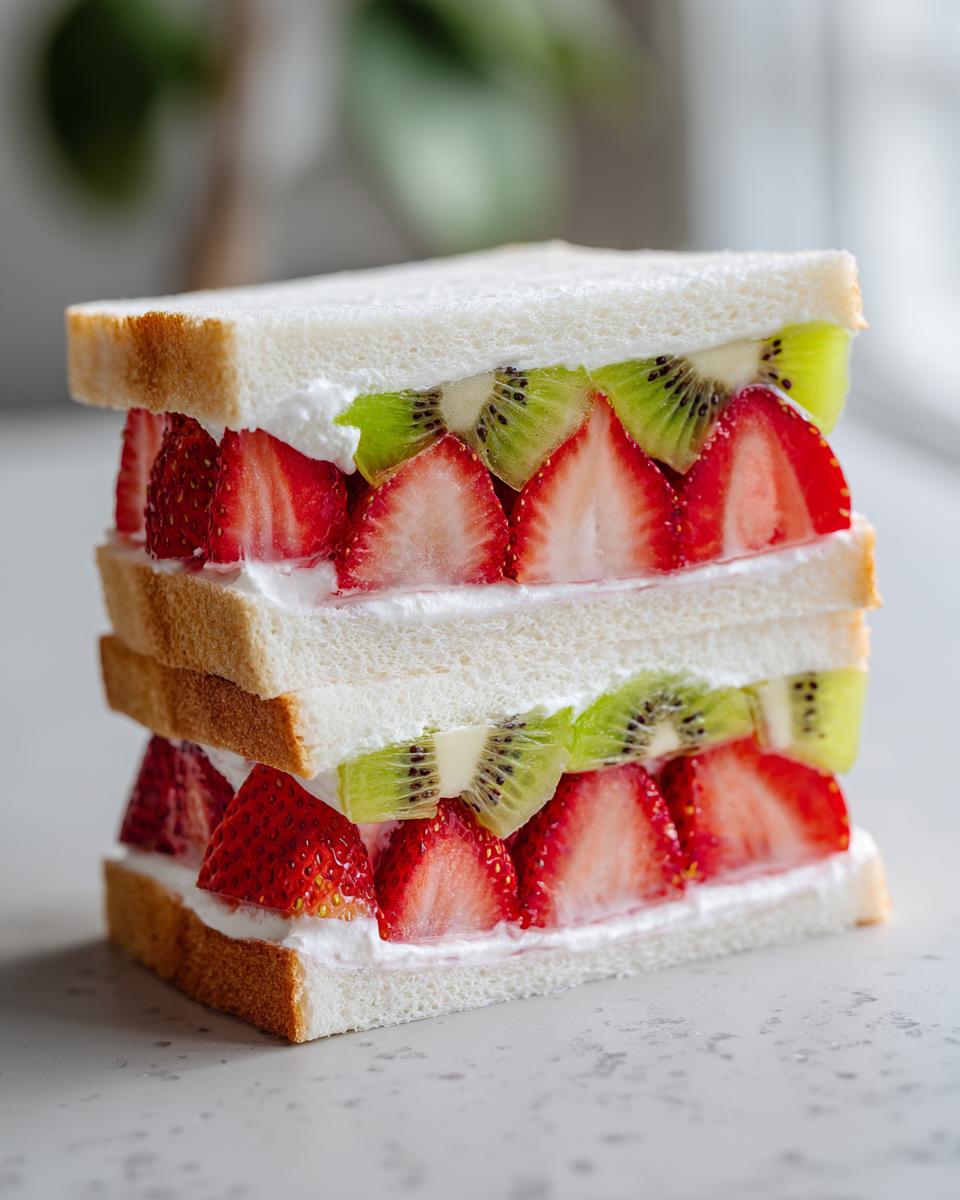
If you’re making a classic **strawberry sando**, you want the most beautiful, perfectly shaped strawberries you can find! Make sure they are firm and colorful. Slice them uniformly thin—this is key for the visual appeal. I always suggest using strawberries that are similar in size so your cross-section looks neat. If your strawberries are small, you can layer halves or quarters, but aim for that dense, colorful mosaic to really hit that aesthetic food goal!
Why is my whipped cream so thin and runny after whipping?
Oh, trust me, I’ve been there! Runny cream means two things usually: either your cream wasn’t cold enough when you started, or you didn’t whip it long enough to reach stiff peaks. For the structural integrity of the **Fruit Sando**, you need that cream stable! You should be able to whip the air in until the cream stands straight up on its own when you pull the beaters out. If it’s flopping, just keep going, but watch carefully! Stabilized cream is essential for this **fruit sandwich recipe** to look artistic.
Do I really have to cut off the crusts?
Yes, darling, you do! I know it feels wasteful, but the crust on standard white bread is tougher and doesn’t squish down as well as the soft interior crumb. Plus, the crust hides the beautiful fruit line! Removing the crusts is what gives the **Japanese fruit sandwich** that soft, pristine pillow look when you slice it. It’s part of the magic, I promise!
Nutritional Estimate for This Japanese Fruit Sandwich
Now, because you know I come from a nutrition background, I always want to offer transparency about what’s going into our beautiful creation. This is an indulgence, no doubt, packed with delicious heavy cream and sugars, but it’s also full of natural fruit vitamins! Please remember that every **fruit sandwich recipe** can vary widely based on the type of bread or the sweetness of your fruit.
The following chart is the estimate based on the standard ingredients tested here for two servings. This is my way of building trust with you—what you see is what you get with my reliable testing. This helps you budget for your sweet treat!
- **Serving Size:** 1 sandwich half
- **Calories:** 350
- **Sugar:** 25g
- **Sodium:** 280mg
- **Fat:** 18g
- **Saturated Fat:** 11g
- **Unsaturated Fat:** 7g
- **Trans Fat:** 0g
- **Carbohydrates:** 45g
- **Fiber:** 2g
- **Protein:** 6g
- **Cholesterol:** 65mg
We made sure to use a stabilized cream so we minimized the need for extra stabilizing gel which can sometimes add unknown ingredients. Enjoying this **Japanese fruit sandwich** is about enjoyment, not obsessive counting, but it’s good to know what you’re eating!
Share Your Aesthetic Food Creations
Now that you’ve gone through all those careful steps to create your own stunning **aesthetic food**, I genuinely want to see your handiwork! Did you manage to get those perfect, tight patterns? I know it takes patience, but the payoff is worth bragging about, right?
Please, please, please hop down to the comments below and leave a rating for this **Japanese fruit sandwich** recipe. Let me know what fruit combination you ended up choosing! If you made these for a special reason—maybe you’re celebrating Military Spouse Day or just treating yourself after a tough week—mention that too! I love hearing how you use my foolproof recipes to make life a little brighter.
If you took photos (and I bet you did!), tag me on social media! Seeing your beautiful cross-sections fills my heart up. If you have any final questions that I missed, the contact form is always open, and I check there regularly: Drop me a line! Happy snacking!
PrintJapanese Fruit Sando (Fruit Sandwich Recipe)

Create a visually stunning Japanese fruit sandwich, or Fruit Sando, featuring perfectly arranged fruit in stabilized whipped cream. This aesthetic food is simple to make and offers a delightful, high-end dessert experience.
- Prep Time: 20 min
- Cook Time: 0 min
- Total Time: 20 min plus 30 min chilling
- Yield: 2 servings 1x
- Category: Dessert
- Method: Assembly
- Cuisine: Japanese
- Diet: Vegetarian
Ingredients
- 4 slices thick white bread (milk bread preferred)
- 1 cup heavy whipping cream
- 2 tablespoons granulated sugar
- 1 teaspoon vanilla extract
- 1 cup mixed fresh fruit (strawberries, kiwi, mandarin oranges recommended)
- 1 tablespoon powdered sugar (for dusting)
Instructions
- Prepare the fruit: Wash and dry all fruit. Slice strawberries thinly and evenly. Peel and slice kiwi and oranges into uniform pieces.
- Stabilize the cream: In a chilled bowl, combine the heavy whipping cream, granulated sugar, and vanilla extract. Beat with an electric mixer until stiff peaks form. The cream must be firm to hold the fruit pattern.
- Assemble the base: Lay two slices of bread flat. Spread a thin, even layer of the stabilized whipped cream over the entire surface of each slice.
- Arrange the fruit: On one slice of cream-covered bread, carefully arrange your fruit slices in a tight, decorative pattern, pressing them gently into the cream. Aim for a dense, colorful layer.
- Top and seal: Spread another thin layer of cream over the fruit pattern. Place the second slice of bread, cream-side down, on top of the fruit layer. Gently press the sandwich together.
- Trim the crusts: Using a sharp, serrated knife, carefully trim all four crusts off the sandwich.
- Shape the sandwich: Wrap the sandwich tightly in plastic wrap. Press gently but firmly on the top and bottom to compact the layers. Chill in the refrigerator for at least 30 minutes. This step is crucial for clean slicing.
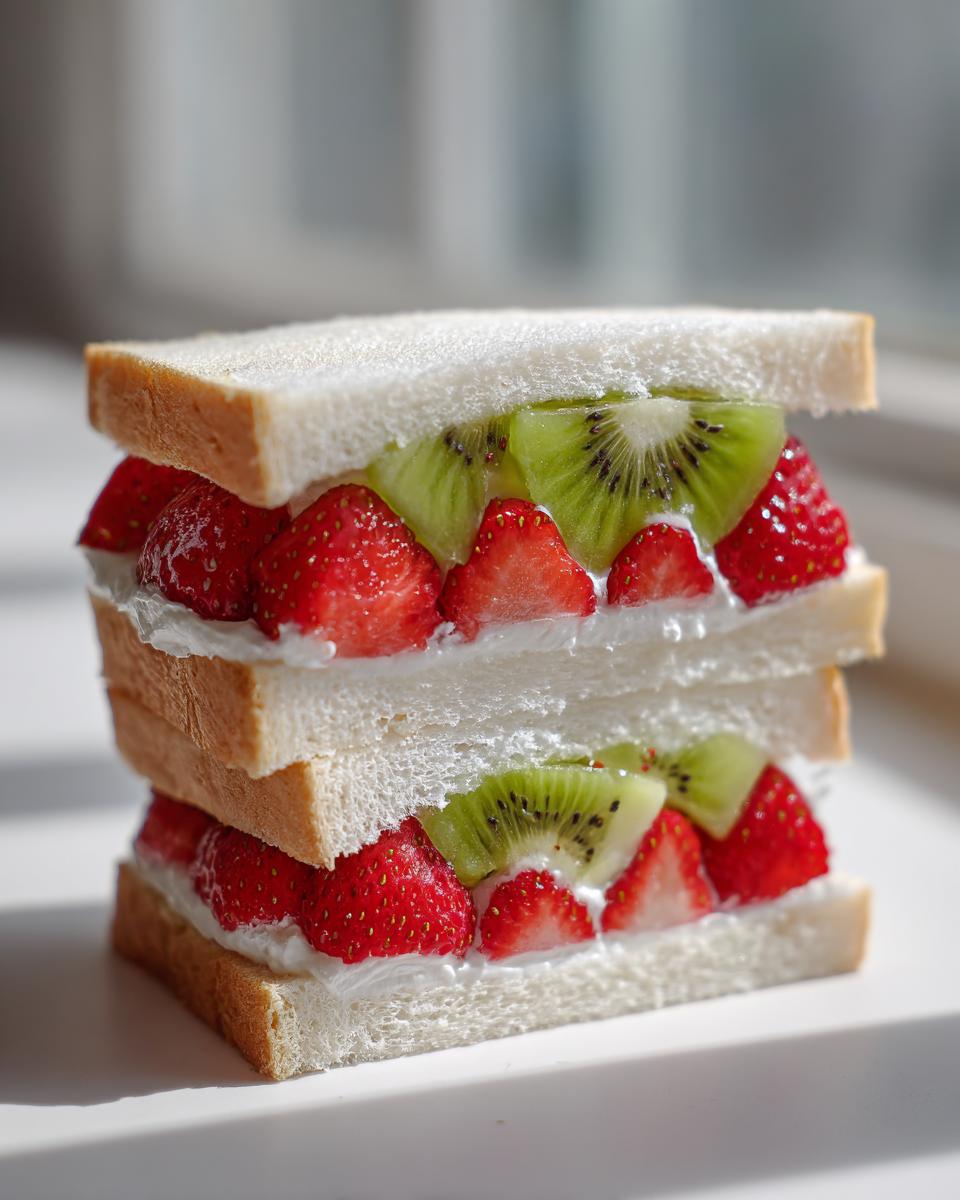
- Slice and serve: Unwrap the chilled sandwich. Using the sharp, serrated knife, slice the sandwich in half diagonally. Dust the exposed fruit pattern lightly with powdered sugar before serving immediately.
Notes
- Use the sharpest knife you own for slicing; wiping the blade clean between cuts helps maintain the clean lines of the fruit pattern.
- For best results, use Japanese milk bread (shokupan) as its soft texture complements the cream well.
- If you do not have a stand mixer, you can use a hand mixer, but ensure the cream is very cold before whipping.
Nutrition
- Serving Size: 1 sandwich half
- Calories: 350
- Sugar: 25
- Sodium: 280
- Fat: 18
- Saturated Fat: 11
- Unsaturated Fat: 7
- Trans Fat: 0
- Carbohydrates: 45
- Fiber: 2
- Protein: 6
- Cholesterol: 65