
Doesn’t everyone dream of that *perfect* golden-brown baked good? I remember standing on my stool in my mom’s kitchen, thinking that achieving those impossibly tall, fluffy, and flaky buttermilk biscuits we loved so much was some kind of baking magic reserved for only the best Southern cooks. But trust me, it’s not about magic; it’s about respecting the process. This recipe is the one I developed to ensure you get that incredible height and melt-in-your-mouth tenderness every single time you try how to make biscuits from scratch. We’re focusing on solid technique here, just like I learned early on when mastering the classics! If you love learning how to perfect bread basics, you might also want to check out my guide on homemade dinner rolls while you’re here.
- Why This Recipe Delivers the Best Buttermilk Biscuits
- Gathering Your Ingredients for Tender Buttermilk Biscuits
- How to Prepare Tall and Flaky Southern Style Biscuits
- Baking Your Buttermilk Biscuits to Golden Perfection
- Tips for Success with Fluffy Buttermilk Biscuits
- Serving Suggestions for Classic Comfort Food Baking
- Storage and Reheating Your Buttery Biscuits
- Frequently Asked Questions About Buttermilk Biscuits
- Estimated Nutritional Data for These Flaky Biscuits
- Share Your Experience Making These Scratch Baking Biscuits
Why This Recipe Delivers the Best Buttermilk Biscuits
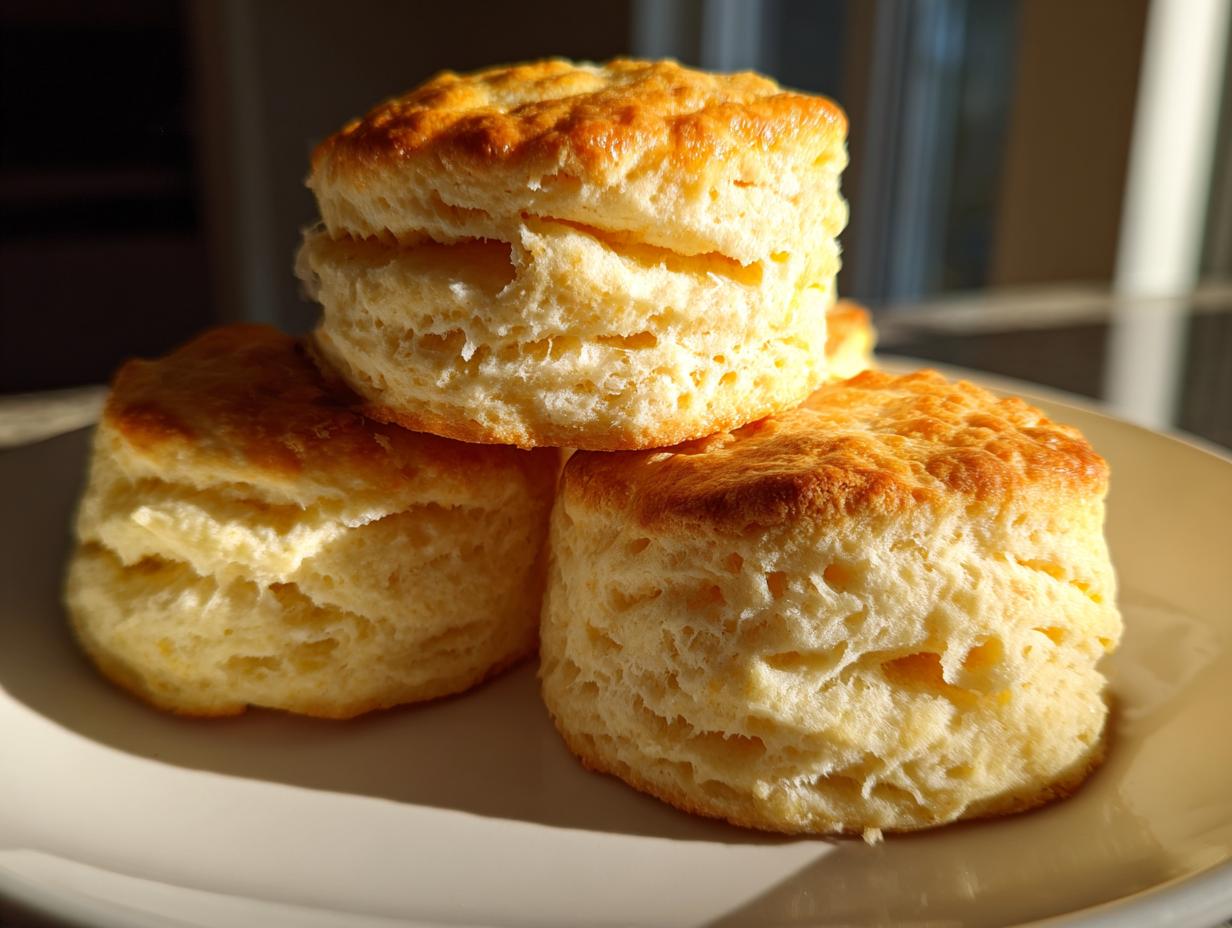
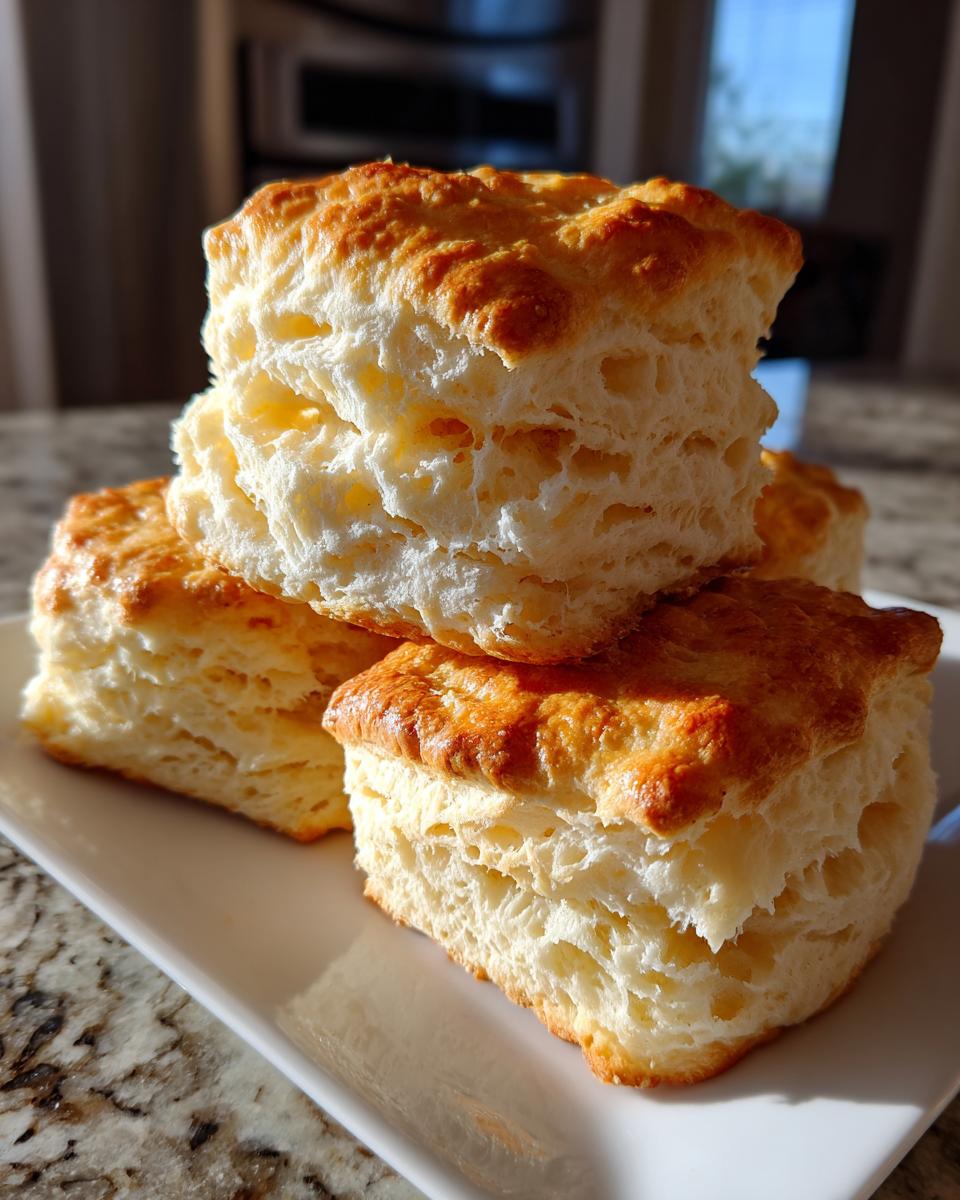
So often, homemade biscuits end up dense or flat, right? That’s where we separate these from the everyday. We are aiming for those glorious, light, and fluffy buttermilk biscuits that make you feel like you’ve taken a little trip down South. The reason these turn out such a fantastic, tall biscuits recipe? It all comes down to temperature management and simple lamination we do right on the counter. For some other great tall baked goods that rely on steam power, you should peek at my recipe for Yorkshire Puddings! I promise, once you see these biscuits puff up, you’ll never go back to using the can!
The Secret to Flaky Buttermilk Biscuits Recipe Layers
Flakiness isn’t just luck; it’s physics! We rely on keeping our cubed butter incredibly cold. When that small piece of cold fat hits the hot oven, it turns instantly to steam. That steam bursts open, pushing the dough upwards and creating those beautiful separation lines. That’s why the folding technique we go over in the instructions is so necessary. It stacks those layers vertically, making this flaky buttermilk biscuits recipe truly reliable. You’re basically harnessing the power of steam!
Gathering Your Ingredients for Tender Buttermilk Biscuits
Okay, now for the best part: gathering what we need! One of the things I adore about making these is that they are the definition of accessible scratch baking biscuits. I’m not asking you to run out for anything obscure. Everything here should be simple to find, but how you handle it makes all the difference, as you’ll see in the next steps. We need 2 cups of all-purpose flour, 1 tablespoon of baking powder, 1 teaspoon of salt, and 1 teaspoon of sugar to get that perfect base flavor. Crucially, you’ll need 6 tablespoons of cold unsalted butter, cut into small cubes, and 3/4 cup of cold buttermilk to bring it all together. Don’t forget the 2 tablespoons of melted butter for brushing on top—that’s what gives them that gorgeous, **buttery biscuits** finish!
Ingredient Notes and Substitutions for Buttermilk Biscuits
Listen closely, because this is where a good biscuit becomes a great biscuit. That butter? It must be fridge-cold for those flaky layers we talked about; if it’s soft, you’re going to have a tougher time. The same goes for the buttermilk! If you are truly in a bind and don’t have any, you can create a quick substitute: mix 3/4 cup of regular milk with one teaspoon of white vinegar, let it sit for five minutes until it curdles slightly, and use that. But, if you want the absolute best, most tender buttermilk biscuits, use the real deal! It adds that necessary little tang. While you’re thinking about other tender bakes, take a look at my sweet potato biscuits sometime, too!
How to Prepare Tall and Flaky Southern Style Biscuits
Now that our ingredients are perfectly chilled, it’s time to get mixing! Remember, the key to great Southern style biscuits that rise high is gentle handling. We need to honor the structure we are trying to build here. Preheat your oven to 425 degrees Fahrenheit right now so it’s blazing hot when these go in. We’ll follow the process exactly as I laid it out in the recipe card, concentrating on keeping that butter chunky!
Mixing Dry Ingredients and Cutting in the Butter
Start by whisking your flour, baking powder, salt, and sugar until everything is happy and combined in a large bowl. Next, toss in those cold, cubed butter pieces. You want to work fast here! Use a pastry blender—ah, that satisfying sound!—or just your fingertips to work the butter into the flour. Stop when it looks like coarse crumbs, but make sure you can still see some pea-sized bits of butter lurking in there. If you blend it too smooth, those crucial steam pockets won’t form later, and we won’t get that light, fluffy texture. Just mix until barely combined!
Building Layers with the Fold and Turn Technique
Time for the secret to making these the tall biscuits recipe you always wanted! Make a little well in the center and pour in your cold buttermilk. Mix with a fork just until the dough starts to hang together—seriously, stop mixing when it looks shaggy! Turn that blob out onto a lightly floured counter. Gently pat it into a rectangle, about 3/4 inch thick. Now, fold it into thirds, just like folding a letter. Turn the dough 90 degrees, pat it down again to about 3/4 inch, and repeat this folding and turning one more time. This lamination builds those beautiful layers! Finally, pat the dough out one last time to about 1 inch thick. When cutting your rounds, use a sharp cutter and press straight down all the way through—do not twist the cutter! Twisting seals the edges and stops them from rising. If you want to see a visual breakdown of this process, check out my full baking tutorials biscuits guide. For more inspiration on classic comfort food, this recipe from the folks at The Rooted Farmhouse is also fantastic: easy from scratch buttermilk biscuits.

Baking Your Buttermilk Biscuits to Golden Perfection
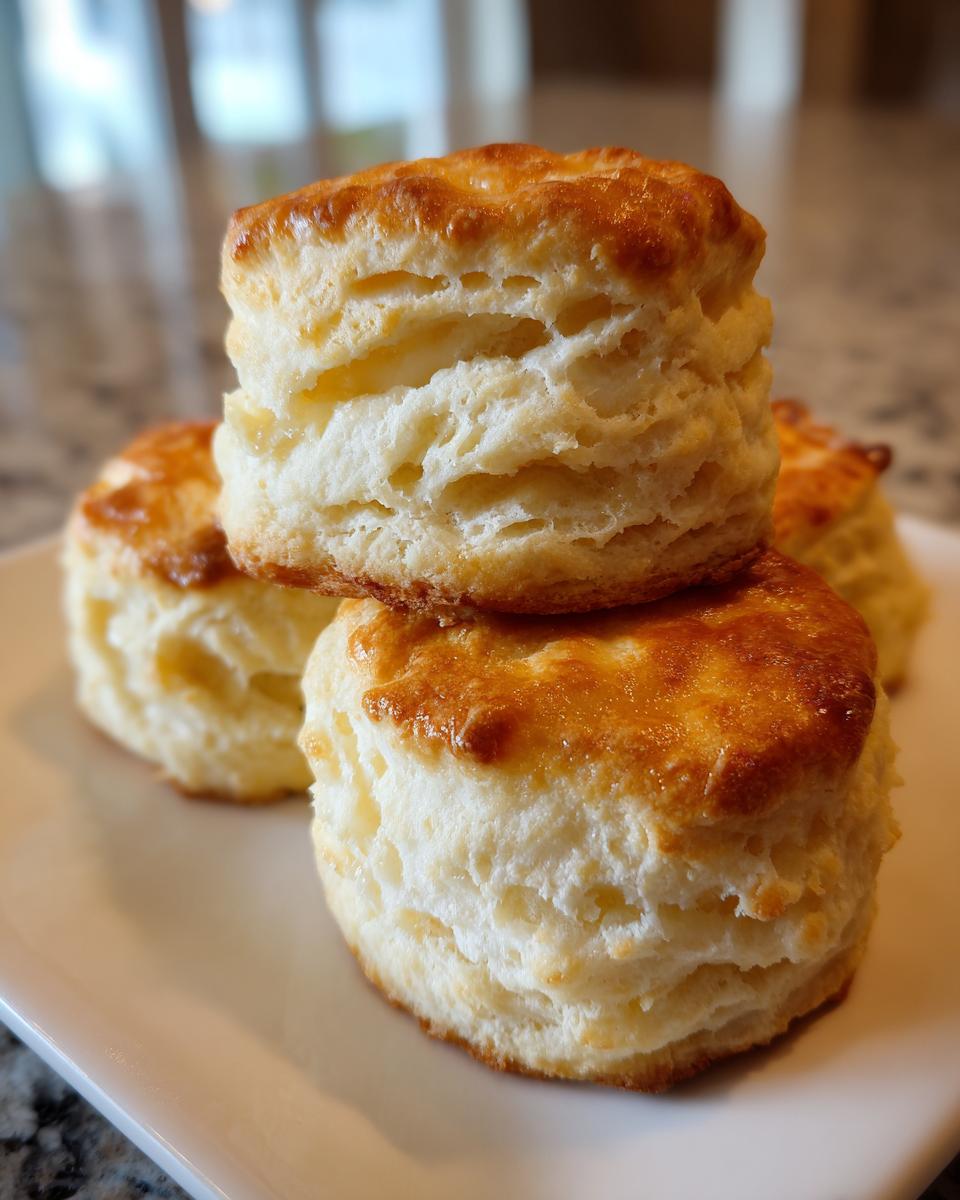
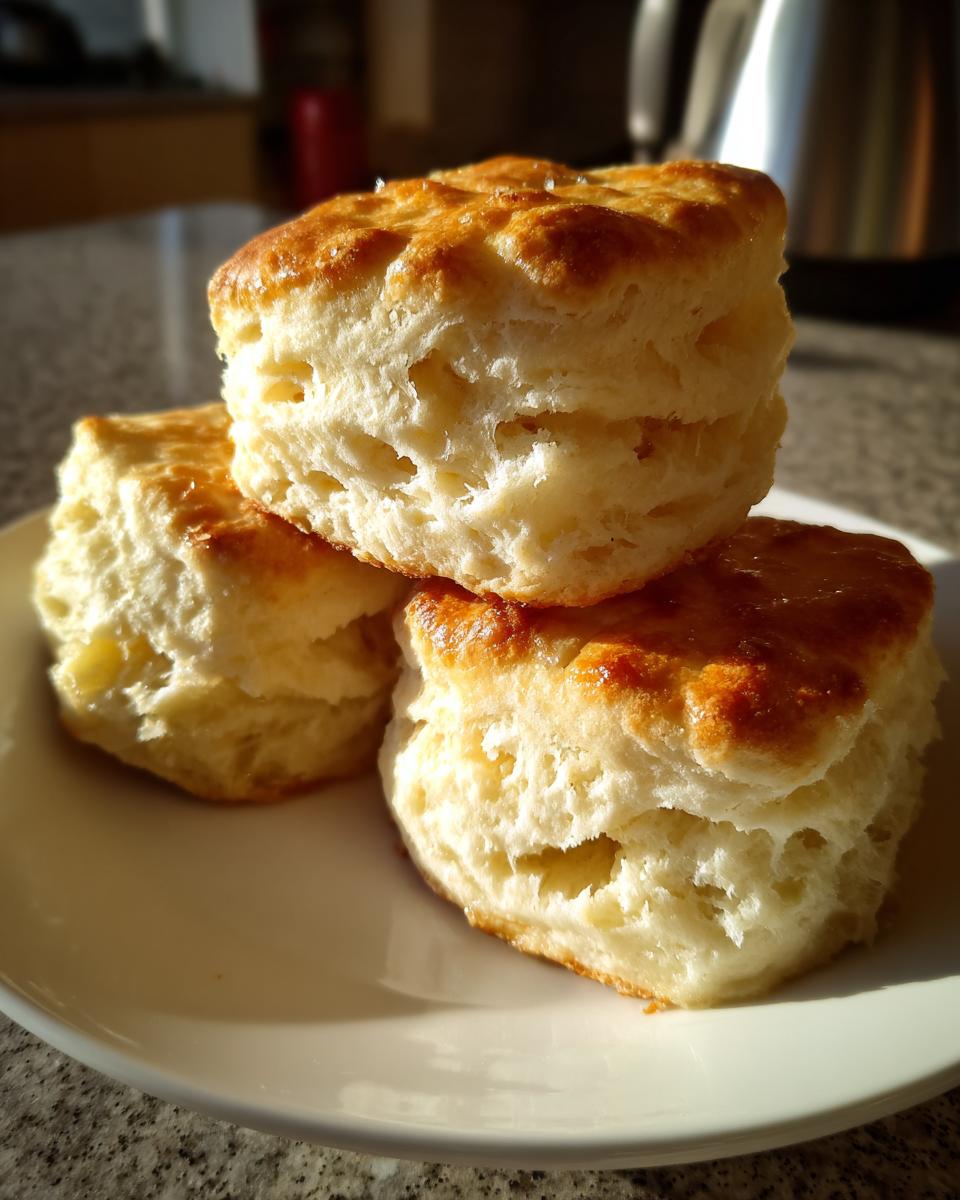
We’ve done all the hard work keeping things cold and layering the dough, so now we get the reward! You need that oven preheated to a blazing 425 degrees Fahrenheit. Hot heat is key; it blasts the moisture out of those butter pockets instantly! Place your raw rounds on an ungreased sheet—I like placing them close together so they bake up softer on the sides. Bake them for about 12 to 15 minutes. You are looking for them to be visibly tall and beautifully golden brown across the top. Don’t open the oven early, let them do their thing! As soon as they come out, brush them generously with the reserved melted butter. Honestly, this last little brush seals in the flavor and makes them extra shiny and tender. If you want to see how others achieve that flaky lift, check out this great resource: flaky butter buttermilk biscuits recipe. For a sweet treat variation, you might also try my crescent roll apple dumplings next!
Tips for Success with Fluffy Buttermilk Biscuits
We covered the steps, but being a great baker means paying attention to the details that make the difference between flat hockey pucks and light, lift-off-the-plate beauties! My biggest thing when making these will always be temperature control. You absolutely must keep your butter and buttermilk colder than the North Pole before you mix them. That blast of cold fat hitting the oven heat is what creates the steam pockets needed for those satisfyingly tall, fluffy buttermilk biscuits.
Also, remember that crucial warning about cutting? You have to press straight down when using that biscuit cutter. Don’t go twisting it around trying to see if you missed a spot; twisting seals the edges shut, and you’ll kill all that rising potential we worked so hard to develop! Be firm, be direct, and they will reward you with incredible layers. If you’re looking for other recipes that prioritize that perfect fluffy texture, you have to try my bakery-style blueberry muffins next!
Serving Suggestions for Classic Comfort Food Baking
Honestly, the hardest part about these biscuits is knowing when to stop eating them! They absolutely shine as the star of a great Southern breakfast—think a big dollop of sausage gravy piled right on top, or maybe just some good quality apple butter slathered on while they’re still steaming. But don’t just save these for the morning! They are fantastic served warm alongside dinner, too. They make a wonderful, buttery alternative to standard dinner rolls, especially when you have something rich like a slow-cooked stew or maybe even my creamy mashed potatoes on the side. They’re even sturdy enough to sop up the last bit of gravy from a delicious roast, like my foolproof gravy.
Storage and Reheating Your Buttery Biscuits
These buttery biscuits are definitely best eaten hot right out of the oven, but they travel well! For short-term storage, keep them in an airtight container at room temperature for up to two days. If you need them to last longer, I suggest freezing them unbrushed. Just wrap them tightly in plastic wrap and then foil! When you’re ready to eat them later, pop the frozen biscuit directly onto a cookie sheet and bake at 350 degrees for about 10 minutes until warmed through. This brings the flaky texture right back! You can also see my tips for reheating other make-ahead items over at my egg bites recipe page. For other good tips on keeping them flaky, check out Kitchen by Clara’s advice here: Flaky Homemade Buttermilk Biscuits Recipe.
Frequently Asked Questions About Buttermilk Biscuits
I get so many questions from readers who are just learning how to make biscuits from scratch, and that’s wonderful! It shows that so many of you are ready to ditch the store-bought stuff. Here are the top things I hear over and over again, especially about keeping those layers high and fluffy!
Can I make these buttermilk biscuits ahead of time?
You absolutely can! While I always preach eating them hot—because, seriously, nothing beats that first bite—I know life is busy. You can store baked biscuits in an airtight container at room temperature for about two days. If you need them to last longer, freeze them unbrushed and unfrosted. Just pop them right back into a 350-degree oven for about 10 minutes, and they come back to life wonderfully flaky! Check out my storage notes above for more on reviving them.
What if I don’t have buttermilk for this quick biscuit recipe?
Oh, the classic substitution dilemma! If you’re out of buttermilk for this quick biscuit recipe, you can DIY it! The standard way that works pretty well is taking your regular milk (whole milk is best here if you have it) and stirring in one teaspoon of white vinegar or lemon juice for every 3/4 cup of milk needed. Let it sit on the counter for about five minutes until it looks a little lumpy or curdled. That acid acts just like the buttermilk does. However, I have to be honest—real, full-fat buttermilk just gives you that superior tang and texture that makes the best buttermilk biscuits!
If you’re looking for a warm dip to dunk your leftover buttery biscuits into, you have to try my recipe for easy pub-style beer cheese dip—it’s surprisingly simple!
Estimated Nutritional Data for These Flaky Biscuits
I always like to include a little heads-up on the numbers because, while these gorgeous buttermilk biscuits are pure comfort, they aren’t exactly diet food! Remember, these figures are just my best estimate calculated from the ingredients listed, so they can vary based on your specific butter brand and measuring habits. For one hearty biscuit, you are looking at roughly 220 Calories, 12g of Fat, 25g of Carbohydrates, and 4g of Protein. They are wonderfully satisfying, and that little bit of fat is what’s responsible for all that flake and tenderness!
Share Your Experience Making These Scratch Baking Biscuits
Well, you’ve made it! You’ve baked the beautiful, high-rising, flaky buttermilk biscuits, and I truly hope they made your kitchen smell like a dream. When you talk about **classic comfort food baking**, this is what I picture! I would absolutely love to hear how they turned out for you. Did you manage to get those perfect layers? Did you serve them with jam or gravy?
Please take a moment to drop a star rating below—it really helps other cooks know if this recipe is a winner, and honestly, seeing your successes keeps me inspired to share more easy, reliable recipes!
If you had any little hiccups along the way, or if you want to tweak things next time, don’t hesitate to head over to my contact page and send me a note. We can troubleshoot together! And if you’re looking for another perfect, flaky bake to try next week, check out the beautiful biscuits linked over at Overgeareed: Buttermilk Biscuits: Flaky & Golden. Happy baking, friends!
PrintTall and Flaky Southern Buttermilk Biscuits
Learn the simple method to make tall, flaky, and tender buttermilk biscuits from scratch that melt in your mouth. This recipe delivers classic Southern style comfort food.
- Prep Time: 15 min
- Cook Time: 15 min
- Total Time: 30 min
- Yield: 8 servings 1x
- Category: Breakfast
- Method: Baking
- Cuisine: American
- Diet: Vegetarian
Ingredients
- 2 cups all-purpose flour
- 1 tablespoon baking powder
- 1 teaspoon salt
- 1 teaspoon sugar
- 6 tablespoons cold unsalted butter, cut into small cubes
- 3/4 cup cold buttermilk
- 2 tablespoons melted butter for brushing
Instructions
- Combine the flour, baking powder, salt, and sugar in a large bowl. Whisk these dry ingredients together well.
- Add the cold, cubed butter to the flour mixture. Use a pastry blender or your fingertips to cut the butter into the flour until the mixture resembles coarse crumbs with some pea-sized pieces of butter remaining. This step is key for flaky layers.
- Make a well in the center of the dry ingredients and pour in the cold buttermilk. Mix gently with a fork just until the dough comes together. Do not overmix.
- Turn the dough out onto a lightly floured surface. Gently pat the dough into a rectangle about 3/4 inch thick.
- Fold the dough into thirds, like a letter. Turn the dough 90 degrees and pat it down again to about 3/4 inch thickness. Repeat this folding and turning process one more time. This builds layers.
- Pat or roll the dough to a final thickness of about 1 inch. Use a sharp biscuit cutter (do not twist the cutter) to cut out rounds. Place the cut rounds close together on an ungreased baking sheet for softer sides, or further apart for crispier sides.
- Brush the tops of the biscuits lightly with melted butter.
- Bake in a preheated oven at 425 degrees Fahrenheit for 12 to 15 minutes, or until the biscuits are tall and golden brown on top.
- Remove from the oven and brush the tops immediately with more melted butter for extra flavor. Serve warm.
Notes
- Keep all your ingredients, especially the butter and buttermilk, very cold before mixing. Cold fat creates steam pockets, resulting in flaky layers.
- When cutting the biscuits, press the cutter straight down without twisting. Twisting seals the edges and prevents the biscuits from rising tall.
- For extra tall biscuits, you can stack the cut rounds on top of each other before baking, or use the ‘laminate’ folding technique described in the instructions multiple times.
Nutrition
- Serving Size: 1 biscuit
- Calories: 220
- Sugar: 1
- Sodium: 450
- Fat: 12
- Saturated Fat: 7
- Unsaturated Fat: 5
- Trans Fat: 0
- Carbohydrates: 25
- Fiber: 1
- Protein: 4
- Cholesterol: 25