
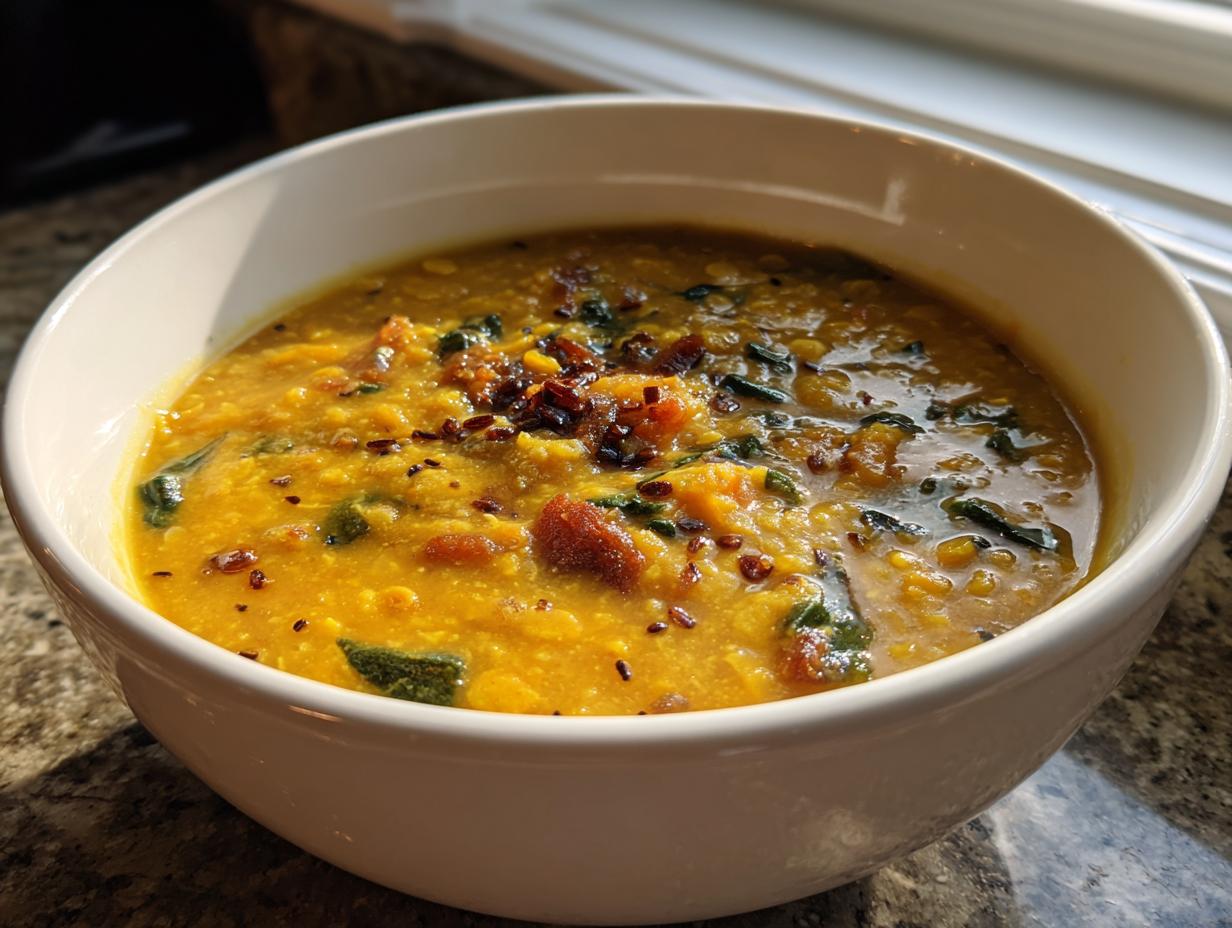
There’s just nothing that warms you to the core like a big, steamy bowl of comfort food, right? And for me, that’s exactly what this Classic Tadka Dhal is. Forget the idea that authentic Indian cooking has to be complicated; I promise you, it doesn’t! This dhal recipe is honestly the cornerstone of everything we do here at Cooking by Jade. I spent years pulling apart traditional techniques to figure out how to make intensely flavorful meals accessible, which is why I’m sharing my tried-and-true method for this simple yellow lentil stew today. If you’re looking for that perfect savory, spiced hug in a bowl, you’ve found it. Let’s get cooking! You can read more about my philosophy on simple cooking over at the about page.
- Why This Classic Tadka Dhal Recipe Works for Everyone
- Essential Ingredients for Authentic Dhal
- Step-by-Step Guide: How to Make Dhal at Home
- Tips for Success When Preparing Your Dhal
- Variations to Customize Your Simple Lentil Stew
- Serving Suggestions for Your Dhal
- Storage and Reheating Instructions for Leftover Dhal
- Frequently Asked Questions About Making Dhal
- Share Your Comfort Food Lentils Experience
Why This Classic Tadka Dhal Recipe Works for Everyone
I developed this recipe because so many people think they need obscure spices or hours of time to get that true, restaurant-quality flavor. This Classic Tadka Dhal smashes that myth!
- It relies on absolute pantry staples—lentils, turmeric, cumin—so you probably have everything you need right now.
- It’s genuinely an Easy Lentil Soup Recipe that comes together fast once the lentils are cooked.
- The tadka (tempering) step is so simple, but it elevates this dish from basic to extraordinary every single time.
- This makes for a fantastic Quick Weeknight Dal when you need serious flavor without the fuss.
Essential Ingredients for Authentic Dhal
When you’re aiming for that true, deep flavor in your dhal, the ingredients matter—but thankfully, they aren’t complicated! Everything in this stew really sings when you give it your full attention. You’ll want 1 cup of your chosen lentil, 4 cups of water for the initial cook, and just a half teaspoon of turmeric powder. The flavor heroes, though, are in the tempering later on: ghee, cumin seeds, mustard seeds, and a critical pinch of asafoetida, or Hing, which gives that signature savory note.
Choosing Your Lentils for the Best Dhal
This recipe is quite flexible, which is great! Your main choice is between Toor Dal (Split Pigeon Peas) or Masoor Dal (Red Lentils). If you want that richer, classic restaurant texture, go with Toor Dal. Now, Masoor Dal cooks way faster—it’s perfect for a super speedy weeknight dhal. Whichever you pick, the most important physical step—don’t skip this—is rinsing! You must rinse the lentils under cold, running water until that water runs completely clear. That washes away the excess starch, and trust me, it stops your dhal from becoming gummy!
Step-by-Step Guide: How to Make Dhal at Home
Okay, let’s get these beautiful lentils cooked! This is the easiest part, but it determines the final texture of your dhal. First, you combine that rinsed dal, your 4 cups of water, and the turmeric powder right in your pot. You want these gorgeous yellow lentils to turn into something almost liquid—super soft and mushy. If you’re using your stovetop, keep the heat low, stir it every ten minutes or so, and let it bubble gently for about 45 to 50 minutes. If you’re breaking out the pressure cooker, you just need about three whistles. My personal rule? Once they are cooked, grab a whisk and give it a good whip! That ensures it’s creamy, not grainy.
Cooking the Lentils until Perfectly Soft for Your Dhal
Remember, we are aiming for mushy perfection here. Don’t pull them off the heat just because they look soft on top; stir underneath! If it gets too thick while cooking on the stove, just splash in a little more hot water—we are aiming for a perfect stew consistency, not a paste. Once you’ve whisked it smooth, you add your salt for the first time, taste it, and adjust the water if you like it thinner for serving with rice. Keep this base dhal on the lowest possible setting while you tackle the real magic.
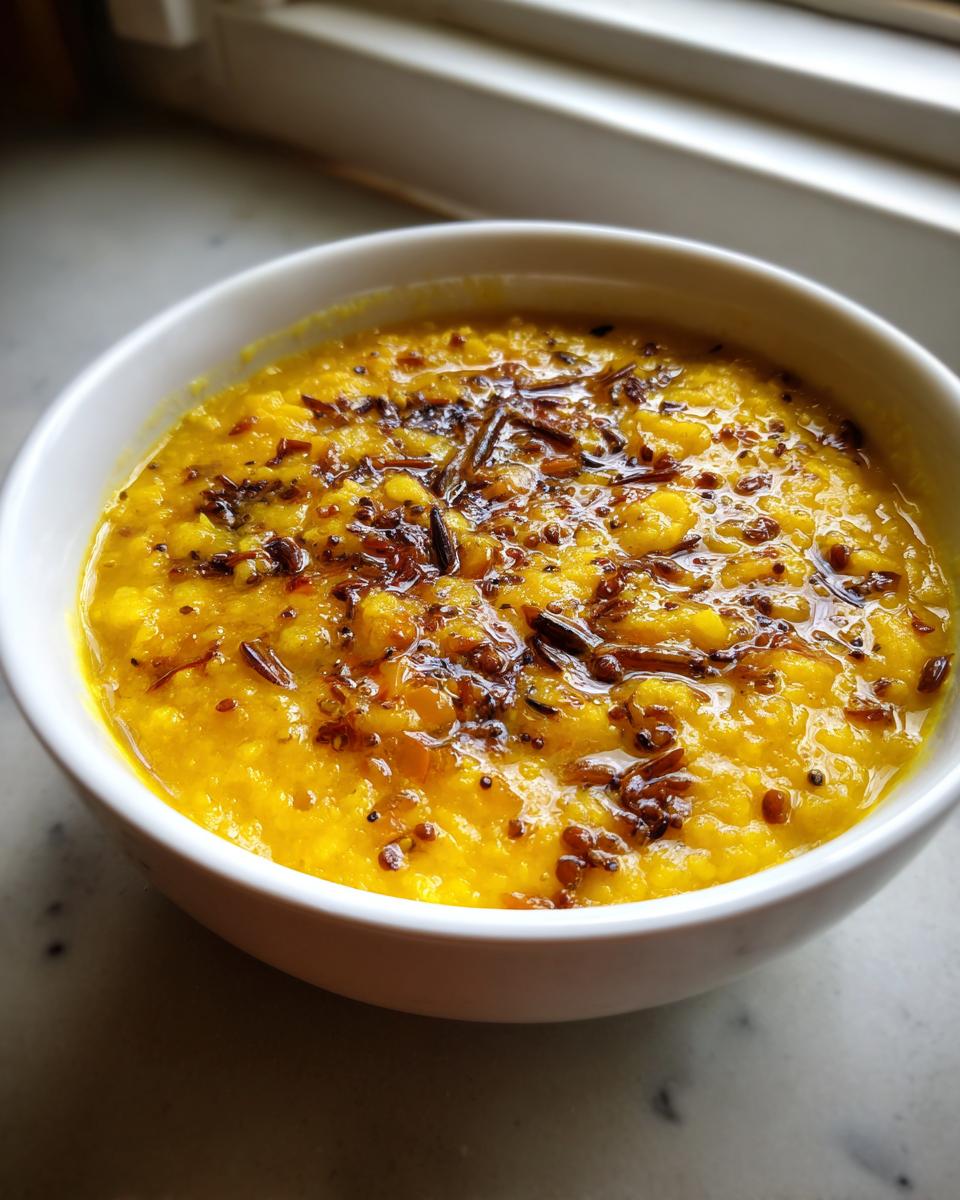
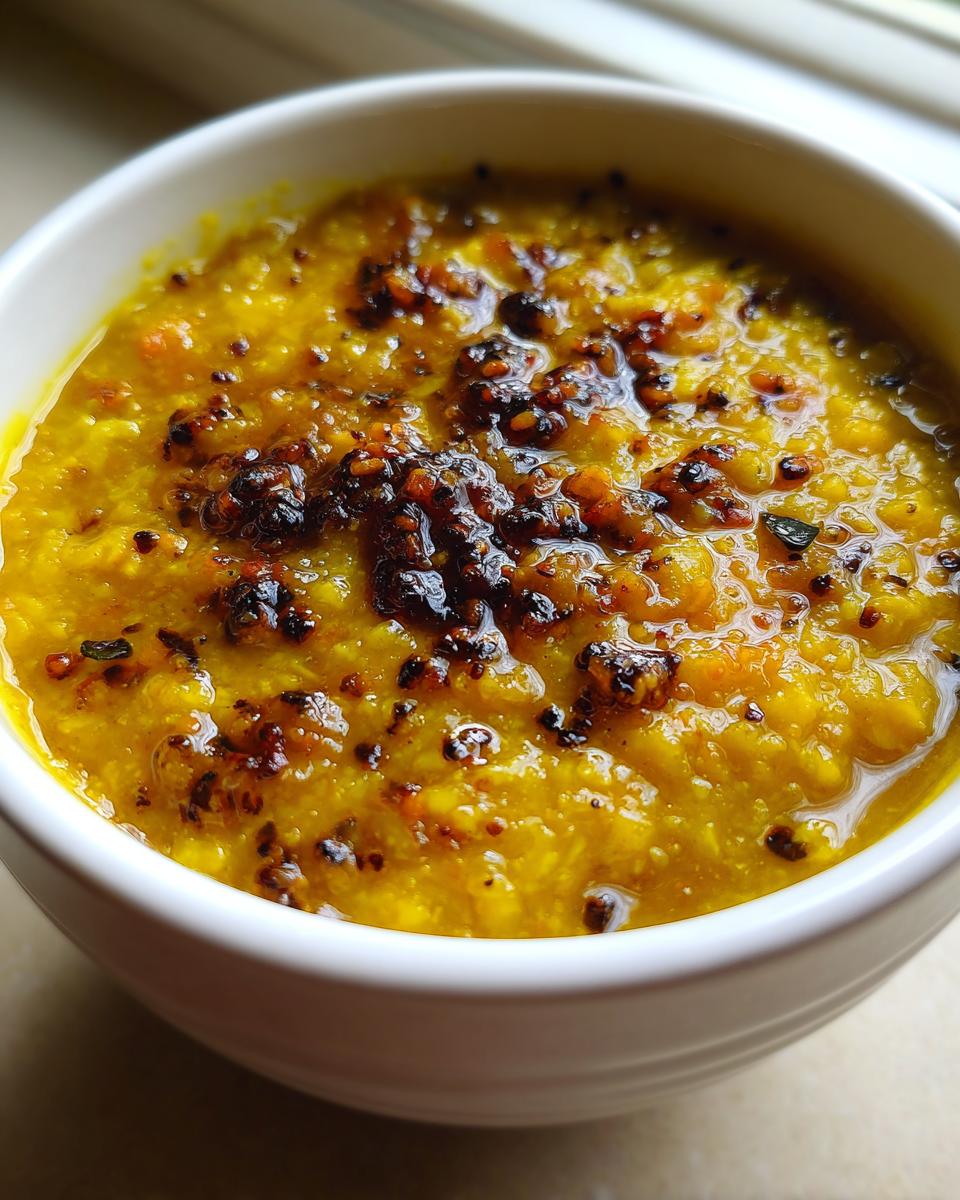
Mastering the Tadka: The Flavor Secret to Great Dhal
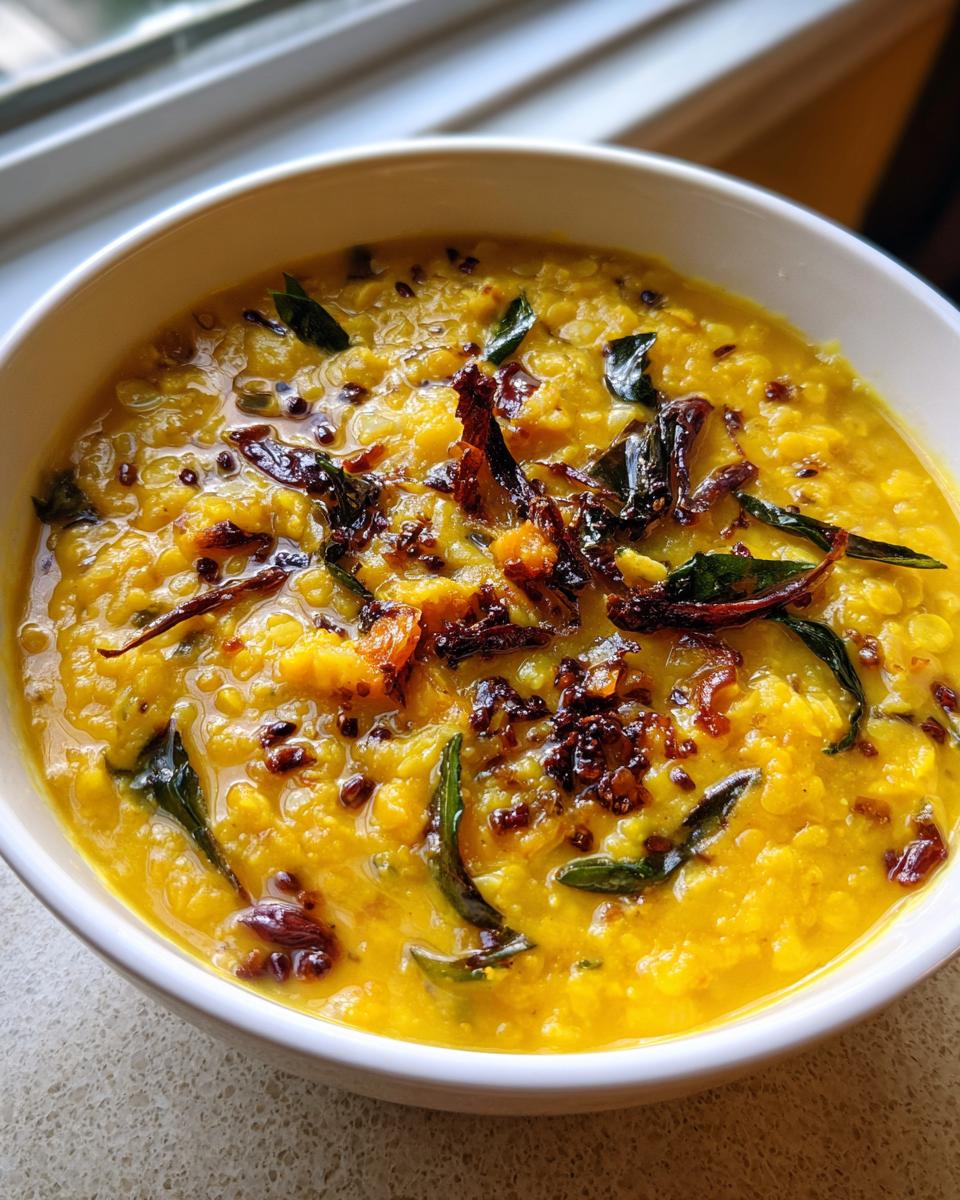
If you want an Authentic Indian Dal, you cannot skip the tadka! This is where all the incredible aroma comes from. In a separate tiny pan, heat your ghee or oil over medium heat. Seriously, watch this part carefully—we want things to sizzle, but we don’t want smoke! Add your cumin seeds and mustard seeds first. Wait until those mustard seeds start popping like tiny fireworks! Then, quickly toss in your dried chilies and that pinch of asafoetida (Hing). A quick 10-second stir, and then immediately add your onions, ginger, and garlic. The residual heat will bloom those spices perfectly into the fat!
Tips for Success When Preparing Your Dhal
Even with a super simple recipe like this Basic Tadka Dal, a couple of quick tips can make the difference between good and great. My biggest piece of advice is timing your salt! You should only add the salt *after* the lentils are completely cooked and softened. Salt tends to slow down the softening process, so if you add it early, you might end up with tough lentils even after 45 minutes.
Also, remember that dhal thickens as it cools, so don’t overthink the consistency when it’s piping hot! If it looks slightly too thin when you first pour the tadka in, that’s perfect. Simmer it for those last two minutes, and it will set up just right. If you’re planning your full meal, I have some amazing Indian Side Dish Recipes that pair perfectly with this stew!
Variations to Customize Your Simple Lentil Stew
Okay, once you have this classic dhal base down pat, it’s time to start playing! That’s the best part about mastering one recipe—you can tweak it endlessly. This Simple Lentil Stew is fantastic as is, but maybe you’re in the mood for something greener? Tossing in a big handful of fresh spinach right when you add the tadka works beautifully; it wilts in seconds and adds great nutrition.
Another easy switch is using mustard oil instead of ghee for your tempering if you want a slightly sharper, more pungent flavor profile. Or, if you find yourself out of tomatoes when cooking the onions and garlic, don’t sweat it! Just finish the whole dish with a big, bright squeeze of fresh lemon juice right before serving instead. That acidity cuts through the richness perfectly.
Making a Vegan Dhal Meal Plan Addition
The wonderful thing about this dhal, as written, is that it’s inherently so good for you and totally vegetarian! If you are working towards a Vegan Lentil Meal Plan, you’ve got zero extra work to do, honestly. The recipe calls for ghee, which is clarified butter, so to keep it 100% vegan, just make sure you use a neutral vegetable oil—like avocado or canola—or even coconut oil in that tempering step. Ghee brings flavor, yes, but olive oil or the seeds in mustard oil carry that flavor just as well, ensuring your cozy, protein-packed lentil meal fits your lifestyle perfectly.
Serving Suggestions for Your Dhal
So, you’ve got this incredible, fragrant dhal simmering on the stove—now, what do you eat it with? While I always default to tradition, you have lots of great options! For the most classic combination, you absolutely need a big scoop of fluffy Basmati rice. That’s the ultimate Lentil Soup with Rice Pairing, letting the rice soak up all that spiced liquid.
If you’re leaning towards bread, warm roti or soft naan are perfect for scooping. But if you want to get a little creative and make this a more complete plate—and I love a good non-traditional pairing—try serving a small bowl of this dhal alongside some really creamy mashed potatoes. Seriously, my creamy roasted potatoes offer a wonderful contrast to the spiced lentils!
Storage and Reheating Instructions for Leftover Dhal
Oh, you made too much? That’s the best problem to have because, I swear, leftover dhal often tastes even better the next day! It lets all those spices and the fat from the tadka really sink into the lentils overnight. Once the dhal has completely cooled down, you’ll want to get it into an airtight container. It keeps beautifully in the refrigerator for about three to four days. Don’t try to push it past that because, just like any good home cooking, we want to keep things safe!
When you’re ready for another serving, the stovetop is honestly your best friend here. Transfer the amount you want to a medium saucepan and start heating it gently. Because lentils absorb liquid as they sit, your dhal will likely be much thicker than when you first cooked it—almost like a paste. This is totally normal! Just keep a kettle of hot water nearby and stir in a splash or two at a time until you get that lovely, soupy stew consistency back. Avoid the microwave if you can, because it tends to heat unevenly, leaving you with overly hot spots and dry clumps.
Frequently Asked Questions About Making Dhal
I get so many questions after people try making this dhal for the first time, which I love! It means you’re digging into the world of home cooking, and that’s what we are all about here. Most of the time, people worry about getting the lentil texture right or what to do if they are missing one bizarre ingredient. Let’s tackle some of those sticking points right now so your next batch of Comfort Food Lentils is absolutely perfect.
What if I don’t have Hing (Asafoetida) for my tadka?
Honestly, don’t panic if you’ve never heard of or can’t find that little jar of asafoetida (Hing)! It’s magic stuff—it adds a unique, savory, garlicky depth that really screams ‘Authentic Indian Dal.’ But if you don’t have it, just leave it out. Your dhal will still be incredibly flavorful because the cumin, garlic, and chili do most of the heavy lifting. If you really want to try replacing that savory funk, some cooks suggest adding a tiny bit of finely crumbled dried shiitake mushroom powder to the tempering, but honestly, skipping it is fine for a Quick Weeknight Dal.
Can I use a slow cooker for this dhal?
Yes, you totally can! I actually developed a separate guide specifically for making your dhal hands-off in an Indian Lentil Slow Cooker. If you adapt it for the slow cooker, you’ll want to cook on LOW for about 6 to 7 hours or HIGH for about 3 to 4. Remember to save that tadka for the very end, just like we do on the stovetop, because slow cooking can mute the brighter spice notes if they cook too long.
Can I substitute the lentils in this dhal recipe?
Absolutely! This recipe is built on the idea of flexibility for your pantry. If you swap out the Toor Dal for something else, just know it changes your cooking time. Masoor Dal (red lentils) will cook down much faster—maybe only 20 minutes on the stove instead of 45. Yellow split peas (Chana Dal) will take significantly longer, maybe closer to an hour and a half, and they’ll yield a thicker, much rougher texture. Just watch the texture closely until they are beautifully soft and mushy!
My dhal feels grainy after I whisked it. What went wrong?
That usually means the lentils weren’t quite broken down enough before you added the salt. If you’re whisking away and it still feels sandy, your heat might have been too high during the main cooking phase, which prevented them from dissolving into that creamy state. Don’t worry! If you have a little leftover time, just let it simmer on the absolute lowest setting, covered partially, for another 15 minutes. Sometimes, adding an extra half-cup of hot water and whisking really vigorously can help smooth it out to the ideal consistency for your Simple Lentil Stew.
How long does this dhal need to simmer after adding the tadka?
This is a short but crucial step! You only need about two minutes of simmering after you pour that glorious flavorful oil over the cooked lentils and stir it in. Why so short? You’re not trying to cook anything new; you’re just allowing the fat-soluble flavor compounds from the mustard seeds, chilies, and garlic to marry with the earthiness of the cooked lentils. Any longer than two minutes, and you risk some of those delicate aromas evaporating away. Keep that heat low and enjoy the smell filling your kitchen!
Share Your Comfort Food Lentils Experience
Gosh, that’s it! You’ve made a pot of beautiful, authentic dhal, full of flavor from that perfect tadka. I sincerely hope this easy lentil soup recipe brings as much warmth to your table as it brings to mine. Cooking should always feel rewarding, and there’s no better way to celebrate a successful dish than sharing it!
I would absolutely love to hear how your meal turned out. Did you use Toor or Masoor? Did you go heavy on the chilies in your tempering? Please take a moment, hop over to the comment section below, and let me know! Rating this recipe truly helps other cooks feel confident trying out this wonderfully simple Comfort Food Lentils dish.
If you ever have a question while you’re experimenting with your next batch, remember you can always reach out directly through the contact page. Happy scooping!
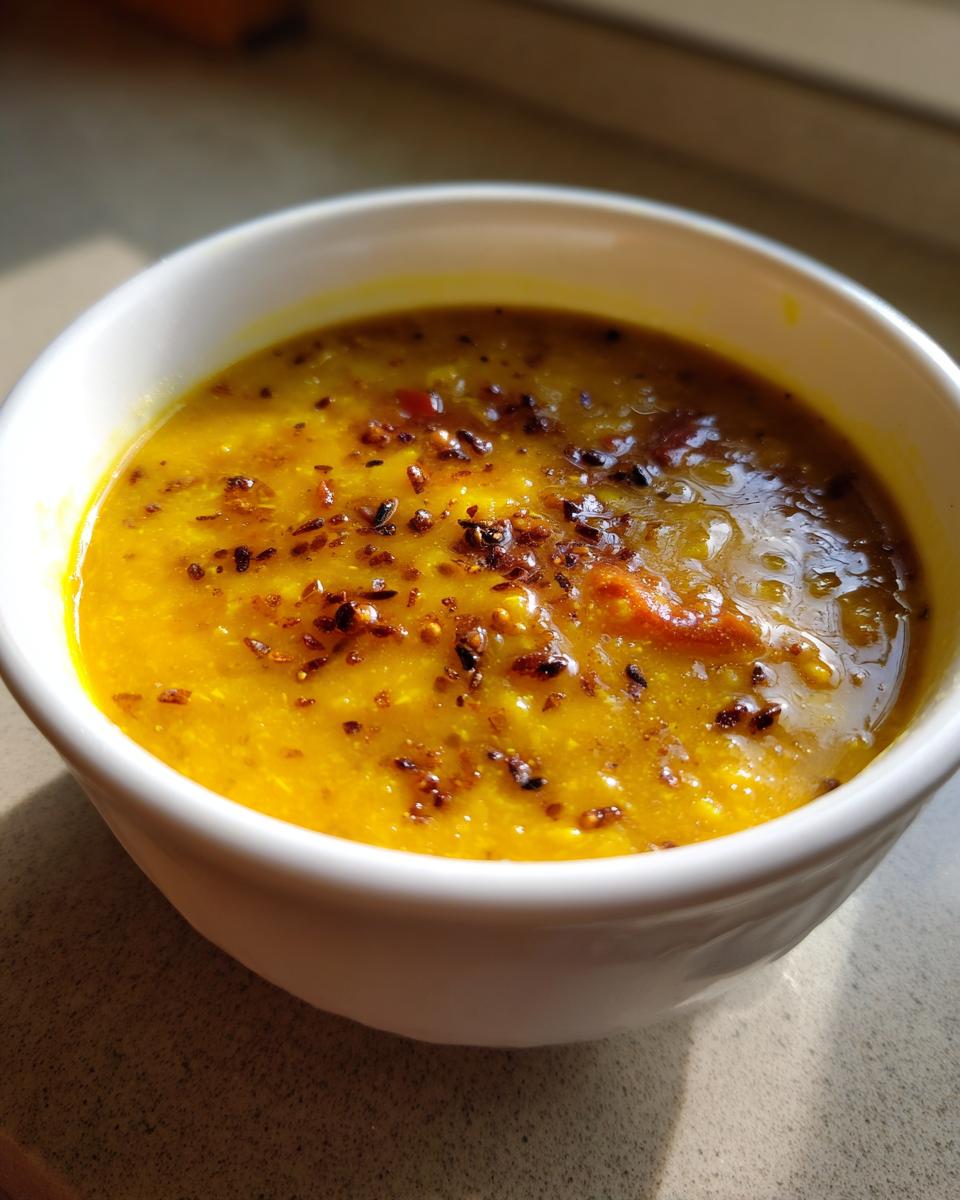
PrintClassic Tadka Dal: Simple Yellow Lentil Stew

Learn how to make authentic, flavorful Tadka Dal at home with this easy recipe. This simple lentil stew uses basic ingredients and features a traditional tempering for maximum comfort and taste.
- Prep Time: 10 min
- Cook Time: 45 min
- Total Time: 55 min
- Yield: 4 servings 1x
- Category: Main Dish
- Method: Stove Top
- Cuisine: Indian
- Diet: Vegan
Ingredients
- 1 cup Toor Dal (Split Pigeon Peas) or Masoor Dal (Red Lentils)
- 4 cups Water
- 1/2 teaspoon Turmeric powder
- 1 teaspoon Salt (or to taste)
- 1 tablespoon Ghee or neutral oil
- 1 teaspoon Cumin seeds
- 1/2 teaspoon Mustard seeds
- 2 Dried red chilies
- 1/4 teaspoon Asafoetida (Hing)
- 1 medium Onion, finely chopped
- 1 teaspoon Ginger, minced
- 1 teaspoon Garlic, minced
- 1 medium Tomato, chopped
- 1/4 cup Fresh cilantro, chopped (for garnish)
Instructions
- Rinse the dal thoroughly under cold water until the water runs clear.
- Combine the rinsed dal, water, and turmeric powder in a medium pot or pressure cooker.
- Cook the dal until it is very soft and mushy. If using a pot, this takes about 40-50 minutes on low heat, stirring occasionally. If using a pressure cooker, cook for 3-4 whistles.
- Once cooked, whisk the dal until smooth. Add salt and adjust water consistency to your preference for a stew-like texture. Keep warm.
- Prepare the tadka (tempering): Heat the ghee or oil in a small pan over medium heat.
- Add cumin seeds and mustard seeds. Wait until the mustard seeds begin to splutter.
- Add the dried red chilies and asafoetida. Cook for 10 seconds until fragrant.
- Add the chopped onion and sauté until soft and translucent, about 5 minutes.
- Add the minced ginger and garlic. Cook for 1 minute until the raw smell disappears.
- Add the chopped tomato. Cook until the tomatoes soften and break down, about 5-7 minutes.
- Pour the entire tempering mixture (tadka) over the cooked dal. Stir gently to combine.
- Simmer the dal for 2 minutes to allow the flavors to meld.
- Garnish generously with fresh cilantro before serving. Serve hot with rice or roti.
Notes
- For a richer flavor, use Toor Dal (Split Pigeon Peas). For a quicker cooking time, use Masoor Dal (Red Lentils).
- If you do not have asafoetida, you can omit it, but it adds a distinct savory depth to the tempering.
- This dal pairs perfectly with plain steamed Basmati rice or whole wheat roti.
- You can add a squeeze of fresh lemon juice just before serving for brightness.
Nutrition
- Serving Size: 1 bowl
- Calories: 280
- Sugar: 4
- Sodium: 450
- Fat: 9
- Saturated Fat: 2
- Unsaturated Fat: 7
- Trans Fat: 0
- Carbohydrates: 40
- Fiber: 12
- Protein: 16
- Cholesterol: 0