
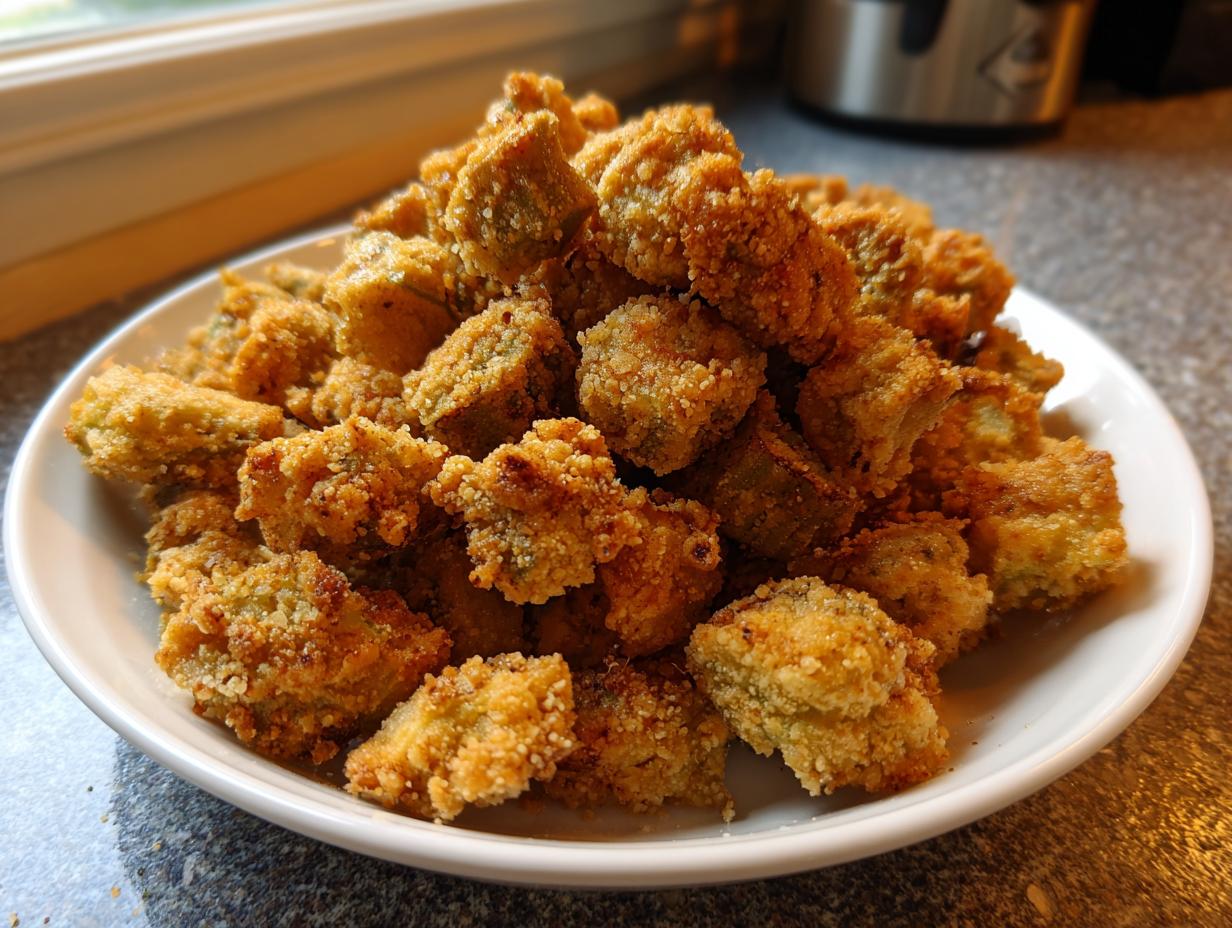
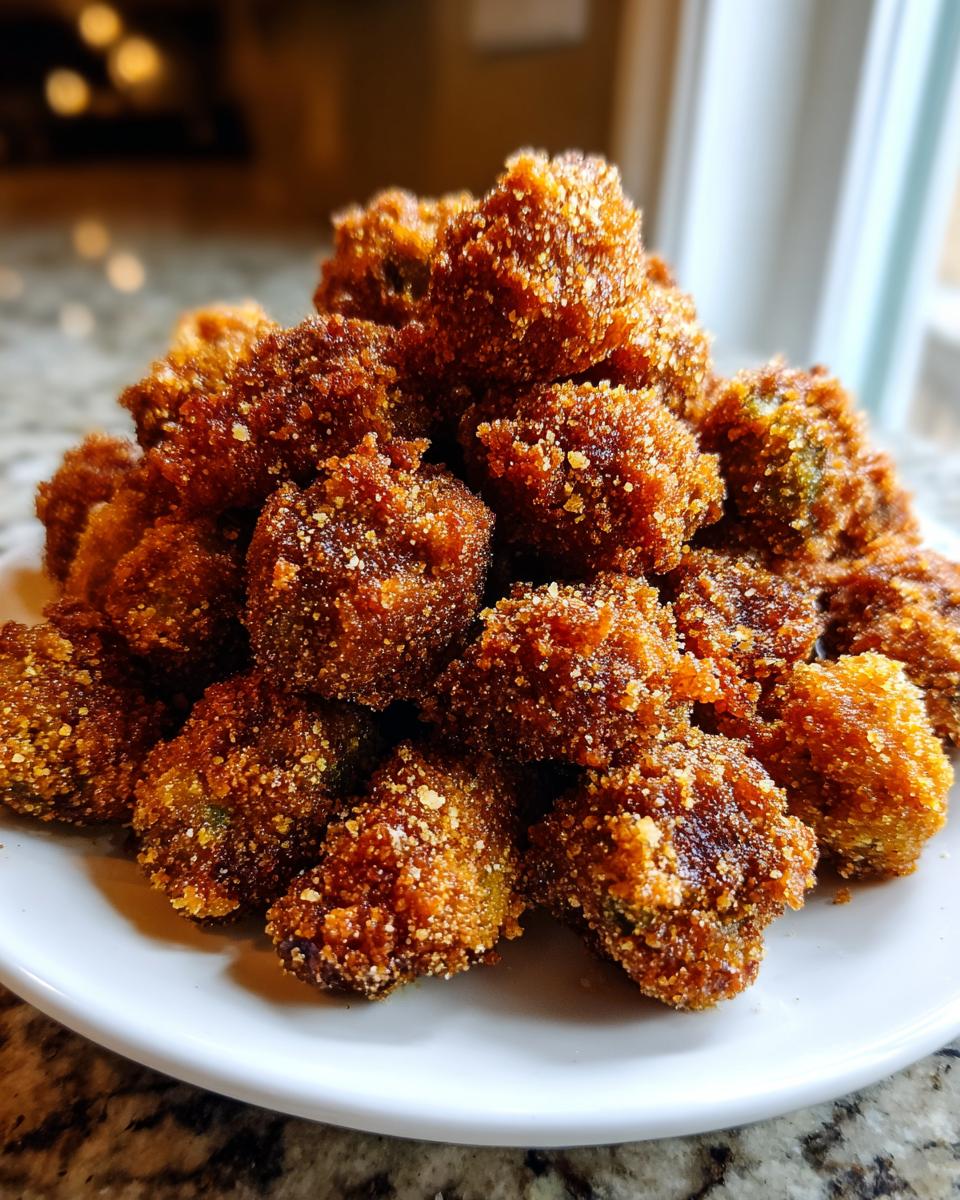
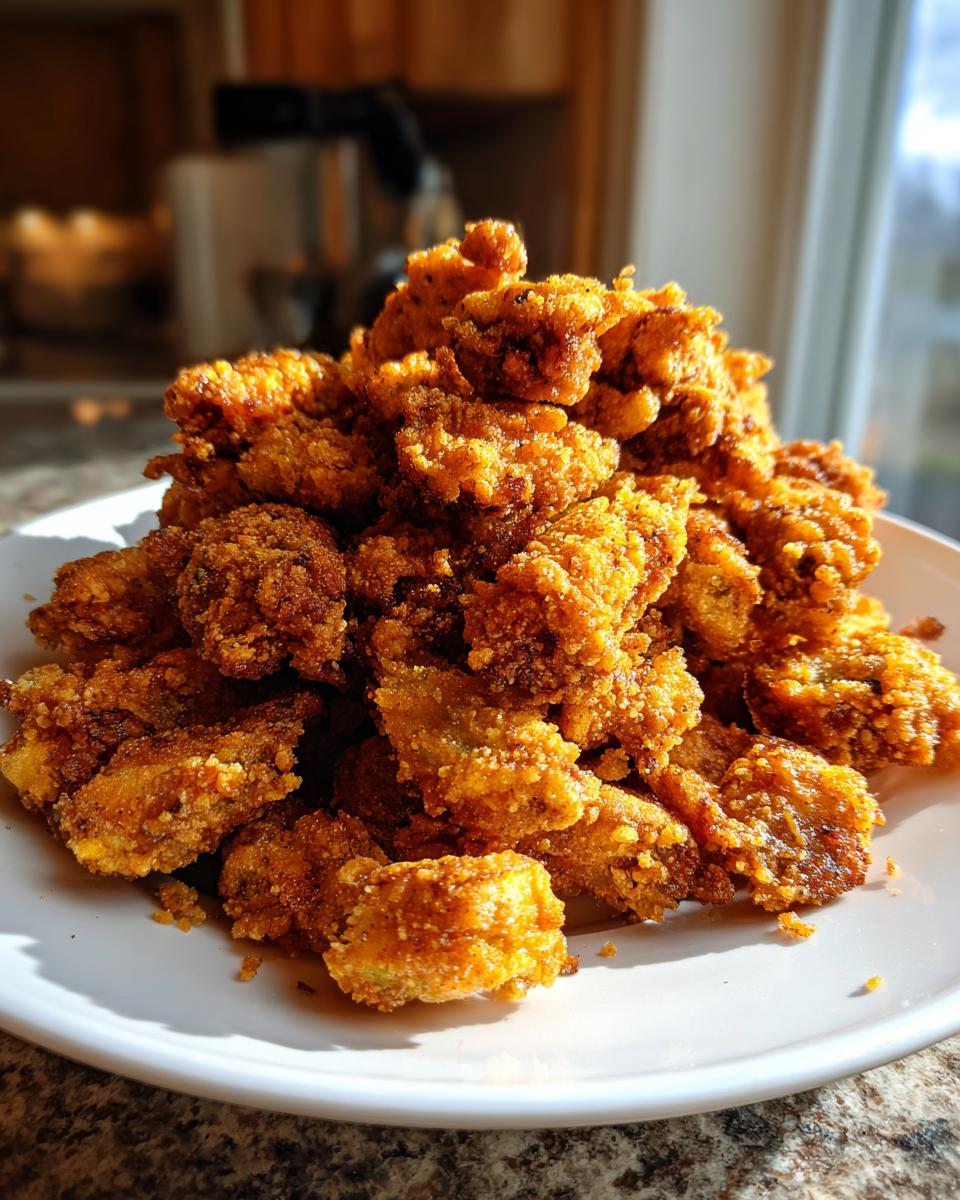
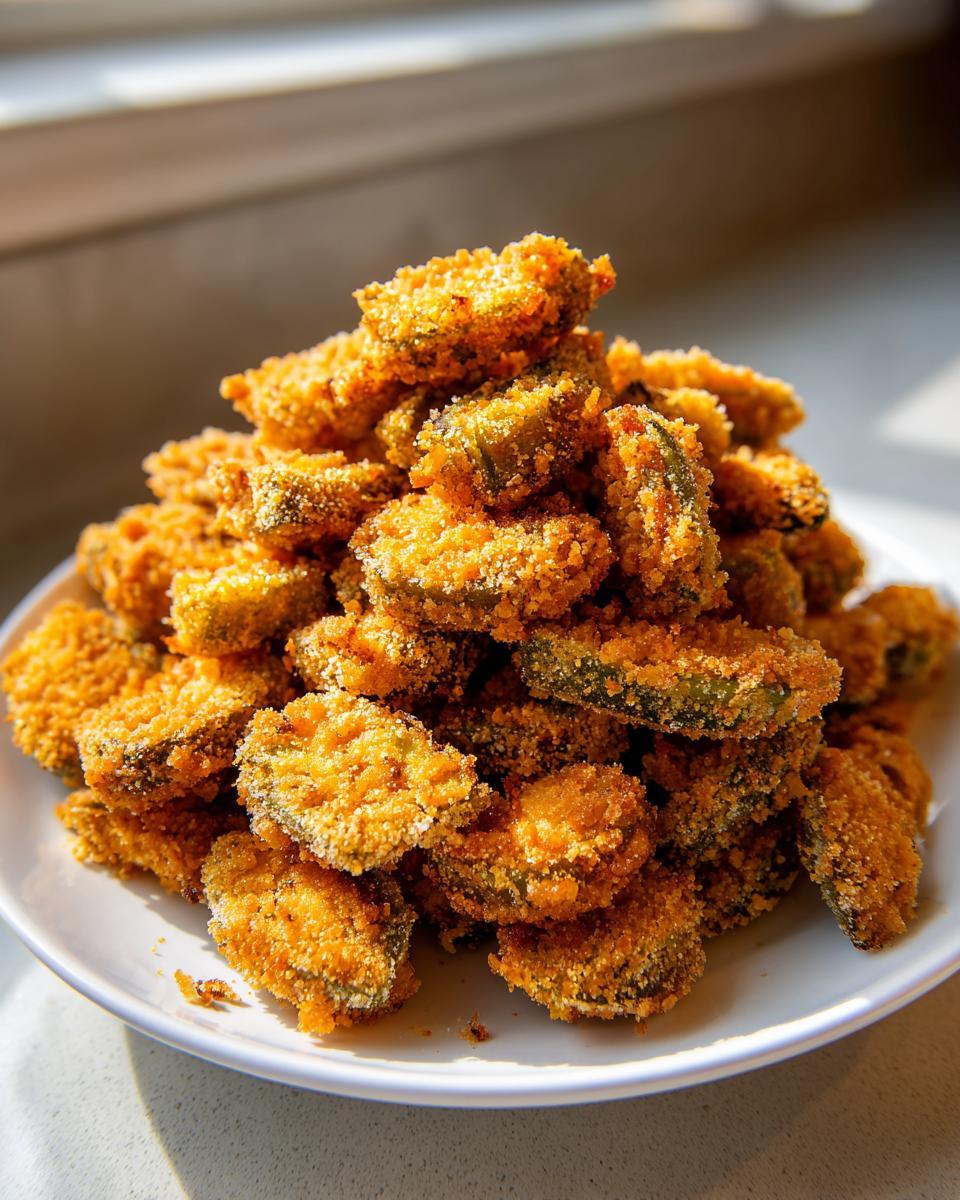
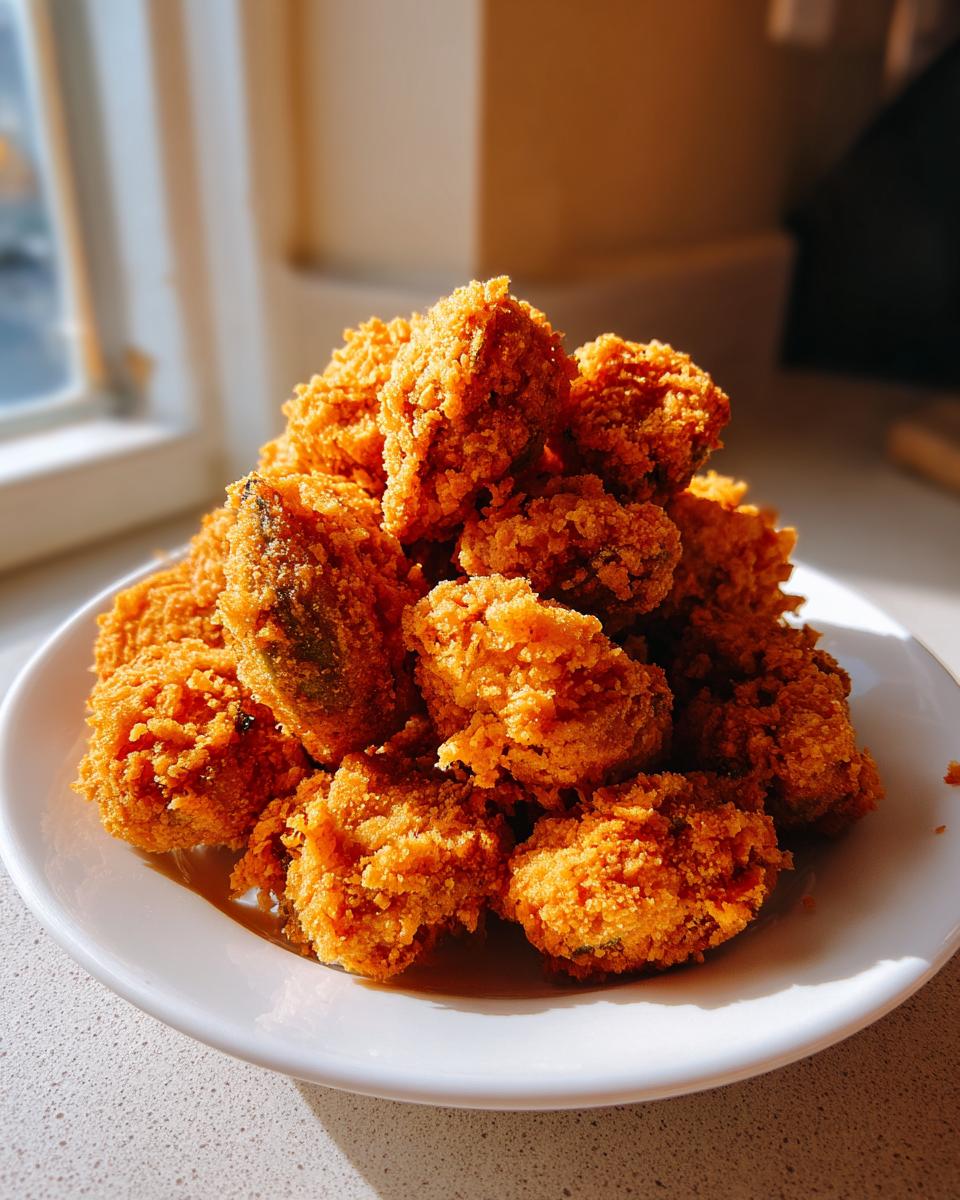
Oh, I know exactly what you want! You want that perfect, golden-brown crunch that snaps when you bite into it. You want that incredible, satisfying crunch without any mystery slime hiding underneath the coating. Trust me, after years of testing recipes in the kitchen, I perfected this technique. This isn’t just any recipe; this is the ultimate, tried-and-true method for fried okra that guarantees a wonderfully crispy, no-slime result, thanks entirely to a little buttermilk magic and a double dredge.
Here at Cooking by Jade, we focus on making reliable food that feels like home. I learned early on that simple ingredients, handled with confidence, always win. This recipe brings that warm, comforting flavor we all crave. It’s quick—we’re talking under 30 minutes total—and it proves that the best side dishes don’t need complicated science; they just need the right reliable steps. You’ll find this incredibly easy to add to your rotation of reliable side dishes.
- Why This is the Best Southern Fried Okra Recipe (No Slime Guaranteed)
- Gathering Ingredients for Perfect Fried Okra
- Step-by-Step Instructions for Crispy Fried Okra
- Tips for Perfect Skillet Fried Okra Every Time
- Variations: Making Air Fryer Fried Okra or Oven Baked Crispy Okra
- Serving Suggestions for This Easy Okra Side Dish
- Storage and Reheating Instructions for Fried Okra
- Frequently Asked Questions About Making Fried Okra
- Nutritional Snapshot of This Comfort Food Vegetables Recipe
- Share Your Crispy Results
Why This is the Best Southern Fried Okra Recipe (No Slime Guaranteed)
I just cannot let you serve slimy okra, I won’t allow it! The main reason this Southern Fried Okra Recipe shines, and why it becomes your new go-to for crispy goodness, is how we handle the moisture. The biggest enemy here is that natural sliminess. My background taught me that countering acid with acid works wonders, which is why the buttermilk soak is non-negotiable. If you love using buttermilk for texture, you absolutely have to check out my recipe for tall, flaky buttermilk biscuits!
When that okra sits in the buttermilk for those 15 minutes, the acid tenderizes the interior just enough while simultaneously prepping the outside surface. This sets the stage for the coating to adhere perfectly, giving us that beautiful, crusty shell we crave when making No Slime Okra.
Achieving Peak Crunch with the Double Dredge
The secret weapon to that next-level crunch is the double dredge. Don’t just toss it and walk away, you have to commit to the coating! After the initial soak, you coat it heavily, then you dip it *back* into the buttermilk for just a second—don’t let it soak, just a quick dunk!
Then, it’s straight back into that crunchy cornmeal mixture. When you put it back in the dredge, make sure you press that coating on firmly with your hands. I mean it, press it in! Those little ridges create super crispy pockets when they hit the hot oil.
Gathering Ingredients for Perfect Fried Okra
When you’re making something as satisfying as fried okra, the ingredients need to be fresh and ready to go. Because this recipe moves fast once it hits the heat, having everything laid out is essential for success. We keep the list simple, relying on those key players: fresh okra, buttermilk, and the perfect cornmeal blend. This ensures we get that beautiful, golden crust that everyone loves in a Classic Southern Side Dish.
Here is exactly what you’ll need:
- 1 pound fresh okra, washed and sliced 1/4 inch thick
- 1 cup buttermilk
- 1 teaspoon salt
- 1/2 teaspoon black pepper
- 1/2 teaspoon garlic powder
- 1 cup yellow cornmeal
- 1/2 cup all-purpose flour
- 1/4 teaspoon cayenne pepper (optional, for heat)
- Vegetable oil, for frying (about 1 inch deep in skillet)
Ingredient Notes and Substitutions
If you can, please skip the frozen okra for this one; we need that fresh, crisp slice to start off dry for the best results. Yellow cornmeal is my preference over white because it browns up beautifully and gives that authentic Southern color. That little bit of cayenne is optional, of course, but I think a tiny bit of heat really cuts through the richness of the frying oil. If you’re looking for a lighter side, check out my notes later on how to adjust this for the air fryer.
Step-by-Step Instructions for Crispy Fried Okra
This is where the magic happens, and I promise you, the process has been simplified so you can get this delicious fried okra on the table fast. Don’t be intimidated by the frying part; if you keep that oil temperature steady, you’ll be fine! Once you’ve got your ingredients ready, we move right into prepping that okra so it never turns out gummy. If you need a fantastic dipping sauce for these crispy beauties, you must try my recipe for creamy garlic aioli—it’s just dynamite with crunchy vegetables.
Remember, this is a reliable method honed in my test kitchen, so follow these steps closely, and you’ll get results just like the folks over at CopyKat Kitchen! I’ve broken it down so you can follow along easily, starting with the moisture control that is so crucial.
Preparing the Okra: The Key to No Slime
First things first: wash your okra and, seriously, dry it until you think it’s dry, and then dry it again! Pat it down well with paper towels. Next, slice it evenly into about 1/4-inch pieces so everything cooks at the same speed. Now, this is the critical part to avoid sliminess: toss those slices into the buttermilk mixture—salt, pepper, garlic powder—and set a timer for exactly 15 minutes. Letting it soak is preparing it for that glorious crunch.
Frying Technique for Crunchy Cornmeal Okra
While the okra is soaking, get your deep skillet going. You need about an inch of vegetable oil heated properly to 375 degrees F. If you don’t have a thermometer, you’re guessing, so please invest in one! Once that oil is right, dredge your buttermilk-soaked okra heavily in that cornmeal coating until it’s totally covered.
Now, fry in small batches, loading the pan lightly so the oil temperature doesn’t crash. We want beautiful, deep golden-brown color in just 3 to 5 minutes. Overcrowding is the kiss of death for Crunchy Cornmeal Okra, so resist the urge to dump it all in at once! When they look perfectly crisp, pull them out quickly and get them onto a wire rack to drain.
Tips for Perfect Skillet Fried Okra Every Time
You’ve got the method down, but these little tricks are what separate good fried okra from the best comfort food vegetable you’ve ever made. Never drain your crispy pieces directly onto paper towels! I know it seems counterintuitive, but those towels trap steam right underneath, and steam is the enemy of crispness.
Instead, pull the hot okra out with a slotted spoon and place it immediately on a wire rack set over a lined baking sheet; this lets the excess oil drip away while air circulates underneath to keep that coating super tight and crunchy. Also, please, please use a heavy-bottomed skillet. Cast iron is my personal go-to because it holds heat so much better than thinner pans. Consistent heat means consistent golden color and that perfect texture we’re aiming for. If you are curious about another recipe that relies on great heat retention, check out my tips for puffy Yorkshire pudding.
If you want more Southern wisdom on this dish, take a peek at what my friends over at Pink Owl Kitchen are doing with their skillet technique!
Variations: Making Air Fryer Fried Okra or Oven Baked Crispy Okra
I love a good, rich fry, but sometimes you want that crunch in a slightly lighter package, right? That’s totally doable! If you’re looking for a fantastic, hands-off method, this recipe adapts beautifully for the air fryer. After you complete the double dredge step and you are ready to cook, just pop those coated pieces into your air fryer basket. We’re aiming for 400 degrees F, and they usually need about 10 to 12 minutes total.
Make sure you toss them halfway through—give that basket a good shake! This ensures all sides get equally golden. If you don’t have an air fryer, the oven works too, though it won’t get quite the same intense crunch. For a baked version, lay them on a baking sheet and follow the air fryer temperature (400°F), but they might need closer to 20 minutes, checking often. I have a great guide for getting crispy results in the air fryer for other things, too, like my crispy air fryer gnocchi, so you know this method works!
Serving Suggestions for This Easy Okra Side Dish
Honestly, this Easy Okra Side Dish tastes incredible all by itself—especially shouting hot out of the skillet! But if you are serving it up on a big Southern platter, you absolutely must pair it with classics. It’s phenomenal next to some tender BBQ pulled pork or alongside crispy fried chicken. It’s truly the star vegetable of any cookout.
If you are serving it as a standalone appetizer or snack, make sure you whip up a quick, tangy dip! Even a simple, homemade sauce elevates the experience. You should really try my simple recipe for homemade tartar sauce; the brightness cuts through the richness of the frying perfectly. Enjoy this crunchy goodness!
Storage and Reheating Instructions for Fried Okra
Okay, let’s talk about leftovers, because sometimes they happen! Because we worked so hard to get this **fried okra** perfectly crisp, you need to handle storage carefully. The truth is, refrigeration isn’t the friend of deep-fried coatings; they get soft fast. If you must save them, let any resting batch cool completely, then store it in a paper bag, not a sealed plastic container—that traps moisture!
For reheating, forget the microwave; it just steams the coating you worked so hard on. The absolute best method to revive that satisfying crunch is to hit them with dry heat. Pop them on a wire rack in a 375°F oven for about five minutes, or use your air fryer on high for just three minutes. This blasts the moisture right out and brings back that delicious golden crackle. For more tips on getting crispy results from Southern dishes, you can always check out the approach my friends use over at Southern Food and Fun!
Frequently Asked Questions About Making Fried Okra
I know when you read through a recipe like this, you might have a few little technical questions pop up in your head! That’s totally normal, and I want to clear up anything that might be tripping you up before you even start frying. Making the best **fried okra** is all about confidence, and confidence comes from having clear answers. These are the things people ask me the most!
How do I stop the okra from getting slimy?
This is the number one question for a reason! Remember what we talked about? You absolutely have to dry the raw okra really well before you even start slicing. Then, the buttermilk soak is non-negotiable—it tenderizes and sets the stage. If you follow the 15-minute soak time and use that seasoned coating right away, you’ll have zero slime. This is the secret sauce for great **No Slime Okra**.
Can I use frozen okra instead of fresh?
If you absolutely must, you can try, but I strongly recommend fresh for that ultimate crunch. If you use frozen, thaw it completely and then pat it bone-dry—and I mean *dry*! Frozen okra holds so much more water, so it really fights against that crispy coating we are aiming for. If you are set on a less fried option, check out my air fryer approach later in the post instead!
What kind of oil is best for frying?
For results that are consistent and flavorful, you want a neutral oil with a high smoke point. Vegetable oil is what the original recipe calls for. Canola oil works great too! Just make sure you use enough of it—about an inch deep in your skillet—and that you keep it at that perfect 375°F. Don’t be shy with the oil temperature; if it’s too cool, you end up with greasy, soft okra, not that beautiful **Crunchy Cornmeal Okra**.
Do I really need to double-dip in the buttermilk?
Look, if you want good fried okra, one dip is fine. If you want the BEST, crispiest, most delicious **Southern Fried Okra Recipe** there is? Yes, you double-dip! That second trip back through the buttermilk and then pressing *firmly* back into the cornmeal creates those little crunchy fortifications that stand up perfectly to the hot oil. It takes 30 extra seconds, but it changes everything. Speaking of great texture, if you ever struggle getting that perfect rise in your bread products, my easy sourdough cornbread recipe might save the day!
What’s a good dipping sauce for these comfort food vegetables?
These are amazing on their own, but a good sauce takes them over the top! Since we’ve worked hard to keep them crispy, I suggest something with a little tang. My homemade garlic aioli is perfect because the creaminess balances the heat, or a squeeze of fresh lemon juice is wonderful too. This truly elevates this **Easy Okra Side Dish**.
Nutritional Snapshot of This Comfort Food Vegetables Recipe
I always include the nutrition breakdown because I believe in fueling our bodies well, even when we’re indulging in classic Comfort Food Vegetables! Now, remember what I always say in the test kitchen: these numbers are just solid estimates based on the ingredients listed. They can shift a little depending on your oil absorption or exact amounts of cornmeal used. For more balanced meal ideas, you might love my creamy corn casserole recipe.
- Calories: 280
- Fat: 18g
- Carbohydrates: 28g
- Protein: 5g
- Sodium: 450mg
Share Your Crispy Results
I am just so excited for you to try this recipe! Once you’ve pulled that perfectly golden-brown batch from the oil, I really want to know what you think. Did you achieve that glorious, zero-slime crunch we talked about? Please leave a rating and a comment below telling me all about your success! I love seeing your creations. Get all the behind-the-scenes kitchen stories over on my About Page!
PrintUltimate Crispy Southern Fried Okra (No Slime)
Make perfectly crispy, crunchy Southern fried okra using a simple buttermilk soak and cornmeal double dredge. This easy recipe delivers classic comfort food flavor without the slime, ready in under 30 minutes.
- Prep Time: 15 min
- Cook Time: 10 min
- Total Time: 25 min
- Yield: 4 servings 1x
- Category: Side Dish
- Method: Skillet Frying
- Cuisine: Southern
- Diet: Vegetarian
Ingredients
- 1 pound fresh okra, washed and sliced 1/4 inch thick
- 1 cup buttermilk
- 1 teaspoon salt
- 1/2 teaspoon black pepper
- 1/2 teaspoon garlic powder
- 1 cup yellow cornmeal
- 1/2 cup all-purpose flour
- 1/4 teaspoon cayenne pepper (optional, for heat)
- Vegetable oil, for frying (about 1 inch deep in skillet)
Instructions
- Prepare the okra: Wash and dry the okra thoroughly. Slice the okra into 1/4-inch thick rounds. Drying the okra well helps prevent sliminess.
- Soak the okra: In a medium bowl, combine the sliced okra with the buttermilk, salt, pepper, and garlic powder. Stir gently to coat. Let this mixture sit for 15 minutes. This step helps tenderize the okra and prepares it for a crisp coating.
- Prepare the dredging mixture: In a separate shallow dish, whisk together the cornmeal, flour, and cayenne pepper (if using). This is your seasoned cornmeal coating.
- Coat the okra: Working in batches, remove the okra from the buttermilk mixture, letting excess drip off slightly. Add the okra to the cornmeal mixture. Toss until every piece is completely coated. For extra crispiness, briefly dip the coated okra back into the buttermilk for a second, quick dip, then return it to the cornmeal mixture for a second, heavy dredge. Press the coating onto the okra firmly.
- Heat the oil: Pour vegetable oil into a large, heavy-bottomed skillet to a depth of about 1 inch. Heat the oil over medium-high heat until it reaches 375 degrees F (190 degrees C). Use a thermometer for best results.
- Fry the okra: Carefully add the coated okra to the hot oil in a single layer, ensuring you do not overcrowd the pan. Fry for 3 to 5 minutes, turning occasionally, until the coating is deep golden brown and crispy.
- Drain: Use a slotted spoon to remove the fried okra from the oil. Place the okra on a wire rack set over a paper towel-lined baking sheet to drain excess oil.
- Serve immediately: Serve your crispy fried okra hot as an easy side dish or appetizer.
Notes
- To avoid sliminess, ensure your okra is completely dry before soaking, and do not skip the buttermilk soak.
- If you prefer a lighter option, you can air fry this recipe at 400 degrees F for 10-12 minutes, shaking halfway through, after coating.
- For a gluten-free variation, substitute the all-purpose flour with gluten-free all-purpose flour blend.
Nutrition
- Serving Size: 1 serving
- Calories: 280
- Sugar: 4
- Sodium: 450
- Fat: 18
- Saturated Fat: 3
- Unsaturated Fat: 15
- Trans Fat: 0
- Carbohydrates: 28
- Fiber: 5
- Protein: 5
- Cholesterol: 20