
There’s something truly magical about those perfectly round, colorful little desserts on a stick, isn’t there? They just scream celebration and happy moments. If you’ve walked into a coffee shop lately, you know exactly which bite-sized desserts I’m talking about. Well, I have cracked the code for making the absolute best Starbucks Copycat Birthday Cake Pops right here in your own kitchen! Listen, my whole goal at Cooking by Jade is to make sure you feel confident, and that’s why this recipe for cake pops relies on a simple box mix. Forget complicated baking; these vanilla cake pops are foolproof, moist, and ridiculously simple. Trust me, Jade has tested and refined this method so you get that irresistible texture every single time.
- Why This Easy Cake Pop Recipe Works for Everyone
- Gathering Ingredients for Your Homemade Cake Pops
- The Best Cake Pop Tutorial: Step-by-Step Instructions
- Tips for Perfect, Moist Cake Pop Technique
- Storage & Reheating Instructions for Cake Pops
- Customizable Cake Pops: Variations and Serving Suggestions
- Frequently Asked Questions About Cake Pops
- Nutritional Snapshot of These Cake Pops
- Share Your Celebration Dessert Poppers
Why This Easy Cake Pop Recipe Works for Everyone
When I developed this recipe, I really wanted to take the stress out of making those adorable balls of goodness. Seriously, these homemade cake pops are perfect because they tick all the boxes for busy home cooks. We want delicious results without spending an entire weekend in the kitchen, right? This approach gets you those bakery-style treats with minimal fuss.
- They are incredibly Easy Cake Pop Recipe friendly—if you can crumble cake, you can make these.
- They convert easily into great Party Treat Ideas because they are perfectly bite-sized and mess-free.
- They are crowd-pleasers; everyone asks for seconds!
Quick Prep with Cake Mix
You absolutely do not need to bake a cake from scratch here, and that’s the genius shortcut! Using a good quality yellow or white box mix ensures maximum predictability. Box mixes are formulated to be slightly more tender than scratch cakes, which is exactly what we need. When we mix that soft cake with rich frosting, it creates the most moist, dense crumb that holds together beautifully without crumbling apart mid-dip. It’s my go-to for guaranteeing that moist cake pop technique every time.
Perfect Party Treat Ideas
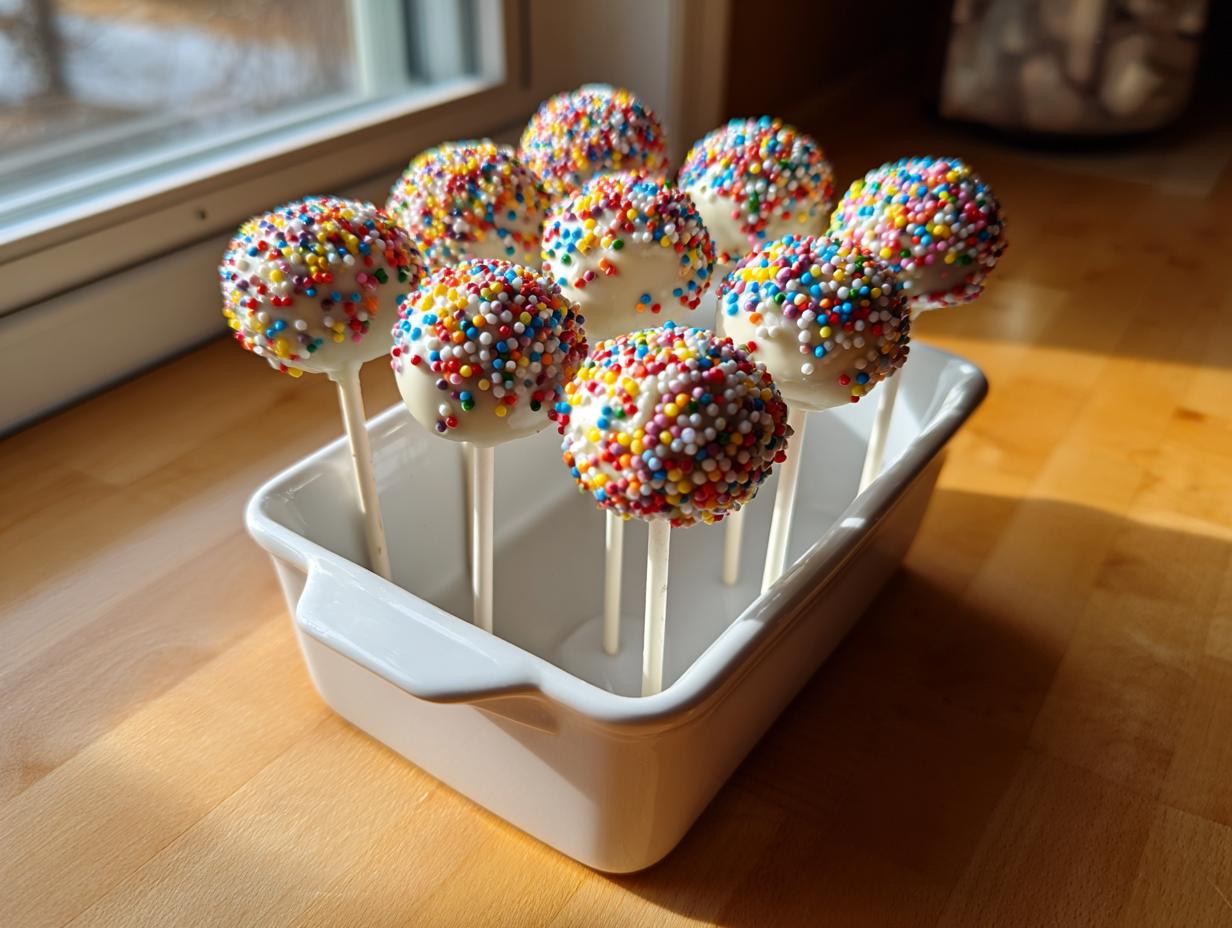
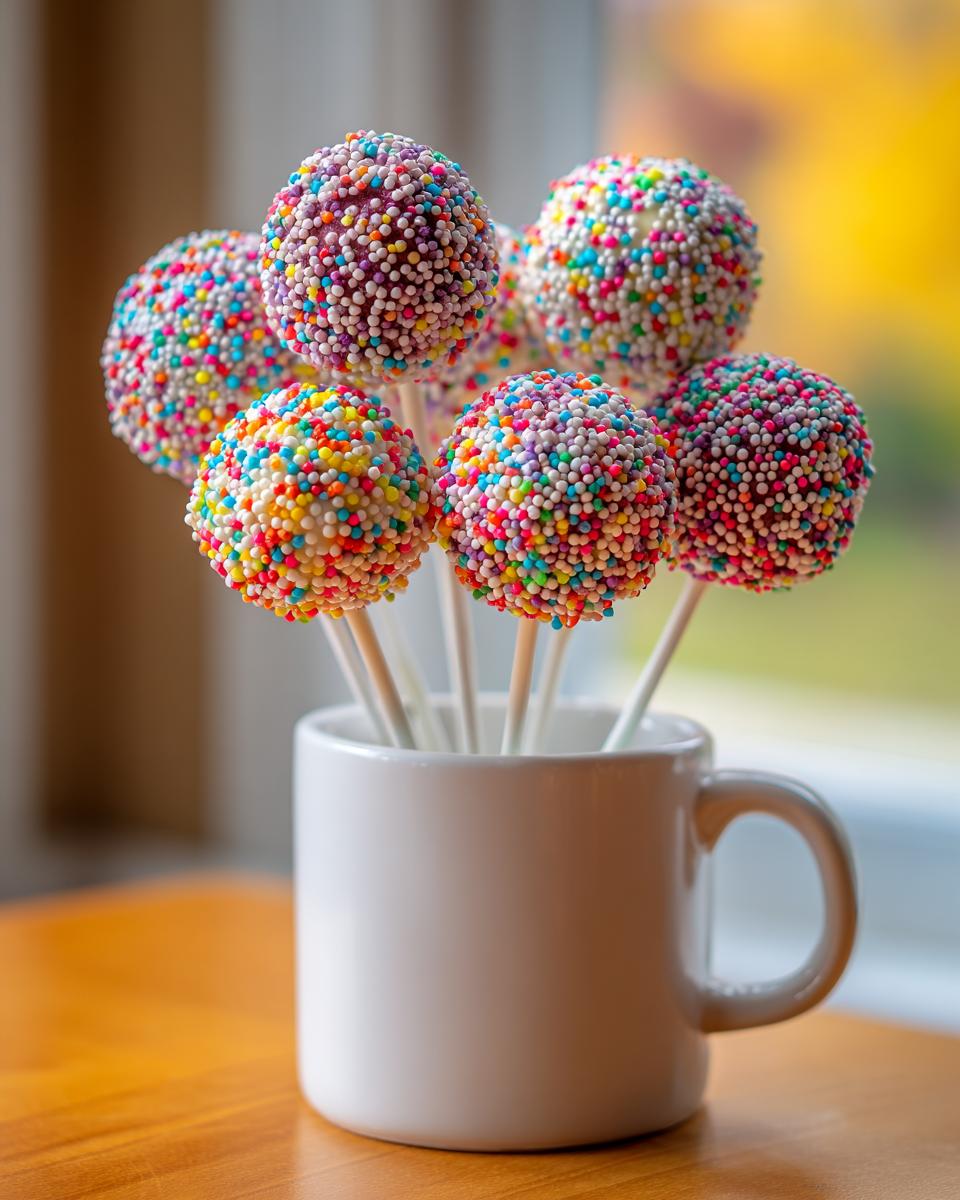
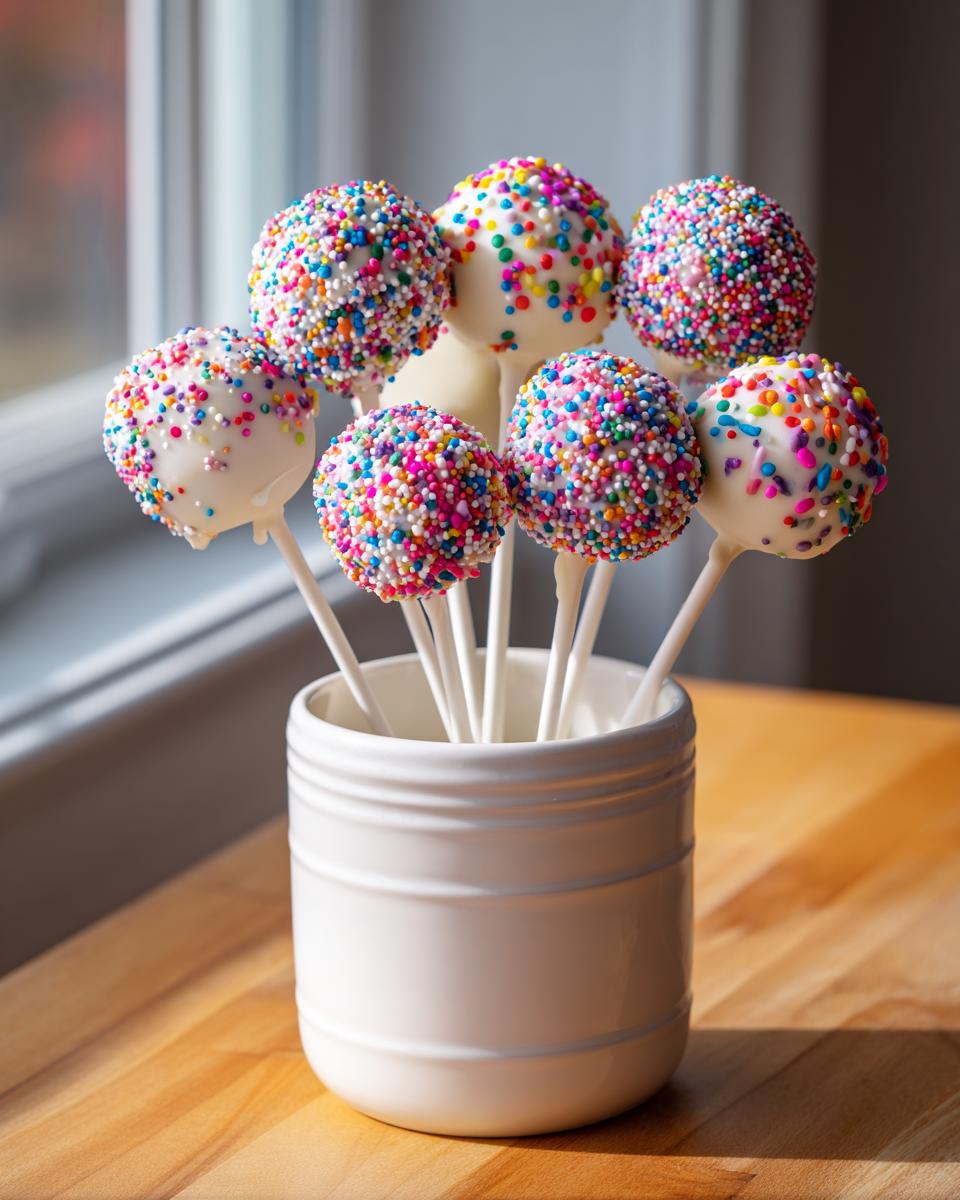
These aren’t just desserts; they are decorations! Cake pops are just fantastic for celebrations because they are miniature, portion-controlled, and totally customizable with sprinkles and colors. Whether it’s a birthday bash or a casual get-together, serving these instead of slicing a big sheet cake just feels more special. They look so festive just sitting in a little stand, waiting to be grabbed. They honestly elevate any spread of bite sized desserts instantly.
Gathering Ingredients for Your Homemade Cake Pops
Okay, assembling the supplies is easy because we are leaning into simplicity! I promise you, every single thing on this list is available at your regular grocery store, which is the whole point of keeping things accessible. No need to hunt down specialty baking shops for these homemade cake pops. Precision matters here, especially with the cake mix, so grab the exact boxes I list. This eliminates guesswork, which is key when you are aiming for that famous Starbucks Copycat flavor profile.
For the Cake Pop Dough
First up is what makes the base. This is where the moisture comes into play, so pay attention to the quantities! This mixture ends up feeling just like thick, slightly sweet modeling clay.
- One full box (15.25 oz) of yellow or white cake mix. Don’t use reduced sugar! We need the full sweetness here.
- Whatever else the cake mix box tells you to add—usually eggs, oil, and water. Go ahead and bake this following those standard instructions for a 9×13 inch pan.
- A full 16 oz container of store-bought vanilla frosting. Yes, the whole thing! This is our binder, and using the pre-made stuff saves so much time.
For the Chocolate Coated Pops and Decoration
Once we have our beautiful cake balls chilling, we focus completely on the coating. This part transforms the dough into a real cake pop. If your coating seems too stiff later on, I have a little trick, remember that!
- One 12 oz bag of vanilla or white candy coating wafers. These melt so much nicer than standard chocolate chips.
- One teaspoon of coconut oil or vegetable shortening. This is totally optional, but trust me, it makes the whole dipping process smoother.
- Your cake pop sticks! Get a nice package so you don’t run short.
- All the fun stuff—sprinkles! Grab whatever colors or shapes match your celebration theme.
The Best Cake Pop Tutorial: Step-by-Step Instructions
Alright, this is the heart of the magic! Forget those intimidating tutorials you’ve seen—we are going step-by-step, and I promise, if you follow these instructions, you will master these chocolate coated pops. The secret to success here is patience during the cooling and chilling phases. Don’t rush them, and they will behave beautifully for you.
Baking and Creating the Cake Pop Dough
First things first, bake that cake mix according to the box directions for a 9×13 inch pan. The key here, and I mention this in the notes too, is to not overbake it! A slightly more moist cake crumbles better. Once it comes out, you absolutely must let it cool completely. I usually leave mine on the counter for a couple of hours, or you can speed it up by popping the pan in the fridge once it’s just warm. When it’s cool, take your hands and just demolish that cake into fine crumbs right into a big bowl. We want fine crumbs, so take a second to pick out any big, dry chunks that aren’t crumbling for us.
Next, dump in the entire container of vanilla frosting. Now, here is where you switch from delicate handling to getting primal! You need to mix this with your hands or a really sturdy spoon better than you’d mix cookies. You are mixing until *everything* is incorporated and it all sticks together when you pinch it. That perfect consistency—that’s your cake pop dough. If it’s too crumbly, you need more frosting; if it’s too sticky to roll, chill it longer! Once you think it’s ready, roll those balls! I aim for about 1 to 1.5 inches, roughly the size of a golf ball. Lay them out on a sheet of parchment paper.
Chilling and Securing the Sticks
This next part is non-negotiable in my Best Cake Pop Tutorial: you must chill these babies out! Put that baking sheet into the refrigerator for at least 30 minutes, or if you’re in a hurry, maybe 15 minutes in the freezer. They need to be firm to the touch so they don’t fall apart when you dip them. While they are chilling, get your melting chocolate ready. When they are firm, take a cake pop stick and dip just the very tip—like the last half-inch—into your melted coating. Then, gently insert that coated tip about halfway into the chilled cake ball. This acts like glue! Put them back in the fridge for another 10 minutes just to let that little bit of glue set firmly around the stick before the big dip.
Melting Coating and Dipping Your Cake Pops
Time to tackle the candy coating wafers. Always follow the package directions, but my usual trick is melting them gently in 30-second bursts in the microwave, stirring really well between each interval. If it looks stiff, stir in just a tiny bit of coconut oil—that teaspoon we talked about—it loosens it up beautifully without compromising the shine. If you want to make chocolate coated pops, just swap to dark or milk chocolate wafers!
Now for the dip! Hold the stick, fully submerge the cake ball into the melted coating. Lift it straight up, and this is the trick: gently tap the stick against the side of your bowl. Don’t bang it, just a soft tapping motion! This lets the excess coating drip off neatly. If you leave too much coating on, it builds up a thick, heavy base when it dries, and nobody wants that. Once the excess drips are gone, immediately roll it in your sprinkles or place it upright in your drying stand. Let them dry completely before touching them again!
Tips for Perfect, Moist Cake Pop Technique
After making hundreds of these little spheres—trust me, I’ve seen them all fail!—I’ve learned that a few pointers elevate this recipe from good to absolutely unforgettable. This isn’t just about following steps; it’s about getting the right feel. Getting that signature texture that keeps people asking for the recipe is all about the fundamentals of the Moist Cake Pop Technique. If you’re working on your frosting later on, check out my notes on making the perfect vanilla buttercream; that knowledge helps when you decide to make your own binder!
Ingredient Notes and Substitutions for Cake Pops
Remember I mentioned not overbaking the cake? That’s my biggest tip for moisture! A cake that’s slightly fudgy or just barely done is perfect because it hasn’t dried out during baking. When you crumble that tender cake, it mixes much more smoothly with the frosting. Also, if you want to branch out from the birthday vanilla flavor, this works flawlessly with chocolate cake mix and dark candy coating—I test batches like that all the time! If you’re making the chocolate version, just match the coating color to the cake base.
Troubleshooting Common Issues
If you find your dough is too crumbly, it probably means your cake was a bit too dry, or you didn’t use quite enough frosting. Work it longer with your hands; the warmth helps bind it. If your candy coating gets thick in the bowl while you’re dipping, don’t panic! Just whisk in another half teaspoon of coconut oil and give it 15 seconds in the microwave. That little bit of fat gets it flowing smoothly again, preventing those thick, heavy coatings. If you chill them too long, the outside might sweat a little when they hit room temperature, so keep the chilling efficient!
Storage & Reheating Instructions for Cake Pops
Once you’ve gone through the process of making these gorgeous, **homemade cake pops**, the last thing you want is for them to lose their perfection just sitting on the counter! How long they last really depends on where you keep them, especially since we used store-bought frosting as our binder. I’ve done a lot of testing on this front, partly because I always want to save a few for myself!
For short-term storage, say for a party happening later the same day, room temperature is actually fine for about 4 to 6 hours. Just make sure wherever you put them is cool and definitely out of direct sunlight. We don’t want any accidental melting that ruins that smooth candy coating, right? If the sun hits them, that coating starts getting sticky and might even sweat a little.
For longer storage, which is great if you are prepping these bite sized desserts ahead of time, the refrigerator is your friend. Pop the finished, fully dried cake pops into an airtight container. I try not to stack them too tightly, but if you have to, put a layer of parchment paper between them so the sprinkles on top of one don’t stick to the side of the one above it. They do great in the fridge for up to a week, sometimes even ten days.
Now, here is the crucial part when you take them out of the fridge: you can’t just serve them ice cold! Because they are so dense, a cold pop can mute the flavor a bit. Pull them out about 30 minutes before you plan on serving them. Letting them come up to room temperature lets that cake crumb soften just a bit and really bloom the vanilla flavor we worked so hard to capture in this easy cake pop recipe. Never try to reheat them in the microwave; that will just turn them into soup!
Customizable Cake Pops: Variations and Serving Suggestions
The real fun with this recipe, once you’ve nailed the basic structure, is how much you can change things up! This simple base is just waiting for you to play with it, which is why I love featuring Customizable Cake Pops. Since we’re using a box mix, swapping flavors is super easy, and it opens up a whole world of possibilities for holidays or just whatever flavor mood strikes you that day.
If you bake a chocolate cake mix instead of vanilla, you automatically have the foundation for a darker, richer pop. When you do that, make sure you pair it with dark chocolate candy coating. Chocolate on chocolate is always a win, and it looks so sophisticated sitting next to the vanilla ones on a platter! You can use spice cake mix in the fall—just use basic white coating and maybe add a tiny pinch of cinnamon to the coating mixture itself for extra warmth.
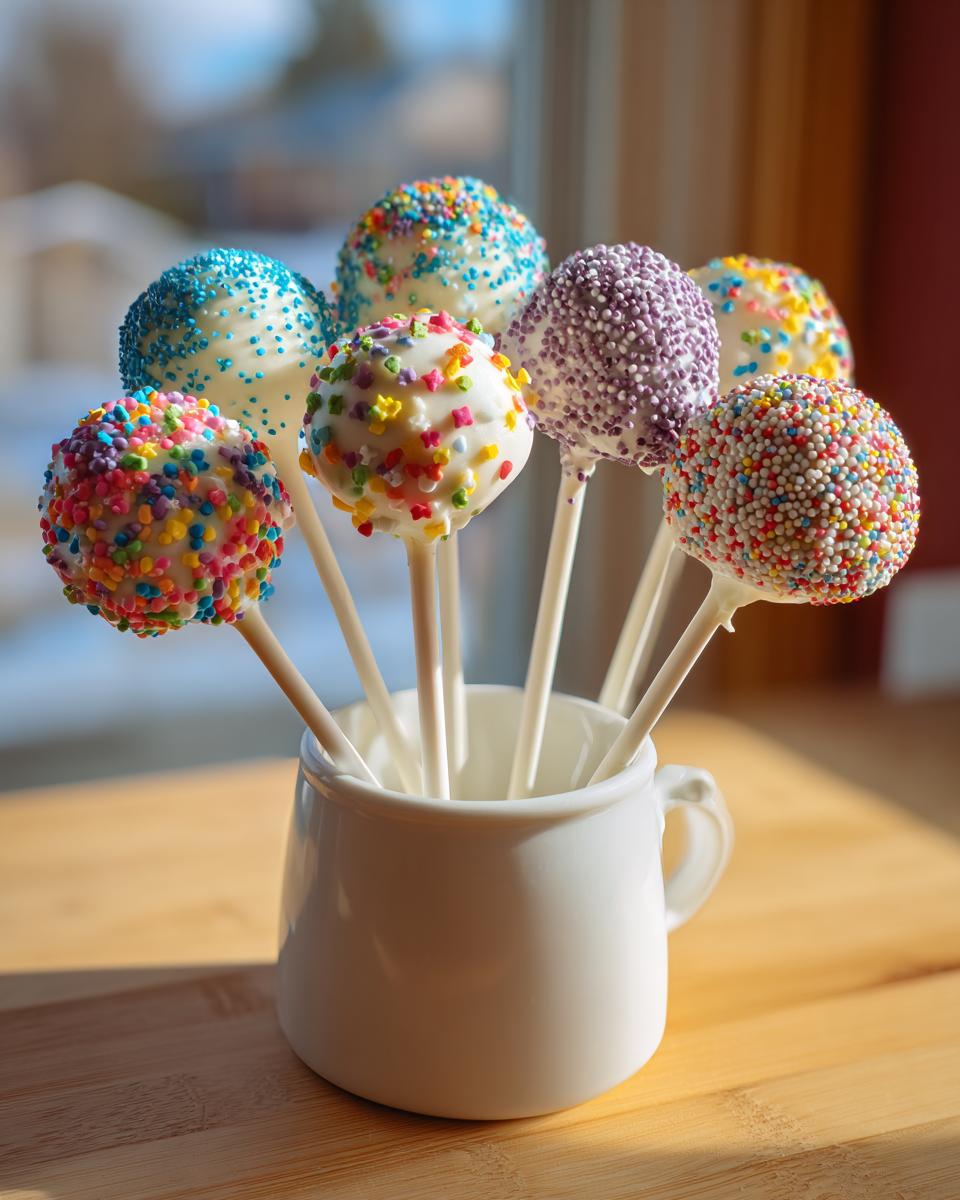
Beyond just changing the cake flavor, think about the coating! Sprinkles are great, but you can get so creative there. After you do your immediate sprinkle application, let those dry for about 10 minutes, and then you can dip them again into a different color coating if you want that double-dipped look. Or, try crushing up things like shortbread cookies or even peanuts and rolling the wet coating in that instead of sprinkles. This adds fantastic texture!
For serving, don’t feel locked into just poking them into a styrofoam block. If you are preparing these customizable cake pops for a bridal shower or baby shower, you can line up small shot glasses or tiny vases, fill them with colored sugar or even dry beans (if using a separate holder inside), and stand your pops up that way. It looks elegant and keeps them from touching each other while they dry or while they are being displayed. Honestly, the more you experiment with the coating and the sprinkles, the more these turn into your own signature treat!
Frequently Asked Questions About Cake Pops
I know when you’re trying a new recipe, especially something fun like these Starbucks copycat treats, you end up with a few lingering questions. That’s totally normal! As part of my commitment to being your trusted guide and providing a true Beginner Cake Pop Guide, I’ve gathered the most common things people ask about making perfect cake pops.
Why do I absolutely have to chill the cake balls? Can I skip that step?
Oh, I really wish you could skip it, but please, don’t! Chilling isn’t just something I added to sound bossy; it’s critical for structure. If the cake balls are room temperature, they are too soft when they hit that warm, melted candy coating. The warmth melts the frosting binder inside, and, bam! Your little cake ball melts right off the stick and into the coating bowl. Chilling firms up that frosting glue so the ball can handle the heat shock of the coating. It prevents that catastrophic “cake ball drop” incident we all dread!
What is the absolute best way to dip the cake pop without getting a huge pool of coating at the bottom?
This is where technique saves you from messy, heavy bottoms! First, use that tip-dipping trick to secure the stick—that’s step one. When you go for the full dip, hold the stick firmly between your thumb and forefinger, insert the ball into the coating, and push it down completely so the coating covers the whole ball. Then, slowly pull it upward. As soon as the ball is out of the coating, hold it still over the bowl for maybe two seconds. Then, gently tap the stick against the *edge* of the bowl—don’t hit it hard, just a nice, light rap, rap, rap. This gentle vibration is what vibrates the excess coating back into the bowl, leaving you with that beautiful, thin shell. It takes a little practice, but once you get the rhythm, it’s easy!
Can I use my homemade buttercream frosting instead of store-bought?
You certainly can, but you need to be very careful about the consistency! Store-bought frosting, like the canned kind we used here, is usually made with shortening and has a very specific oily texture that binds perfectly with cake crumbs. If you use homemade buttercream, especially one made entirely with butter or powdered sugar, you run the risk of the dough being too soft or greasy. If you must use homemade, make sure it’s a relatively stiff frosting, and maybe even slightly reduce the amount you add by a tablespoon or two. You want a dough that feels firm, almost like play-doh, not soft cookie dough.
My coating is too thick to dip smoothly, even after my first 30-second heat burst. What do I do?
This is why we include that optional teaspoon of coconut oil or shortening! Candy wafers, especially vanilla ones, can seize up or just be too thick straight out of the bag. If your coating is still struggling after reheating, whisk in another *half* teaspoon of oil or shortening. The fat helps lower the viscosity of the coating, making it thinner and silkier. This means your vanilla cake pops will have a lovely, thin shell that dries hard and smooth, rather than thick and bumpy.
Are these really better than the no-bake cake balls you can make with Oreos?
That’s a tough question because I love no bake cake pops too, especially those Oreo ones! But here’s the difference: Oreo cake balls (or pops) use cream cheese, which gives them a distinct tangy flavor and a very dense, almost fudge-like texture. This recipe uses cake mix and standard frosting, mimicking the exact flavor profile of the Starbucks birthday version, which is sweeter, fluffier, and has that classic vanilla cake crumb. So, are they better? It depends on what craving you’re hitting—if you want tangy, go Oreo. If you want that iconic vanilla birthday flavor, stick to this recipe!
Nutritional Snapshot of These Cake Pops
Now, I know some of you are like me; you want the joy of a treat without completely skipping over the reality check! When we talk about these amazing cake pops, we have to address the numbers. Since we are relying on cake mix, frosting, and candy coating, these are certainly a delightful indulgence perfect for celebration dessert poppers, not an everyday snack. But hey, knowing the details is empowering, right?
Below are the estimated nutritional facts based on the serving size and ingredients list for one of these bakery-style bites. Remember, this is just an estimate since scratch ingredients can vary, but it gives you a solid idea of what you’re enjoying!
- Serving Size: Just 1 pop—they are perfectly bite-sized!
- Calories: Around 250 calories per pop.
- Sugar: Approximately 30 grams. That candy coating packs a punch!
- Total Fat: About 13 grams, with 7 grams coming from saturated fats.
- Carbohydrates: Roughly 33 grams.
- Protein: A small boost, coming in around 3 grams.
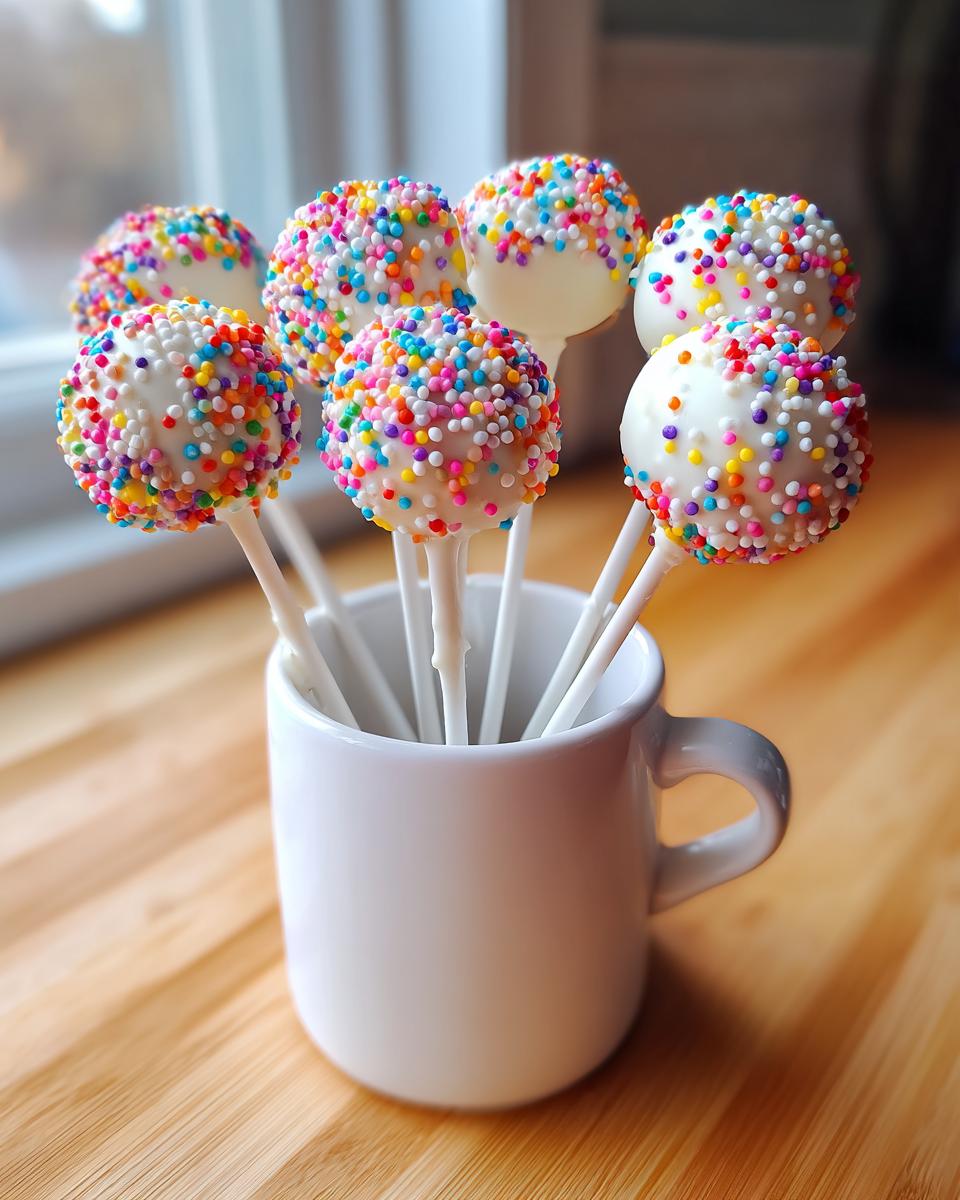
See? They truly look like miniature works of art, but they pack a little punch in one small sphere. That’s why they are so great for parties—you get satisfaction without overdoing it! When I’m serving these at a gathering, I always think of them as a special treat, exactly like a tiny piece of bakery cake, only on a stick. Enjoy them guilt-free as the special party treat they are!
Share Your Celebration Dessert Poppers
Whew! Now the best part: showing them off! You’ve just created homemade cake pops that look just like the beloved bakery version, and I am so excited for you. I sincerely hope you had fun rolling those little spheres and watching the sprinkles stick perfectly to the wet coating. That moment when you see a whole stand full of colorful, finished pops? That’s pure joy!
I truly want to see what you created! Did you go with the classic birthday sprinkles, or did you customize them for a baby shower or holiday? Don’t be shy! Please head over and leave a rating for the recipe—five stars if it earned it! Your feedback helps me fine-tune these recipes and assures other readers that they can trust this method. Find the rating section below and let me know how your cake pops turned out!
And if you snap a photo of your finished platter of celebration dessert poppers, PLEASE tag me on social media! Sharing your successes is what builds our community here. Whether this was your first time making them or you’re a seasoned pro, I love seeing how my recipes show up on your tables. If you have any final questions after trying this, you can always check out my contact page, but for now, go enjoy those gorgeous, sweet bites!
PrintEasy Starbucks Copycat Birthday Cake Pops Recipe

Make the best homemade cake pops that taste just like the Starbucks birthday version. This simple recipe uses cake mix for moist, bite-sized desserts perfect for any party.
- Prep Time: 30 min
- Cook Time: 35 min
- Total Time: 95 min
- Yield: 24 servings 1x
- Category: Dessert
- Method: No Bake (after initial cake baking)
- Cuisine: American
- Diet: Vegetarian
Ingredients
- 1 box (15.25 oz) yellow or white cake mix
- Ingredients listed on cake mix box (usually eggs, oil, water)
- 1 container (16 oz) store-bought vanilla frosting
- 1 bag (12 oz) vanilla or white candy coating wafers
- 1 teaspoon coconut oil or vegetable shortening (optional, for thinning coating)
- Assorted sprinkles for decoration
- 1 package cake pop sticks
Instructions
- Bake the cake according to the package directions for a 9×13 inch pan. Let the cake cool completely.
- Crumble the cooled cake into a large bowl. You want fine crumbs, removing any large, dry pieces.
- Add the entire container of frosting to the cake crumbs. Mix with your hands or a sturdy spoon until the mixture is fully combined and holds together when pressed. This is your cake pop dough.
- Roll the dough into uniform balls, about 1 to 1.5 inches in diameter. Place the balls on a parchment-lined baking sheet.
- Chill the cake balls in the refrigerator for at least 30 minutes, or in the freezer for 15 minutes, until firm.
- While the balls chill, prepare the candy coating. Melt the candy wafers according to package directions, usually in a microwave-safe bowl in 30-second intervals, stirring well between each interval. Stir in the coconut oil or shortening if the coating is too thick.
- Dip the tip of a cake pop stick into the melted coating, then insert the stick about halfway into a chilled cake ball. This helps secure the stick. Return the pops to the refrigerator for 10 minutes to set the coating around the stick.
- Dip each cake ball completely into the melted coating, tilting the bowl slightly. Gently tap the stick against the side of the bowl to let excess coating drip off.
- Immediately apply sprinkles or decorations before the coating sets.
- Place the finished cake pops upright in a styrofoam block or cake pop stand to dry completely.
Notes
- For the best texture, do not overbake the cake. A slightly underbaked, moist cake works best for cake pops.
- If you want a chocolate version, use chocolate cake mix and dark chocolate candy coating.
- If the coating becomes too thick while dipping, reheat it briefly or add a few more drops of coconut oil.
Nutrition
- Serving Size: 1 pop
- Calories: 250
- Sugar: 30
- Sodium: 180
- Fat: 13
- Saturated Fat: 7
- Unsaturated Fat: 6
- Trans Fat: 0.5
- Carbohydrates: 33
- Fiber: 0.5
- Protein: 3
- Cholesterol: 25