
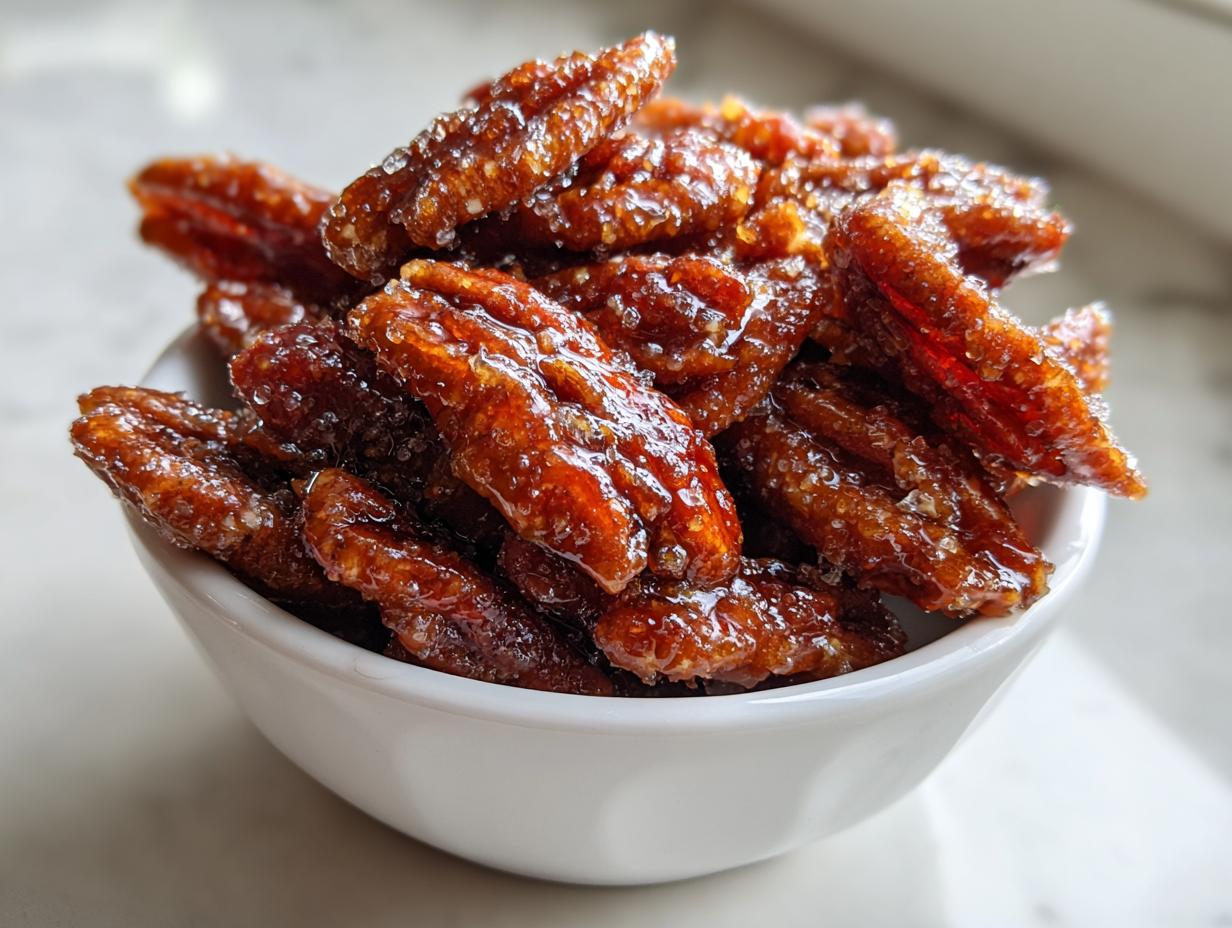
Oh, that incredible sound when you bite into a perfectly crunchy, warm, cinnamon-sweet nut? That’s the magic of homemade candied pecans, and trust me, you do not need to wait for a street vendor or a fancy bakery to get them!
This recipe is my absolute favorite go-to because it’s outrageously fast. We are talking about the easiest, fastest stovetop method for foolproof, glossy, perfect candied pecans, ready in just about 15 minutes total. No oven preheating fuss, no messy cleanup later.
When I was learning to cook years ago, my goal was always comfort and connection, not complicated techniques. That’s what this recipe brings—pure, simple flavor that reminds you of cozy afternoons. If you’ve ever been intimidated by making candied nuts, you can put those fears away. This is where we start getting confident in the kitchen!
- Why You Need This Easy Stovetop Candied Pecans Recipe
- Gathering Ingredients for Your Candied Pecans
- The Stovetop Glazed Pecans Process: How to Make Candied Pecans
- Tips for Success with Your Homemade Candied Pecans
- Serving Suggestions for These Brown Sugar Pecans
- Storage and Keeping Your Candied Pecans Fresh
- Bake vs Stovetop Pecans: Which Method is Best?
- Frequently Asked Questions About Candied Pecans
- Estimated Nutritional Data for Your Candied Pecans
- Share Your Experience Making Candied Pecans
Why You Need This Easy Stovetop Candied Pecans Recipe
Honestly, why would you ever buy those tiny, overpriced plastic tubs of nuts once you see how easy this is? This stovetop method is my secret weapon for rapid flavor delivery. We are focusing on speed and texture here because everyone wants those perfect candied pecans right now, not later!
- Quick Candied Nuts Ready in Under 15 Minutes: Seriously, we are talking about mixing, stirring, and cooling in less time than it takes to find a good parking spot at the mall. The actual cooking time is only about 10 minutes on the stove.
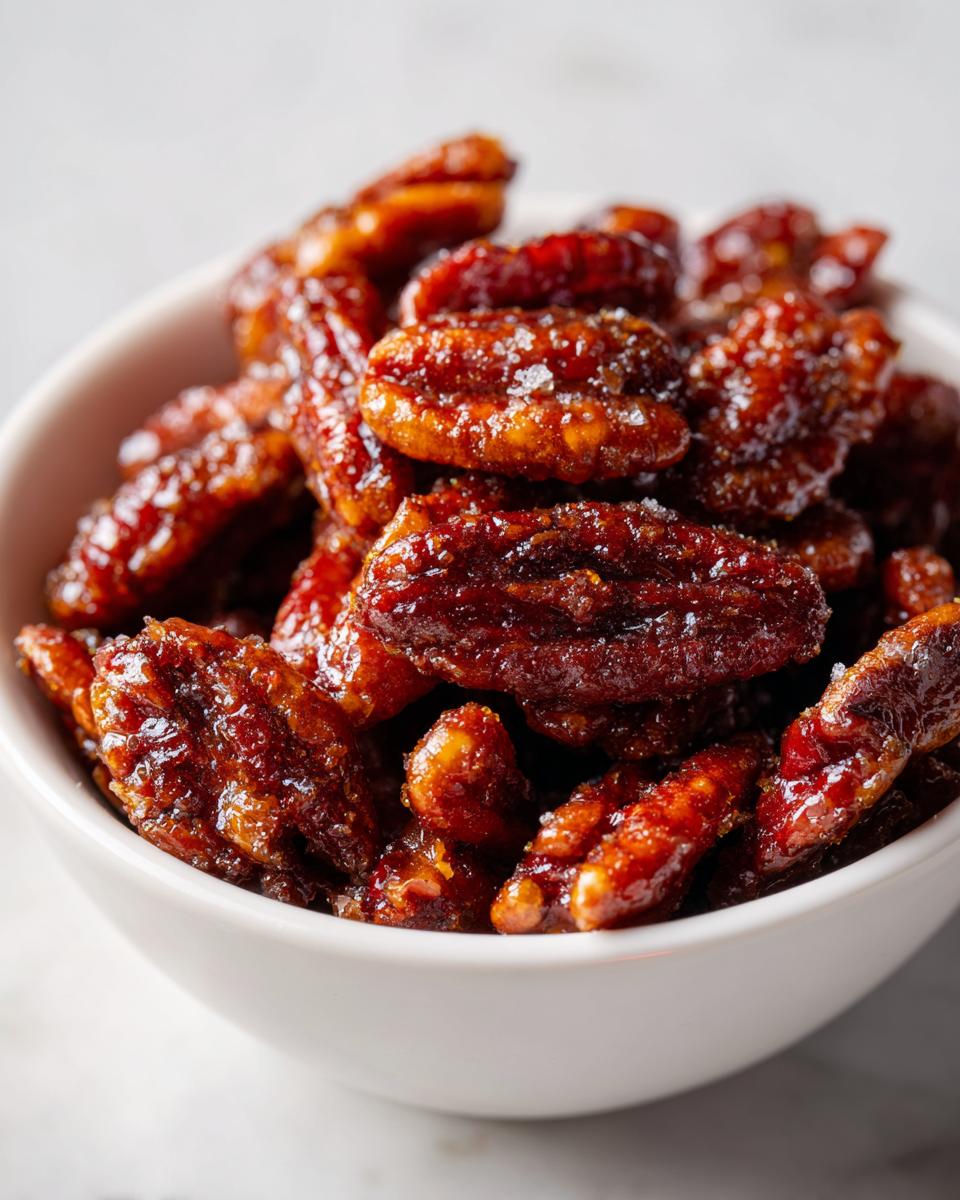
- Perfectly Crunchy Pecan Snack Every Time: The secret here is the quick evaporation on the stovetop and getting those nuts onto the parchment paper immediately. If you follow the cooling instructions, you get that satisfying snap that makes the Crunchy Pecan Snack so addictive.
Gathering Ingredients for Your Candied Pecans
Okay, let’s talk about what you need! Since this is a quick stovetop process, we aren’t messing around with a ton of pantry clutter. Getting your ingredients measured out first is crucial because once you start heating things up, it moves fast. We are using simple pantry staples to get those amazing candied pecans.
Here is exactly what you’ll pull out:
- 1 cup pecan halves
- 2 tablespoons granulated sugar
- 2 tablespoons packed brown sugar – make sure it’s packed in!
- 1/2 teaspoon ground cinnamon
- 1/4 teaspoon salt
- 1 tablespoon water
- 1 teaspoon butter
Ingredient Notes and Substitutions for Candied Pecans
I always use pecan halves because they look the best when they come out coated and glossy, but pieces work too if that’s what you have on hand. The salt is really important here; don’t skip it! It balances out all that sweetness we are about to create. Also, if you need a dairy-free option, you can absolutely swap out that 1 teaspoon of butter for coconut oil. It works beautifully for achieving that smooth coating.
The Stovetop Glazed Pecans Process: How to Make Candied Pecans
This is where the magic happens, and this is why I love the stovetop method for making candied pecans—it’s so hands-on and fast! You get immediate feedback, and you can watch that gorgeous glaze form right before your eyes. Just remember, speed is your friend in this process, but watching carefully is even more important so we don’t burn that beautiful sugar.
Since we want those sweet snacks ready ASAP, having everything else done—like having your parchment paper laid out—is key. This is the part where you really connect with the process, stirring and coating every pecan until it shines.
Step-by-Step Guide for Perfect Candied Pecans
Follow these steps exactly, and you’ll see why this is the Best Candied Nut Recipe for when you’re in a hurry. You can check out similar stovetop tips over at Eating on Dime if you want another perspective!
- First, grab a medium non-stick skillet (don’t try this in aluminum if you can help it!) and mix your dry stuff: both sugars, cinnamon, and salt. Give it a quick stir.
- Now, toss in the water and that single teaspoon of butter. Put it over medium heat.
- Stir immediately until that sugar completely dissolves. You want it to start bubbling gently, which usually takes about two minutes.
- Toss in all your pecan halves and stir continuously. We need every single nut coated in that liquid gold.
- Keep stirring constantly! This is where the texture sets. You’ll stir until that liquid just vanishes and the sugar crystallizes, coating the pecans like a sweet frost. This usually takes just 3 to 5 minutes. Watch it like a hawk so it doesn’t scorch!
- As soon as it looks dry and coated, dump it out immediately onto your prepared sheet of parchment or a silicone mat. Don’t dawdle here!
- Spread them out quickly into a single layer. When spreading on parchment, work quickly; the sugar hardens fast, which is how you lock in that signature crunch.
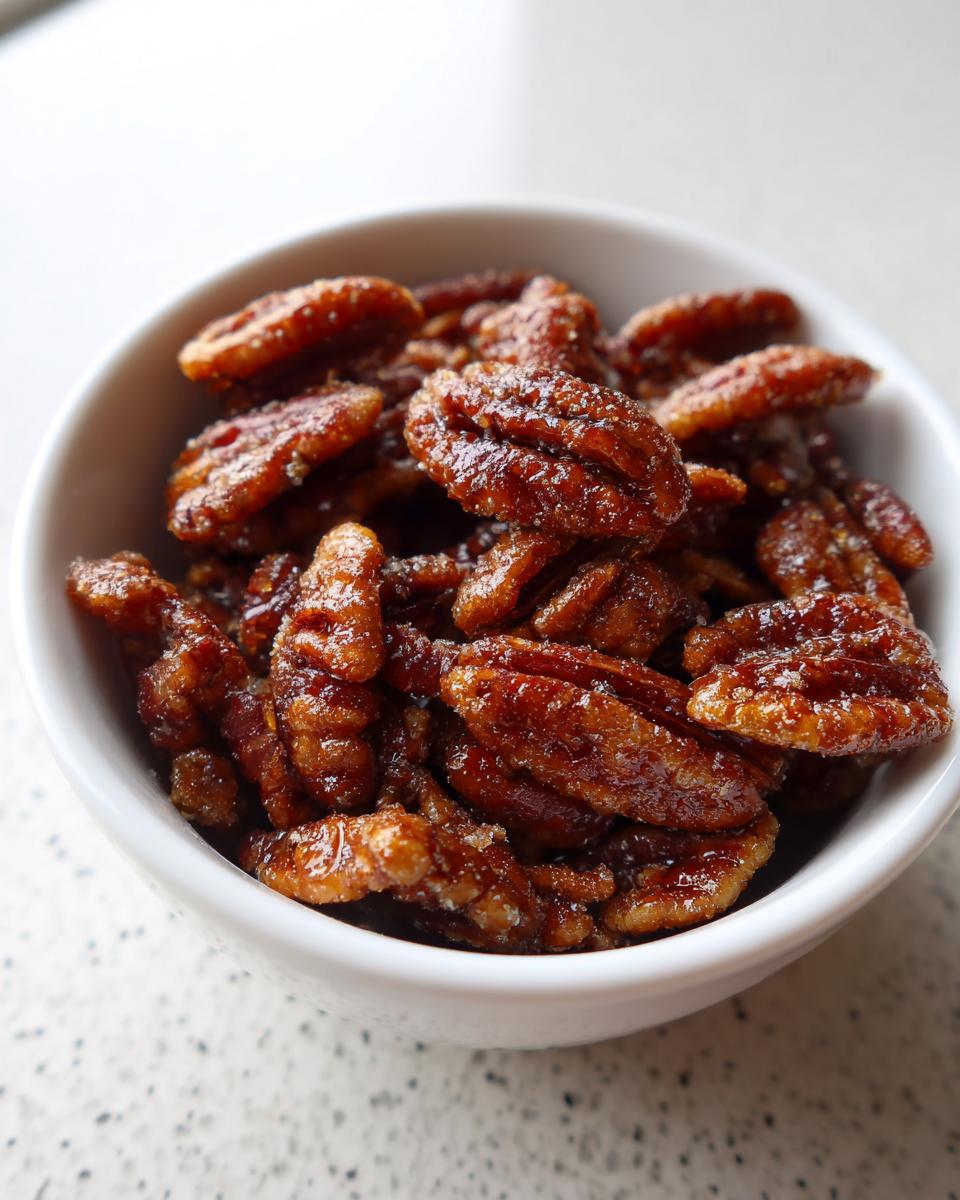
- Let them fully cool—about 15 minutes—before you try to break up any clusters. Cooling means they turn from sticky clusters into those amazing candied pecans you crave!
If you need ideas for planning your quick meals while these cool down, I always share my go-to easy weeknight dinners!
Tips for Success with Your Homemade Candied Pecans
Listen, making these candied pecans is simple, but getting that perfect snap is what separates a good batch from the Best Candied Nut Recipe out there. My biggest tip, which I pulled straight from the recipe notes, is about what happens *after* they leave the heat. Don’t walk away from the skillet, and definitely don’t forget the cooling step!
If you want to learn some other techniques for building killer flavors, you might want to check out my guide on making creamy homemade aioli—it’s all about technique, just like this!
Ensuring Maximum Crunch in Your Candied Pecans
The moment those nuts look dry and coated, they have to hit that cool surface! Spread them out super quickly into a thin, single layer. If you let them sit in a mound in the pan, they steam themselves silly and you end up with sticky clusters. That’s the biggest texture mistake people make!

Also, humidity is my personal nemesis when making these. If it’s pouring rain outside or super humid, the sugar coating will pull moisture from the air and soften quicker. If that happens, try keeping them in an airtight container immediately once they are fully cooled, even if you plan to use them the next day.
Serving Suggestions for These Brown Sugar Pecans
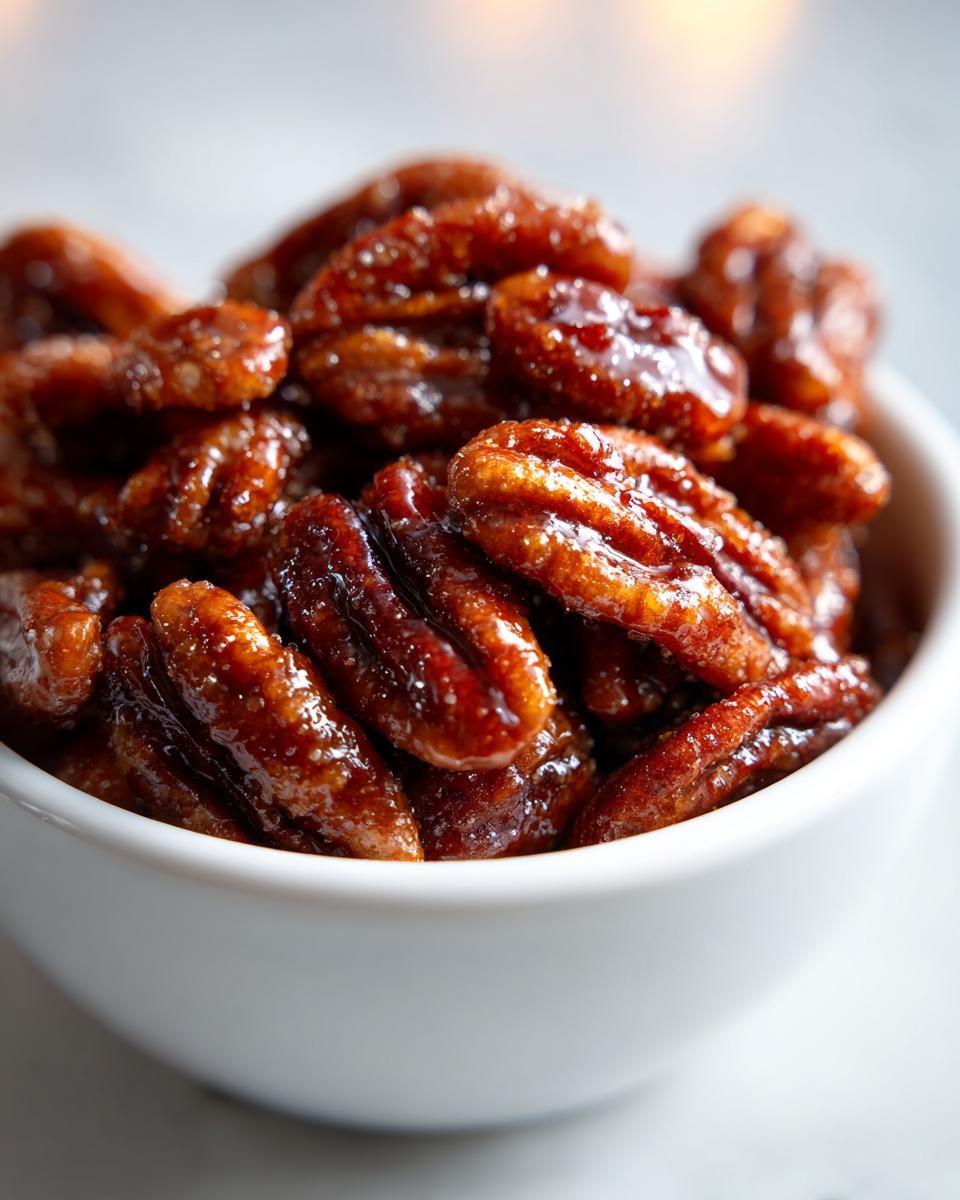
Now that you have made THE best batch of sweet and crunchy treats, the question is: where do they go? Honestly, I find myself sneaking them right out of the container before they even make it to a proper serving dish! But these Brown Sugar Pecans are super versatile and shine in so many ways.
If you’re making a big batch, the number one thing people ask me about is using them as a topping. They are fantastic as Candied Pecans for Salads—really, any salad benefits from a sweet crunch! I often make a massive batch right before fall gatherings just to toss over my maple vinaigrette dressed greens, which you can find the recipe for right here.
They also make the perfect Holiday Pecans Gift Idea. Seriously, just scoop them into a pretty mason jar, tie a ribbon around it, and bam—you have an edible gift ready in minutes. You can find some great ideas on how to package cute things like this over at Lemon Peony. Don’t forget they are also amazing over ice cream or mixed into homemade snack mixes!
Storage and Keeping Your Candied Pecans Fresh
This is the final hurdle, folks: keeping your incredible, crunchy candied pecans tasting like they just came off the skillet! We worked hard to get that perfect crystalline coating, so we absolutely cannot let humidity destroy our hard work. If you store them wrong, that beautiful glaze will turn into sticky syrup, and nobody wants that!
The absolute best thing you can do for storage is find an airtight container. Think glass jars with tight-sealing lids or a heavy-duty zip-top bag where you manage to squeeze out every last bit of air. Room temperature is totally fine for these, usually for up to a week. They stay crunchy if they stay dry—simple as that!
Now, a lot of people ask if they should put them in the fridge. Skip it, unless you live somewhere incredibly tropical or it’s raining non-stop for days. The refrigerator is full of moisture, and that moisture will seriously degrade the crunch factor over time. Unless humidity is your sworn enemy, keep them in a cool, dark pantry shelf. Seriously, treat these candied pecans like tiny little treasures, and they will stay perfect for snacking!
Bake vs Stovetop Pecans: Which Method is Best?
I get asked all the time, especially when people see how ridiculously fast this recipe is: Should I bake my candied pecans or should I use the stovetop? It’s a fair question! Both methods absolutely work, but for me, the stovetop wins every single time if you are looking for speed and simplicity. It’s all about immediate gratification, right?
Baking is great if you are making absolutely massive batches or if you want to toss in some other ingredients like whole spices that need a longer, slower roast time. Plus, baking means you can walk away while they are cooking, which is nice when you have a million things happening in the kitchen.
However, for those ultra-quick weeknight snacks or when I need something fast for an unexpected guest, the stovetop is unmatched. You get that caramel glaze going in minutes, and you can visually monitor it instantly. If you want the quick route to perfect candied pecans, stick with the skillet method we used here. If you want to see a great oven method for comparison, check out what the folks at Delish Dreams have put together. My expertise tells me to choose the stovetop for sheer speed!
Frequently Asked Questions About Candied Pecans
I know sometimes the first batch of *anything* doesn’t turn out exactly right, and that’s okay! That’s how we learn and build confidence. Here are a few things people always ask me when they try to make their first batch of Homemade Candied Pecans.
Why are my Homemade Candied Pecans sticky instead of crunchy?
Ah, the dreaded stickiness! This almost always happens for one of two reasons, and it shows you need just a little more time on that stove. Reason one: you didn’t cook the sugar mixture long enough, so there was still way too much liquid when you took them off the heat. Reason two, and this happens to me sometimes too, is humidity. If it’s damp in your kitchen, the sugar coating will pull that moisture right out of the air and get soft fast. Make sure you spread those nuts thin immediately!
Can I make Sweet and Spicy Pecans using this recipe?
Absolutely! I love mixing things up, and this is the perfect base recipe for adding a kick. If you want to turn these into Sweet and Spicy Pecans, just add about 1/8 teaspoon of cayenne pepper or a small dash of chili powder right in with your cinnamon and sugars in Step 1. It gives you that crazy addictive sweet-spicy contrast that makes people ask for the recipe immediately!
If you want to try another quick, satisfying snack that’s a little different, check out my recipe for fudgy chocolate crinkle cookies—they always make people happy!
Estimated Nutritional Data for Your Candied Pecans
As someone who loves baking but also keeps an eye on what we eat, I always want to give you a good estimate of what’s in the food we’re making. Keep in mind that since we’re working with whole nuts, these numbers are based on standard measurements for the entire recipe yielding about 1 cup. This breakdown is just a guide, not clinical data, remember!
For a serving size of about 1/4 cup of these delicious candied pecans, here is what you are generally looking at:
- Calories: Around 240 per serving
- Total Fat: About 20 grams (Pecans have wonderful healthy fats, so don’t be scared of this number!)
- Carbohydrates: Roughly 10 grams
- Protein: About 3 grams
We are using simple sugar here, which is why the carb count is higher, but you’re also getting good fiber and nutrients from the pecans themselves. If you are planning your meals for the week, you can check out some of my lighter options over at my healthy lunch ideas post. Enjoy these pecans as the perfect flavorful treat!
Share Your Experience Making Candied Pecans
That’s it, folks! We’ve gone from raw nuts to a beautiful, crunchy, sweet treat with minimal fuss. Now comes my favorite part: hearing from you! These recipes are only truly complete when they are out in the real world, making someone’s snack time or holiday platter a little brighter.
Please, if you tried this candied pecans recipe, let me know how it went! Did you get that perfect snap? Did the butter and brown sugar combo do the trick for you, or maybe you tried a spicy kick? Leave a rating and a comment down below—it helps everyone who comes after you feel confident trying this out.
And if you took a gorgeous photo of your finished crunchy pecan snack, please snap a picture and tag me on social media! I absolutely love seeing your creations and how you’re using your fresh candied pecans in salads or on cheese boards. If you have questions about storage or any ingredient swaps, don’t hesitate to shoot me a message through my contact page; I always read them!
What’s your ultimate favorite way to use these warm, spiced nuts? Are you a purist who eats them by the handful, or do you crumble them over everything? I can’t wait to hear!
PrintEasy Stovetop Candied Pecans Recipe

Make sweet, crunchy candied pecans on the stovetop in minutes. This simple recipe uses brown sugar and cinnamon for a perfect snack or salad topper.
- Prep Time: 5 min
- Cook Time: 10 min
- Total Time: 15 min
- Yield: 1 cup 1x
- Category: Snack
- Method: Stovetop
- Cuisine: American
- Diet: Vegetarian
Ingredients
- 1 cup pecan halves
- 2 tablespoons granulated sugar
- 2 tablespoons packed brown sugar
- 1/2 teaspoon ground cinnamon
- 1/4 teaspoon salt
- 1 tablespoon water
- 1 teaspoon butter
Instructions
- Combine the granulated sugar, brown sugar, cinnamon, and salt in a medium non-stick skillet. Stir the dry ingredients together.
- Add the water and butter to the skillet. Place the skillet over medium heat.
- Stir constantly until the sugar dissolves and the mixture begins to bubble, about 2 minutes.
- Add the pecan halves to the skillet. Stir continuously to coat the pecans evenly with the sugar mixture.
- Continue stirring until the liquid evaporates and the sugar crystallizes around the pecans, about 3 to 5 minutes. Watch closely to prevent burning.
- Immediately transfer the coated pecans onto a sheet of parchment paper or a silicone baking mat laid on a counter or baking sheet.
- Spread the pecans into a single layer quickly. Let them cool completely, about 15 minutes, until they are hard and crunchy.
- Break apart any clusters before serving or storing.
Notes
- For extra crunch, spread the pecans on a baking sheet and let them cool completely before separating.
- You can substitute butter with coconut oil for a dairy-free option.
- These are excellent as a homemade holiday gift when packaged in small jars.
Nutrition
- Serving Size: 1/4 cup
- Calories: 240
- Sugar: 12
- Sodium: 85
- Fat: 20
- Saturated Fat: 2
- Unsaturated Fat: 18
- Trans Fat: 0
- Carbohydrates: 10
- Fiber: 3
- Protein: 3
- Cholesterol: 3