
There’s just something about those old-fashioned desserts, isn’t there? They wrap you up like your favorite cozy blanket. If you’ve ever wanted that perfect, trembling, creamy bite of a truly great egg custard but you’re terrified of ending up with scrambled eggs, you are in the right place. I’m Jade Carter, and after years spent in test kitchens making sure recipes work every single time (I’ve got a background in nutrition too, so I know what makes things set right!), I developed this technique. Trust me when I say this recipe is genuinely fail-proof. It guarantees that silky-smooth dessert texture you dream about, without all the usual baking anxiety.
- Why This Classic Egg Custard Recipe is Truly Fail-Proof
- Ingredients for Your Old Fashioned Egg Custard
- How to Prepare This Simple Egg Dessert
- Tips for Mastering Your Creamy Custard with Milk and Eggs
- Serving Suggestions for This Baked Custard Dessert
- Storage and Reheating Instructions for Egg Custard
- Frequently Asked Questions About Making Egg Custard
- Nutritional Estimates for This Simple Baked Dessert
- Share Your Success with This Classic Egg Custard Recipe
Why This Classic Egg Custard Recipe is Truly Fail-Proof
So, you want that gorgeous, quiver-in-the-center, silky smooth dessert without that awful, bubbly top? I hear you! That’s why I developed this recipe based on absolute science. This isn’t just a recipe; it’s a lesson in fail proof baking. We focus on controlling the heat, which is the biggest enemy of any creamy baked dish.
Here are the two non-negotiable steps that make sure your results are perfect every single time, which is what I learned spending hours in the test kitchen:
The Essential Water Bath Technique for Perfect Egg Custard
This is the magic trick, plain and simple. We call it a bain-marie, or a water bath. What it does is surround the custard dishes with humid, gentle heat instead of harsh, dry heat coming straight from the oven element. This keeps the sides from setting too fast and turning rubbery or cracking before the middle even decides to cook.
My personal tip here? When you pour the hot water into the roasting pan around your dishes, use water that’s already hot—like straight from the tea kettle. This gets the insulation working immediately! Trust me, it makes a difference for achieving that silky smooth dessert finish.
Gentle Mixing for a Smooth Egg Custard
Did you notice I said *gently whisk* in the instructions? That’s vital! If you whip your eggs and milk up like you’re making meringue, you’re just folding in tiny air bubbles. When those bubbles hit the heat, what do they do? They create tiny holes, and suddenly your dessert looks like sponge cake instead of smooth egg custard.
We’re aiming for liquid velvet. So, we mix slowly, just until everything is combined. And that final optional step? Pouring everything through a fine-mesh sieve? That’s our final insurance policy. Nothing ruins a beautiful, creamy custard with milk and eggs faster than one rogue piece of egg white that didn’t quite break up. Strain it out!
If you want to read more about how we nailed down foolproof baking methods in general, check out this great guide on making sure your recipes work the first time over here.
Ingredients for Your Old Fashioned Egg Custard
When it comes to this old fashioned custard, I kept the list super simple—that’s the whole point of a traditional simple dessert, right? You’re just bringing together the holy trinity of baking: eggs, dairy, and sugar. We use whole milk here because we want that richness, but the little bit of buttermilk we add gives it a barely noticeable tang that just brightens everything up. You’ll see the full list below, but honestly, these are just basic pantry staples for your easy homemade custard.
Ingredient Notes and Substitutions for Creamy Custard with Milk and Eggs
Don’t let the simplicity fool you; the details matter here, especially for our creamy custard with milk and eggs to set perfectly. You absolutely need three large eggs—no medium ones, please! We’re using whole milk for the best results, but if you’re making a purely classic egg custard recipe and don’t have buttermilk, just swap it out. Use 2 1/2 cups of whole milk total instead of splitting the measure. That’s my one helpful tip for adapting it!
How to Prepare This Simple Egg Dessert
Alright, now that we have our gorgeous ingredients ready, let’s actually make this happen! This recipe is speedy on prep time—only about 15 minutes!—so we can get it into the oven. Remember, baking time is about 55 minutes, but the magic is in the chill afterward, so plan ahead for that minimum of 4 hours of resting time. We are making a simple baked dessert that pays off big time later!
Preheating and Setting Up the Water Bath for Baked Custard Dessert
First things first, let’s get the heat under control. You need to preheat your oven right now to 325°F (160°C). While that’s heating up, grab your roasting pan—the biggest one you have—and set your pie plate or those little ramekins inside it. Think of the roasting pan as the protective bubble for our delicate custard. We are setting up for success right from the start for this baked custard dessert.
Gently Combining the Egg Custard Base
Time to mix! Remember what I said about not creating bubbles? Take your 3 eggs and just whisk them in a bowl until the yolks and whites look like they’ve finally agreed to be friends. Don’t get energetic! Next, gently mix in the sugar, salt, and nutmeg until that sugar melts away. Now for the dairy: heat your milk and buttermilk in a saucepan just until steam starts rising. Do not, I repeat, do not let it boil! That hot milk slowly goes into the egg mixture while you whisk constantly. This process is called tempering, and it’s key for a beginner friendly custard—it gently warms the eggs so they don’t panic and scramble when they hit the heat.
And don’t forget your vanilla extract stirred in right at the end of the mixing!
Straining for a Silky Smooth Egg Custard
This step elevates this from good to truly incredible. Once everything is mixed, grab a fine-mesh sieve—the thinner the better—and pour the entire liquid mixture through it into a clean bowl. You might see a few bits caught in the strainer, maybe some thick chalazae or unmixed sugar. Those bits are gone now! This is how we guarantee that silky smooth dessert texture that melts in your mouth. Once strained, pour the mixture into your waiting pie plate or ramekins.
Baking and Cooling the Foolproof Custard Technique
Now we introduce the hot water bath. Carefully pour that hot water into the roasting pan until it comes halfway up the sides of your custard dishes. This is the non-negotiable part of our foolproof custard technique! Pop the whole setup into the oven.
It’ll bake for about 45 to 55 minutes in the pie plate. You’ll know it’s done when the edges look set, but if you nudge the pan gently, the very center still has a slight wiggle. It should not be liquid, but it should definitely still move! Once it’s done, carefully fish the custard dishes out of the water bath immediately. They need time to cool on the counter completely before you wrap them up and let them chill in the fridge for at least 4 hours. That chilling time lets the beautiful egg custard set up firm and perfect.
If you want to see a fun recipe for a creamy but completely different kind of chilled dessert, check out my homemade eggnog recipe!
Tips for Mastering Your Creamy Custard with Milk and Eggs
I know baking can feel scary sometimes, especially when you’re dealing with eggs—they can go from perfect to curdled in the blink of an eye! But since we are focused on teaching you how to make perfect custard using reliable methods, these little tricks should banish your baking fears for good. We’ve already covered the big ones, but let’s chat about keeping things cozy and creamy.
When you are trying to achieve that wonderfully rich texture in your creamy custard with milk and eggs, remember that gentle handling is your superpower. I actually developed my method for a really smooth emulsion in homemade mayonnaise based on the same principles I use here—low and slow wins the race!
Achieving the Best Texture in Your Egg Custard
If you take away just one thing from this whole recipe, let it be this: stop beating those eggs like you mean it! Over-beating is the number one reason people end up with dry or slightly spongy bits instead of that delicate, silky smooth dessert. We are whisking just until the ingredients look happy together. If you look closely at the air bubbles you create, they should be microscopic, not like big soap bubbles!
And if you skipped the water bath last time? Don’t do it this time! If you bake your crustless custard recipe directly on the oven rack, the bottom heats up too fast, setting the bottom layer of egg before the top, resulting in separation. The water bath keeps everything insulated and even. This old fashioned custard needs that gentle warmth to set up beautifully. Also, and this is important: this beautiful baked dessert, whether in a pie plate or little ramekins, is absolutely best served cold. Don’t even think about reheating it; the texture just won’t be the same!
For more ways to ensure smooth baking, check out the fail-proof tips shared by my friends who also focus on reliable results here.
Serving Suggestions for This Baked Custard Dessert
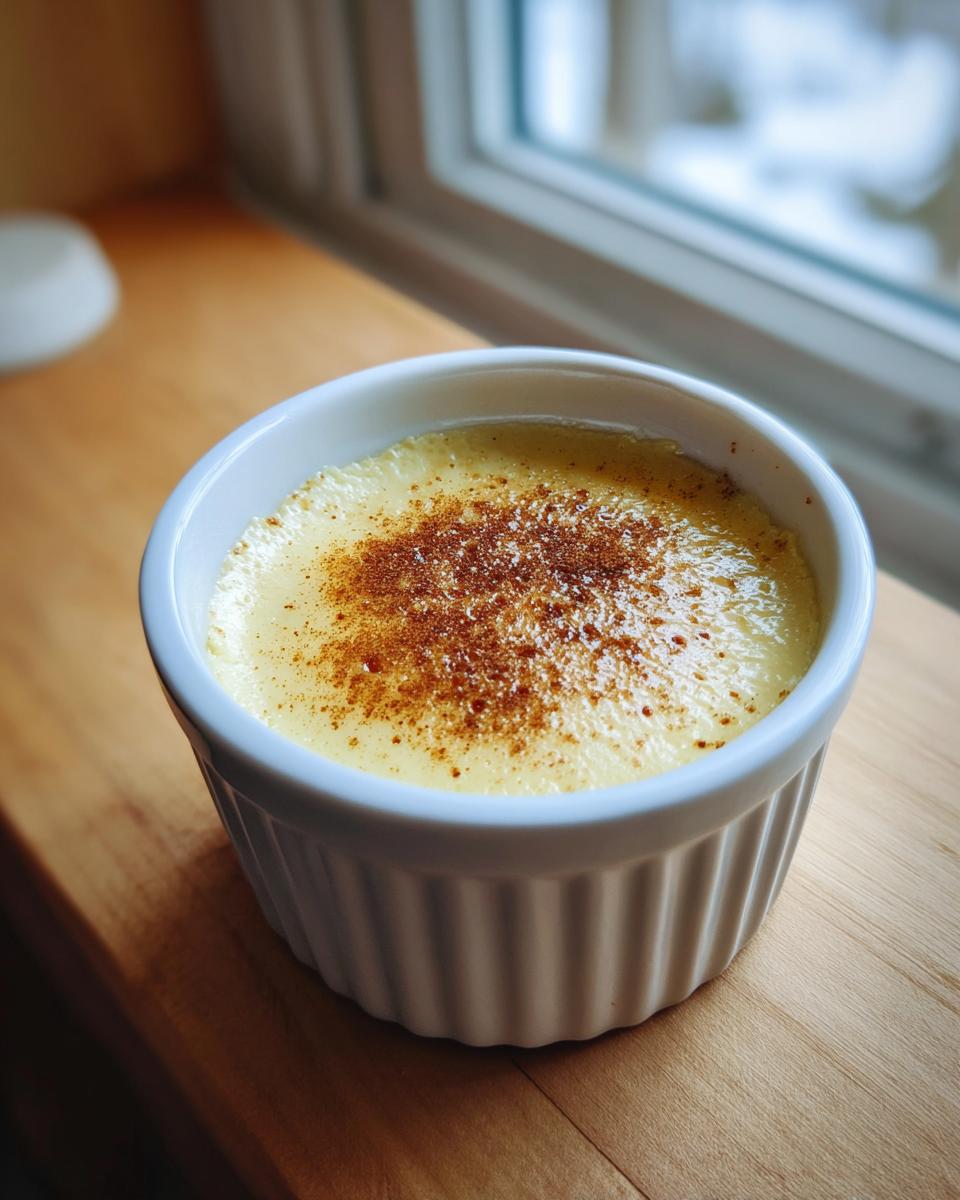
Since this stunning old fashioned custard is so rich and creamy on its own—especially when served cold—you really don’t need to cover it up with heavy toppings. Honestly, it’s perfect all by itself as a simple egg dessert. But if you feel like you need just a little something extra around the edges, keep it light!
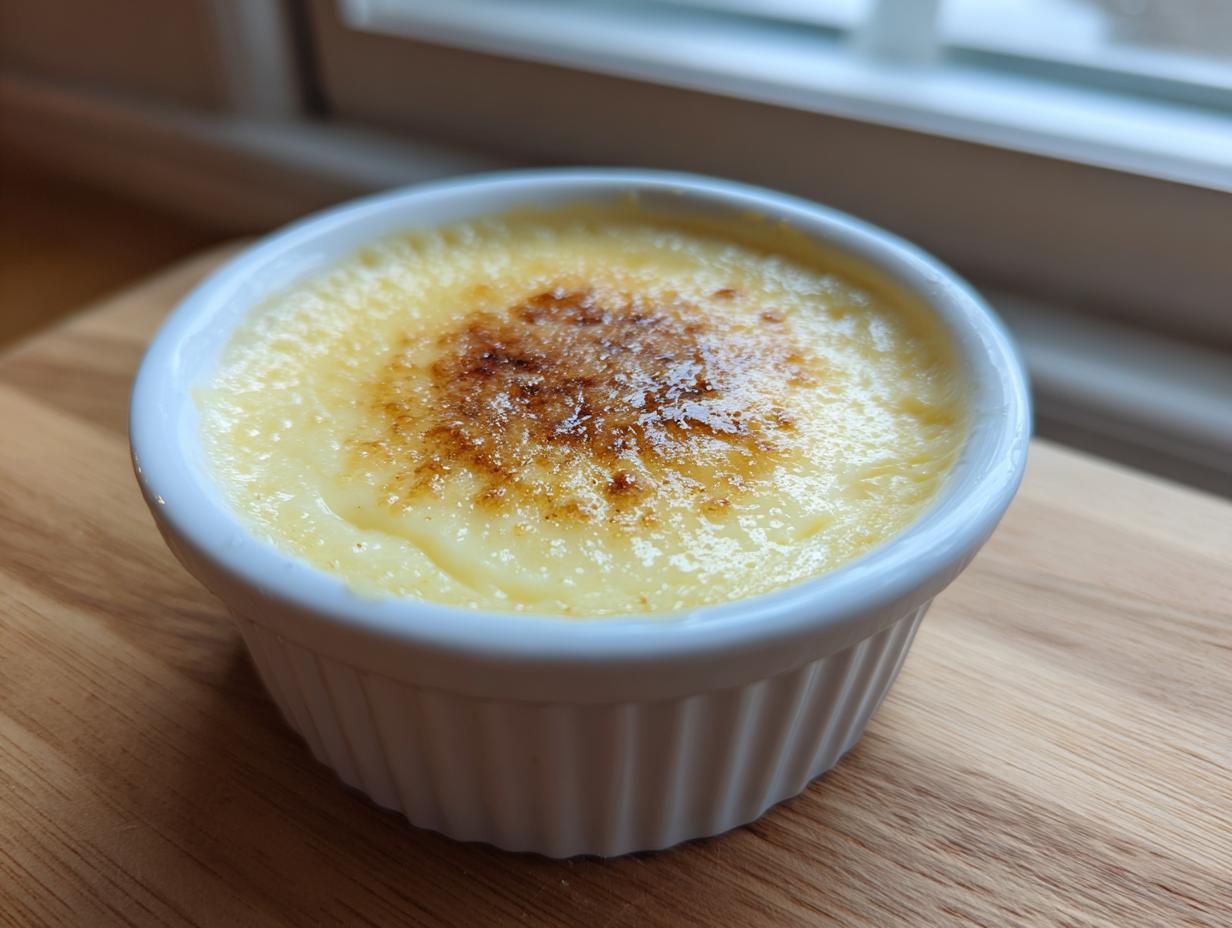
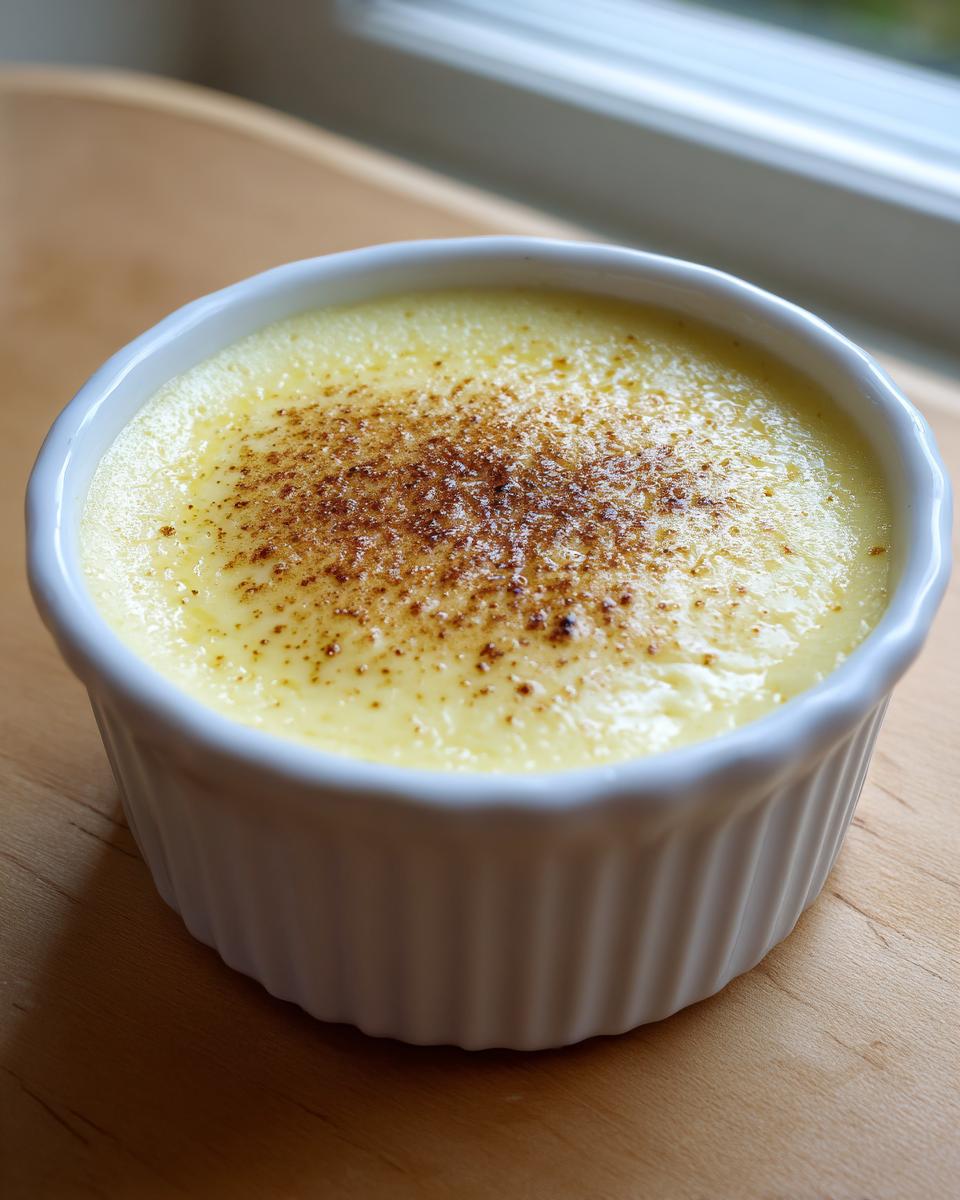
I love just a tiny dusting of freshly grated nutmeg right before serving. Or maybe just a kiss of cinnamon. If you absolutely need a creamy swirl on top, skip the heavy frostings; a small dollop of fresh whipped cream is perfect. We don’t want anything competing with that perfect, smooth texture we worked so hard to achieve! If you’re looking for other simple creams that are just as satisfying, you can always check out my recipe for a classic vanilla buttercream, though maybe use it sparingly here!
Storage and Reheating Instructions for Egg Custard
One of the reasons I love this baked custard dessert so much is that it’s the ultimate make-ahead treat. It’s perfect for when you need a delicious, impressive dessert without scrambling in the kitchen right before guests arrive!
For storage, you need to keep this dessert comfort food cold, plain and simple. Once your custard dishes or pie have cooled completely on the rack, you need to cover them tightly, either with plastic wrap or foil. When it comes to refrigeration time, make sure you let it chill for a minimum of 4 hours, but honestly, it sets up even better overnight. When it’s fully cold, that creamy texture firms up perfectly, proving why this custard is worth the wait.
Now, about reheating—this is where we need to be firm! This wonderful egg custard is designed to be served cold or barely cool. Putting it back in the oven or the microwave is really just asking for trouble. You risk a grainy texture or, worse, curdling the eggs again. So, resist temptation! The best way to enjoy this dessert is straight from the fridge.
Frequently Asked Questions About Making Egg Custard
I know you might have a few lingering questions before you jump in. That’s smart! When you’re trying to achieve that perfect, jiggly texture in a baked dish, details matter. I put together answers to the most common ones I get about this classic egg custard recipe so you can feel totally confident heading into your kitchen.
Can I make this egg custard without a water bath?
Okay, I’m going to be really honest with you here: You *can* skip the water bath, but you’re basically throwing away the “fail-proof” guarantee that makes this recipe so great. Without that hot water insulating your dishes, the bottom and sides of your egg custard will cook too fast. That means you’ll likely end up with rubbery edges and a cracked top. If you want that creamy custard with milk and eggs flavor, you really need that gentle, steamy environment the water bath provides!
How long does this creamy custard dessert last in the fridge?
Because we used whole milk and buttermilk, this dish keeps really well when chilled properly. Once completely set, this creamy custard dessert will stay delicious in an airtight container in the refrigerator for about 3 to 4 days. I find the texture is actually even more set and wonderful on day two, so don’t be afraid to make it ahead!
If you want to learn a little more about my philosophy on developing these reliable, stress-free recipes, you can check out my About Page!
And honestly, if you’re still unsure about the water bath technique, take a peek at how folks over at The Dinner Inspiration handle their versions—it really visualizes why we do it!
Nutritional Estimates for This Simple Baked Dessert
Now, I know many of you aren’t tracking every single bite, but since I do have that background in nutrition, I like to give a little overview here for those who are curious about what’s in this lovely simple baked dessert. Keep in mind these numbers are educated guesses based on the ingredients we used—especially the whole milk and sugar content—and are based on 6 servings.
For a single serving of this old fashioned custard (which is about 1/6 of the pie), here’s what the breakdown looks like:
- Calories: 195
- Sugar: 18g
- Fat: 7g (with 4g saturated fat)
- Carbohydrates: 17g
- Protein: 9g
It’s surprisingly light for something so rich, which is part of why it’s such a famous comfort food! Remember, this is just an estimate, folks. If you’re swapping out whole milk for skim, your numbers will change a bit, but the fundamental deliciousness of this egg custard certainly won’t!
Share Your Success with This Classic Egg Custard Recipe
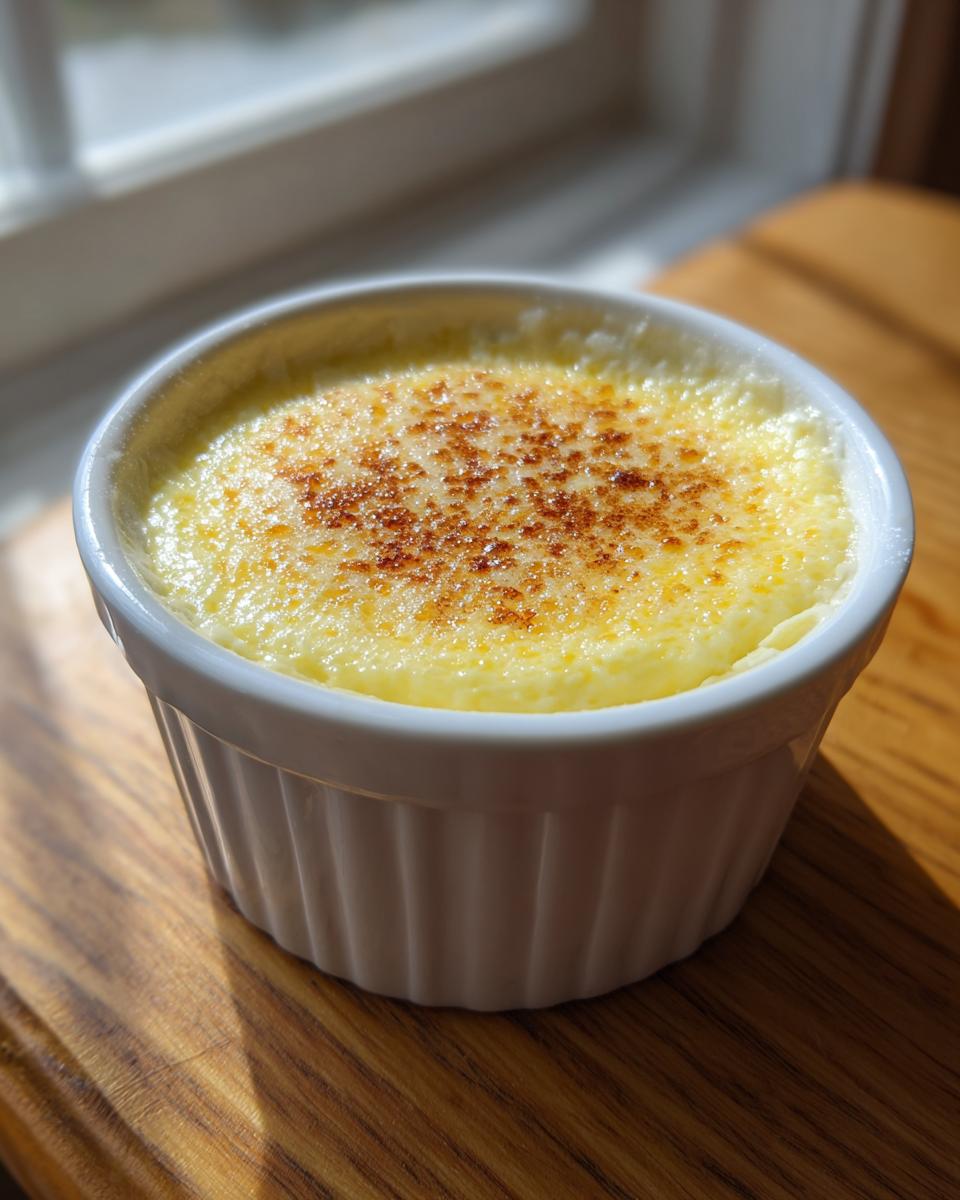
I really, truly hope you loved making this! Seriously, when you pull that perfectly set, pale yellow, creamy masterpiece out of the fridge, send me a picture! This is why I do this—to help you create memories around food, whether it’s a holiday centerpiece or just a cozy Tuesday night snack.
If this classic egg custard recipe brought back some warm memories for you, please take a moment to leave a rating right down below. Did you try putting a little extra nutmeg in? Did the buttermilk make a difference for you? I read every single comment, and your feedback helps other cooks feel confident about trying this nostalgic sweet treat next time.
If you’ve got a burning question that I didn’t cover up in the FAQ section, or if you want to share a high-five about how you finally mastered the water bath, get in touch with me through my contact page! I love hearing about your wins in the kitchen. Happy baking, friends!
PrintFail-Proof Classic Baked Egg Custard: Silky Smooth and Old-Fashioned

You can achieve a perfectly creamy, silky-smooth egg custard every time with this foolproof recipe. We use simple ingredients and the essential water bath technique to guarantee a classic, comforting dessert without cracking or bubbling.
- Prep Time: 15 min
- Cook Time: 55 min
- Total Time: 6 hours 10 min
- Yield: 6 servings 1x
- Category: Dessert
- Method: Baking
- Cuisine: American
- Diet: Vegetarian
Ingredients
- 3 large eggs
- 1/2 cup granulated sugar
- 1/4 teaspoon salt
- 1/4 teaspoon ground nutmeg
- 2 cups whole milk
- 1/2 cup buttermilk
- 1 teaspoon vanilla extract
Instructions
- Preheat your oven to 325°F (160°C). Place a 9-inch pie plate or four 6-ounce ramekins into a large roasting pan.
- Gently whisk the eggs in a medium bowl until just combined. Do not incorporate too much air; this prevents bubbles.
- Add the sugar, salt, and nutmeg to the eggs. Whisk slowly until the sugar dissolves.
- In a separate saucepan, warm the milk and buttermilk over medium heat until steam rises, but do not let it boil. Remove from heat.
- Slowly pour the warm milk mixture into the egg mixture while whisking constantly and gently. Stir in the vanilla extract.
- Strain the custard mixture through a fine-mesh sieve into a clean bowl to remove any chalazae or unmixed bits, ensuring a silky smooth texture.
- Pour the strained custard into the prepared pie plate or ramekins.
- Carefully pour hot water into the roasting pan until the water reaches halfway up the sides of the custard dishes. This water bath is crucial for a creamy, fail-proof result.
- Bake for 45 to 55 minutes for a pie dish, or 35 to 40 minutes for ramekins. The custard is done when the edges are set but the center still jiggles slightly when gently nudged.
- Carefully remove the custard dishes from the water bath. Let them cool completely on a wire rack before chilling in the refrigerator for at least 4 hours before serving.
Notes
- For the silkiest texture, avoid over-beating the eggs. Mix just until the yolks and whites combine.
- The water bath (bain-marie) regulates the oven temperature around the custard, which prevents the edges from cooking too fast and causing cracks.
- If you skip the buttermilk, use 2 1/2 cups of whole milk total for a traditional recipe.
- This crustless custard is a wonderful, simple egg dessert that tastes great cold.
Nutrition
- Serving Size: 1/6 of pie
- Calories: 195
- Sugar: 18
- Sodium: 140
- Fat: 7
- Saturated Fat: 4
- Unsaturated Fat: 3
- Trans Fat: 0
- Carbohydrates: 17
- Fiber: 0
- Protein: 9
- Cholesterol: 110