
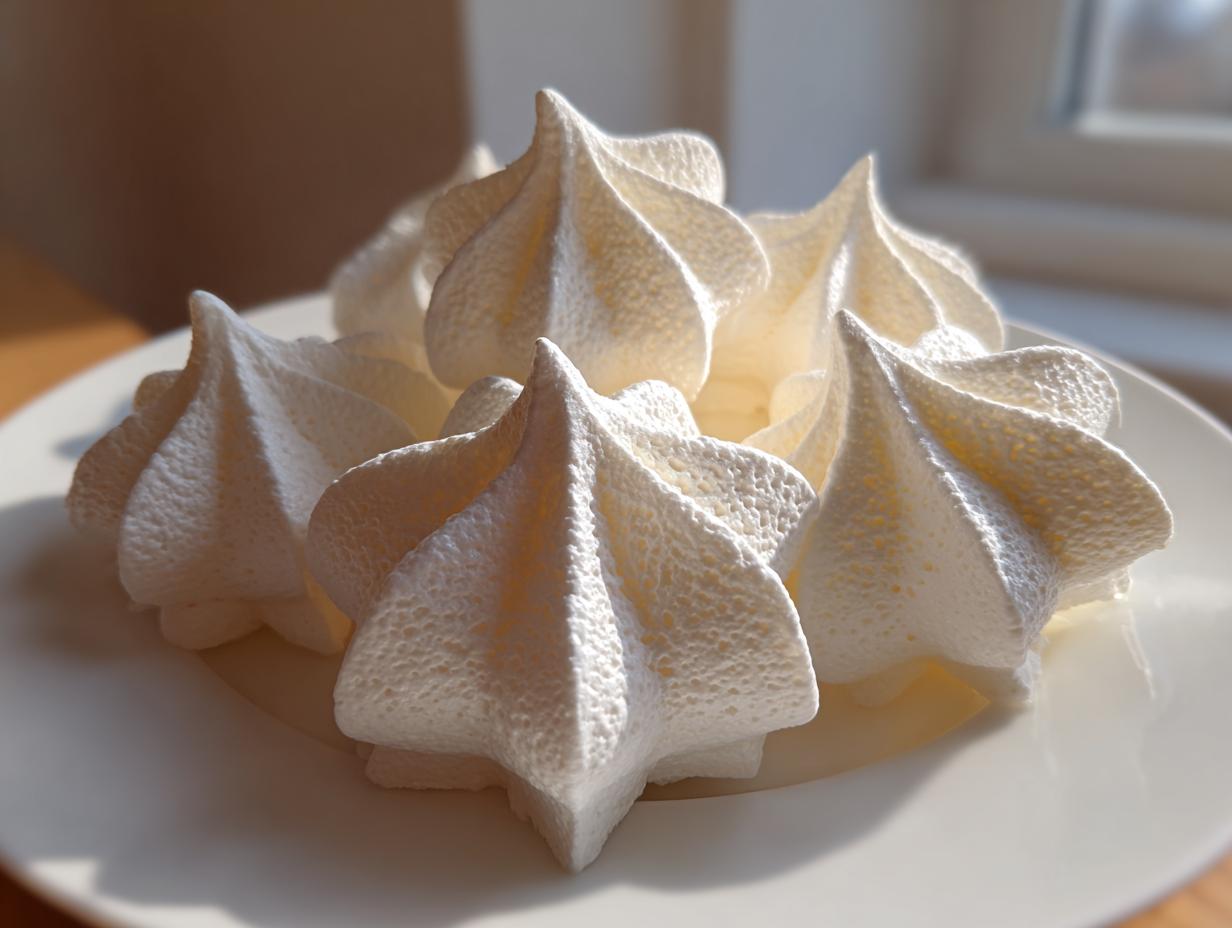
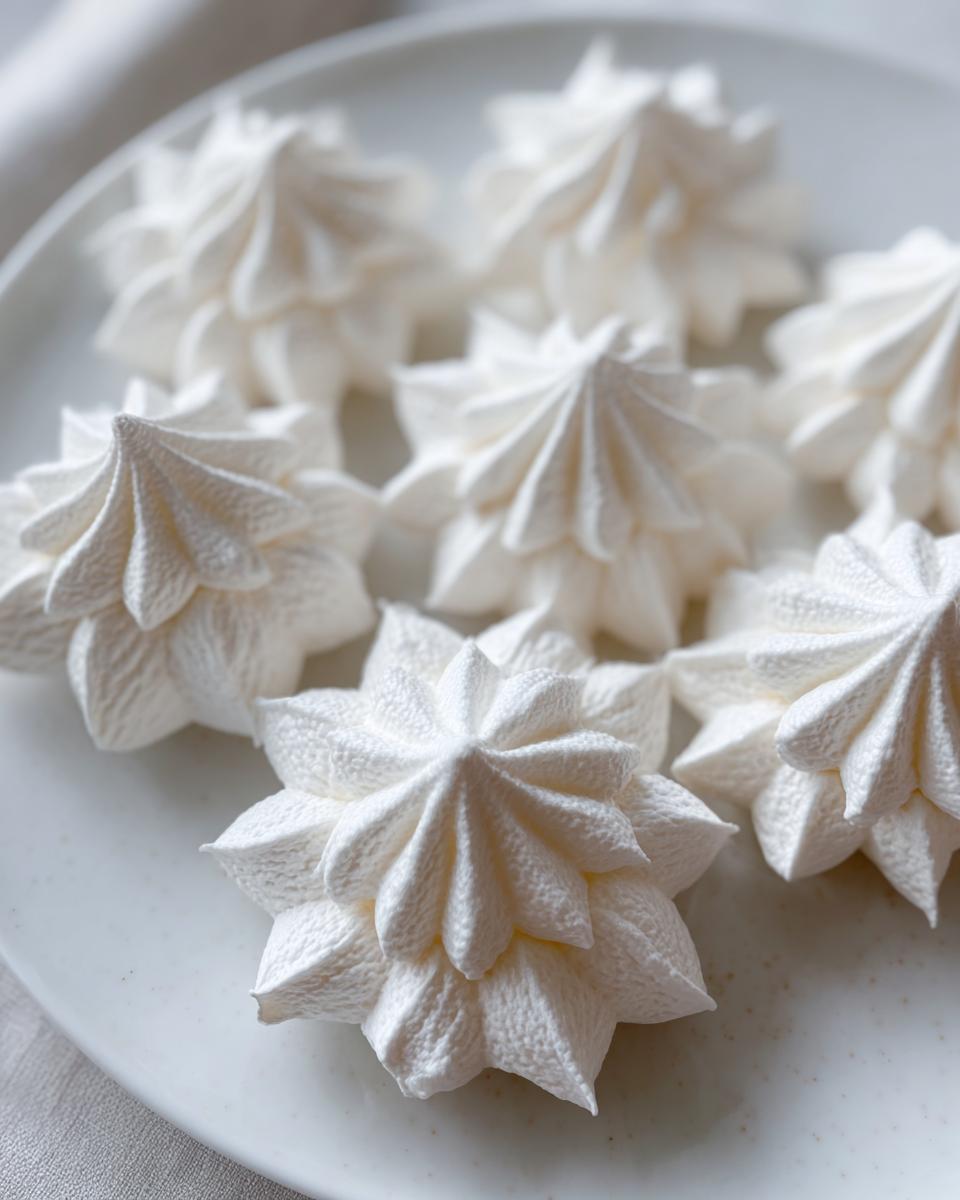
There is just something magical about a dessert that looks incredibly fancy but is actually stunningly simple, right? If you’ve been searching for that perfect, reliable recipe, your search ends here! We are diving into the world of **meringue cookies**, and I promise you, these are the easiest, most dependable treats you’ll ever whip up. They are billowy, light, and just dissolve perfectly on your tongue. That’s because I’ve taken everything I learned in the professional test kitchen—and what Jade Carter always focused on—to make sure these instructions are totally foolproof. You can read more about our philosophy of stress-free, reliable baking over on our About Page.
We want you to feel confident baking, and these sweet little kisses are proof that simple ingredients handled right can create showstoppers. Forget complicated steps; we’re making classic, crispy meringue cookies that taste like heaven and have zero gluten included!
- Why This Is the Best Meringue Cookie Recipe
- Gathering Ingredients for Perfect Meringue Cookies
- How to Make Meringue Cookies: Step-by-Step Instructions
- Tips for Success When Making Meringue Cookies
- Meringue Cookie Variations for Festive Meringue Shapes
- Storage and Serving Suggestions for Your Meringue Cookies
- Nutritional Information for Meringue Cookies
- Common Questions About Making Meringue Cookies
- Share Your Perfect Meringue Cookies
Why This Is the Best Meringue Cookie Recipe
I know, I know, everyone claims they have the *best* meringue cookie recipe, but listen to me: this one works. Seriously! I developed this formula to be absolutely reliable, cutting out all those fussy steps that make bakers nervous. We focus on getting you that perfect texture—light, airy, and delightfully crisp—without any sticky disasters.
This meringue cookie recipe avoids the two biggest pitfalls: weeping (when tiny sugar beads sweat onto the cookies) and cracking when they cool. It’s all about precision in the whipping and patience in the oven. Trust me, once you nail this, you’ll never look back.
Achieving Light and Airy Dessert Texture
The secret weapon for that dreamy, light and airy dessert feeling is achieving textbook stiff peaks with your egg whites!
If you beat them just shy of stiff, they’ll collapse in the oven. If you overbeat them after adding the sugar, they get grainy. We stop right when that thick, glossy meringue screams, “I’m ready!” Stiff peaks hold their shape perfectly, ensuring maximum air is trapped inside—that air is what puffs them up beautifully when they bake low and slow.
Tips for Crispy Meringue Treats Every Time
To ensure you get those truly crispy meringue treats that snap when you bite them, the baking is where we commit to patience. We bake them at a ridiculously low temperature—think drying them out, not actually baking them brown. This removes almost all the moisture.
Also, humidity is the enemy here. If it’s pouring rain outside, just know you might need an extra half-hour in the oven. And don’t cheat on the cooling step! Leaving them in the turned-off oven prevents that sudden temperature shock that causes cracks.
Gathering Ingredients for Perfect Meringue Cookies
You might think meringue cookies are complicated because they look so delicate, but the ingredient list is unbelievably short. That’s the beauty of it! We only need five core things to create this incredible texture.
The most important thing you need to manage before you even turn on your mixer is the quality and temperature of your main ingredient—the egg whites. Treating those whites right is the heart of making sure this **meringue cookie recipe** turns out perfectly.
Essential Ingredients for Your Meringue Cookie Recipe
Here’s what you are grabbing for your bowl:
- 4 large egg whites, room temperature
- 1 cup granulated sugar
- 1 teaspoon vanilla extract
- 1/4 teaspoon cream of tartar
- Pinch of salt
How to Make Meringue Cookies: Step-by-Step Instructions
Okay, let’s get these beautiful **meringue cookies** made! First things first: get that oven set to its absolute lowest setting—200 degrees F. Line your sheets with parchment paper; don’t skip that part. We are essentially slow-drying these fluffy clouds, not actually baking them, so time is your friend here. We’re going to move fast through the whipping part so everything stays fresh.
When you’re ready to start, you can look up a video on French meringue techniques, although this recipe is pretty straightforward! You can find some great tips on other preparations for egg whites, like what The Kitchn suggests for French meringue, but for these cookies, just follow along.
Whipping the Meringue Base for Best Meringue Cookies
Grab that spotlessly clean bowl, put in your room-temperature egg whites, cream of tartar, and salt. Beat them until you get soft, floppy peaks. Now, this is where we commit: start adding that sugar super slowly, just a tablespoon at a time, while cranking the mixer up to high. Keep going until that meringue is stiff and shiny. If you rub a tiny bit between your thumb and forefinger, it shouldn’t feel gritty at all! That means the sugar is totally dissolved, which is key for a successful **meringue cookie recipe**.
Piping and Baking Your Delicate Dessert Recipe
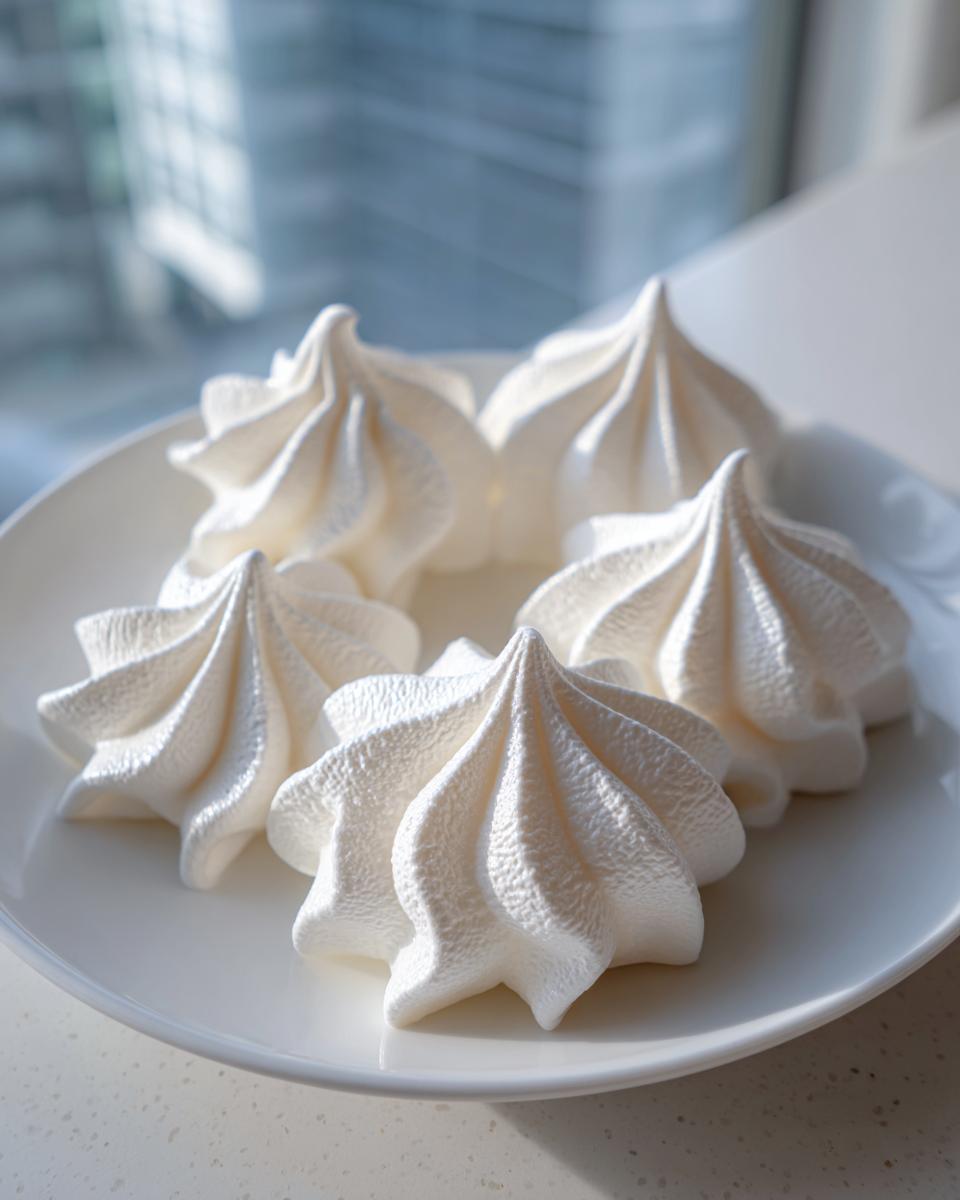
Once you have those beautiful stiff peaks, carefully beat in the vanilla. Time to shape them! You can use a piping bag with a big star tip for those fancy swirls—they look so elegant and fit right into that **delicate dessert recipe** category. If you don’t have a bag, two spoons work great for simple drops. Place them on the sheet with a little space between them.
Pop them in that 200°F oven for at least an hour to an hour and a half. We want them dry to the touch and easy to lift. Then, turn the oven OFF, crack the door open, and let them chill out inside for another hour (or honestly, overnight is best!) to prevent them from shattering when they meet the cool kitchen air. Your royal icing guide might be helpful if you decide to decorate later!
Tips for Success When Making Meringue Cookies
Look, even with the best recipe, meringue can still be a little temperamental, right? That’s okay! We just need to pay attention to the details, which is where the science part of baking comes in handy. If you treat these egg whites like royalty, they’ll reward you with perfect little **meringue cookies** that don’t weep on you.
I followed some professional advice when developing this, and these few pointers make a huge difference between a tray of beautiful treats and a gooey mess. It’s all about preparation!
Ingredient Prep for Foolproof Meringue Cookies
Listen closely to this one part: your bowl and your whisk attachments MUST be surgically clean. I mean spotless! Any tiny bit of oil or even water residue, and those egg whites just won’t whip to that stiff-peak stage we need. Seriously, wipe everything down with a little vinegar if you’re worried.
Also, remember what I said about temperature? Your egg whites have to be room temperature. Cold whites give you flat, sad little peaks, and we want maximum volume for that light texture. That simple step really helps you create a **no fail meringue recipe**!
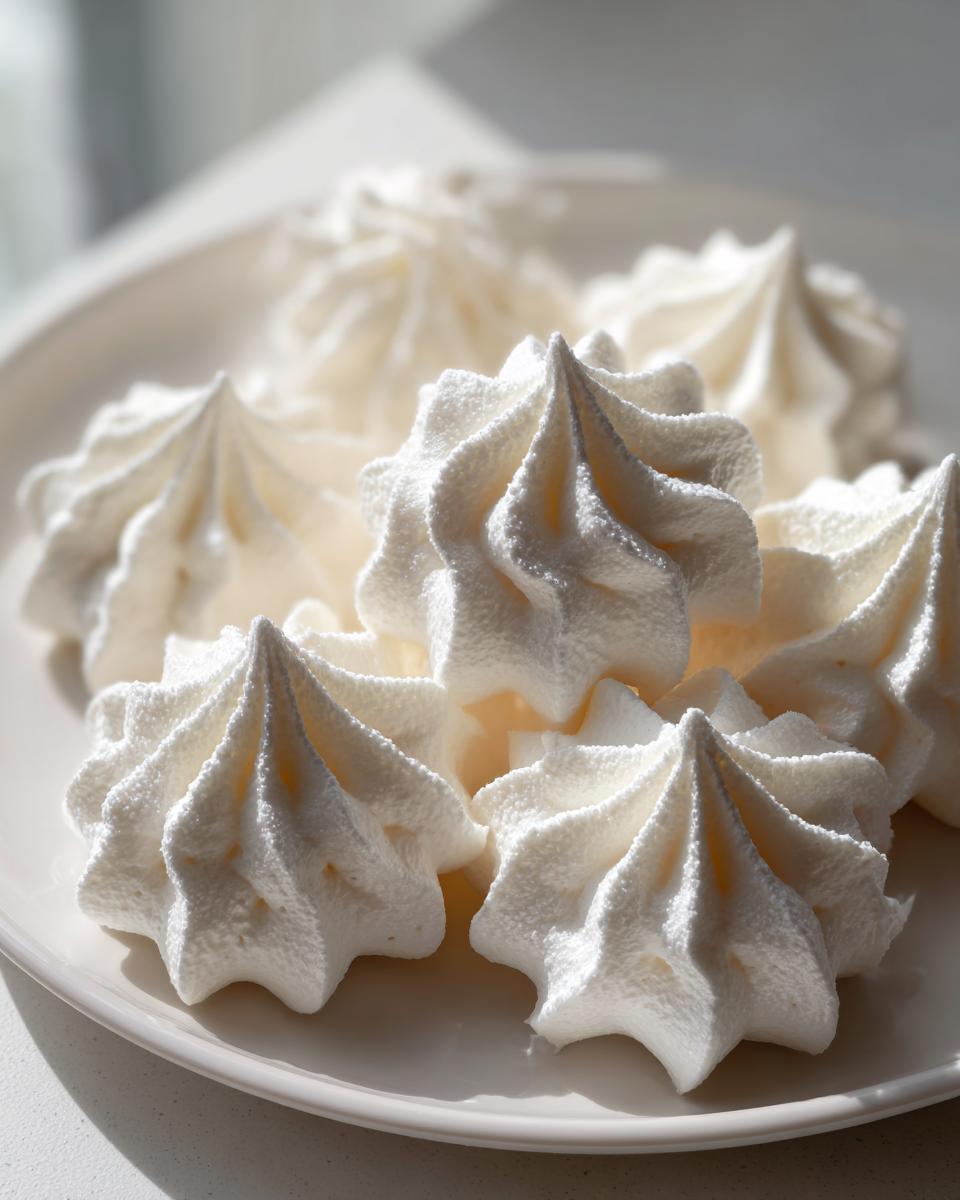
Meringue Cookie Variations for Festive Meringue Shapes
So, once you’ve mastered the classic, sweet, white meringue cookies, where do you go next? We can totally dress these babies up! I see so many gorgeous Christmas and Easter ideas out there on social feeds, and the beauty is that this base recipe is crying out for fun variations.
You can easily turn these into colorful meringue ideas or festive meringue shapes just by thinking about how to incorporate flavor or color right into that stiff meringue before piping. It’s such a simple way to make them look like showstopper dessert cookies without any extra fuss!
Adding Color to Your Meringue Cookies
Coloring is the fastest way to make these festive! Don’t reach for the liquid food coloring, though—it adds too much water and can deflate your beautiful batter. Trust me, you want to use a gel food coloring, just a tiny dot.
When you add the vanilla in that last step, drop in your gel color and give it a quick, gentle fold with a spatula until it streaks nicely. For holiday cheer, think about making a tray of pale pink, soft blue, or vibrant green! If you are looking for other colorful recipes, check out my thoughts on strawberry cheesecake cookies for flavor inspiration!
Storage and Serving Suggestions for Your Meringue Cookies
Phew! You’ve dried them low and slow, and they survived the cooling process without cracking. Now, how do we keep these delicate gems perfect? The number one enemy of a crispy meringue cookie is moisture in the air. You absolutely must store your finished **meringue cookies** in an airtight container.
If you don’t have enough room in one container, just layer them between sheets of wax paper. They are so light, they won’t squish! These little delights are wonderful just as they are, perfect alongside a hot cup of coffee, or even crushed up on top of something like ice cream. For a real treat, check out some of my other favorite dessert recipes!
Nutritional Information for Meringue Cookies
Whew! Who knew an elegant dessert could be so light? Because these **meringue cookies** are basically just whipped egg whites and sugar, they clock in incredibly low on calories and fat. Isn’t that just the best news for a sweet treat?
Keep in mind these are just estimates based on the four dozen cookies this recipe yields, but here’s the quick breakdown:
- Serving Size: 1 cookie
- Calories: 45
- Fat: 0g
- Sugar: 11g
See? Naturally gluten free and super light for that snack time indulgence!
Common Questions About Making Meringue Cookies
Even with the best instructions, sometimes you just have a few lingering questions when tackling a **meringue cookie recipe**. That’s why I put together this little FAQ section—we’re covering all those tricky spots so you can feel totally confident the next time you decide to make these **light and airy desserts**.
Honestly, once you get the egg whites right, the rest is just waiting!
Are meringue cookies naturally gluten free?
Yes, they absolutely are! Since this **Meringue Cookie Recipe** only calls for egg whites, sugar, cream of tartar, and vanilla extract, you are totally safe on the gluten-free front. It’s one of the best naturally **gluten free meringue** options out there, which makes them perfect for sharing with everyone. Just make sure that if you add any mix-ins later, like chopped nuts, that those additions are also gluten-free, of course!
Why did my meringue cookies crack during baking?
Cracking is usually a sign of two things, honestly. First, if your oven temperature wavered even a little bit higher than 200°F, the outside sets too fast and needs to expand, so it cracks to relieve the pressure. That’s why you must bake them low! Second, and this is a big one, is cracking during cooling. If you take those hot, fragile **crispy meringue treats** and put them straight onto a cool counter, the sudden temperature change shocks them. Remember what I said? Turn the oven off, prop the door, and let **how to make meringue cookies** successfully by letting them cool slowly inside!
Share Your Perfect Meringue Cookies
I truly can’t wait to hear how your batch of **melt in your mouth cookies** turned out! Knowing these simple little treats brought joy to your table makes all the careful testing worth it. If you loved this recipe, please leave a rating below so other bakers can feel confident giving it a try!
When you post your perfect light-as-air swirls online, tag me! I love collecting pictures of everyone’s beautiful **meringue cookies**. If you need to get in touch for any reason, feel free to reach out through my Contact Page. Happy baking!
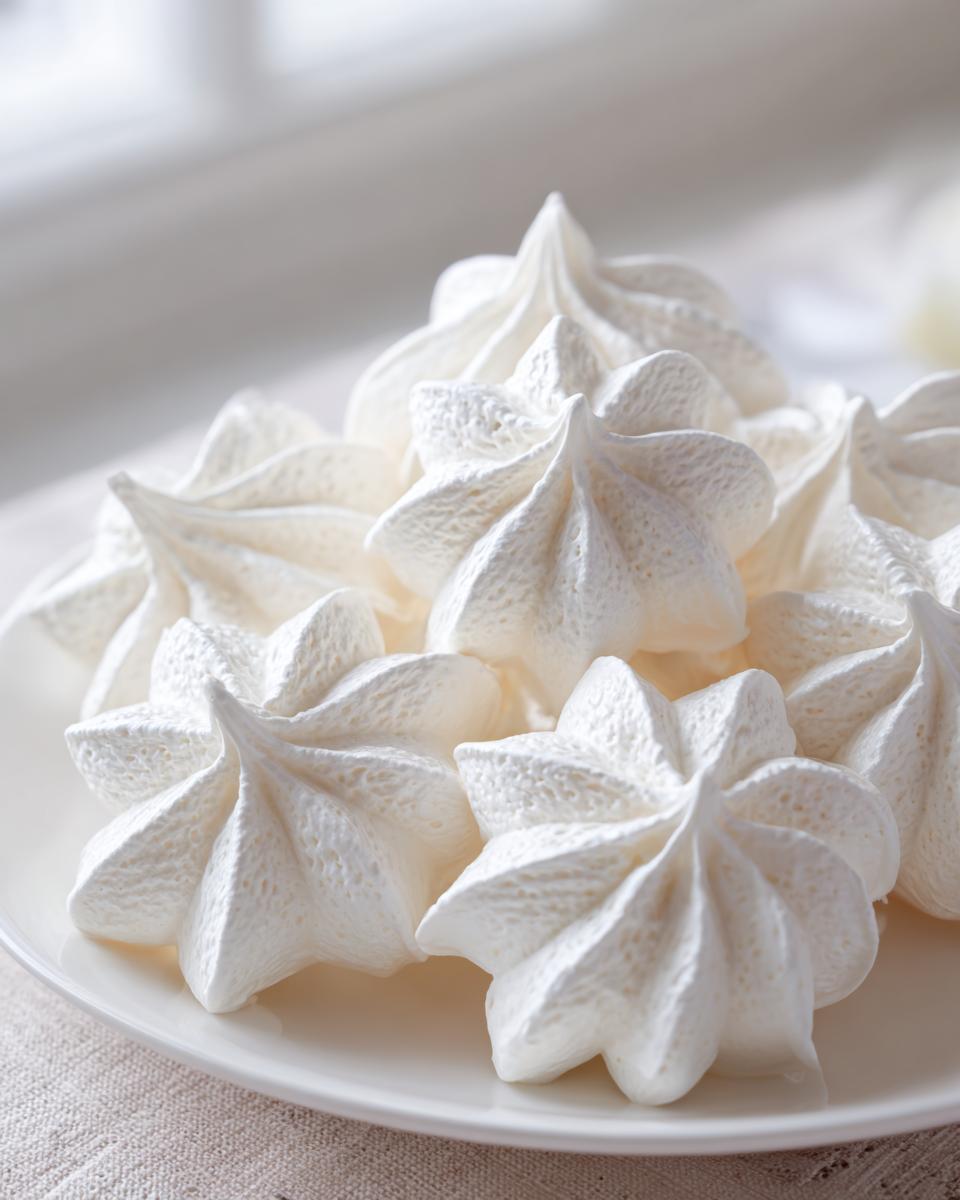
PrintClassic Light and Crisp Meringue Cookies
Make delicate, melt-in-your-mouth meringue cookies that are light, airy, and perfectly crisp using this simple, foolproof recipe. These sweet treats are naturally gluten-free and ideal for any occasion.
- Prep Time: 20 min
- Cook Time: 90 min
- Total Time: 130 min
- Yield: About 3 dozen 1x
- Category: Dessert
- Method: Baking
- Cuisine: American
- Diet: Gluten Free
Ingredients
- 4 large egg whites, room temperature
- 1 cup granulated sugar
- 1 teaspoon vanilla extract
- 1/4 teaspoon cream of tartar
- Pinch of salt
Instructions
- Preheat your oven to 200 degrees Fahrenheit. Line two baking sheets with parchment paper.
- In a clean, dry mixing bowl, combine the egg whites, cream of tartar, and salt. Beat with an electric mixer on medium speed until soft peaks form.
- Gradually add the granulated sugar, about one tablespoon at a time, while beating continuously on high speed. Continue beating until the meringue is stiff, glossy, and the sugar is completely dissolved. You should be able to rub a small amount between your fingers without feeling grit.
- Beat in the vanilla extract until just combined.
- Transfer the meringue to a piping bag fitted with a large star tip (or use two spoons for drop cookies).
- Pipe or spoon small mounds onto the prepared baking sheets, leaving space between each cookie. For festive shapes, pipe swirls or dollops.
- Bake for 1 to 1.5 hours, depending on the size of your cookies, until they are dry to the touch and lift easily from the parchment paper. The goal is to dry them out, not brown them.
- Turn off the oven, prop the door open slightly, and allow the meringue cookies to cool completely inside the oven for at least 1 hour, or even overnight. This prevents cracking.
- Store cooled meringue cookies in an airtight container at room temperature.
Notes
- Use room temperature egg whites for the best volume when whipping.
- Ensure your mixing bowl and whisk attachments are completely free of any grease or water residue.
- Baking low and slow is key to achieving a crisp exterior and a melt-in-your-mouth texture.
- For colorful meringue ideas, add a few drops of gel food coloring to the stiff meringue before piping.
Nutrition
- Serving Size: 1 cookie
- Calories: 45
- Sugar: 11
- Sodium: 5
- Fat: 0
- Saturated Fat: 0
- Unsaturated Fat: 0
- Trans Fat: 0
- Carbohydrates: 11
- Fiber: 0
- Protein: 1
- Cholesterol: 0