

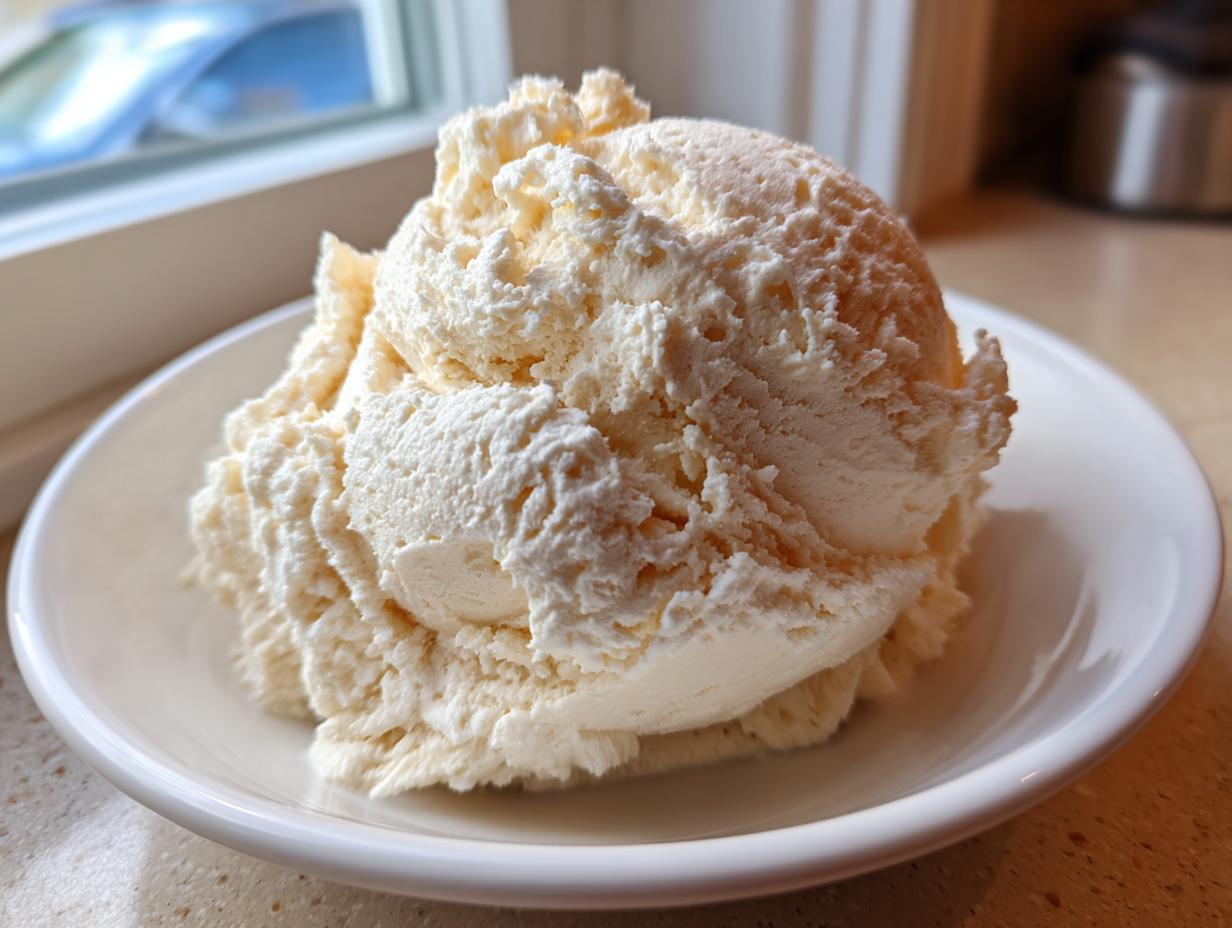
Are you tired of frosting that ends up runny, sugary, or just… sad? Trust me, I’ve been there! That’s why I obsessed over perfecting this recipe for you. This is, hands down, the ultimate fluffy and stable vanilla buttercream you can whip up while your cake is cooling—seriously, it’s ready in under 10 minutes! When I started Cooking by Jade, I promised myself I’d share reliable, simple recipes that build confidence, and this frosting is the best example of that promise in action. Forget complicated steps; we’re aiming for bakery style perfection right here on your counter. Check out my full background on why I focus on kitchen confidence over fancy techniques at Cooking by Jade!
- Why This is The Best Vanilla Buttercream Recipe for Cakes and Cupcakes
- Ingredients for Ultimate Vanilla Buttercream
- How to Make Fluffy Buttercream for Cakes in 10 Minutes
- Expert Tips for Perfect American Buttercream Tutorial Results
- Troubleshooting Common Vanilla Buttercream Issues
- Storage and Reheating Instructions for Creamy Cupcake Frosting
- Vanilla Buttercream Variations for Simple Vanilla Dessert Recipe Makers
- Frequently Asked Questions About Making Vanilla Buttercream
- Share Your Homemade Vanilla Icing Creations
Why This is The Best Vanilla Buttercream Recipe for Cakes and Cupcakes
People search high and low for the Best Vanilla Buttercream Recipe, but honestly, it comes down to two things: stability and that melt-in-your-mouth texture. This recipe is designed to be rock-solid, so go ahead and use it for towering layer cakes or piping delicate borders—it won’t wilt on you! That fluffiness you see in bakeries? We capture that right here. This homemade vanilla buttercream delivers that fluffy buttercream for cakes feel without needing complex techniques. It’s quick, it’s reliable, and it tastes exactly like classic perfection. If you want to tackle other reliably fantastic toppings, check out my guide on the Best Cream Cheese Frosting Recipe!
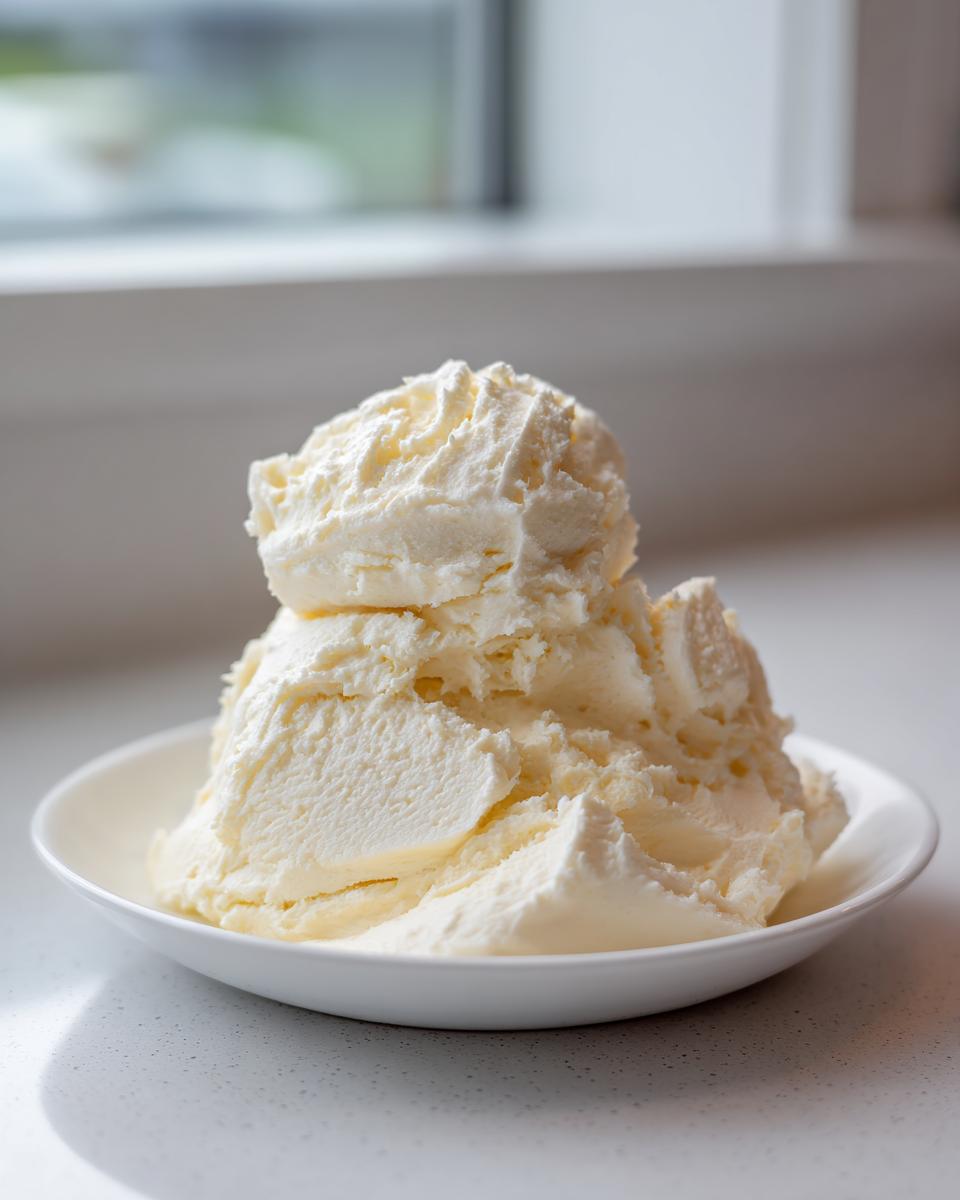
Achieving Smooth Vanilla Frosting Texture
The secret to avoiding that gritty, sugary horror movie texture in your vanilla buttercream lies in preparation. First, you *must* sift your powdered sugar. I know, it feels fussy, but that breaks up any clumps before they get incorporated. Second, the butter temperature is everything! It needs to be room temperature—soft enough to yield slightly when you press your finger in, but definitely not greasy or warm. When butter is too cold, sugar crystals get trapped; when it’s too warm, you just end up with greasy liquid. Follow those two simple steps, and you’ll have Smooth Vanilla Frosting every time.
Ingredients for Ultimate Vanilla Buttercream
Okay, let’s talk about what you need to gather. Honestly, this list is short and sweet, which is part of why this vanilla buttercream is so fantastic! You only need basic pantry stars, but getting the details right on the butter is huge. Don’t feel like you need fancy specialized powders or ingredients for this; it’s about good ratios.
- 1 cup (226g) unsalted butter, softened to room temperature
- 3 1/2 to 4 cups (420g to 480g) powdered sugar, sifted
- 1 teaspoon pure vanilla extract
- 1 to 2 tablespoons heavy cream or milk
- Pinch of salt
See? Super simple! Just make sure that butter is ready to go. If it’s still cold from the fridge, it won’t cream up right, and you’ll immediately lose those vital air bubbles needed for that truly Fluffy Buttercream for Cakes we are aiming for.
How to Make Fluffy Buttercream for Cakes in 10 Minutes
Forget waiting for hours! We are making vanilla buttercream that tastes like it came from a high-end bakery, and it only takes about 10 minutes to mix up. The secret sauce here is the beating time—don’t rush it! Start by putting your room-temperature butter in the bowl and beating it alone on medium speed for a full three minutes until it looks actually light and fluffy. This makes those air pockets we love. If you need a cake recipe to go with this amazing frosting, you can check out my guide for a tender, buttery yellow cake recipe!
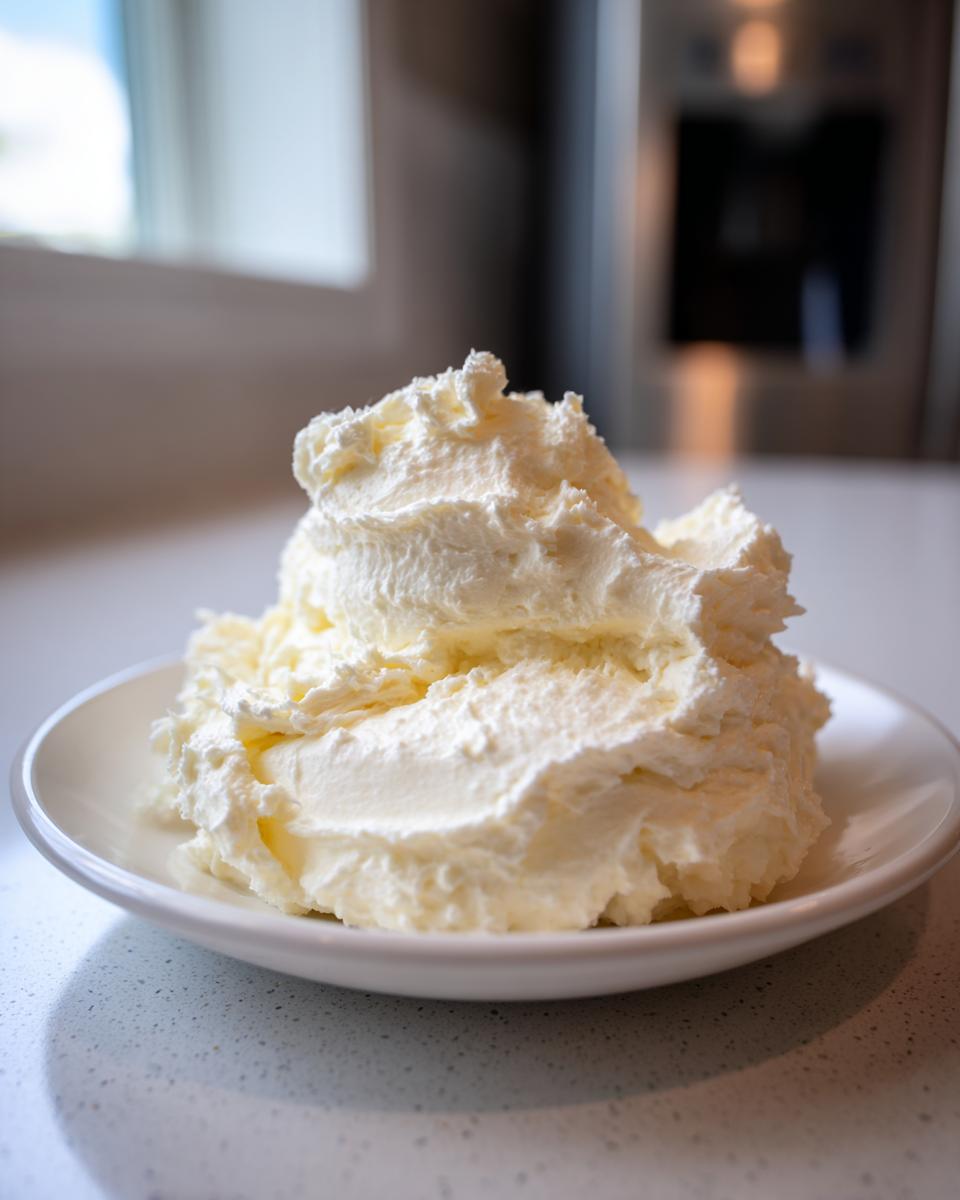
Next, turn the mixer way down low before adding that sifted sugar, one cup at a time. Once the sugar is mostly mixed in, in go the vanilla and salt. Now for the magic step: crank that mixer up to medium-high for another three to five minutes! Seriously, put on a good song and just let it whip. This long whipping time is what gives you that unbelievably Whipped Vanilla Frosting texture and that stability other recipes can’t match.
Check out this awesome external resource for a visual reference to ensure you hit those initial mixing goals! The initial mixing process is crucial for the final structure. If you finish those steps and need a smoother consistency for spreading, move right along to adjusting it perfectly.
Tips for Piping Buttercream Recipe Consistency
If you’re heading out to a party on a hot day and need a Piping Buttercream Recipe that holds its shape beautifully, you need to watch your liquid! This is where we use that final tablespoon of cream or milk mentioned in the ingredients list. Only add it in small teaspoons until you can swish your spatula through the frosting and it leaves a nice, clean path without collapsing immediately back on itself. Less liquid means that Homemade Vanilla Icing will be a bit stiffer, which is exactly what you want for defined borders and stars, especially if your kitchen is warm.
Expert Tips for Perfect American Buttercream Tutorial Results
When you’re making this vanilla buttercream, you are going for a No Fail Frosting Recipe, period. So, let me share the secrets I learned watching others mess this up! My friend once tried to cheat the system by using butter that was slightly under-softened, and the final texture was just awful—grainy and stiff because the sugar couldn’t properly incorporate. Don’t be that friend!
Remember the first note I gave you? Make sure that butter isn’t even a little bit cold. Your mixing time is what gets this frosting looking like a proper American Buttercream Tutorial success. If you feel like it still looks a touch gritty after those 5 minutes of whipping, keep going! I always say, give it another two full minutes on medium-high speed. You won’t hurt it, and those stubborn sugar crystals magically dissolve into smoothness.
Also, if you’re nervous about using it on a birthday cake that might sit out for a while, just pull back slightly on the cream or milk. A slightly firmer final product will always hold its shape better in the summer heat. You can always check out my foolproof guide for amazing chocolate pairings, like these Fudgy Brownies—this frosting would be divine on top!
I read once on a lovely blog about how they always have success when they follow the creaming rules precisely. See what they say about keeping things smooth here, because good fundamentals beat fancy ingredients every time!
Troubleshooting Common Vanilla Buttercream Issues
Even with the best recipe in the world, sometimes things don’t go perfectly right away, and that’s okay! That’s when you need to know how to fix your vanilla buttercream before you panic and dump it. I’ve learned that most frosting issues come down to temperature or over/under mixing. We’ve already talked about making sure your butter is perfect, but let’s look at what to do *after* you’ve mixed it all together.
If your frosting seems far too soft and soupy after you’ve finished whipping it—and I mean soupy, not just spreadable—it usually means your butter was a little warmer than it needed to be. Don’t throw it out! This is a super common problem with Creamy Cupcake Frosting, especially on a hot day. Just cover the bowl and pop it in the fridge for maybe 10 or 15 minutes, scrape down the sides when you pull it out, and give it a quick whip again. That chilling time firms the fat back up, and you’re good to go!
Now, what if it’s too stiff? This happens if you added too much powdered sugar, or maybe you skipped the cream/milk called for in the recipe. That’s an easy fix! Just add more heavy cream or milk, just one teaspoon at a time, beating well after each addition until the mixture loosens up enough to spread nicely. It really responds well to that gentle persuasion.
And finally, the dreaded graininess. If you’ve already whipped it for the full time and you still feel that sandy texture, you are probably wondering How to Make Buttercream Without Graininess when it’s already mixed! Usually, this means a few sugar crystals didn’t dissolve. The fix is more time! Turn the mixer up to medium-high and let that vanilla buttercream whip for another 2 or 3 minutes. Sometimes, the agitation and the dissolving sugar catch up, and it comes out silky smooth just when you thought you failed. It happens to the best of us!
Storage and Reheating Instructions for Creamy Cupcake Frosting
One of the best things about this vanilla buttercream recipe is that it truly lasts, making it perfect for those times when you need a Quick Dessert Topping ready to go. You can absolutely make this ahead of time, which is a lifesaver when you’re busy baking cakes or cookies!
For short-term storage—say, if you made it today and plan to frost tomorrow—you can keep it on the counter, covered tightly with plastic wrap pressed directly onto the surface of the frosting. This prevents a weird crust from forming. It will hold up beautifully at room temperature for a day, staying soft enough for immediate spreading and decorating.
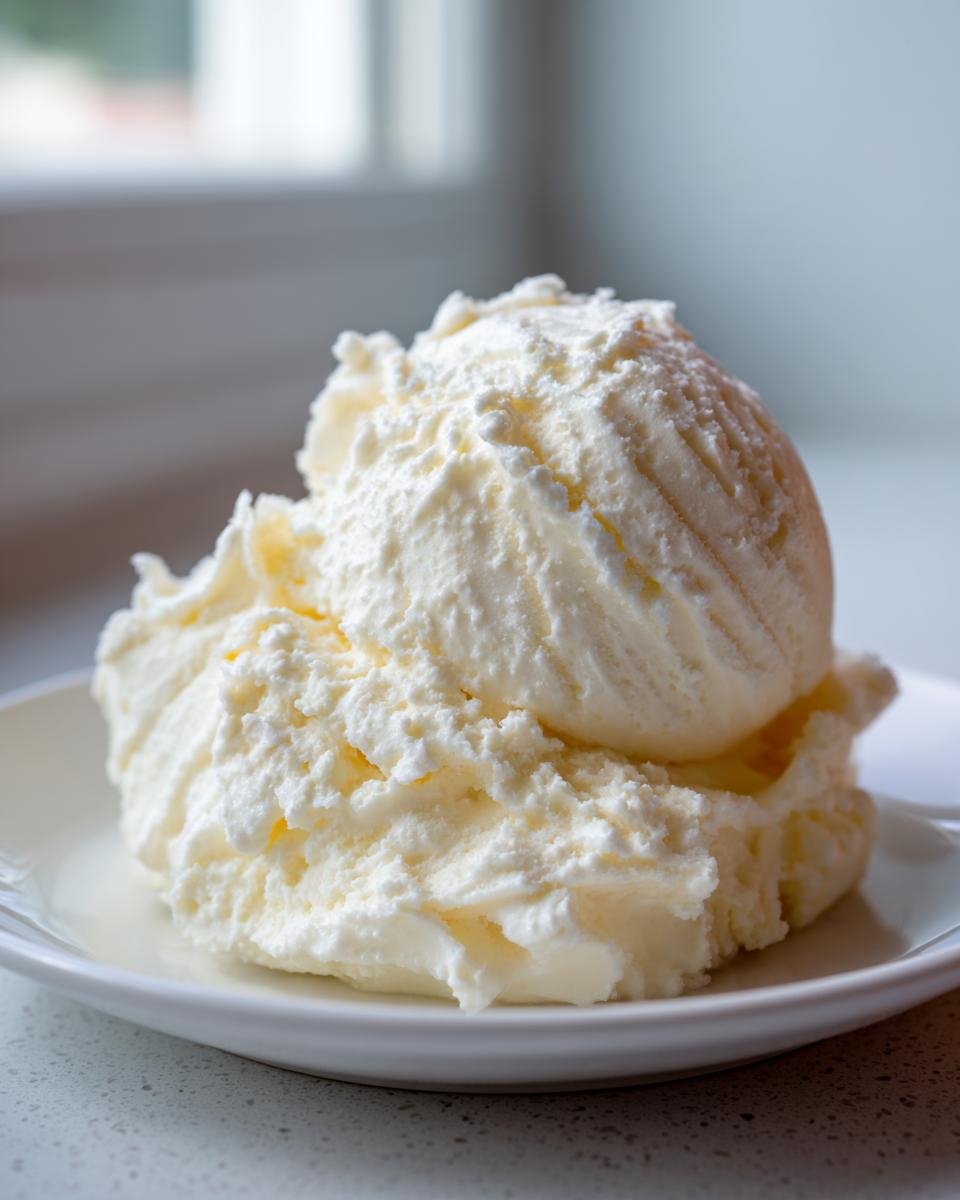
If you need to store your beautiful batch of Creamy Cupcake Frosting longer, definitely use the fridge. Again, cover it tightly! You want zero air exposure, or it will dry out fast. When you pull it out of the refrigerator, don’t panic if it seems rock hard—that’s just the butter doing its job. It needs to sit out on the counter for at least an hour, or maybe less if your kitchen is warm, until it comes back to that soft, perfect consistency. If you’re really short on time, you can cut it into chunks and give it a quick 15-second pulse in the mixer, scrape the bowl, and repeat until it’s smooth again. It’s amazing how resilient this vanilla buttercream is!
I often store leftovers after a big birthday party, and I find that it’s marvelous for topping rich desserts later on. Think about using it on my Chocolate Cream Pie instead of whipped cream—it’s seriously decadent!
Vanilla Buttercream Variations for Simple Vanilla Dessert Recipe Makers
One of the best parts about mastering a Classic Buttercream Filling like this is how easily you can pivot into something totally new without starting over! This core vanilla buttercream recipe is so stable and flavorful that tweaking it just a little bit brings amazing new tastes to the table. You can turn this into a stunning, slightly different topping in literally seconds, making it perfect for any Simple Vanilla Dessert Recipe you might be trying out.
My favorite quick change-up is switching out half of the vanilla extract for almond extract. Just a splash of almond really makes the sweetness pop. Or, if you made a batch of lovely lemon cupcakes, skip the vanilla entirely and stir in some fresh lemon zest and a tiny squeeze of juice at the very end. It brightens up the whole thing! If you want to try a completely different bright citrus flavor, I have a wonderful recipe for Lemon Meringue Pie that uses that tartness in a completely different direction, but the zest trick works perfectly here too.
For those moments when you want a seriously decadent, almost caramel-flavored topping—think of it as a Rich Vanilla Frosting experience—try browning your butter! Instead of just softening the butter, melt it slowly in a saucepan until the milk solids toast brown bits on the bottom. Let it cool until it’s back to that soft, solid state before you beat it with the sugar. The nutty, toffee flavor it adds to the vanilla buttercream is unbelievable. It takes an extra five minutes because you have to wait for the butter to chill again, but trust me, it’s worth the effort for a truly sophisticated dessert!
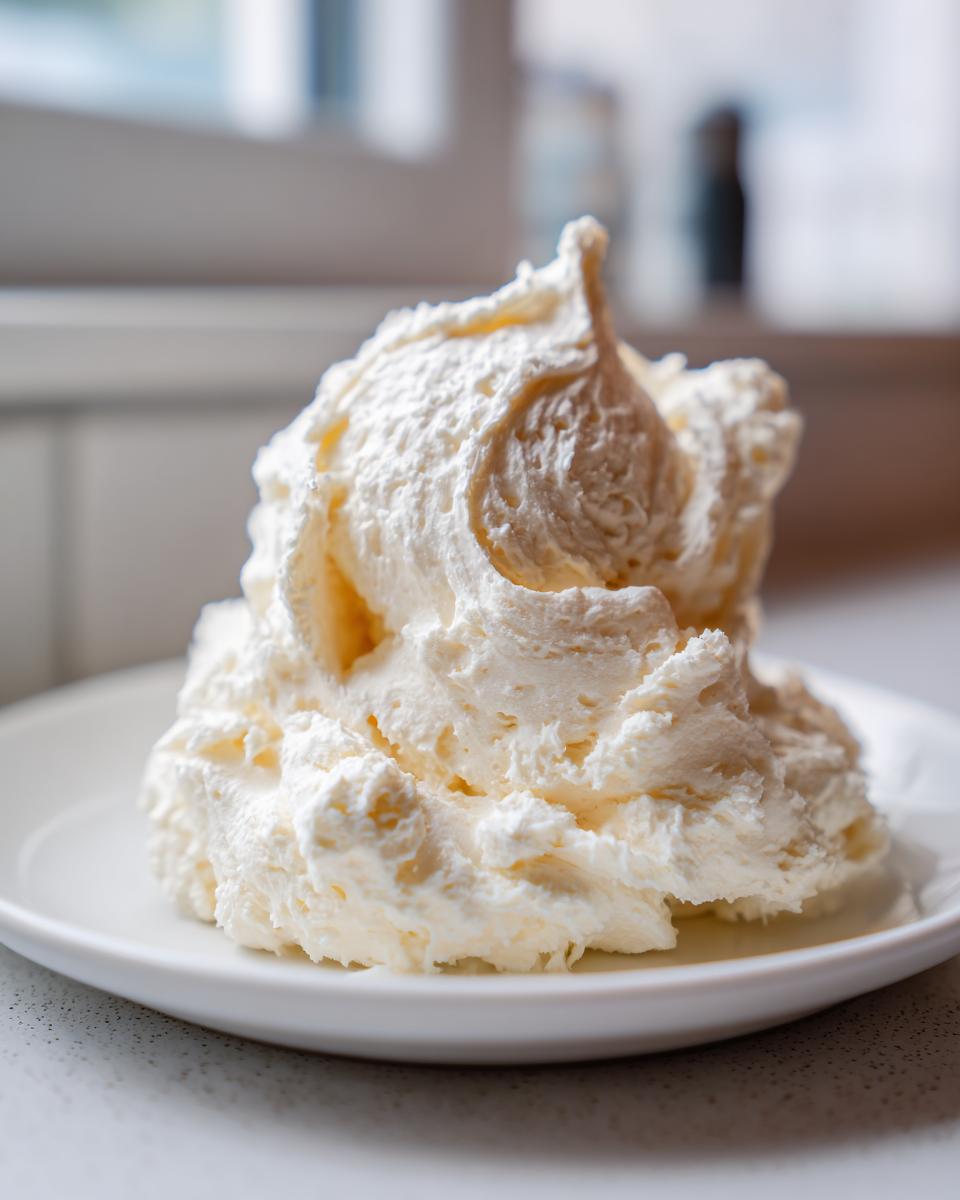
If you want to see how other bakers give their buttercream personality, check out some great ideas floating around over here. It’s inspiring to see how creative you can get with just a basic recipe foundation!
Frequently Asked Questions About Making Vanilla Buttercream
I get so many questions about this vanilla buttercream after people try it! It’s usually because they realize how far superior the homemade version is compared to anything store-bought. Here are a few of the things I hear most often in my DMs and emails. Don’t hesitate to reach out if I missed yours—I love helping you perfect your baking projects!
Can I use salted butter instead of unsalted butter for this frosting?
You absolutely can, but you have to be way more careful with the salt! Since you’ve already got a pinch of salt listed in the recipe to balance the sweetness (which I urge you not to skip!), if you use salted butter, you should omit that added pinch completely. Every brand of salted butter has a different salt level, so I always stick to unsalted butter so I can control exactly how much sodium goes in. It’s just more reliable for a perfect Creamy Cupcake Frosting.
How far ahead of time can I make this frosting for a party?
This is where this recipe shines! You can make this vanilla buttercream up to three days ahead of time. Make sure you cover it really well, either pushing plastic wrap right onto the surface or putting the lid on tight. If you refrigerate it, remember the golden rule: let it come back to room temperature for at least an hour before trying to use it, or beat it again quickly in the mixer to bring the air back. If you’re planning meals ahead, you can check out my guide to easy weeknight dinners to keep things simple on the days leading up to your baking event!
What is the main difference between this American Buttercream and Swiss Meringue?
Oh, that’s a great question that shows you are really getting into the details of frosting! This recipe is an American buttercream, which means it’s based on fat (butter) and sugar. It’s quick, super sweet, and holds its shape incredibly well—perfect stability for hot weather piping. Swiss Meringue, on the other hand, involves cooking egg whites and sugar first to create a meringue base, then whipping in the butter. Swiss is generally silkier, less intensely sweet, and much more delicate to work with, especially for beginners wanting that Bakery Style Vanilla Frosting look without fuss. For quick, flavorful results, our recipe is the winner!
My frosting seems greasy after whipping. What happened?
Greasy usually means the butter was too warm, and the emulsion broke slightly, especially if you added the liquid too fast. Don’t worry; this is fixable! Take the bowl and put it in the fridge for about 15 minutes—just long enough for the edges to firm up slightly. Then, scrape down the sides really well and start beating again on medium speed. The chilling helps the fat solidify just enough so the mixer can pull it back together into a nice, smooth frosting. Patience right here ensures you get that Smooth Vanilla Frosting you’re dreaming of.
Share Your Homemade Vanilla Icing Creations
You did it! You mastered the easiest, most reliable vanilla buttercream out there. Now comes my absolute favorite part: seeing what you’ve created! Whether you piled this glorious, Bakery Style Vanilla Frosting high on a dozen cupcakes or used it to frost a gorgeous lemon cake, I want to see it!
Please take a picture and tag me on social media! Nothing makes my day faster than seeing one of my no-fail recipes come to life in your kitchen. Don’t forget to let me know how much everyone loved that incredible smooth texture!
And if you really felt like this Homemade Vanilla Icing knocked your socks off, could you do me the biggest favor? Head back up to the top and leave a quick rating. Five stars is always the goal, but honest feedback helps me keep testing and perfecting these classics for every other home cook out there. If you ever have questions or want to share a substitution you loved, you can always reach out directly through my contact page. Happy baking, friends!
PrintThe Ultimate Fluffy & Stable Vanilla Buttercream Frosting (Ready in 10 Minutes)
Make this easy vanilla buttercream frosting for creamy, smooth results perfect for piping on cakes and cupcakes. This no-fail recipe delivers bakery-style flavor quickly.
- Prep Time: 10 min
- Cook Time: 0 min
- Total Time: 10 min
- Yield: About 3 cups 1x
- Category: Dessert Topping
- Method: Mixing
- Cuisine: American
- Diet: Vegetarian
Ingredients
- 1 cup (226g) unsalted butter, softened to room temperature
- 3 1/2 to 4 cups (420g to 480g) powdered sugar, sifted
- 1 teaspoon pure vanilla extract
- 1 to 2 tablespoons heavy cream or milk
- Pinch of salt
Instructions
- Place the softened butter in a large mixing bowl. Beat the butter with an electric mixer on medium speed until it is light and fluffy, about 3 minutes.
- Reduce the mixer speed to low. Gradually add the sifted powdered sugar, one cup at a time, mixing until just combined after each addition.
- Add the vanilla extract and salt. Mix on low speed until incorporated.
- Add 1 tablespoon of heavy cream or milk. Increase the mixer speed to medium-high and beat for 3 to 5 minutes until the frosting is very light and fluffy. This whipping time is key for a smooth texture.
- If the frosting seems too stiff, add the remaining tablespoon of cream, one teaspoon at a time, until you reach your desired spreading or piping consistency.
- Use immediately to frost cakes, cupcakes, or cookies.
Notes
- For the smoothest texture, ensure your butter is truly softened but not melted.
- If you notice any graininess after mixing, continue beating the frosting on medium-high speed for an extra 2 minutes; this often dissolves any remaining sugar crystals.
- To make this frosting stable for warm weather piping, use slightly less liquid (cream/milk) and chill the finished frosting for 15 minutes before using.
Nutrition
- Serving Size: 1/4 cup
- Calories: 320
- Sugar: 40g
- Sodium: 65mg
- Fat: 18g
- Saturated Fat: 11g
- Unsaturated Fat: 7g
- Trans Fat: 0.5g
- Carbohydrates: 41g
- Fiber: 0g
- Protein: 1g
- Cholesterol: 55mg