
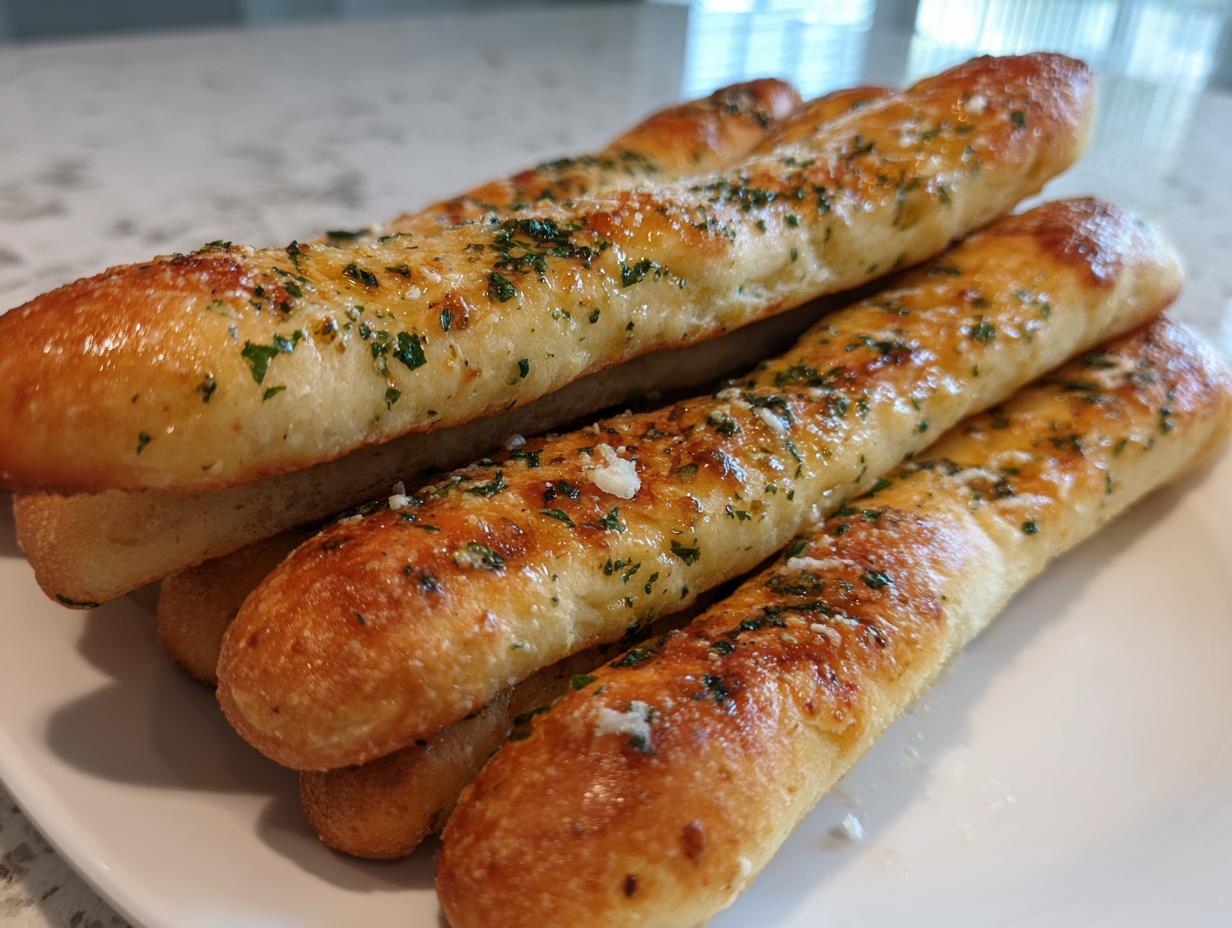
Honestly, who can resist walking into a great Italian restaurant and being immediately greeted by that basket of warm, pillowy breadsticks? I know I can’t! That craving for that specific soft, slightly chewy texture drenched in garlic butter hits hard, especially next to a bowl of pasta. Well, stop dreaming about takeout! I’m sharing my ultimate **Copycat Olive Garden Style Garlic Breadsticks** recipe today. Because I spent time working in professional test kitchens, I’ve cracked the code to make sure these homemade **breadsticks** are foolproof, delivering that perfect restaurant-quality comfort every single time you bake them.
- Why This Copycat Olive Garden Style Garlic Breadsticks Recipe Works
- Ingredients Needed for Perfect Homemade Breadsticks
- Step-by-Step Instructions for Soft and Chewy Breadsticks
- Tips for Making Restaurant Style Breadsticks at Home
- Variations: Cheesy Breadsticks Recipe and Sheet Pan Breadsticks Quick Method
- Storing and Reheating Your Buttery Breadsticks
- Serving Suggestions for Your Homemade Breadsticks Recipe
- Frequently Asked Questions About Making Breadsticks
- Nutritional Estimates for These Garlic Parmesan Breadsticks
Why This Copycat Olive Garden Style Garlic Breadsticks Recipe Works
I know what you’re looking for—breadsticks that aren’t dry hockey pucks! That’s why I took the time to nail down the dough structure. This recipe focuses on just a few critical elements to give you that amazing result. When I saw how many people were saving our similar homemade dinner rolls recipe, I knew this soft and chewy texture was non-negotiable!
- That Signature Chew: We use specific rising times and kneading techniques to develop the gluten just right, so they stretch instead of snap.
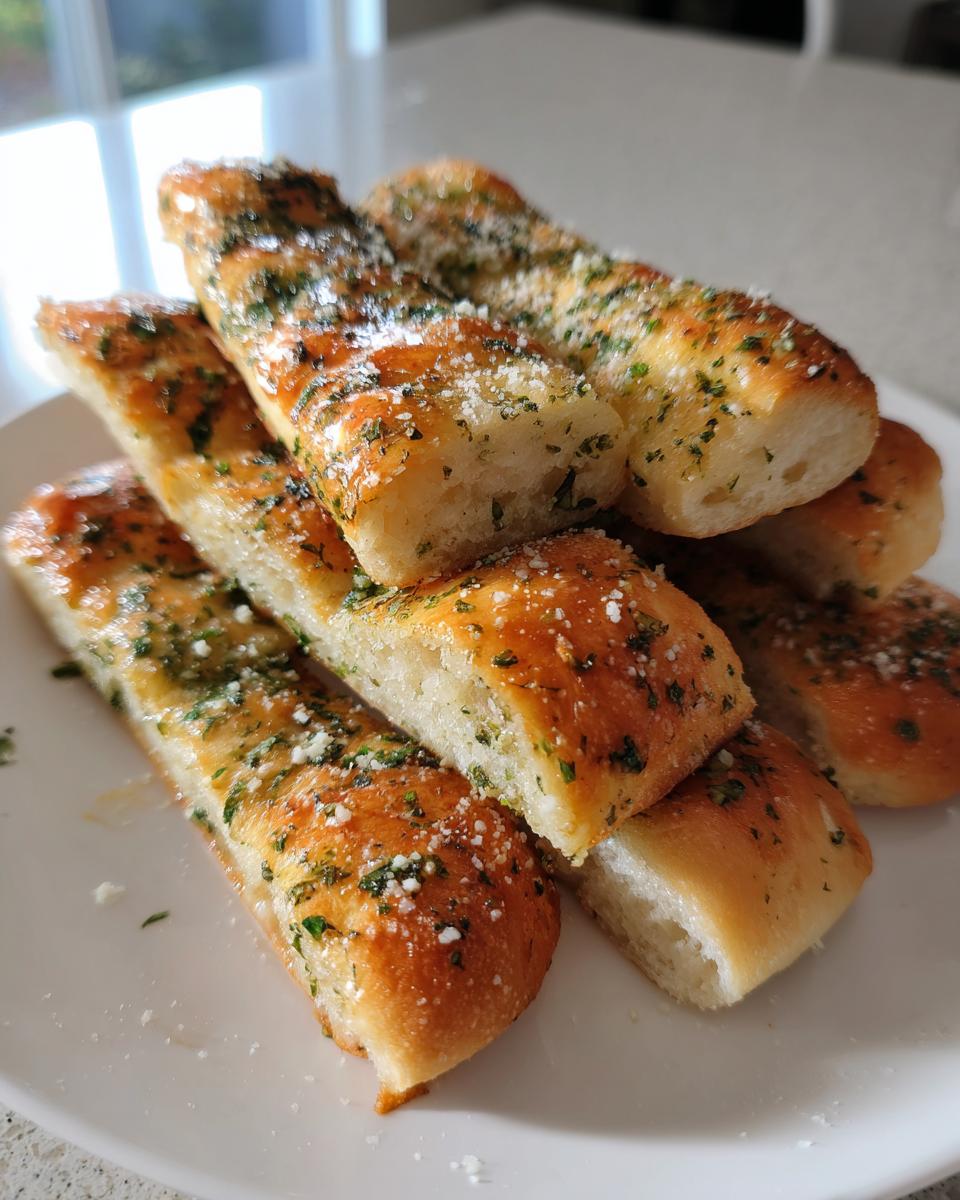
- The Glaze is Everything: The herb butter mixture goes on *immediately* after baking, locking in moisture and giving you that perfect, slightly crispy, garlicky crust.
- Simple Prep: Even though we start from scratch, the process is straightforward—no weird equipment needed for the initial dough mix!
Ingredients Needed for Perfect Homemade Breadsticks
Gathering your ingredients is half the battle won! Cooking by Jade is all about making sure you have exactly what you need so there are no panicked sub-ins halfway through. Precision matters here, especially with the yeast; we need that warm water to be between 105°F and 115°F. Anything too hot kills the yeast, and anything too cool lets it sleep in! This base starts just like a great dinner roll, which is why I always tell people if you can make one type of yeast bread, you can make them all. If you’ve ever struggled getting flaky biscuits, you know how important temperature is, and this recipe relies on that same attention to detail for that signature chew. Flaky biscuits teach us patience, and these breadsticks need just a little bit of that, too!
For the Dough
- 1 cup warm water (make sure it’s between 105-115°F!)
- 2 1/4 teaspoons active dry yeast
- 1 teaspoon granulated sugar
- 3 cups all-purpose flour, plus more needed for dusting surfaces
- 1 teaspoon salt
- 2 tablespoons vegetable oil, plus whatever you need for thoroughly greasing your bowl
For the Signature Garlic Parmesan Breadsticks Glaze
This is the flavor bomb right here, trust me. Don’t skimp on the butter!
- 1/2 cup (that’s one full stick) unsalted butter, completely melted
- 2 teaspoons garlic powder
- 1 teaspoon dried parsley
- 1/2 teaspoon dried oregano
- 1/4 teaspoon dried basil
- 1/4 cup grated Parmesan cheese, ready to sprinkle!
Step-by-Step Instructions for Soft and Chewy Breadsticks
Okay, let’s get these beauties made! Remember, we’re aiming for that classic, soft and chewy breadsticks experience. This process just takes a little bit of time, but I promise the result is worth every minute you wait for that dough to rise. I always put on a pot of sauce to simmer while the dough is doing its thing; multipurpose cooking cuts down on total kitchen time!
Activating Yeast and Mixing the Dough
First things first, we must wake up that yeast. Grab a big bowl, throw in your warm water, the yeast, and that teaspoon of sugar. Give it a gentle stir and let it sit for about five minutes. When you see foam—that lovely frothy top—you know your yeast is happy and ready to work. Now, add the flour, salt, and the vegetable oil right into that bubbly mixture. Mix it around until it basically turns into a big, shaggy ball of dough. Don’t worry if it looks uneven right now; that’s totally normal!
Kneading and First Rise for the Breadsticks Dough
Time to knead! Turn that shaggy blob out onto a surface dusted lightly with flour. You need to work it by hand for about 5 to 7 minutes until it feels smooth and elastic under your hands. Now, here’s a little secret: If your arms get tired, you can absolutely use a stand mixer with the dough hook for about 5 minutes on medium-low speed—it saves the day! Once smooth, tuck it into a lightly oiled bowl, cover it up tight, and stick it somewhere warm. It needs a full hour to double in size. Seriously, don’t rush the rise! That hour gives the gluten time to develop, which is the *entire* reason these become those wonderfully **soft and chewy breadsticks** instead of something stiff.
Shaping, Baking, and Applying the Herb Butter Glaze
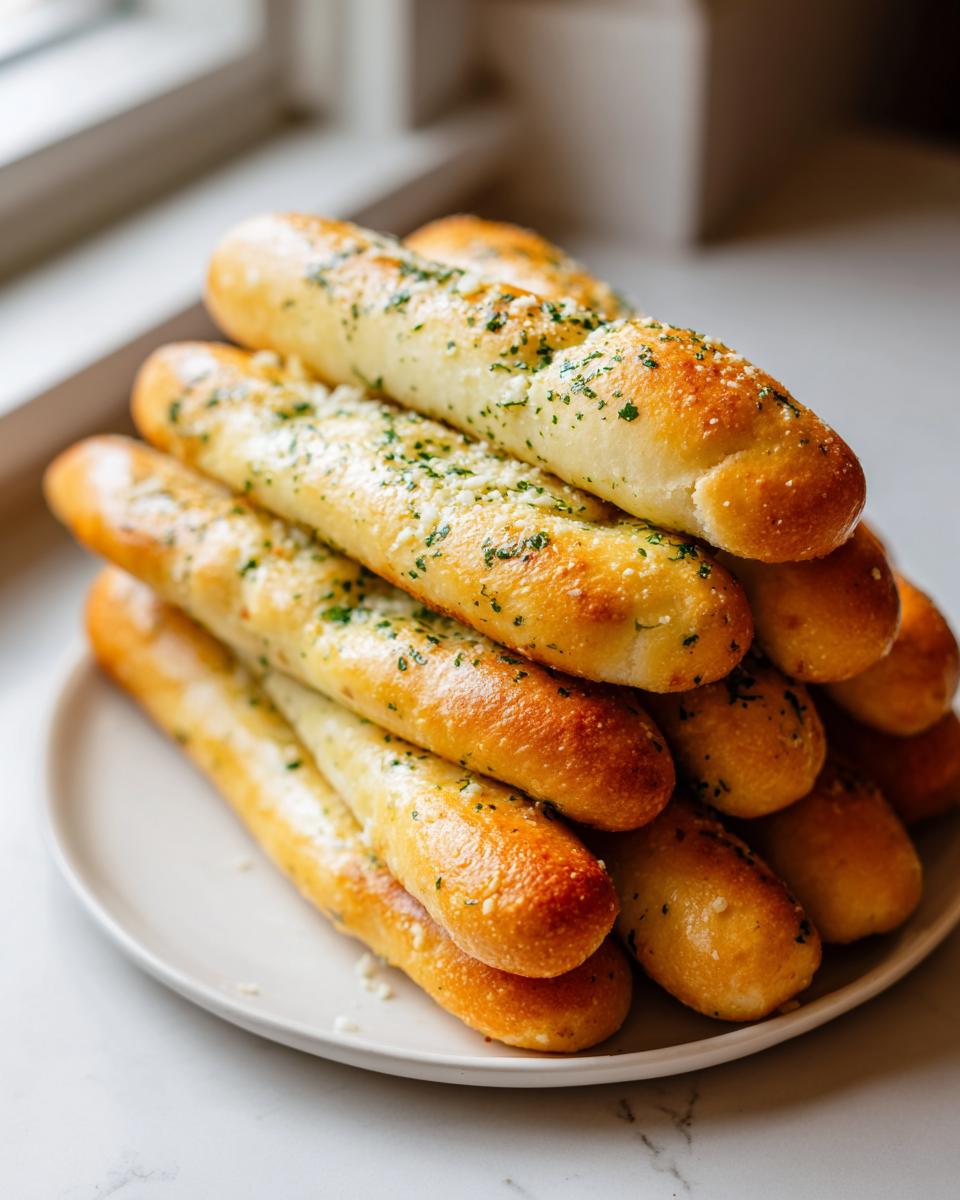
Preheat your oven way up high to 400°F (200°C) and get that baking sheet lined with parchment paper—we want easy cleanup! Gently punch down that gorgeous risen dough and roll it out into a big rectangle, maybe about a quarter-inch thick. Use a pizza cutter or knife to slice it into strips about an inch wide and 8 inches long. Lay them out on the sheet, giving them a tiny bit of space. Bake them for just 10 to 12 minutes until they look nice and golden. While they are baking, melt your butter and mix in all those amazing garlic powder and herbs! The second those hot breadsticks hit the cooling rack, you need to brush them liberally with that herb butter and immediately dust them with Parmesan. They must go straight to the table piping hot!
Tips for Making Restaurant Style Breadsticks at Home
Getting that true restaurant style breadsticks experience involves a few tiny tricks that really pay off. Don’t let the oven convince you they are done too soon! That 10 to 12 minute window is crucial for getting that exterior crisp without drying out the interior.
My biggest tip for maximum chewiness? Don’t skip the oil in the dough mix! That little bit of vegetable oil acts as a barrier, helping keep the crumb soft even after they cool slightly. If you’re worried about them drying out on the way to the table, try brushing them with just a touch of plain melted unsalted butter *before* you apply the garlic mixture. It adds a second layer of richness.
And please, please, brush that herb butter on the second they exit the oven. That residual heat helps the seasonings meld right into the crust. If you have a side of warm marinara ready, you’re officially winning dinner!
For other creamy side dishes that pair perfectly, you might love my recipe for creamy roasted garlic mashed potatoes, which is another comfort food that never disappoints!
Variations: Cheesy Breadsticks Recipe and Sheet Pan Breadsticks Quick Method
Not every night requires the full, from-scratch experience, and that’s okay! When I need something faster—maybe I’m serving these as **appetizer breadsticks** alongside a quick dinner—I have a couple of modifications that keep that delicious flavor profile but cut down on the rise time. Don’t forget, this base recipe can also become fantastic **cheesy breadsticks recipe**!
To make them cheesy, it’s so simple. Right after you brush the hot breadsticks with the herb butter (and before the Parmesan), sprinkle a generous handful of shredded mozzarella cheese over the top. Pop them back into the oven for just 2 minutes, or until that cheese is perfectly melted and bubbly. It’s totally decadent!

If you’re absolutely desperate for speed, you can use store-bought pizza dough, though you won’t get that same soft and chewy texture we worked so hard for. If you want a great base for quick doughs, I often adapt my sourdough discard pizza dough for snackable treats. For assembly, look up the sheet pan breadsticks quick method referenced in some great online guides, which is usually just cutting the dough and baking right away without that long first rise!
Storing and Reheating Your Buttery Breadsticks
These buttery **breadsticks** are truly best eaten hot, right off the pan, so try to keep your crowd engaged while you’re brushing on that glaze! Because they are so soft, they can get sticky if stored improperly. Keep any leftovers in a completely airtight container right on the counter for up to two days. Seriously, avoid the fridge; that’s where softness goes to die!
When you’re ready for seconds (and you will be!), the microwave is actually my go-to if I’m in a hurry—just 10 seconds flashes by fast and warms them up enough. But for the *best* texture, wrap them loosely in foil and pop them back into a 350°F oven for about 5 minutes. That heat gets them back to that wonderful, slightly crispy exterior!
Serving Suggestions for Your Homemade Breadsticks Recipe
These **breadsticks** are so versatile, they are basically begging to be dipped into everything! Naturally, they are the perfect **side dish breadsticks** when you have a hearty meal going on. Imagine them soaking up the sauce next to my easy one-pot enchilada pasta—perfection!
But, let’s not forget their appetizer potential! They are amazing served on their own, maybe with a little bowl of that creamy garlic aioli I shared last week for dipping. They also shine next to anything brothy, like a huge bowl of my homemade classic chicken noodle soup when you need a little carb comfort!
Frequently Asked Questions About Making Breadsticks
It’s funny how the simplest things always spark the most questions! I’ve gathered some of the common things folks ask when they try to achieve **easy garlic breadsticks** perfection at home. Don’t hesitate to ask if you have something else on your mind! If you need a dipping sauce for these, make sure you check out my creamy garlic aioli recipe; it’s surprisingly fast!
Can I substitute milk for the water in the dough?
You absolutely can! Swapping the water for whole milk actually makes these even richer and slightly softer, kind of heading toward that buttery dinner rolls texture. Just make sure the milk is warm (105–115°F) just like the water was intended to be. It won’t change the rise time much, but the final flavor will be more decadent!
What if I want them *extra* garlicky?
Oh, I love a garlic overload! If you want to take this over the top—and you totally should—add 1 teaspoon of garlic powder directly into the dough when you add the dry ingredients. Then, when brushing the glaze, don’t be shy! I usually double the garlic powder in the melted butter soak. You can even mix some minced fresh garlic into the butter if you don’t mind tiny bits of browned garlic on top.
Is the kneading time negotiable? Can I skip it?
For the best texture, no, I wouldn’t skip it entirely. Kneading is what develops the gluten, which is what gives you that beautiful, stretchy chewiness. If you absolutely cannot knead by hand, use the stand mixer like I mentioned. If you skip kneading altogether, your **breadsticks** will be more crumbly, kind of like a biscuit, instead of soft and pull-apart worthy.
Nutritional Estimates for These Garlic Parmesan Breadsticks
I always like to give a little heads-up on what you’re diving into when you make a batch of these amazing **breadsticks**. Now, I want to be super clear: these numbers are calculated based on the recipe listed above, using the standard amounts. Since everyone melts their butter differently or sprinkles their Parmesan a bit heavier (I know I do!), consider this just a friendly guideline and not a nutritionist’s guarantee! We are using the standard measurements here, which estimates roughly 180 calories per serving.
We’ve based this breakdown on serving size being two breadsticks. They are satisfying, sure, but they aren’t heavy rolls, so the numbers reflect that lighter appetizer quality. If you end up loading them up with extra cheese for our cheesy variation, those numbers will happily climb higher, so keep that in mind!
- Serving Size: 2 breadsticks
- Calories: 180
- Fat: 8g
- Saturated Fat: 4g
- Carbohydrates: 24g
- Protein: 4g
- Sugar: 1g
- Sodium: 250mg
See? Not bad at all for something that tastes this rich and comforting! They make a wonderful addition to dinner without blowing your whole day’s allotment. Honestly, the sheer joy of dipping them in sauce is calorie-free, wink wink!
PrintCopycat Olive Garden Style Garlic Breadsticks with Herb Butter Glaze
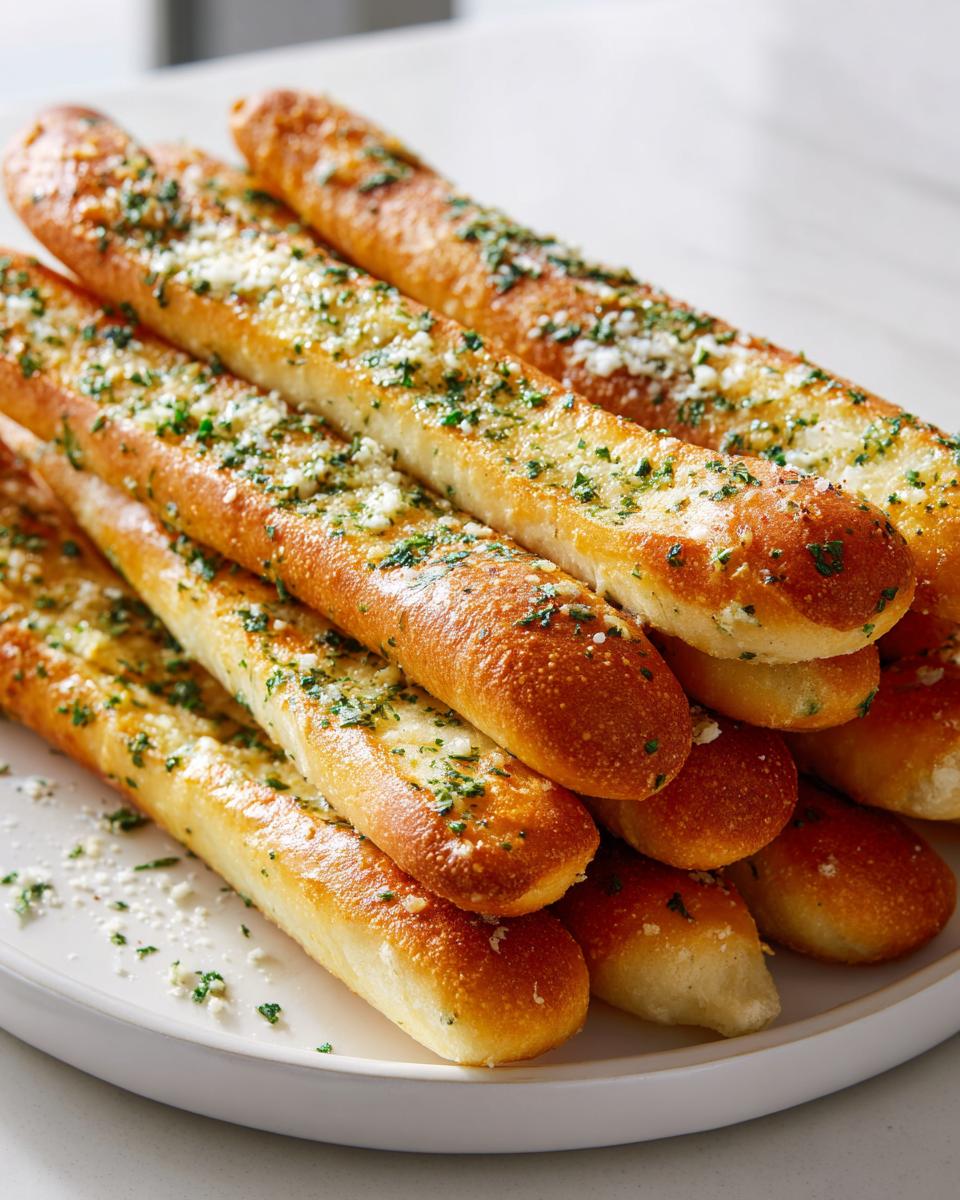
Make soft, chewy, restaurant-style breadsticks at home. This recipe delivers the warm, buttery flavor you love, perfect for serving with soup or pasta.
- Prep Time: 20 min
- Cook Time: 12 min
- Total Time: 92 min
- Yield: 16 servings 1x
- Category: Appetizer
- Method: Baking
- Cuisine: American
- Diet: Vegetarian
Ingredients
- 1 cup warm water (105-115°F)
- 2 1/4 teaspoons active dry yeast
- 1 teaspoon granulated sugar
- 3 cups all-purpose flour, plus more for dusting
- 1 teaspoon salt
- 2 tablespoons vegetable oil, plus more for greasing
- 1/2 cup (1 stick) unsalted butter, melted
- 2 teaspoons garlic powder
- 1 teaspoon dried parsley
- 1/2 teaspoon dried oregano
- 1/4 teaspoon dried basil
- 1/4 cup grated Parmesan cheese
Instructions
- In a large bowl, combine the warm water, yeast, and sugar. Let stand for 5 minutes until foamy.
- Add the flour, salt, and 2 tablespoons of vegetable oil to the yeast mixture. Mix until a shaggy dough forms.
- Turn the dough out onto a lightly floured surface. Knead for 5 to 7 minutes until the dough is smooth and elastic.
- Lightly grease a clean bowl with oil. Place the dough in the bowl, turning to coat. Cover the bowl with plastic wrap or a clean towel and let it rise in a warm place for 1 hour, or until doubled in size.
- Preheat your oven to 400°F (200°C). Line a large baking sheet with parchment paper.
- Punch down the risen dough gently. On a lightly floured surface, roll or stretch the dough into a large rectangle, about 1/4 inch thick.
- Use a pizza cutter or knife to cut the dough into strips about 1 inch wide and 8 inches long. Place the breadsticks on the prepared baking sheet, leaving a small space between them.
- Bake for 10 to 12 minutes, or until the breadsticks are lightly golden brown.
- While the breadsticks bake, prepare the herb butter glaze: In a small bowl, melt the butter. Stir in the garlic powder, parsley, oregano, and basil.
- As soon as the breadsticks come out of the oven, brush them generously with the herb butter mixture.
- Sprinkle the tops evenly with the grated Parmesan cheese while the butter is still wet.
- Serve the breadsticks warm immediately.
Notes
- For a chewier texture, brush the baked breadsticks with a little extra melted butter before adding the garlic topping.
- If you want cheesy breadsticks, sprinkle mozzarella cheese over the tops during the last 2 minutes of baking, then brush with the herb butter.
- You can use a stand mixer with a dough hook to mix and knead the dough for about 5 minutes on medium-low speed.
Nutrition
- Serving Size: 2 breadsticks
- Calories: 180
- Sugar: 1
- Sodium: 250
- Fat: 8
- Saturated Fat: 4
- Unsaturated Fat: 4
- Trans Fat: 0
- Carbohydrates: 24
- Fiber: 1
- Protein: 4
- Cholesterol: 15