
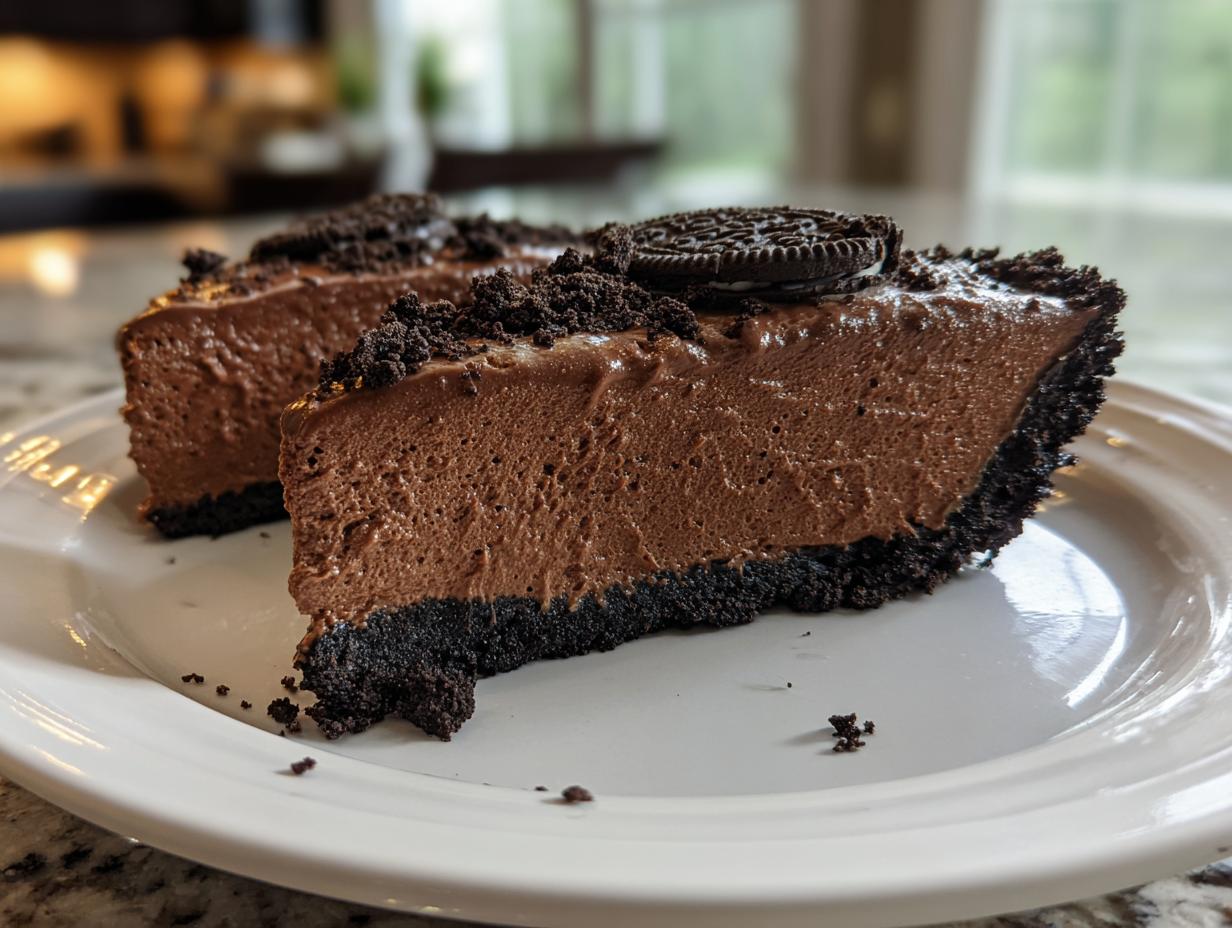
When you need a show-stopping dessert that tastes like it took three days, but really took about twenty minutes of hands-on work, this is the recipe you pull out. I’m talking about the Ultimate Easy No-Bake Chocolate Mousse Pie with an Oreo Crust, and trust me, it’s going to change how you think about making decadent treats. My whole philosophy here at the kitchen is that cooking should connect us, not stress us out, and what could be better than a flawlessly creamy chocolate mousse pie? This recipe delivers that rich, silky texture we all crave without ever needing to turn on the oven. It’s pure indulgence made simple, and I’m so excited for you to try it. You can find more of my simple, flavor-first recipes over on my main dessert hub!
- Why This No Bake Chocolate Mousse Pie Recipe Works (E-E-A-T)
- Gathering Ingredients for Your Chocolate Mousse Pie Recipe
- Step-by-Step Instructions for the Easy No Bake Pie
- Tips for Success When Making a Chocolate Mousse Pie
- Serving Suggestions for Your Decadent Chocolate Pie
- Storage and Make Ahead Dessert Guidelines for Chocolate Mousse Pie
- Frequently Asked Questions About This Chocolate Mousse Pie Recipe
- Nutritional Estimates for This Indulgent Chocolate Treat
- Share Your Show Stopping Desserts Experience
Why This No Bake Chocolate Mousse Pie Recipe Works (E-E-A-T)
I know there are a million chocolate pie recipes out there, so why should you trust this one? Because I took the time in my test kitchen to make sure this specific chocolate mousse pie is foolproof. It checks every box you’re looking for: zero baking required, incredibly simple assembly, and the flavor is just ridiculously decadent. This isn’t just ‘good’; it’s easily the best chocolate mousse pie you’ll make this year because it actually delivers that rich flavor without any complicated steps. You get all the elegance with none of the fuss—that’s my promise!
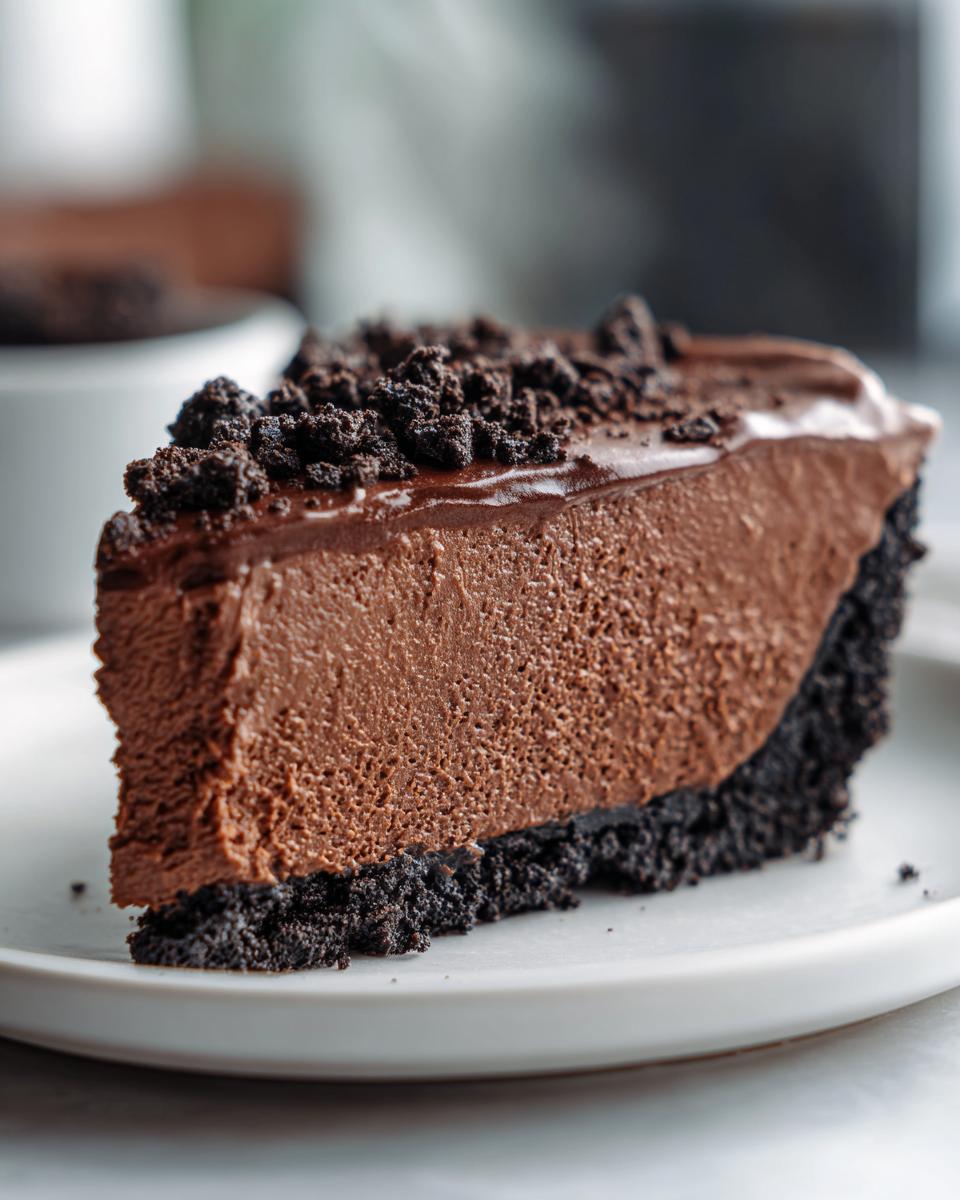
Achieving the Perfect Silky Mousse Dessert Texture
The secret to that airy, silky mousse dessert texture is all in the folding. We aren’t using raw eggs or gelatin here, which can sometimes feel risky. Instead, we’re lightening up a rich, melted chocolate ganache base by carefully folding in heavy cream that’s been whipped stiff with a bit of cocoa and sugar. You have to be gentle, letting the air stay trapped in the cream. That technique is what transforms the filling from dense pudding into the lightest, most satisfying texture you’ll find in any Best Chocolate Mousse Recipe!
Gathering Ingredients for Your Chocolate Mousse Pie Recipe
You don’t need a pantry full of fancy stuff for this showstopper! Since this is a No Bake Pie, the ingredients are super straightforward. Remember, good quality chocolate makes a huge difference here because it’s the star of the show. I’ve laid out exactly what you need below, focusing on making sure every component is ready before you start assembling. You’ll want to make sure your main heavy cream is properly chilled for whipping; cold cream whips up so much better!
- 1 3/4 cups Oreo cookie crumbs (that’s about 28 cookies, don’t stress counting!)
- 6 tablespoons unsalted butter, melted
- 1 cup semi-sweet chocolate chips
- 1/2 cup heavy cream, divided for melting
- 1 teaspoon vanilla extract
- 1/4 teaspoon salt
- 1 cup cold heavy cream, for whipping the mousse
- 1/4 cup powdered sugar
- 2 tablespoons unsweetened cocoa powder
- Optional: Whipped cream and chocolate shavings for topping
For other easy recipes, like my creamy olive dip, I stress ratios, but here, measurements are key for that perfect set!
Ingredient Notes and Substitutions for Your Chocolate Mousse Pie
Just a few pointers to boost your authority on this recipe. If you want to deepen that Decadent Chocolate Pie flavor, swap out half of those semi-sweet chips for bittersweet ones. It really gives it punch! Now, about the crust: If you totally run out of Oreos or just prefer something different, you can make a fantastic Graham Cracker Crust Pie. Just swap the crumbs for about 1 3/4 cups of graham crumbs and mix them with 1/4 cup of granulated sugar and those 6 tablespoons of melted butter. Either way, that crust needs to be firm enough to hold that beautiful, light filling!
Step-by-Step Instructions for the Easy No Bake Pie
Okay, let’s get down to business! Since this is a no-bake affair, you won’t be wrestling with an oven, which is my favorite part when I need a quick dessert or I’m making something ahead of time. The key here is organized steps—mise en place, as the fancy chefs say, but really, it just means getting all your bowls ready so the flow isn’t interrupted. This whole process moves pretty fast!
Crafting the Oreo Crust Pie Base
First up, tackle that crust. Combine your Oreo crumbs and the melted butter right in your 9-inch pie plate. Then, you have to really commit to pressing it in! Use the bottom of a flat measuring cup or just your fingers to pack that mixture down hard along the bottom and up the sides. We need a sturdy shell since we aren’t baking it to set it. Once it looks solid, tuck it in the freezer—at least 15 minutes is perfect while we focus on the filling. Don’t skip the chill; it helps this yummy crust hold its shape.
Creating the Creamy Chocolate Filling
Next, melt your chocolate chips! Heat up that first 1/4 cup of heavy cream until it’s just simmering—be careful, it heats up fast! Pour that hot cream right over the chips, let it sit for five minutes to soften them up, and then whisk until you have something gorgeously smooth. Now for the airy magic: Use a separate bowl to whip the rest of your cold heavy cream, the powdered sugar, and cocoa until you get stiff peaks. When you fold the slightly cooled chocolate mixture into that whipped base, you have to be so gentle. Seriously, take your time folding—if you mix too hard, you knock all the air out, and we won’t get that signature creamy chocolate filling!
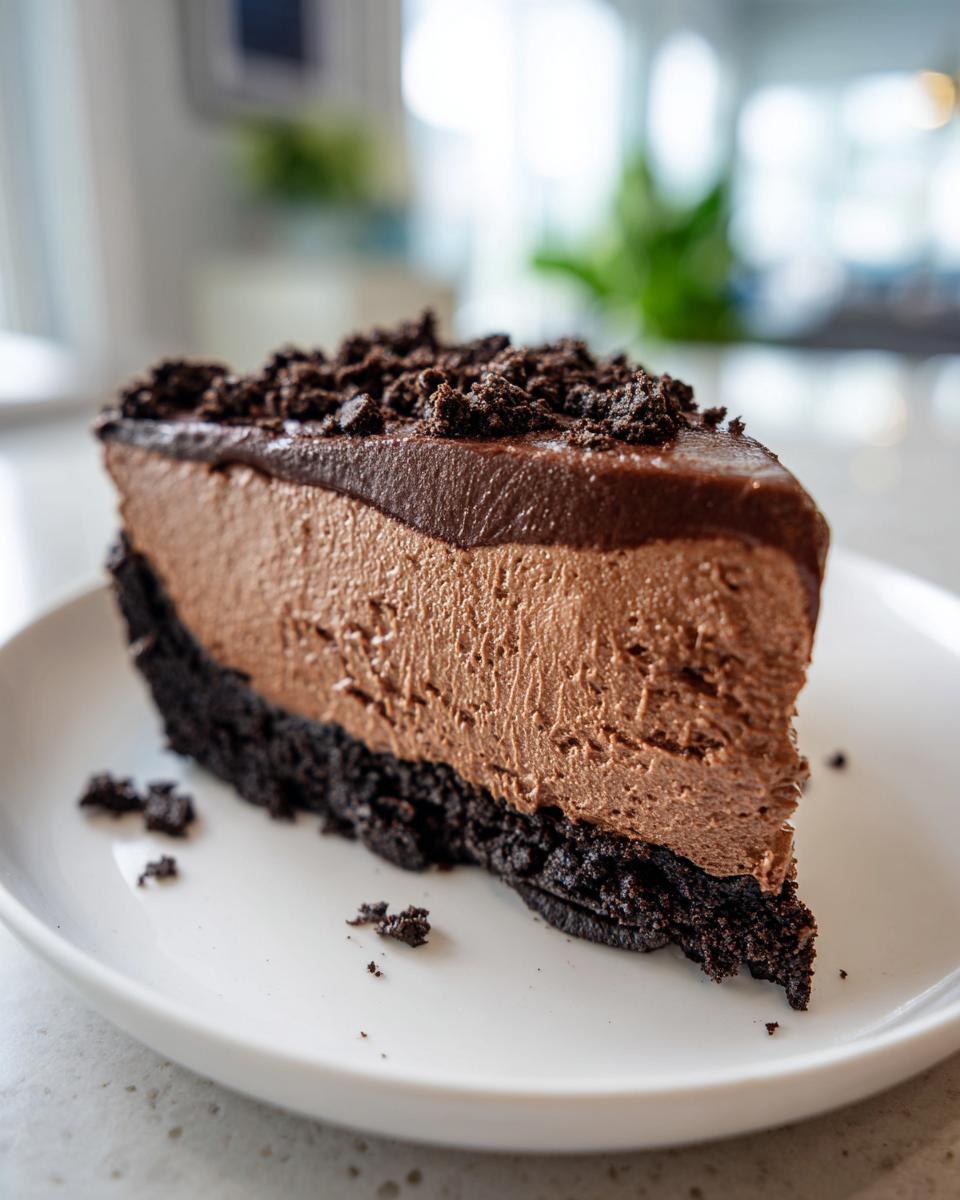
Once it’s just blended—no streaks, but stop stirring soon after—pour it right into your cold Oreo crust. Smooth the top, cover it loosely so it doesn’t dry out, and get it into the fridge for a minimum of six hours, but I always say overnight is best for the ultimate chocolate mousse pie set!
Tips for Success When Making a Chocolate Mousse Pie
I’ve messed this up a few times, so I want to save you the heartbreak of a collapsed filling! The biggest pitfall people hit when making this decadent chocolate pie is mixing the chocolate and the whipped cream too aggressively. Remember, we’re trying to keep it light and airy here!
My number one tip revolves around temperature. Make absolutely sure your melted chocolate mixture has cooled down a bit—lukewarm is okay, but piping hot will instantly deflate your beautifully whipped cream. Think about it: hot chocolate hitting cold cream equals sad, runny goo! Another crucial thing when folding is patience. Use a wide, rubber spatula and cut down the middle, then scrape up the side and over the top. Repeat that motion, turning the bowl slowly. If you don’t have the patience for that gentle folding, you won’t get that perfect signature set for this mousse pie.
For more easy tips on getting creamy textures perfected, check out my guide on making creamy aioli; the whipping and folding principles are actually very similar!
Serving Suggestions for Your Decadent Chocolate Pie
Once that chocolate mousse pie has chilled overnight and is perfectly firm, it’s time for the fun part—making it look like the show-stopper it is! The classic look just demands a generous dollop of Whipped Cream Topping; I usually make mine fresh with a little vanilla since it’s so quick. A sprinkle of chocolate shavings on top really elevates this from a simple dessert to one of those impressive Holiday Pie Recipes.

I remember serving this at my cousin’s graduation party; everyone thought I’d ordered it from a fancy bakery! It pairs beautifully with a strong black coffee or a raspberry liqueur if you’re feeling celebratory. You can even drizzle a tiny bit of salted caramel, like the one I use on my caramel cake, right over the whipped cream for an extra layer of indulgence. Honestly, once you slice into that silky center, it steals the show every single time.
Storage and Make Ahead Dessert Guidelines for Chocolate Mousse Pie
One of the best things about this specific chocolate mousse pie is that it’s built to be a Make Ahead Dessert! This means you can truly get ahead of your hosting schedule, which is a lifesaver for holidays or big parties. Since it’s completely no-bake, you do need to store it covered tightly in the refrigerator. It holds up beautifully for about three days, though honestly, mine never lasts that long!
When it comes time to serve, keep it refrigerated right up until you slice it. You want every bite to be perfectly cold and firm, offering that glorious, creamy texture. If you want to prep the Oreo crust a day early, go right ahead! Just don’t fill it until you’re ready to chill the whole chocolate mousse pie overnight. For tips on other make-ahead meals, my overnight oats guide explains how prepping ahead just makes life easier!
Frequently Asked Questions About This Chocolate Mousse Pie Recipe
I always get questions about this recipe because people are nervous about achieving that perfect set without baking. It’s totally understandable! But trust me, once you nail this technique, you’ll be making this pie all the time. Here are the things I hear most often from bakers trying this easy dessert for the first time.
Can I use a different crust besides Oreos in this No Bake Pie?
Absolutely! You definitely can go the Graham Cracker Crust Pie route if you prefer. I included the simple swap in the notes, but basically, you use graham cracker crumbs, some sugar, and melted butter instead of the cookies. Both crusts work brilliantly to hold that rich, creamy chocolate filling, so pick whichever cookie or cracker you have on hand!
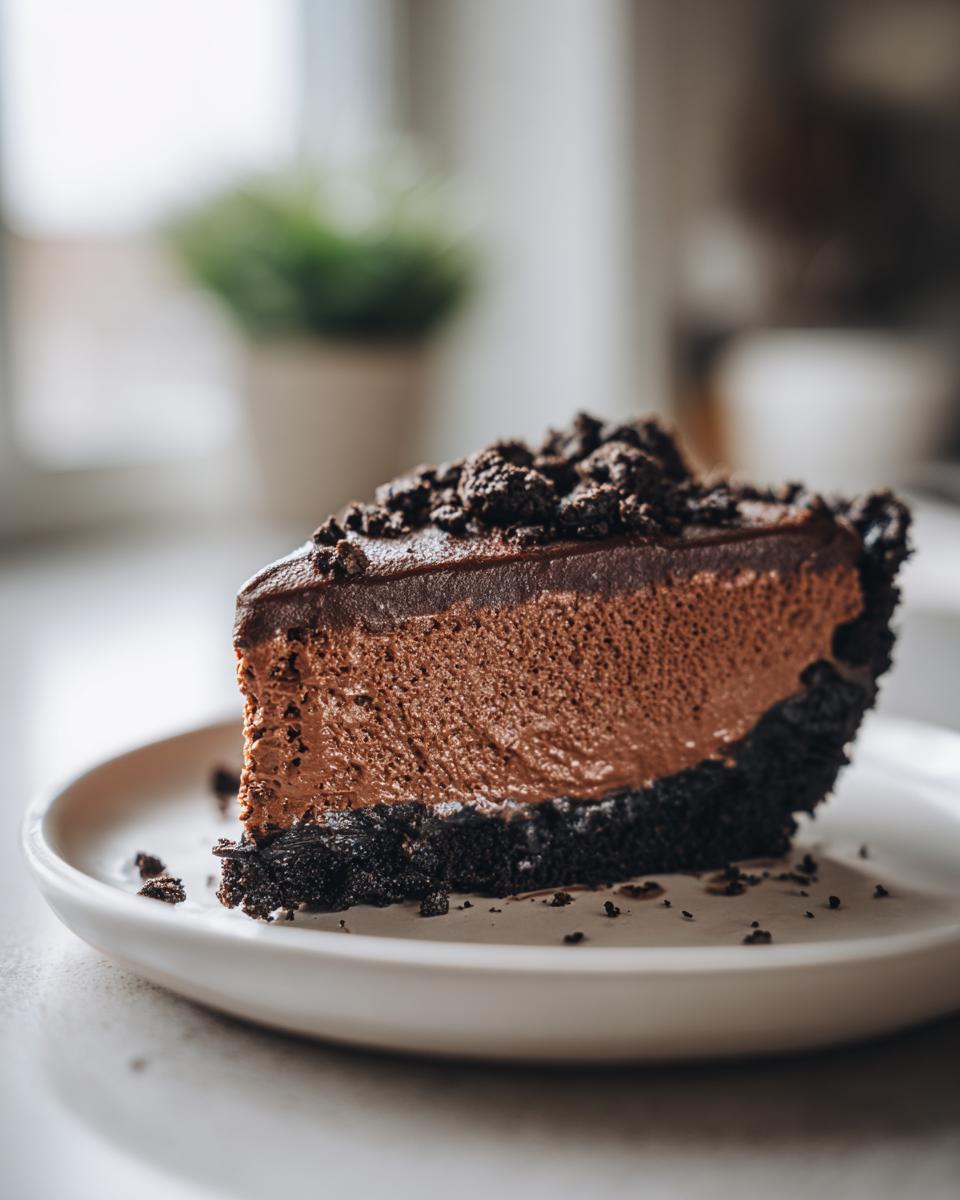
How do I know when the Creamy Chocolate Filling is perfectly set?
The real test for this chocolate mousse pie is patience! You need to chill it for at least six hours, but overnight is honestly better. When you gently nudge the pie plate, the center shouldn’t jiggle much at all. If you carefully insert a thin knife (like a paring knife) near the edge, it should come out clean. It needs to be totally firm so it holds its shape when you serve those beautiful slices! If you want to see a great example of a rich mousse pie, check out this guide on a similar chocolate mousse pie.
Is this recipe very different from a French Silk Pie Alternative?
That’s a great question! While both pies are decadent and luxurious, French Silk Pie traditionally uses eggs that are cooked in a hot custard base or sometimes egg yolks whisked with butter over heat. Since this is a No Bake Pie, we skip all that, relying solely on melted chocolate and stabilizing the air trapped in the whipped cream for structure. So, yes, it’s a much simpler, lighter take on that sophisticated texture!
For more chocolate inspiration, like my amazing fudgy crinkle cookies, keep exploring the site!
Nutritional Estimates for This Indulgent Chocolate Treat
Okay, let’s talk fuel! I always look at nutrition because I’m a firm believer in enjoying treats without guilt, but it’s good to know what you’re diving into with this ultra-rich dessert. Remember, this is just an estimate based on standard ingredients, as every brand of chocolate chip or Oreo cookie can vary slightly in their makeup, but this gives you a solid idea for our creamy sushi bake of a pie!
- Calories: 450 per slice
- Fat: 32g
- Carbohydrates: 38g
- Protein: 5g
It’s certainly an indulgent chocolate treat, but every single calorie is worth it for that silky payoff!
Share Your Show Stopping Desserts Experience
Now that you have the secrets to making the most decadent, easy chocolate mousse pie ever, I really, really want to know what you think! Making a show-stopping dessert like this shouldn’t happen in a vacuum—it should be celebrated. Did your Oreo crust turn out perfectly crisp? Did the chocolate mousse filling achieve that airy perfection I described?
Please, please hit those star ratings below! That feedback is how I know which recipes to keep perfecting for you all. And if you took a picture of your stunning slice, tag me on social media! I absolutely love seeing your creations and how you decorated your Whipped Cream Topping. Hearing about your experience making this amazing Easy Dessert is the best part of developing these recipes for you.
Don’t forget, if you’re looking for another ultra-creamy, easy option for your next gathering, check out my guide on making the creamy sushi bake—it’s savory, but just as much of a crowd-pleaser!
PrintThe Ultimate Easy No-Bake Chocolate Mousse Pie with Oreo Crust

Create a decadent, silky, and light chocolate mousse pie without turning on your oven. This recipe uses a simple Oreo crust and results in a rich, creamy filling perfect for any special occasion.
- Prep Time: 20 min
- Cook Time: 0 min
- Total Time: 6 hr 20 min
- Yield: 8 servings 1x
- Category: Dessert
- Method: No-Bake
- Cuisine: American
- Diet: Vegetarian
Ingredients
- 1 3/4 cups Oreo cookie crumbs (about 28 cookies)
- 6 tablespoons unsalted butter, melted
- 1 cup semi-sweet chocolate chips
- 1/2 cup heavy cream, divided
- 1 teaspoon vanilla extract
- 1/4 teaspoon salt
- 1 cup cold heavy cream, for whipping
- 1/4 cup powdered sugar
- 2 tablespoons unsweetened cocoa powder
- Optional: Whipped cream and chocolate shavings for topping
Instructions
- Prepare the crust: Combine the Oreo cookie crumbs and melted butter in a medium bowl. Press the mixture firmly and evenly into the bottom and up the sides of a 9-inch pie plate. Place the crust in the freezer while you prepare the filling.
- Melt the chocolate: Place the semi-sweet chocolate chips in a heatproof bowl. Heat 1/4 cup of the heavy cream in a small saucepan until it just begins to simmer. Pour the hot cream over the chocolate chips. Let it sit for 5 minutes, then whisk until the mixture is completely smooth. Stir in the vanilla extract and salt. Set aside to cool slightly.
- Make the mousse base: In a separate bowl, whip the remaining 1 cup of cold heavy cream with the powdered sugar and cocoa powder until stiff peaks form. This creates your airy base.
- Combine the mixtures: Gently fold about one-third of the whipped cream mixture into the slightly cooled chocolate mixture to lighten it. Then, gently fold the lightened chocolate mixture back into the remaining whipped cream until just combined. Do not overmix; you want to keep the filling airy.
- Fill and chill: Pour the chocolate mousse filling into the chilled Oreo crust. Smooth the top with a spatula.
- Chill the pie: Cover the pie loosely with plastic wrap and refrigerate for at least 6 hours, or preferably overnight, until the filling is firm.
- Serve: Before serving, top the pie with homemade or store-bought whipped cream and a sprinkle of chocolate shavings, if desired. Slice and serve cold.
Notes
- For an even richer flavor, substitute half of the semi-sweet chocolate chips with bittersweet chocolate chips.
- If you do not have Oreo cookies, you can substitute with graham cracker crumbs mixed with 1/4 cup sugar and 6 tablespoons melted butter for a buttery crust.
- This is an excellent make ahead dessert; it holds well in the refrigerator for up to three days.
Nutrition
- Serving Size: 1 slice
- Calories: 450
- Sugar: 35g
- Sodium: 250mg
- Fat: 32g
- Saturated Fat: 18g
- Unsaturated Fat: 14g
- Trans Fat: 0.5g
- Carbohydrates: 38g
- Fiber: 2g
- Protein: 5g
- Cholesterol: 95mg