
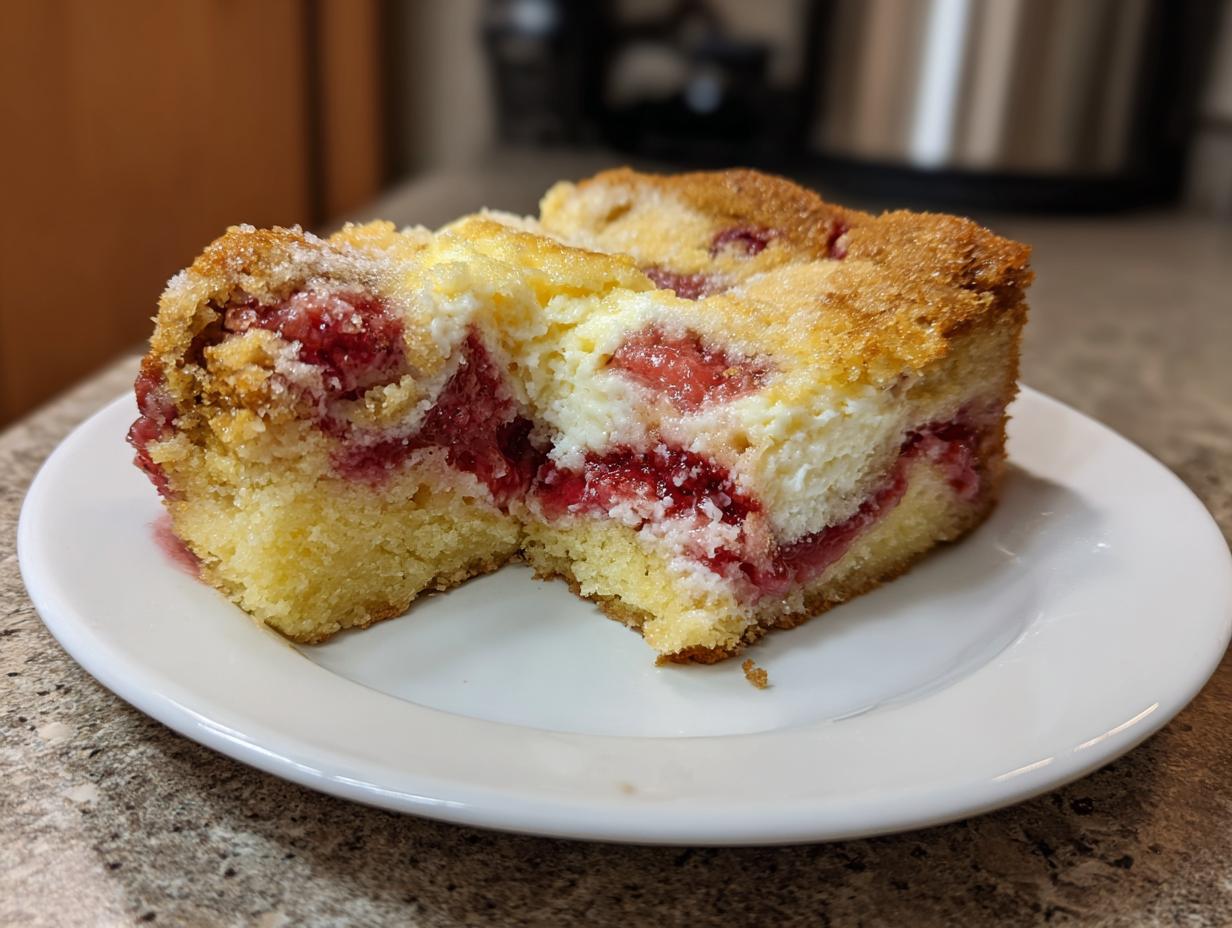
Oh, I get it. Sometimes you need a show-stopping dessert that requires absolutely zero fancy whisking or worrying about lumps—you just need it on the table fast. That’s why I’m obsessed with making this ridiculously easy strawberry cheesecake dump cake. When I was starting out, juggling work and testing recipes, I realized we needed sweets that honored comfort without demanding hours of attention. This recipe is truly the answer! It’s pure magic where almost everything just magically layers itself in one pan, giving you that rich strawberry sweetness married perfectly with that tangy cheesecake element. If you love simple meals that don’t take hours, check out my thoughts on easy weeknight dinners while this bakes! Trust me, this is the ultimate minimal prep dessert for when life gets busy.
- Why You Will Make This Strawberry Cheesecake Dump Cake Again and Again
- Gathering Ingredients for Your Strawberry Cheesecake Dump Cake
- Step-by-Step: How to Prepare the Strawberry Cheesecake Dump Cake
- Tips for the Best Strawberry Cheesecake Dump Cake Results
- Variations on the Classic Strawberry Cheesecake Dump Cake
- Serving Suggestions for Your Quick Berry Dessert
- Storage and Reheating Instructions for Leftover Strawberry Cheesecake Dump Cake
- Frequently Asked Questions About Making a Dump Cake
- Nutritional Estimate for Your Dessert
Why You Will Make This Strawberry Cheesecake Dump Cake Again and Again
Honestly, if there’s a simpler way to get this level of flavor, I haven’t found it yet! This really isn’t just a recipe; it’s a culinary shortcut. I developed this because I wanted everyone to feel like they could pull off a delicious, impressive bake, even if their oven time was limited. You’re going to keep reaching for this one because:
- It’s unbelievably quick to assemble—we’re talking under ten minutes of actual work! It truly is a minimal prep dessert.
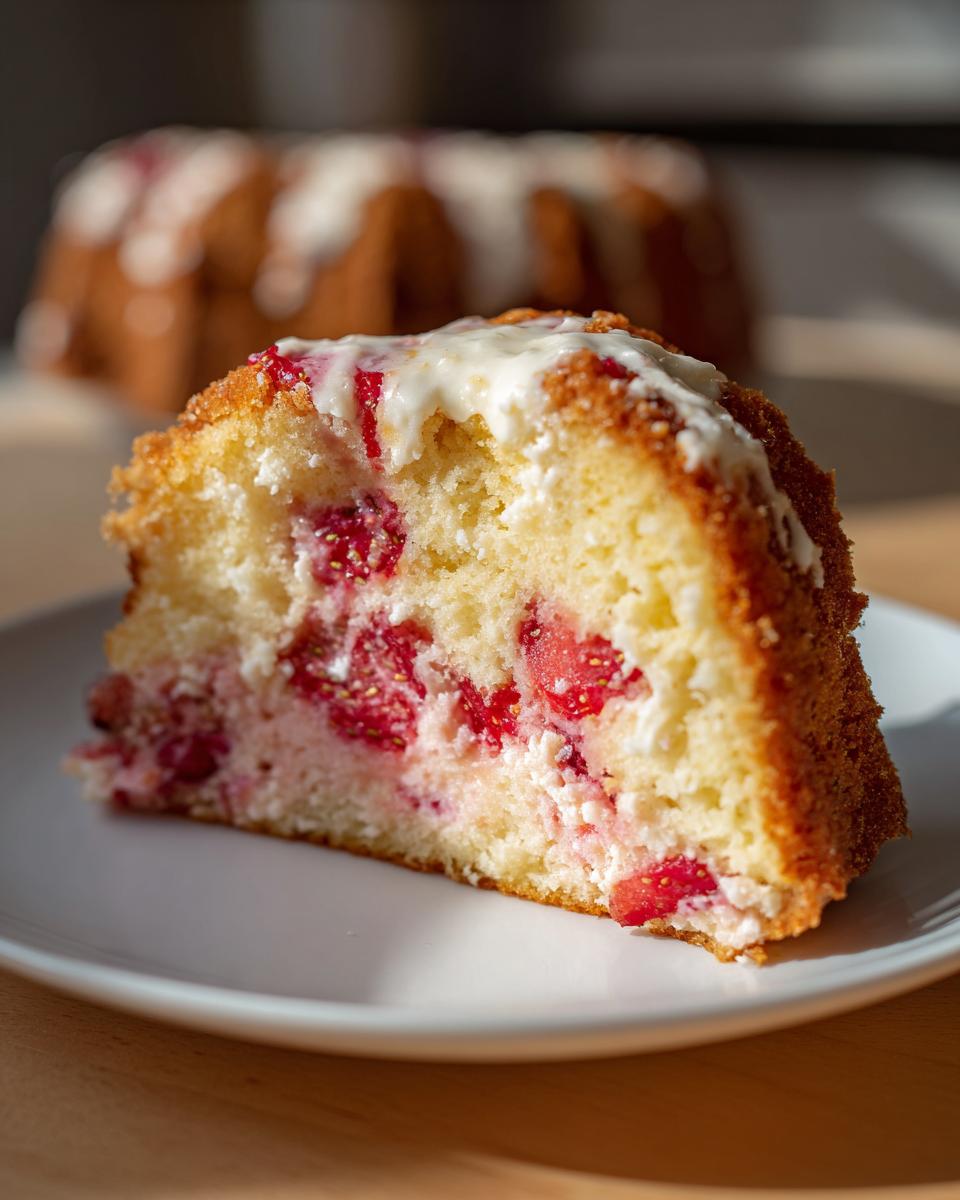
- The combination of the slightly tart cream cheese pockets against the sweet strawberry filling is absolute perfection; it tastes like a gourmet bake.
- Everything cooks right in one pan, which means cleanup is a breeze. Hello, easy one-pan strawberry dessert!
- Using the cake mix straight from the box means you don’t even bother with measuring flour, sugar, or baking powder—it’s all done for you.
- It’s completely customizable! You can easily swap out the filling if you get a hankering for something else, though I always come back to this classic.
- The edges get slightly crisp while the center stays warm and gooey. That textural contrast is addictive.
- It’s genuinely family friendly; kids love watching the layers go in, even though they can’t help much!
If you’re looking for more sweet inspiration after you master this one, take a peek at some of my other favorites across my dessert recipes. But for now, let’s get those ingredients ready!
Gathering Ingredients for Your Strawberry Cheesecake Dump Cake
This is where the magic—or should I say, the lack of effort—really shines. Because this is a *dump* cake, we are relying on high-quality pre-made shortcuts, like the excellent dessert with canned pie filling. Don’t feel guilty about using it; that is exactly what this method is designed for! We just need five core items, plus a couple of basics for prep, and you’re ready to go. Think of this as the ultimate cheat sheet to a satisfying sweet treat.
You’ll need:
- One full can of strawberry pie filling (21 ounces).
- One standard package of cream cheese (8 ounces).
- One box of yellow cake mix (15.25 ounces). Don’t look for a substitute for the box size!
- A full cup (that’s two standard sticks) of unsalted butter, melted down.
- One teaspoon of vanilla extract.
Ingredient Clarity and Preparation Notes
Okay, listen closely because these small steps separate a good dump cake from a spectacular one. First, the cream cheese: you absolutely must make sure it’s softened, but not melted. I usually cut it into small cubes—about 1-inch is perfect—so they distribute nicely across the fruit layer.
The cake mix must be used bone dry, straight from the box. I repeat, do not mix it with eggs or milk; that completely defeats the purpose! We are scattering it on top dry.
Now, for a little flavor boost if you want to double down on that creamy element? Check out my little secret: if you happen to have a small box of dry cheesecake pudding mix, stir about ¼ cup of that right into the dry yellow cake mix before you sprinkle it over. It just deepens that tanginess beautifully! If you want to look into other ways to build flavor, I sometimes share tips on making creamy fruit bases that rely on similar texture concepts.
Step-by-Step: How to Prepare the Strawberry Cheesecake Dump Cake
This process is so satisfying because you are literally just layering things on top of each other. No fuss, no measuring cups dirtying up your sink. This is the definition of an Easy strawberry dessert recipe! First things first, crank that oven up to 350 degrees Fahrenheit and make sure you’ve greased that 9×13 pan. We need things to release nicely later on.
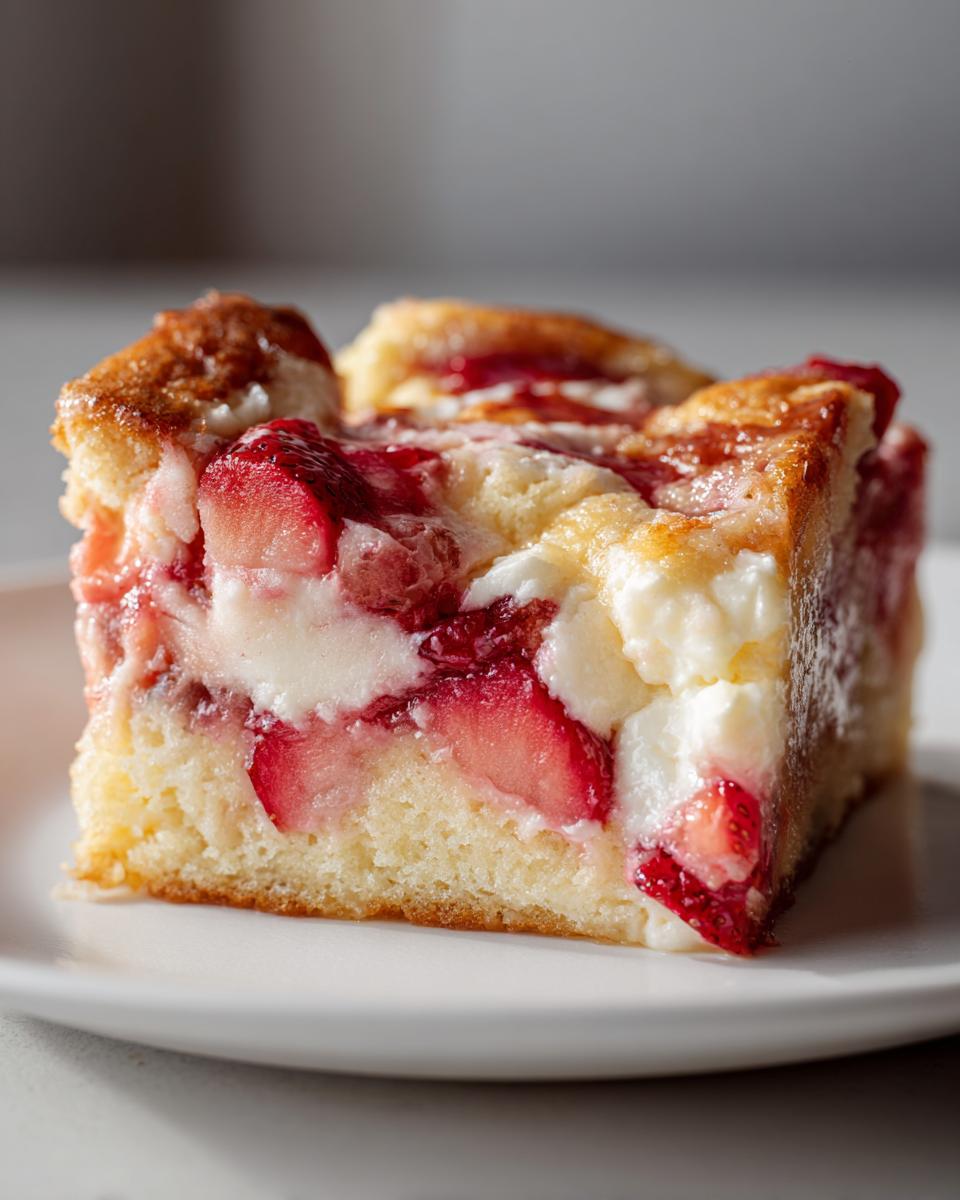
Step one is spreading out that glorious, deep red strawberry pie filling. Get it nice and even across the bottom. Next, take those cream cheese cubes you prepared and just dot them randomly across the top of the berries. Don’t worry about neatness; they will melt into little pockets of creamy heaven as they bake.
Now for the *dump* part! Take your dry yellow cake mix and sprinkle it gently and evenly over the fruit and cheese layer. Do not stir anything together! If you stir, it turns into gloopy mush, and we want distinct layers, remember? Finally, take your melted butter and drizzle it slowly over the entire dry cake mix surface. That butter soaks down and cooks that top layer to perfect gold.
Baking and Resting the Strawberry Cheesecake Dump Cake
Pop that beauty into your preheated oven. You’re looking for about 45 to 55 minutes of baking time. You’ll know it’s done when the edges are bubbly and that cake layer on top is deeply golden brown. But here’s my pro tip, and please listen: you have to let it rest for at least 20 minutes once it comes out. If you cut it immediately, the molten layers will run everywhere. A short rest lets everything set up just right so you can scoop beautiful portions. I even have a full guide on how to make a dump cake if you want to watch the whole process!
Tips for the Best Strawberry Cheesecake Dump Cake Results
Even though this recipe is supposed to be foolproof—and trust me, it mostly is!—a few little things can make the difference between “good” and “absolutely jaw-dropping.” The biggest worry with any dump cake is getting that soggy bottom, especially since we have so much moisture from the pie filling underneath. Make sure you grease your pan really thoroughly, or even line the bottom with parchment paper if you’re worried. That paper is your insurance policy!
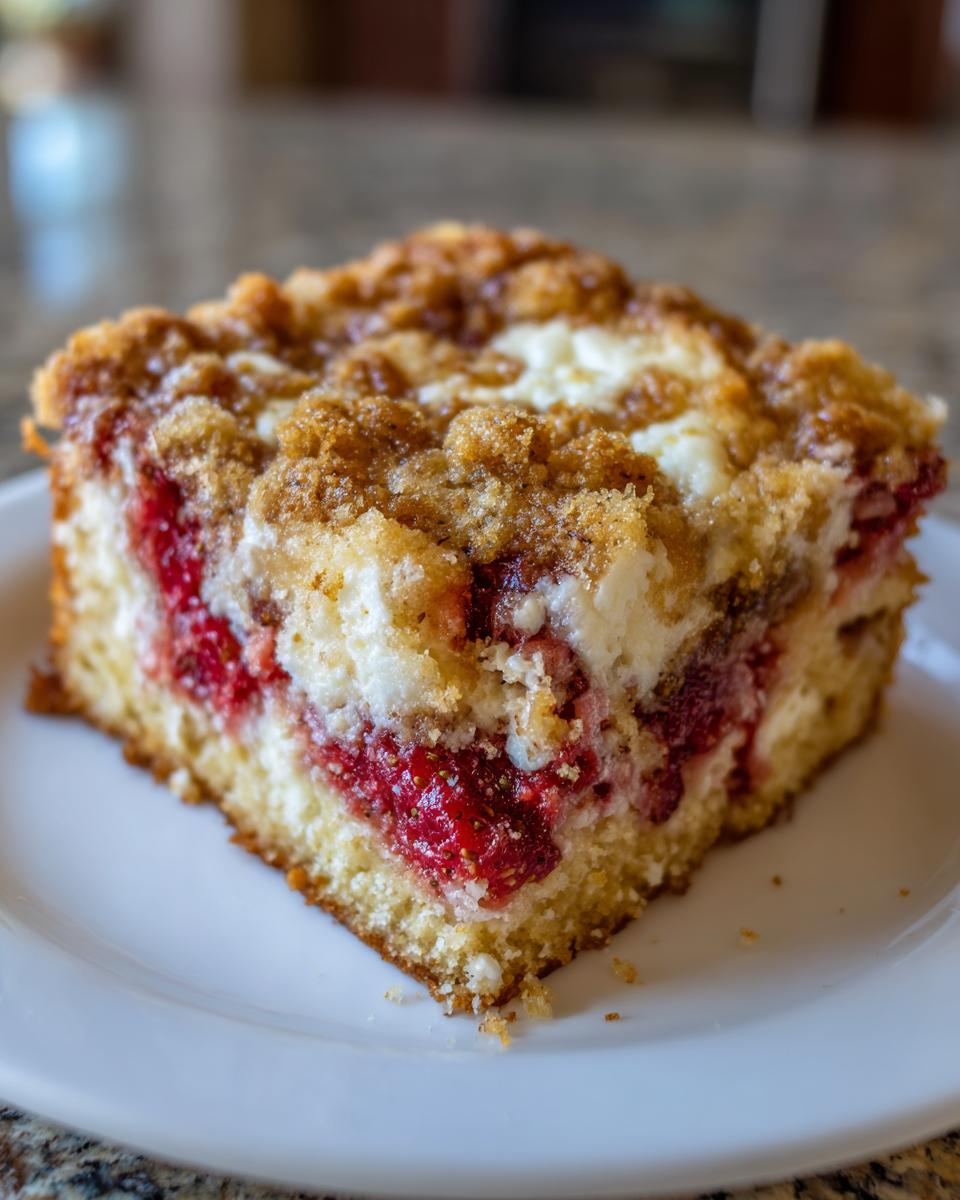
For the topping, we call for a full cup of melted butter because I love that richer, almost buttery cobbler crust effect. But if you prefer a slightly firmer, less gooey top layer that almost crumbles, definitely pull back and use just half a cup. That small change makes the topping structure much sturdier.
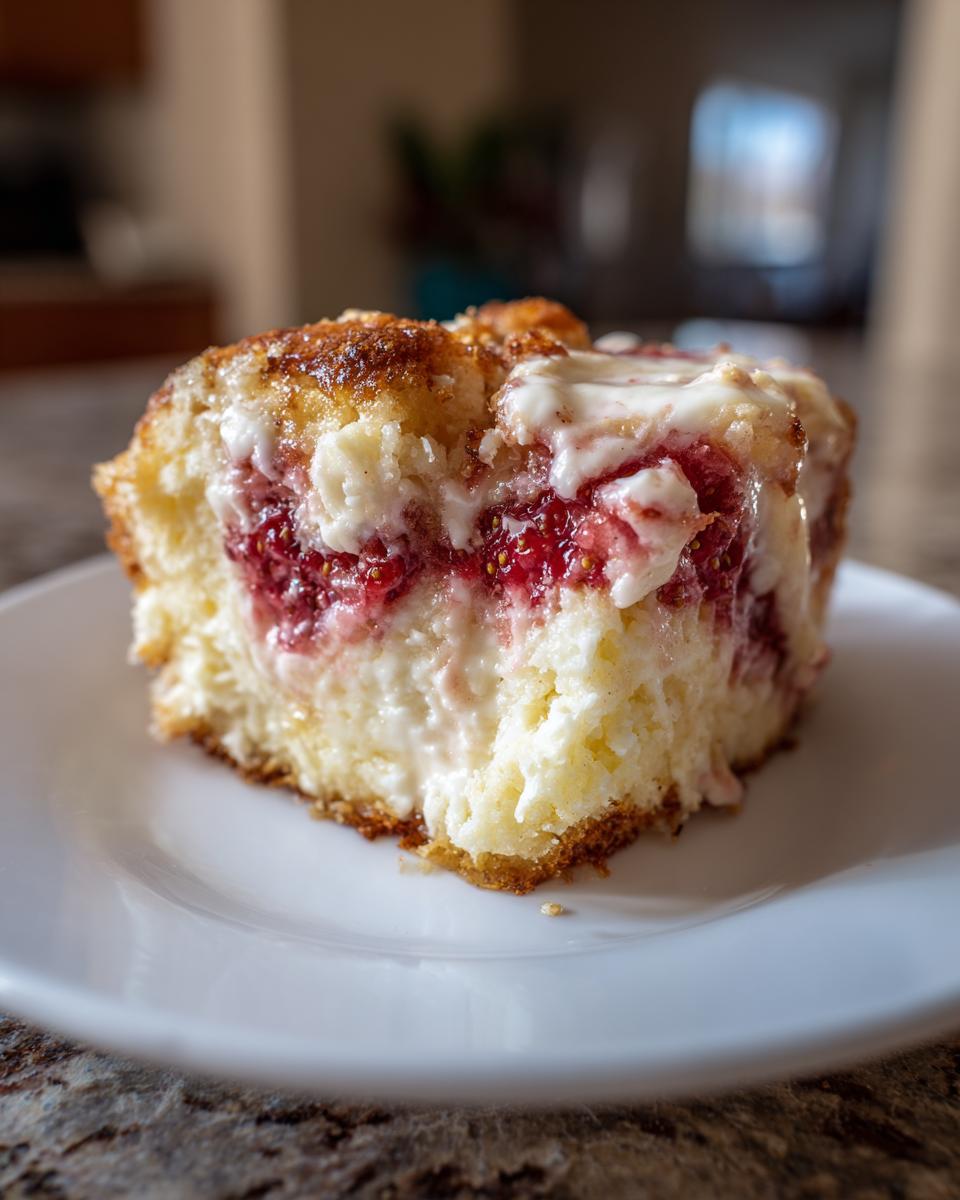
Also, remember that vanilla? Don’t skip it! It’s tiny, but it softens the sometimes sharp canned flavor of the fruit filling and just rounds out the dessert beautifully. While we often think of cream cheese topping recipes as something you whip up separately, here, the cream cheese *is* the topping element melting into the cake mix, so distribution is key. Make sure those little cubes are spread out when you place them!
When you’re looking at the finished product, if the edges look baked but the center is still too wet, just tent it loosely with foil—that protects the top from scorching while giving the middle those extra minutes to bubble up. I share a lot of tips on managing heat and texture, like when I talk about creamy garlic aioli, because good application matters no matter what you’re cooking!
Variations on the Classic Strawberry Cheesecake Dump Cake
The beauty of this recipe is how incredibly forgiving it is. It’s designed to be tossed together, which means you can easily make tweaks based on what you have in the pantry or what flavor mood you’re in! While I adore the classic strawberry mix, switching things up transforms this right into a fantastic Cheesecake fruit cobbler experience.
Want a cleaner, slightly less sweet flavor profile? Swap out that yellow cake mix for a crisp white cake mix. It lets the strawberry and cream cheese flavors really shine through the buttery topping without adding extra richness from the vanilla notes in the yellow mix.
If you’re feeling adventurous, try swapping the strawberry filling entirely! A can of cherry pie filling works unbelievably well—it gives you that deep, tart counterpoint to the sweet cheese. Or, go for a mixed berry filling if you want something a little brighter. Honestly, canned blueberry works great in a pinch too!
If you’re looking for yet another simple fruit bake, have you ever seen my Cherry Dump Cake recipe? It uses the exact same methodology but swaps out the cream cheese layer for a heavier layer of brown sugar and cinnamon dusting. It’s all about easy flavor combinations, and this template is your best friend for fast desserts!
Serving Suggestions for Your Quick Berry Dessert
Now that your Quick berry dessert has rested for that essential 20 minutes after coming out of the oven, the real fun starts: making it look as incredible as it tastes! Don’t just scoop it out of the pan plain; a simple addition or two can elevate this dump cake from a cozy home treat to something you’d happily serve guests.
My favorite way to enjoy this is warm, right out of the oven after that short rest. When it’s warm, the strawberry filling is molten and liquidy, and those cream cheese pockets are still slightly soft. In fact, if you’re serving it immediately after baking, scoop it directly onto a plate with a generous dollop of cold whipped cream—the temperature contrast is amazing.
If you are serving it later, after it has cooled completely, it holds its structure much better, making it easier to slice cleanly. However, I almost always sneak a little vanilla ice cream on top! A good quality vanilla bean ice cream melts slowly over the warm crumble top and blends beautifully with the cheesecake notes. It’s classic for a reason, folks.
For those who want an extra light, fluffy finish, a homemade whipped cream is wonderful. If you’re curious about whipping up your own, I have a great guide on making fluffy and stable vanilla buttercream, which you can easily adapt down into a whipped topping if you skip the powdered sugar. But honestly, a simple spoonful of topping—whether cold cream or ice cream—is all this bake needs to shine!
Storage and Reheating Instructions for Leftover Strawberry Cheesecake Dump Cake
I rarely have leftovers of this strawberry cheesecake dump cake because we devour it, but if you manage to save some, storing it correctly is super easy. Remember, because we used a fruit pie filling, we need to treat this a bit differently than a standard cake.
You want to let any leftovers cool down completely to room temperature first. Once it’s totally cool, cover that baking dish tightly with plastic wrap or transfer individual slices into an airtight container. I find that keeping it highly protected prevents the topping from getting too sticky or absorbing any fridge smells.
You can safely keep this in the refrigerator for about four to five days. It’s just so good cold, sometimes I grab a slice right out of the fridge for a late-night snack!
If you prefer eating it warm, reheating is quick. You don’t want to microwave the whole dish—it’ll get really soft. Instead, scoop out a single serving onto an oven-safe plate. Pop that single slice into a toaster oven or a regular oven set to about 300 degrees for about 8 to 10 minutes. That gives the topping just a little bit of crispness back without cooking the filling further. Trust me, reheating it properly maintains that beautiful textural contrast we worked so hard for!
Frequently Asked Questions About Making a Dump Cake
I know you folks are looking for shortcuts, and that’s what I’m here for! Dump cakes are fantastic because they eliminate so many tricky steps, but they sometimes bring up new questions. I always say that if you have a question about simplicity, I probably have an answer based on testing! If you’re looking for other fast solutions, don’t forget my guide to easy weeknight dinners—we need speed across the board!
Can I use fresh strawberries instead of pie filling in this strawberry cheesecake dump cake?
That’s a great question, and the answer is yes, but it changes the game, which defeats the purpose of a true dump cake! If you switch to fresh strawberries, you’ll need about three cups, and then you must mix them with sugar and some cornstarch to get that thick, jelly-like consistency that the canned filling already provides. If you don’t, you end up with watery fruit sitting under raw cake mix. For this specific recipe, stick to the canned filling to keep that gorgeous, uniform texture.
What is the difference between a dump cake and a cobbler?
It all comes down to the topping situation, really! A traditional cobbler usually involves a biscuit-like dough or a batter that gets either spooned over or layered under the fruit. When we talk about baking with cake mix dump cake methods, the topping is strictly the dry cake mix sprinkled right on top, which then bakes into a crunchy, buttery crust as the melted butter soaks down. This recipe is more about that layered, easy-bake structure than a distinct biscuit top.
Can this dessert be made in a slow cooker?
Oh yes, you can absolutely make this a summer strawberry slow cooker recipe! It works wonderfully well and keeps your kitchen cool. You just need to make sure you generously grease the inside of your slow cooker liner—I’m talking really coat it well—or use a slow cooker liner bag. You follow the exact same layering sequence: fruit, then cream cheese cubes, then dry cake mix, and finally the melted butter drizzled over everything. You’ll cook it on LOW for about 3.5 to 4 hours, or on HIGH for about 2 to 2.5 hours. It will be much softer, almost like pudding, but incredibly delicious!
Nutritional Estimate for Your Dessert
I always want you folks to have a good idea of what you’re serving up, even when it’s a decadent treat like this strawberry cheesecake dump cake. I’ve put together the general estimates for one standard slice, based on the quantities listed in the recipe. Keep in mind that these numbers are just a guideline, okay? What you end up with can definitely shift based on the brands of cake mix or pie filling you end up purchasing.
Here is the general breakdown for one serving:
- Serving Size: 1 slice
- Calories: 380
- Sugar: 35g
- Sodium: 280mg
- Fat: 22g
- Saturated Fat: 13g
- Unsaturated Fat: 9g
- Trans Fat: 0.5g
- Carbohydrates: 45g
- Fiber: 1g
- Protein: 4g
- Cholesterol: 55mg
It’s rich, it’s sweet, and it’s perfect as a satisfying end to any meal. Remember, every great recipe comes with a little bit of joy, and sometimes that joy is wrapped up in a few extra grams of sugar. Don’t sweat it; just enjoy every spoonful!
PrintEasy Strawberry Cheesecake Dump Cake
Make this simple strawberry cheesecake dump cake using minimal effort. This one-pan dessert combines sweet strawberries and creamy cheesecake flavor using cake mix and canned filling for a quick family-friendly bake.
- Prep Time: 10 min
- Cook Time: 50 min
- Total Time: 60 min
- Yield: 10 servings 1x
- Category: Dessert
- Method: Baking
- Cuisine: American
- Diet: Vegetarian
Ingredients
- 1 (21 ounce) can strawberry pie filling
- 1 (8 ounce) package cream cheese, softened and cut into cubes
- 1 (15.25 ounce) box yellow cake mix (do not mix)
- 1 cup (2 sticks) unsalted butter, melted
- 1 teaspoon vanilla extract
Instructions
- Preheat your oven to 350 degrees Fahrenheit. Lightly grease a 9×13 inch baking dish.
- Spread the entire can of strawberry pie filling evenly across the bottom of the prepared baking dish.
- Distribute the cubes of softened cream cheese randomly over the strawberry layer.
- Sprinkle the dry yellow cake mix evenly over the cream cheese and strawberry layers. Do not stir or mix any ingredients.
- Drizzle the melted butter evenly over the dry cake mix layer.
- Bake for 45 to 55 minutes, or until the top is golden brown and the filling is bubbly.
- Remove from the oven and let it cool for at least 20 minutes before serving.
Notes
- For a richer cheesecake flavor, you can substitute the yellow cake mix with a white cake mix and add 1/4 cup of dry cheesecake pudding mix to the dry cake mix before sprinkling.
- If you prefer a slightly firmer topping, you can use 1/2 cup of melted butter instead of a full cup.
- Serve warm with a dollop of whipped cream or a scoop of vanilla ice cream for a perfect summer strawberry dessert recipe.
Nutrition
- Serving Size: 1 slice
- Calories: 380
- Sugar: 35
- Sodium: 280
- Fat: 22
- Saturated Fat: 13
- Unsaturated Fat: 9
- Trans Fat: 0.5
- Carbohydrates: 45
- Fiber: 1
- Protein: 4
- Cholesterol: 55