
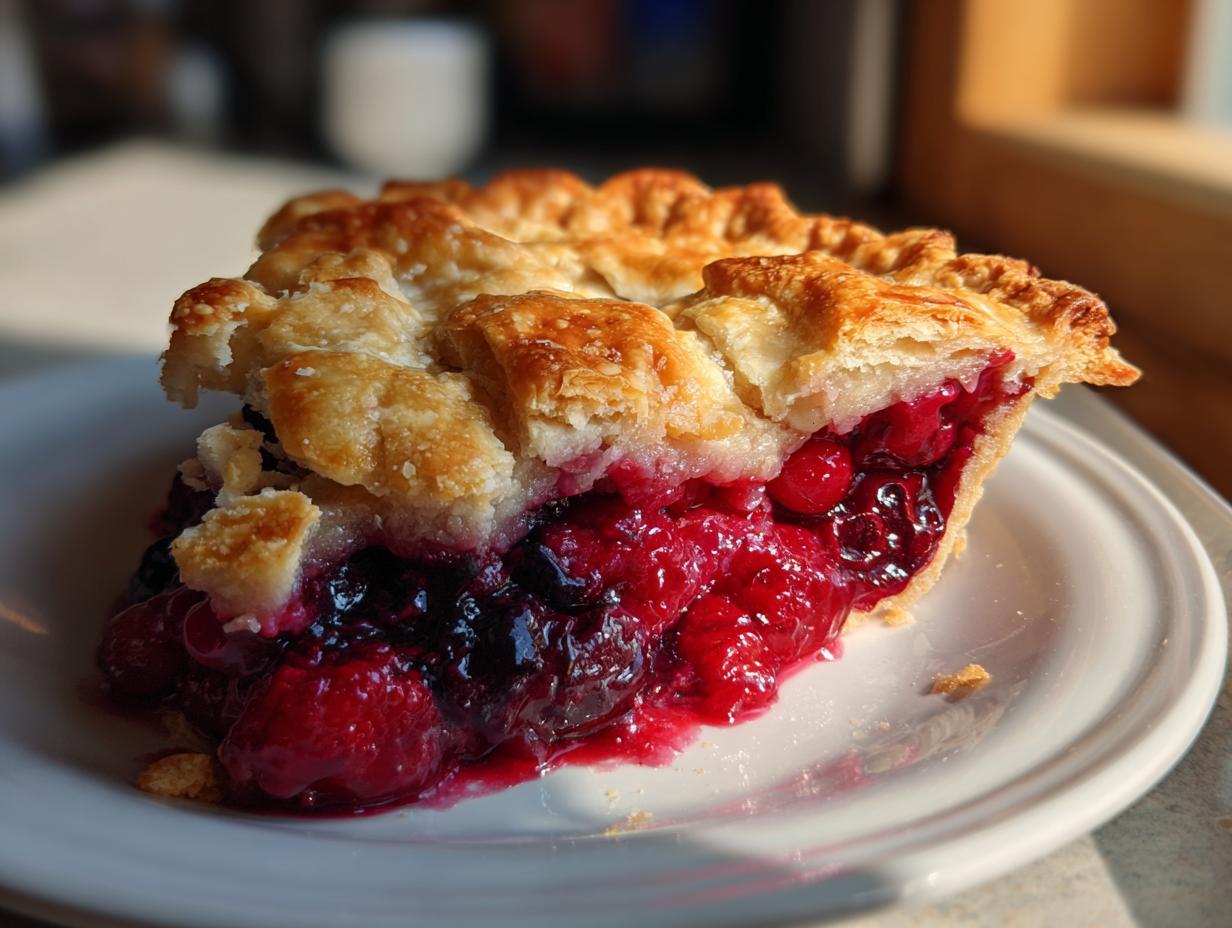
Oh, friends, is there anything better than that first taste of summer captured in a pie? When those strawberries are perfectly ripe and the blueberries are bursting with flavor, you just have to bake! But let’s be honest, baking a stunning **berry pie** can feel intimidating, especially when we talk about that dreaded runny filling. That’s exactly why I perfected this Ultimate Triple Berry Pie recipe. Drawing from my time studying nutrition and working hard in a real test kitchen, I engineered this recipe to give you the best crust and a filling that sets up perfectly every single time. Say goodbye to soup in your pie dish!
- Why This Ultimate Triple Berry Pie Recipe Stands Out
- Ingredients Needed for Your Perfect berry pie
- How to Prepare Your berry pie: Step-by-Step Instructions
- Tips for Success with Your berry pie
- Variations: From Crumble Topping Pie to Mixed Berry Pie
- Storage and Reheating Instructions for berry pie
- Frequently Asked Questions About berry pie
- Estimated Nutrition for Your berry pie
- Share Your Summer Berry Desserts Experience
Why This Ultimate Triple Berry Pie Recipe Stands Out
We’ve all been there—cutting into what looks like a gorgeous, rustic **berry pie** only to watch all the juices immediately run out onto the plate. Ugh! My goal with this recipe, honed through years of testing, is to eliminate that stress entirely. This isn’t just another fruit pie; it’s engineered for success whether you grab berries from your garden or the freezer.
Here’s what makes this recipe the one you’ll actually come back to again and again:
- It handles both fresh and frozen berries brilliantly without adjusting the bake time much.
- The crust is truly buttery and flaky—I promise it won’t shrink away from the filling!
- You get a perfect slice every time, which is the ultimate goal for any wonderful fruit pie.
Achieving the Best Berry Pie Filling Set
The magic bullet here is the cornstarch. It’s not just a standard thickener; when combined with the sugar and the heat of the oven, it creates a glorious, thick syrup that holds everything together. This is my secret weapon, straight from the test kitchen, ensuring that when you pull that beautiful pie out, you know the filling won’t turn into soup once it cools a little. That’s how you get picture-perfect slices!
The Secret to a Flaky Pie Crust Tutorial
For a flaky crust, you absolutely must use butter that is ice cold—I mean, cut-it-straight-from-the-fridge cold. We are looking for tiny pockets of butter within the flour mixture. When that pie hits the heat, the water in the butter steams, creating those beautiful flaky layers. Don’t overwork the dough at all; just mix until it *barely* comes together. If you want to dive deeper into making an award-winning crust, check out my guide on achieving ultra-flaky results!
Ingredients Needed for Your Perfect berry pie
Okay, let’s talk about what you need to pull this off. Don’t panic looking at the list; most of this is just berries and the standard stuff for a phenomenal, buttery crust. We’re using strawberries, blueberries, and raspberries because that Triple Berry Pie combo is classic for a reason! Remember, this recipe is designed to be incredibly reliable, so stick to the measurements, especially for the star of the show: the cornstarch.
You’ll need:
- 2 1/2 cups all-purpose flour
- 1 teaspoon salt
- 1 cup (2 sticks) unsalted butter that is very cold and cubed
- 1/2 cup ice water, plus maybe a splash more if the dough is too dry
- 6 cups mixed berries (strawberries, blueberries, raspberries)
- 1 1/2 cups granulated sugar (This gives us that perfect sweet-tart balance!)
- 1/4 cup cornstarch (Our gooey-filling insurance!)
- 1 tablespoon lemon juice
- 1/4 teaspoon ground cinnamon
- 1 large egg, beaten (for the pretty wash on top)
- 1 tablespoon coarse sugar (for texture)
Ingredient Notes and Substitutions for berry pie
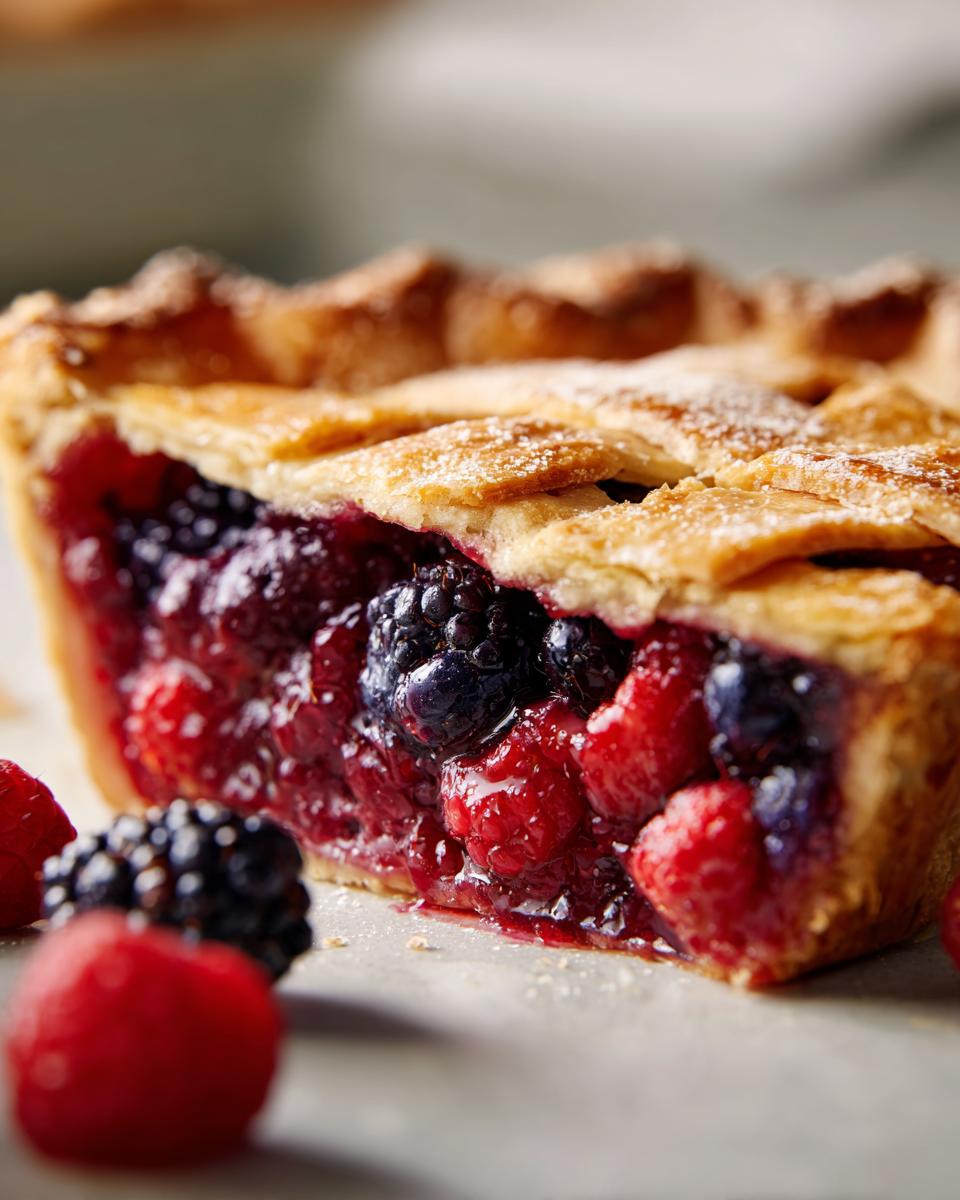
A quick note on the berries: If you are grabbing frozen ones—and that’s totally fine—do *not* thaw them first! Just toss them straight from the freezer into the bowl with the sugar and cornstarch. If you want to branch out into a true **Mixed Berry Pie** that includes blackberries, just swap out one cup of the raspberries for blackberries. They bake up beautifully! I find this specific sugar load keeps the filling perfectly sweet without being syrupy; the lemon juice just brightens the natural tartness of the raspberries.
P.S. If you end up with tons of extra berries, you should totally try my easy raspberry jam recipe—it’s fantastic!
How to Prepare Your berry pie: Step-by-Step Instructions
Okay, here we go! This is the fun part, but it requires a little focus. We are building this incredible **berry pie** from the bottom up. Trust me, if you follow these steps, you’ll have dessert perfection. We need to get that crust chilling first, then mix the filling that won’t disappoint you later.
Making the Flaky Homemade Pie Crust
First things first: take that chilled dough we made earlier. On a lightly floured surface—and I mean *lightly*—roll out one disk into about a 12-inch circle. You really want that cold butter to stay intact! Carefully drape that beauty over your 9-inch pie plate. Don’t pull or stretch it, just let gravity settle it in. Trim the edges so you have about an inch hanging over the rim. Then, wrap up the other disk and stick it back in the fridge while we work on the filling.
If you need a refresher on keeping things cold, I have a great piece about keeping dough cold when making buttermilk biscuits, and the principle is the same! That chilling time is non-negotiable, folks. It sets the structure.
Mixing the Foolproof Berry Pie Filling
This is where we guarantee no soupiness! Grab a big bowl—the bigger the better so you have room to toss things gently. Add your beautiful berries, the sugar, the cinnamon, and that crucial cornstarch, plus the lemon juice. Now, here’s the trick: use a rubber spatula and gently fold everything together. You don’t want to smash those strawberries! If you’re using frozen berries (and you absolutely can!), just toss them in straight from the bag. Resist the urge to thaw them; they release too much water that way, and we want the cornstarch to handle the liquid during the bake.
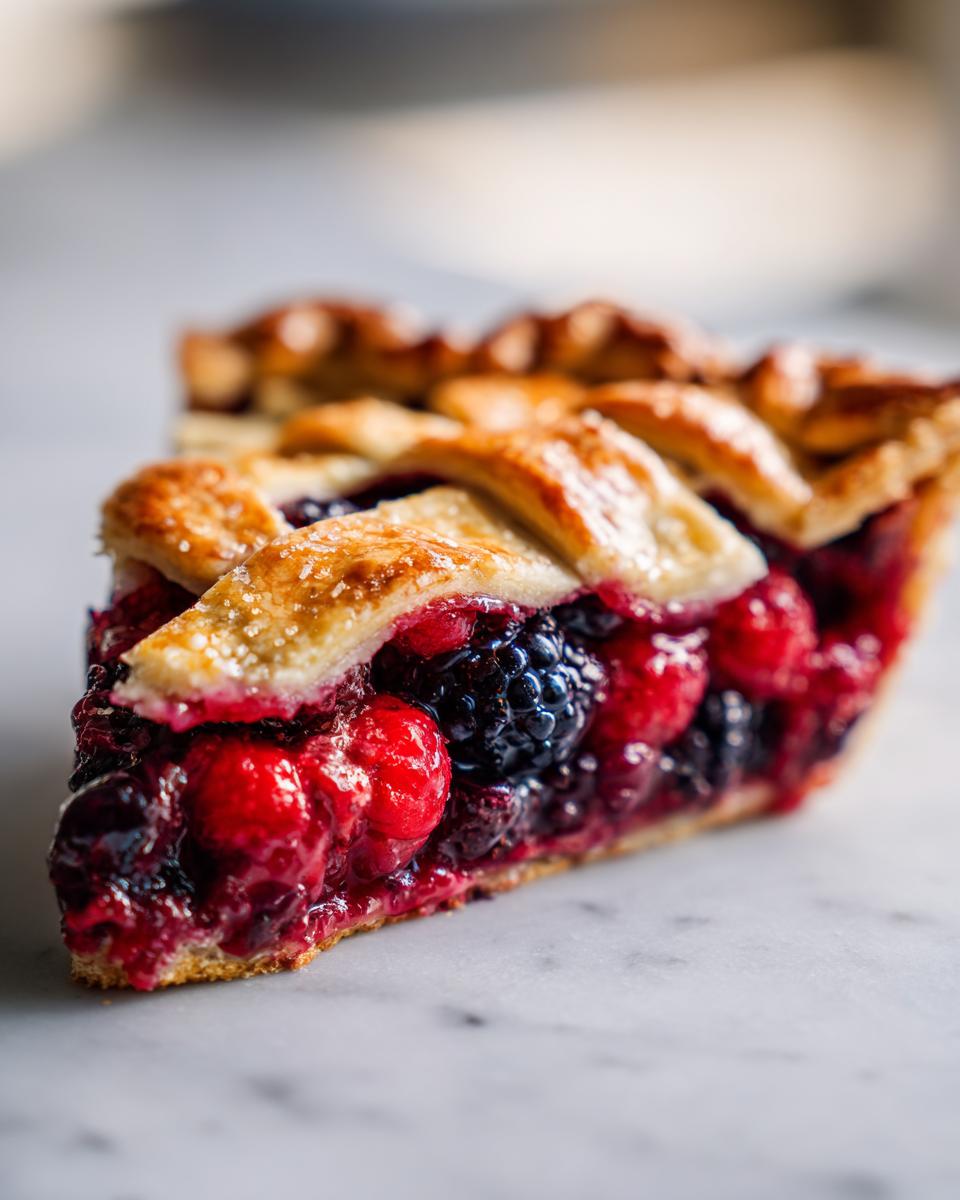
Assembly and Achieving a Rustic Berry Pie Look
Pour that coated berry mixture right into your crust-lined plate. Make sure it’s distributed evenly. Now for the top! Roll out the second disk of dough. You can cut four simple slits in the middle for steam release, or, if you’re feeling fancy, make a lattice top. Once you place the top layer on, pinch the bottom edge and the top edge together firmly all the way around to seal it up tight. I love to crimp mine with a fork for that classic, rustic look. Then, brush the entire top lightly with your beaten egg wash and sprinkle generously with coarse sugar. That sugar melts just enough to give you a gorgeous, crunchy finish—it makes the whole **berry pie** look bakery-worthy!
Baking Times and Temperature Adjustments
Get your oven preheated to 400°F. Because we want that bottom crust to set nicely and avoid any sogginess—which is essential for a clean slice—place that assembled pie on a sturdy baking sheet first. That sheet pan will catch any drips, saving you a huge mess! Bake it hot at 400°F for 20 minutes. Then, drop the temperature down to 375°F and let it continue baking for another 40 to 50 minutes until the crust is deep golden brown and you can actually see the filling bubbling thick and slow in the vent holes. If the sides start getting too dark too fast, just shield them loosely with strips of foil.
Oh, and before I forget, this is similar to how I manage my recipes for quick weeknight dinners—prep first, then cook with precision!
Tips for Success with Your berry pie
Now that you know the main steps for this amazing **berry pie**, let me give you a few of my favorite little tricks. These aren’t always written down, but they are what separate a good pie from an absolutely unforgettable one. A little extra attention here makes all the difference in getting that bakery-quality result!
Here are my top tips for ensuring you nail this bake:
- Chill Everything, Twice! I mentioned this for the crust, but it bears repeating: your butter, your water, even your bowl if your kitchen is warm. Cold ingredients mean a flaky crust. Warm ingredients mean a tough, dense crust that crowds the filling. Don’t skip the full hour of chilling for those dough disks!
- The No Soggy Bottom Pie Trick. This is a big one! To prevent that dreaded dampness on the bottom of your crust, try dusting the bottom shell *before* you add the filling with about a tablespoon of flour or finely ground almond flour. It absorbs any tiny bit of moisture that leaks past the cornstarch early in baking. You can also try a quick 10-minute pre-bake of the bottom crust, but the flour method is faster.
- Listen for the Set. When you check the pie toward the end of baking, you aren’t just looking for color. Give the oven a quick peek around the 45-minute mark at 375°F. You want to see the filling bubbling aggressively, almost violently, through those steam vents. If it’s just gently simmering, give it 5 to 10 more minutes. The filling has to reach a specific high temperature for the cornstarch to activate fully!
- Don’t Peek While Cooling. I know, I know, it smells incredible and you want to see your masterpiece, but you must let it cool for a minimum of four hours. Seriously. That cornstarch is doing its hard work cooling down and thickening up right then. Slicing early is the number one reason for runny pie. If you need guidance on managing fillings, I have some great general tips in my post about spiced apple fillings that absolutely apply here too.
Variations: From Crumble Topping Pie to Mixed Berry Pie
The beauty of this ultimate **berry pie** recipe is that it’s a fantastic base recipe. While I adore the double crust look, sometimes you just need something faster or different, and that’s where these swaps come in handy. You can customize this dessert to fit whatever berries you have or whatever topping strikes your fancy that day!
Maybe you’re not feeling the top crust because you’re short on time, or maybe you just love that delightful crunch! Let’s look at two easy ways to mix things up.
Making the Crumble Topping Pie Dream
If you’re looking for that perfect textural contrast—soft fruit beneath crunchy, buttery oat topping—substituting the top crust for a crumble is the way to go. This is so satisfying and brings in a wonderful texture contrast that pairs great with the juicy berries.
To make this **Crumble Topping Pie**, you skip rolling out that second disk of dough completely. Instead, you mix this simple streusel topping right in a bowl:
- 1 cup flour
- 1/2 cup packed brown sugar (using brown sugar makes the crumble rich!)
- 1/2 cup very cold butter, cut into chunks
- 1/2 cup rolled oats (don’t skip these, they give it structure!)
Just use your fingers to rub those dry ingredients and the cold butter together until you get varying sizes of coarse crumbs—some big chunks are wonderful. Sprinkle this mixture evenly over the berry filling right before baking. It bakes right on top of the filling, and trust me, the smell is incredible!
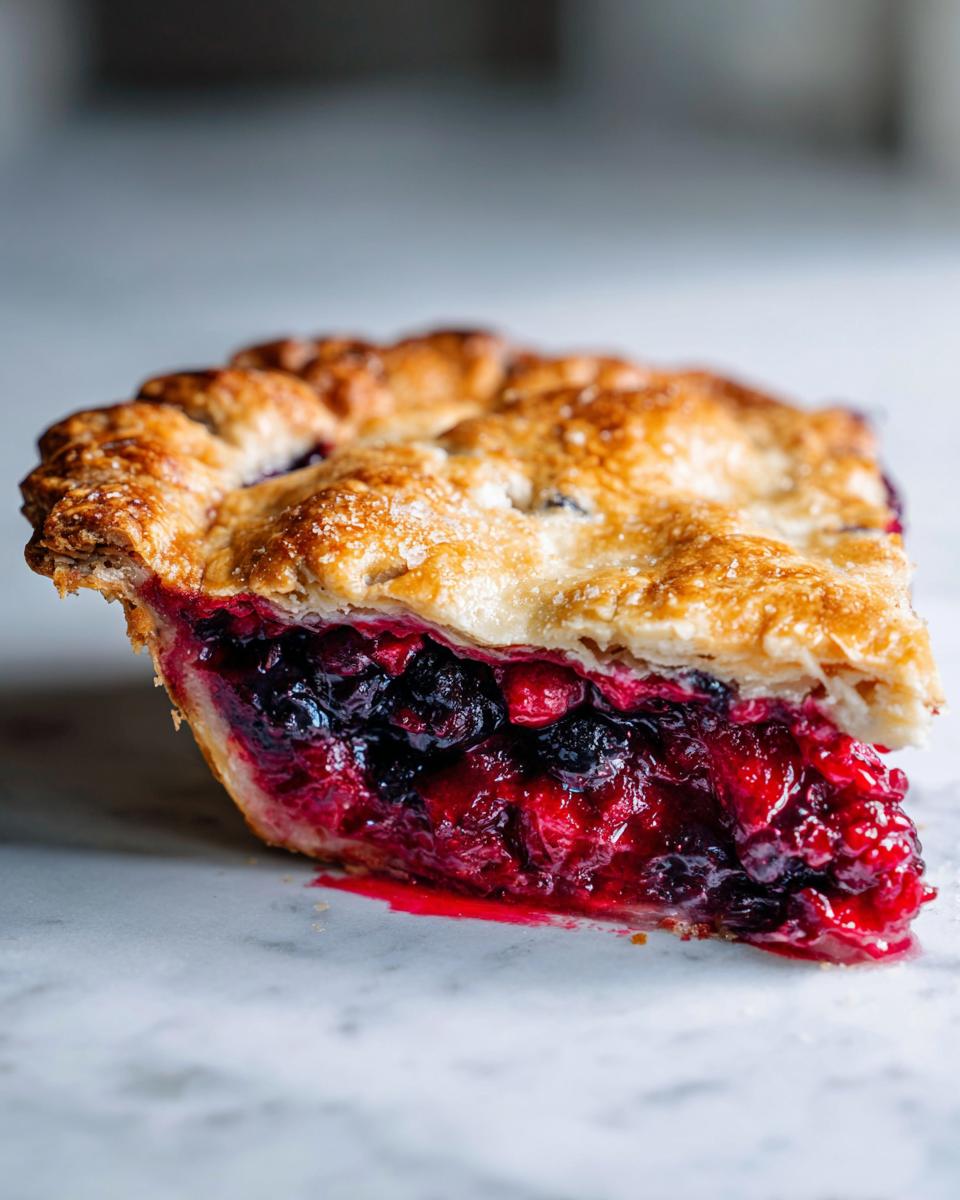
Adapting for a Simple Mixed Berry Pie
Perhaps your grocery haul or garden only provided blueberries and blackberries, or maybe you just prefer the darker berries. Absolutely use what you have! If you are making a substitution for the full six cups of fruit, just keep the ratios similar, and rely on that cornstarch like crazy.
If you end up with just blueberries and blackberries, you might notice it’s a touch less sweet than the triple blend, so you might want to bump that sugar up by a quarter cup. When working with darker fruits like blackberries, make sure you peek at the pie towards the end of baking to ensure the filling is bubbling nicely in the center, as darker fillings can sometimes hide under-baking. For more specific tips on blackberry baking, you can check out my full blackberry pie guide!
Storage and Reheating Instructions for berry pie
Okay, once we’ve battled the urge to cut into this masterpiece for those mandatory four hours of cooling, you need to know how to store it so it stays amazing. This step is non-negotiable for anyone wanting that perfect, clean slice of **berry pie** the next day!
First, let’s address the cooling period again. I cannot stress this enough: If you slice it warm, you are going to get a soupy, sad situation on your plate because that cornstarch mixture needs time to gel fully. Wait until it’s completely cooled down to room temperature—that usually means a good four to six hours, depending on how warm your kitchen is.
Once cooled, where do you keep this beauty?
For the first 12 hours, keeping the pie covered loosely on the counter is usually fine, especially if your kitchen isn’t too hot. However, because this pie is packed with fruit, it actually does best wrapped up and stored in the refrigerator after that initial cooling period. It keeps the crust from getting overly soft.
How to Reheat a Slice of berry pie
If you’re planning on serving this the next day, I highly recommend reheating individual slices rather than the whole pie. Reheating the whole thing tends to steam the crust and can soften it up just a bit too much. Here’s my favorite way to bring that slice back to life:
- Oven is Best: Pop that slice onto a small piece of foil or a parchment-lined baking sheet. Heat it in a 300°F oven for about 10 to 12 minutes. This warms the filling back through gently and crisps up the crust edges beautifully. You want it warm, not piping hot, so the filling doesn’t run again.
- Microwave Warning: If you absolutely must use the microwave because you’re in a rush, keep it brief—maybe 15 to 20 seconds on 50% power. Just heat it enough to take the chill off, but be ready for a softer crust!
Serving it with a scoop of vanilla bean ice cream on top, even when slightly warmed, just takes this **berry pie** over the top. Enjoy those leftovers!
Frequently Asked Questions About berry pie
It’s totally normal to have a few questions when tackling a classic like this! Baking fruits can be tricky, but I promise, once you understand *why* we do certain steps, you’ll feel equipped to handle any fruit pie. Here are some common things I hear from bakers trying out this **berry pie** for the first time. We want you to feel totally confident!
Can I use only frozen berries in this berry pie recipe?
Yes, you absolutely can! This is one of the reasons I worked so hard on making this a top-tier **Foolproof Pie Recipe**. When you use frozen berries—whether you’re making a **Triple Berry Pie** or just using one type—do not thaw them first. Dump them straight from the freezer into your bowl with the sugar and cornstarch. If you thaw them, they release water unevenly, and that can mess with our thickening ratio. The oven handles the partially frozen fruit just fine, I promise!
What is the best way to prevent a runny berry pie filling?
This is the million-dollar question, right? We have two main defenses against a soupy mess. First, you must use the precise amount of cornstarch listed! Don’t skimp, as it’s the active thickener here. Second, and this is just as important: you have to exercise patience during cooling. The filling needs time off the heat to fully gel. If you cut it early, it runs. That’s physics! Master that cooling period, and you’ll achieve that beautiful, clean slice you see in all the pictures.
How long does this homemade pie need to cool before slicing?
The magic number here is **four hours minimum**. I usually aim for five just to be safe, especially if I’m serving it the same day I bake it. I know, waiting feels impossible when a warm **Homemade Pie Crust** is staring you down! But remember, the residual heat in the oven cooked the fruit, but the cornstarch doesn’t fully set until it drops closer to room temperature. If you slice it at two hours, you might have a nice warm filling, but it will definitely be runny. Wait it out; your clean slices will thank you later! For more general fruit baking tips, take a look at my guide on making an easy fruit pie for consistency.
Estimated Nutrition for Your berry pie
Alright, let’s talk about the fuel needed to enjoy this spectacular **berry pie**! Now, since we are using lots of butter for that flaky crust and sugar to balance the tart berries, this is definitely a decadent dessert, not a health food, but you deserve it!
Please remember, these numbers are straight estimates based on the ingredients listed—specifically the sugar and butter amounts we used. If you use less sugar or substitute the butter with a lower-fat alternative, your numbers will change. I always tell folks that these figures are best used as a general guide for budgeting calories, not as a clinical breakdown, since my mixing style might be a little heavier on the butter than the next person’s!
Here is the estimated nutritional breakdown for one generous slice:
- Serving Size: 1 slice
- Calories: 450
- Sugar: 35g
- Fat: 25g
- Saturated Fat: 15g (That’s all that wonderful butter doing its job!)
- Carbohydrates: 58g
- Protein: 5g
- Sodium: 250mg
Enjoy every bite of your **Classic American Pie** creation. Knowing what goes into it just makes that first taste even sweeter!
Share Your Summer Berry Desserts Experience
Now that you have the absolute best, foolproof game plan for making the most incredible **berry pie** imaginable, I genuinely want to hear all about it! Baking is meant to be shared, not just eaten in solitary glory. Whether you stuck strictly to the Triple Berry combination or experimented with your own mix of summer fruits, I hope this recipe brought some true joy to your kitchen.
If you gave this recipe a whirl—especially if you used frozen berries and were worried about the outcome—please come back and leave a rating! Knowing that this method works for you helps me fine-tune everything I share here. It means the world to me when I know I helped someone create a beautiful, non-runny dessert!
What’s Your Go-To Berry Combination?
I’m always dreaming up new flavor combinations, and since this crust recipe is so perfect for a **Classic American Pie**, I’m curious about your personal touch. Are you a purist who sticks to strawberry-blueberry? Do you sneak in a tart cherry or maybe even some blackberries for that deep color (like in that beautiful pie I saw online)? Tell me in the comments what three (or four!) berries you are using next time!
Don’t forget to tag me on social media when you pull that gorgeous, golden pie out of the oven! I love seeing your successes and the stunning summer dessert pictures you capture.
PrintUltimate Triple Berry Pie with Flaky Crust

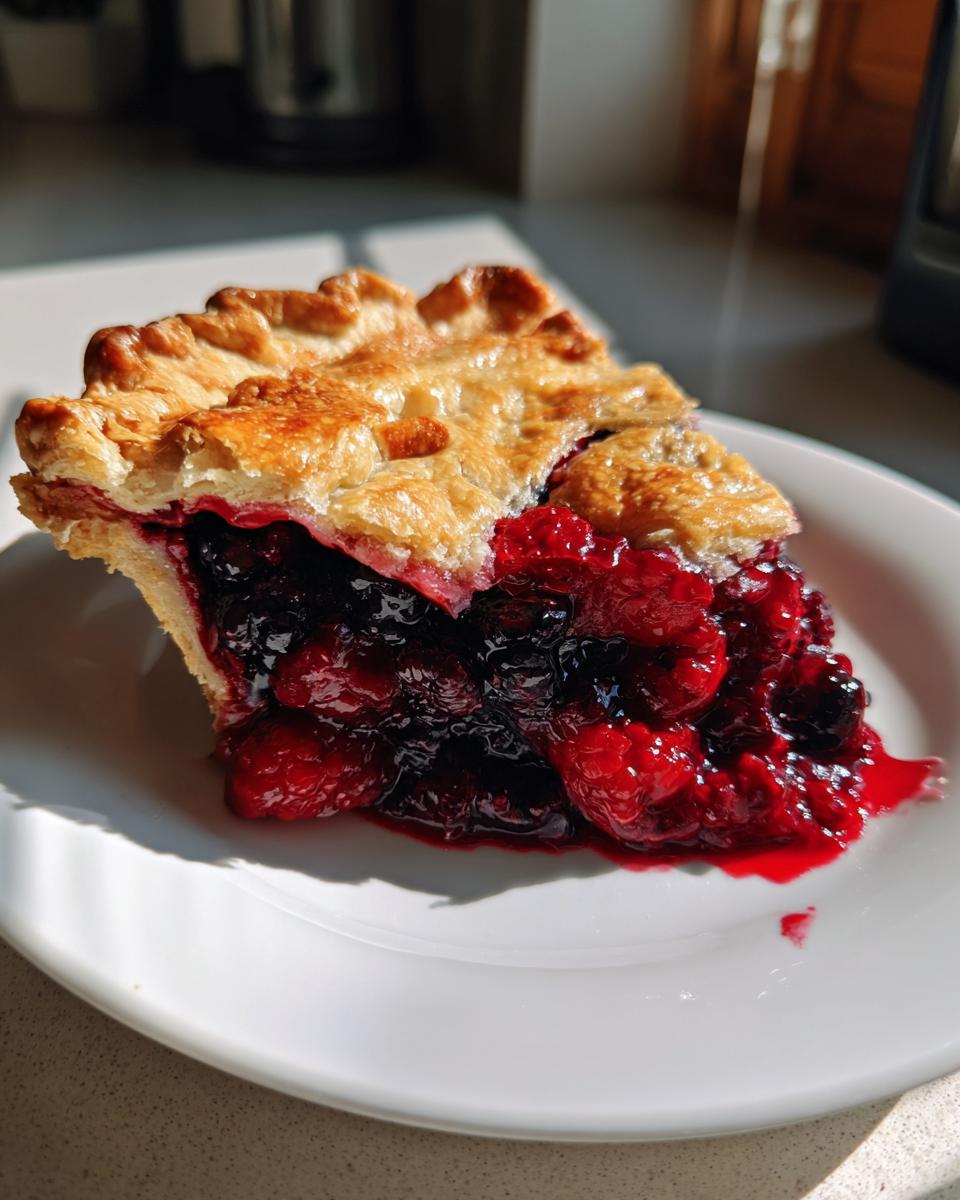
You will make a stunning Triple Berry Pie featuring strawberries, blueberries, and raspberries in a buttery, flaky crust. This recipe provides a foolproof set filling that works well with both fresh and frozen berries.
- Prep Time: 35 min
- Cook Time: 70 min
- Total Time: 145 min
- Yield: 8 servings 1x
- Category: Dessert
- Method: Baking
- Cuisine: American
- Diet: Vegetarian
Ingredients
- 2 1/2 cups all-purpose flour
- 1 teaspoon salt
- 1 cup (2 sticks) unsalted butter, very cold and cubed
- 1/2 cup ice water, plus more if needed
- 6 cups mixed berries (strawberries, blueberries, raspberries)
- 1 1/2 cups granulated sugar
- 1/4 cup cornstarch (for foolproof set filling)
- 1 tablespoon lemon juice
- 1/4 teaspoon ground cinnamon
- 1 large egg, beaten (for egg wash)
- 1 tablespoon coarse sugar (for topping)
Instructions
- Prepare the Flaky Pie Crust: In a large bowl, whisk together the flour and salt. Cut in the cold butter using a pastry blender or your fingers until the mixture resembles coarse crumbs with some pea-sized pieces of butter remaining. Gradually add the ice water, one tablespoon at a time, mixing until the dough just comes together. Do not overmix. Divide the dough in half, form each half into a disk, wrap in plastic, and chill for at least 1 hour.
- Prepare the Berry Filling: In a large bowl, gently combine the mixed berries, granulated sugar, cornstarch, lemon juice, and cinnamon. If using frozen berries, do not thaw them first. Toss lightly until the berries are coated. This mixture creates the best berry pie filling.
- Assemble the Pie: On a lightly floured surface, roll out one disk of dough into a 12-inch circle. Carefully transfer it to a 9-inch pie plate. Trim the edges, leaving a 1-inch overhang. Pour the berry filling into the crust.
- Create the Top Crust: Roll out the second disk of dough. You can cut vents, create a lattice, or use a full top crust. Place the top crust over the filling. Crimp the edges of the top and bottom crusts together to seal. Brush the top crust lightly with the beaten egg wash and sprinkle with coarse sugar for a gorgeous, rustic look.
- Bake the Pie: Preheat your oven to 400°F (200°C). Place the pie on a baking sheet (to catch drips). Bake for 20 minutes at 400°F. Reduce the oven temperature to 375°F (190°C) and continue baking for another 40 to 50 minutes, or until the crust is golden brown and the filling is bubbling thickly. If the edges brown too quickly, cover them loosely with foil.
- Cool Completely: This step is crucial for a perfect set filling. Let the pie cool on a wire rack for at least 4 hours before slicing. This allows the cornstarch to fully set the juices, preventing runny pie filling.
Notes
- If you prefer a crumble topping instead of a top crust, prepare a simple streusel using 1 cup flour, 1/2 cup brown sugar, 1/2 cup cold butter, and 1/2 cup rolled oats. Sprinkle evenly over the filling before baking.
- For an extra flaky pie crust, keep all ingredients cold and avoid working the dough more than necessary.
- This recipe works well for summer berry desserts or holiday fruit pie occasions.
Nutrition
- Serving Size: 1 slice
- Calories: 450
- Sugar: 35g
- Sodium: 250mg
- Fat: 25g
- Saturated Fat: 15g
- Unsaturated Fat: 10g
- Trans Fat: 0g
- Carbohydrates: 58g
- Fiber: 4g
- Protein: 5g
- Cholesterol: 60mg