
Oh, the tragedy of a tough, crumbly crust! If you’ve ever watched your beautiful fruit filling weep over a store-bought base, you know the pain. That’s why I’m thrilled to share this recipe with you today. Forget everything you thought you knew about difficult baking; this is The Best Flaky All-Butter Pie Crust Recipe, and honestly, it’s shocking how easy it is to master. After my time honing techniques in professional test kitchens—which you can read more about on my About page—I brought this method home to create a truly foolproof pie crust that works perfectly whether you’re a total beginner or just craving that ideal, melt-in-your-mouth tenderness.
- Why This Homemade Pie Crust Recipe Works Every Time (The Science of Flakiness)
- Essential Ingredients for the Best Flaky All-Butter Pie Crust
- How to Make Pie Dough From Scratch: A Foolproof Pie Crust Tutorial
- Tips for Success When Making a Classic Pastry Crust
- Sweet Pie Crust Dough vs. Savory Pie Crust Recipe Applications
- Estimated Nutritional Data for This Pie Crust
- Frequently Asked Questions About Your Homemade Pie Crust
- Share Your Perfect Pie Crust Creations
Why This Homemade Pie Crust Recipe Works Every Time (The Science of Flakiness)
The secret to a show-stopping dessert isn’t just the filling; it starts from the bottom up with the shell. People often ask me how to get that beautiful lift and shatter when they bite into a slice. It comes down to sticking to the fundamentals of temperature and fat, which is why this pie crust is strictly all-butter. Forget anything that involves shortening if you want that rich flavor we all crave! This recipe is built around maximizing those cold butter pieces so they create steam pockets when they hit the heat of the oven. My testing process confirmed time and time again that when the ingredients are handled correctly, you’ll never go back to the store-bought stuff. Mastering this kind of texture is the same science behind my tall, flaky buttermilk biscuits, just swapped for liquid!
The Importance of Cold Ingredients for a Tender Pie Crust
You absolutely must treat your butter and water like ice cubes—because that’s basically what they are! I insist on using butter straight from the fridge, cut into defined cubes, and ice water, not just cool water. When those cold fat pieces bake, they melt slowly and release steam. That steam blasts open the layers of flour, creating that gorgeous, airy separation we call flakiness. If your butter melts before it hits the oven, you’ll end up with a tough, greasy texture instead of a tender pie crust. Keep everything cold and you keep your texture light!
Essential Ingredients for the Best Flaky All-Butter Pie Crust
When you’re aiming for the absolute best pie crust, you really can’t compromise on what goes into it. Unlike recipes that sneakily toss in shortening for cheap structure, we are leaning into the beautiful flavor of pure fat here. You only need four things, and I’ve listed exactly what you need below. Keeping these measurements precise is how we ensure this recipe is reliable enough for anyone to use!
- 2 1/2 cups all-purpose flour
- 1 teaspoon salt
- 1 cup (2 sticks) unsalted butter, very cold and cut into 1/2-inch cubes
- 1/2 cup ice water, plus 1-2 tablespoons more if needed
Ingredient Notes and Substitutions for Your Pie Crust Dough
First things first: use unsalted butter. Since we control the salt separately, using unsalted allows us to manage the final flavor better. And trust me on this—this is an all butter pastry dough, and you’ll taste the difference immediately! Don’t even think about reaching for hydrogenated shortening; we want that melt-in-your-mouth richness that only real butter provides.
The water must be ice cold, maybe even with a few ice chips floating in it when you measure your starting half-cup. If you happen to run out of ice water, just take a fresh cup, drop in a couple of cubes, and let it sit while you measure your flour. That dedication to coldness is what keeps our layers distinct and flaky.
How to Make Pie Dough From Scratch: A Foolproof Pie Crust Tutorial
Okay, time to get your hands dirty! This is where we transform those cold cubes into perfect potential for your next great pie. My goal with this step-by-step guide is to show you exactly how to make this pie crust so reliably that you’ll feel like a pro immediately. Remember, we are aiming for a mixture that looks like coarse meal with visible, chunky bits of butter still hanging around—think small peas. Those chunks are your secret weapon for maximum lift!
Once the dough just comes together—and I mean *just*—you need to stop fussing with it. Divide it in half, press those halves into flat disks, wrap them up tight, and into the fridge they go for at least two hours. Don’t skip this chilling time; it lets the flour relax, which is essential for preventing shrinkage and ensuring a tender result later on. You can even sneak a peek at my homemade mayo trick; sometimes the same patience applies to emulsions and doughs!
Cutting the Butter into the Flour Mixture
Grab your pastry blender; that’s my favorite tool here because your hands warm up the butter too fast. You want to work quickly, cutting the butter into the flour mixture. If you’re using your fingers, use your fingertips like little pebbles and gently rub or pinch the butter against the flour. Stop immediately once you see that mix of fine crumbs and those essential pea-sized butter pieces. Overmixing here means smashing the butter flat, and that leads right to a tough, sad crust.
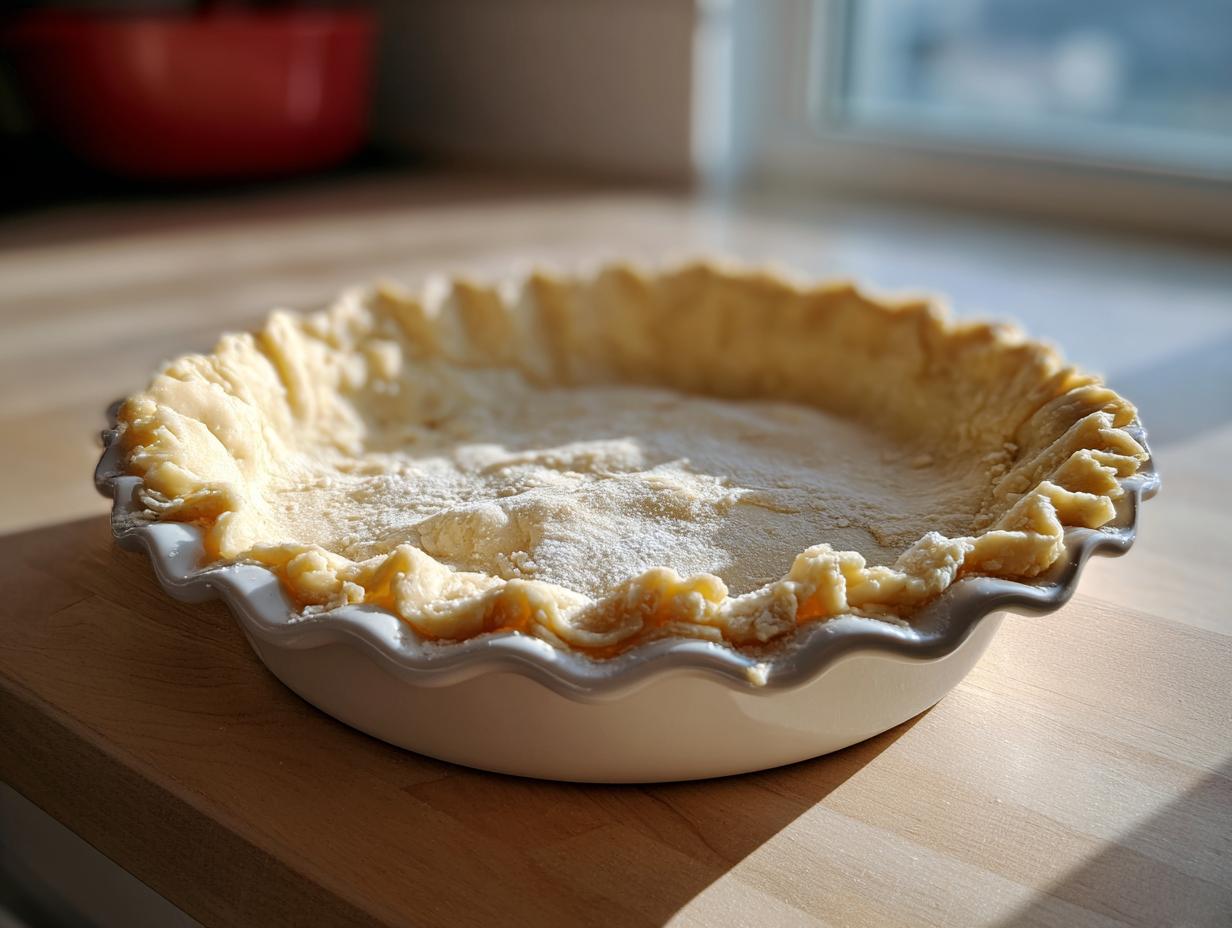
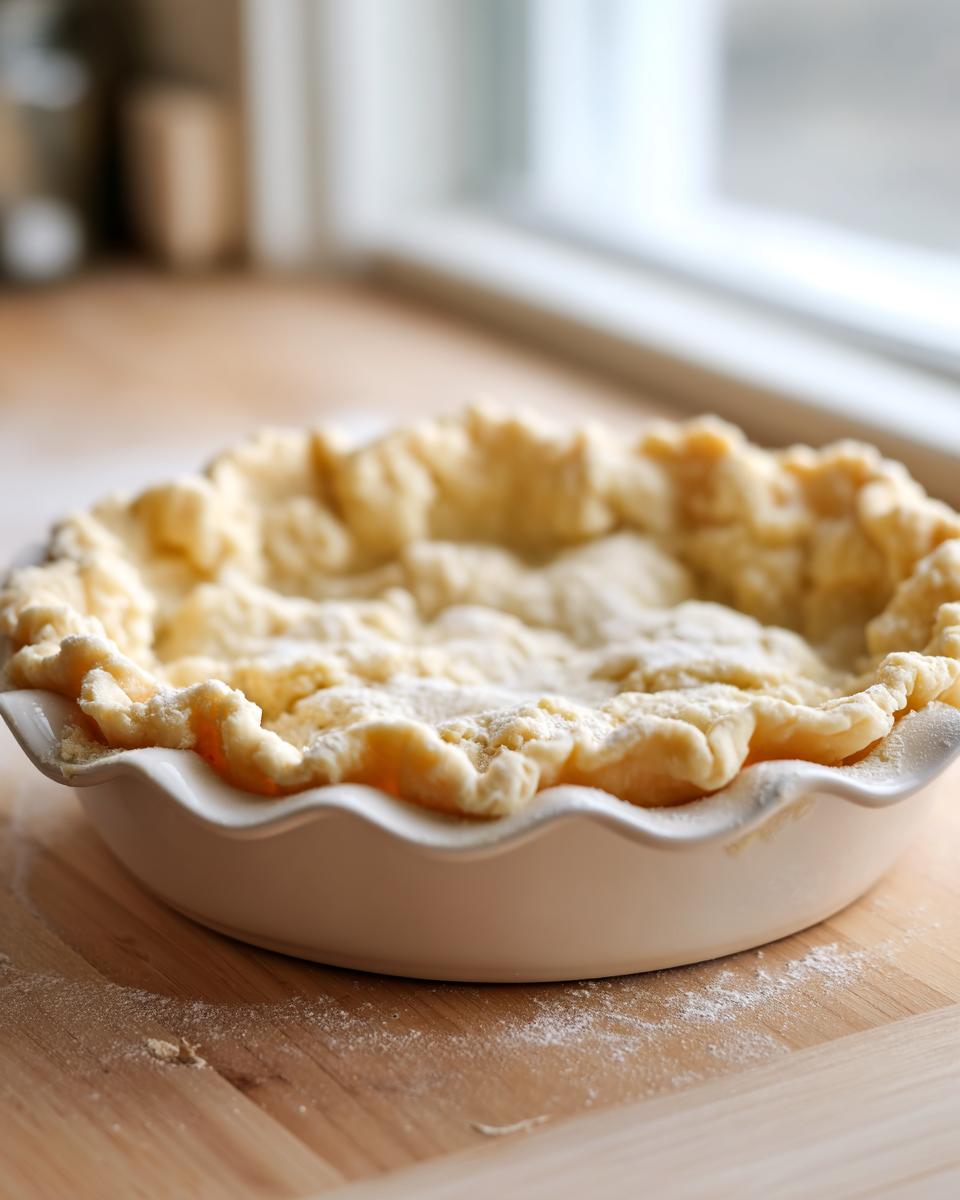
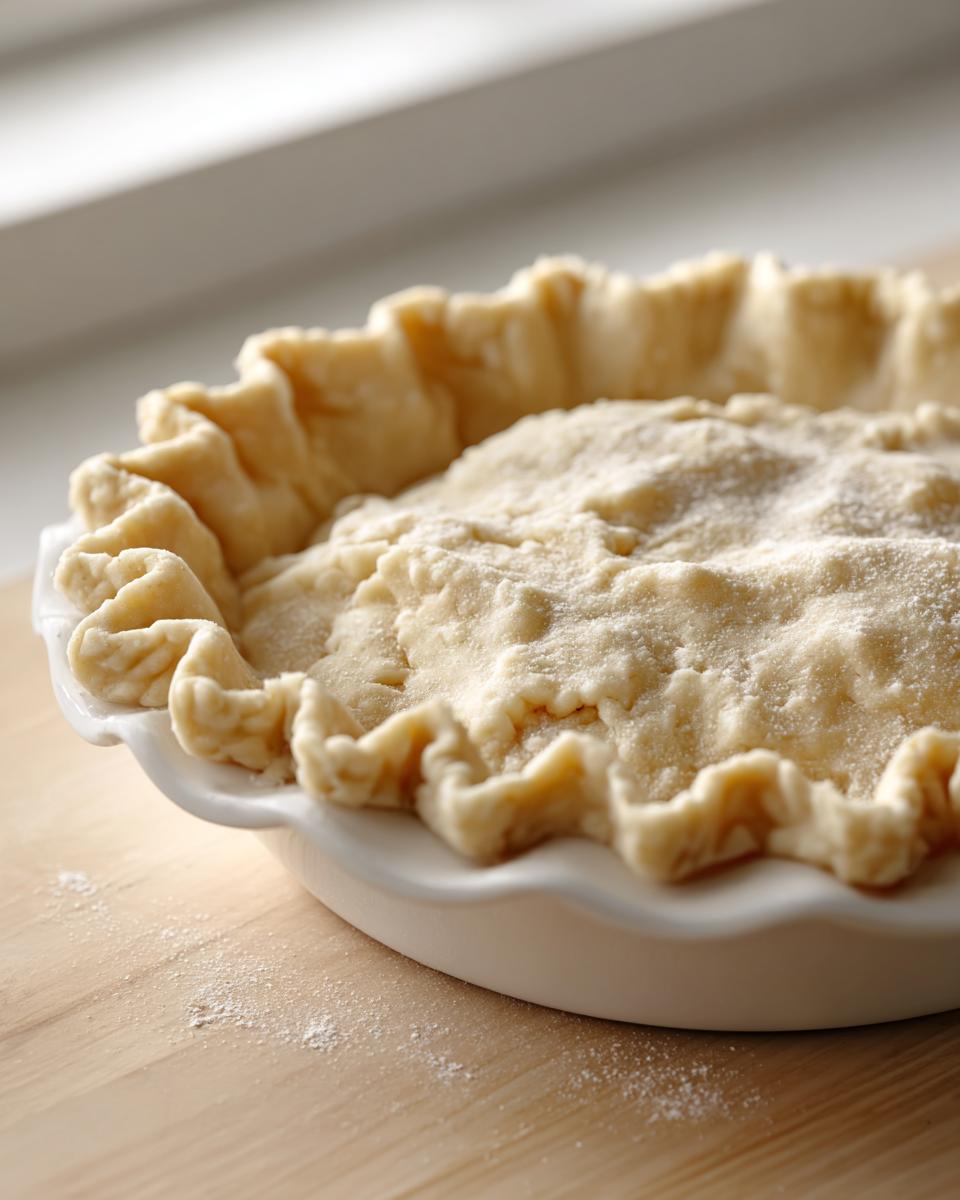
Rolling Out Your Perfect Pie Crust
When you’re ready to go, take one disk out and let it sit for just about ten minutes so it doesn’t fight you. Lightly flour your surface, and never roll from the edges in. Instead, start right in the center and gently push the rolling pin outward, rotating the dough a quarter turn every roll. This keeps the circle even! Once you have a 12-inch circle, carefully drape it over your pie plate. Remember, even the best pie crust needs a little nap after rolling; pop that assembled shell back into the fridge for 30 minutes before you plan to bake it. That final chill really sets you up for success!
Tips for Success When Making a Classic Pastry Crust
Having tested hundreds of dough batches in the kitchen, I know the tiny things that trip people up when aiming for that flawless pie crust. My biggest piece of advice, which I always share, is patience during the chilling phase. If your dough tears when you lift it, it’s telling you it’s too cold and hasn’t relaxed yet. Never force it!
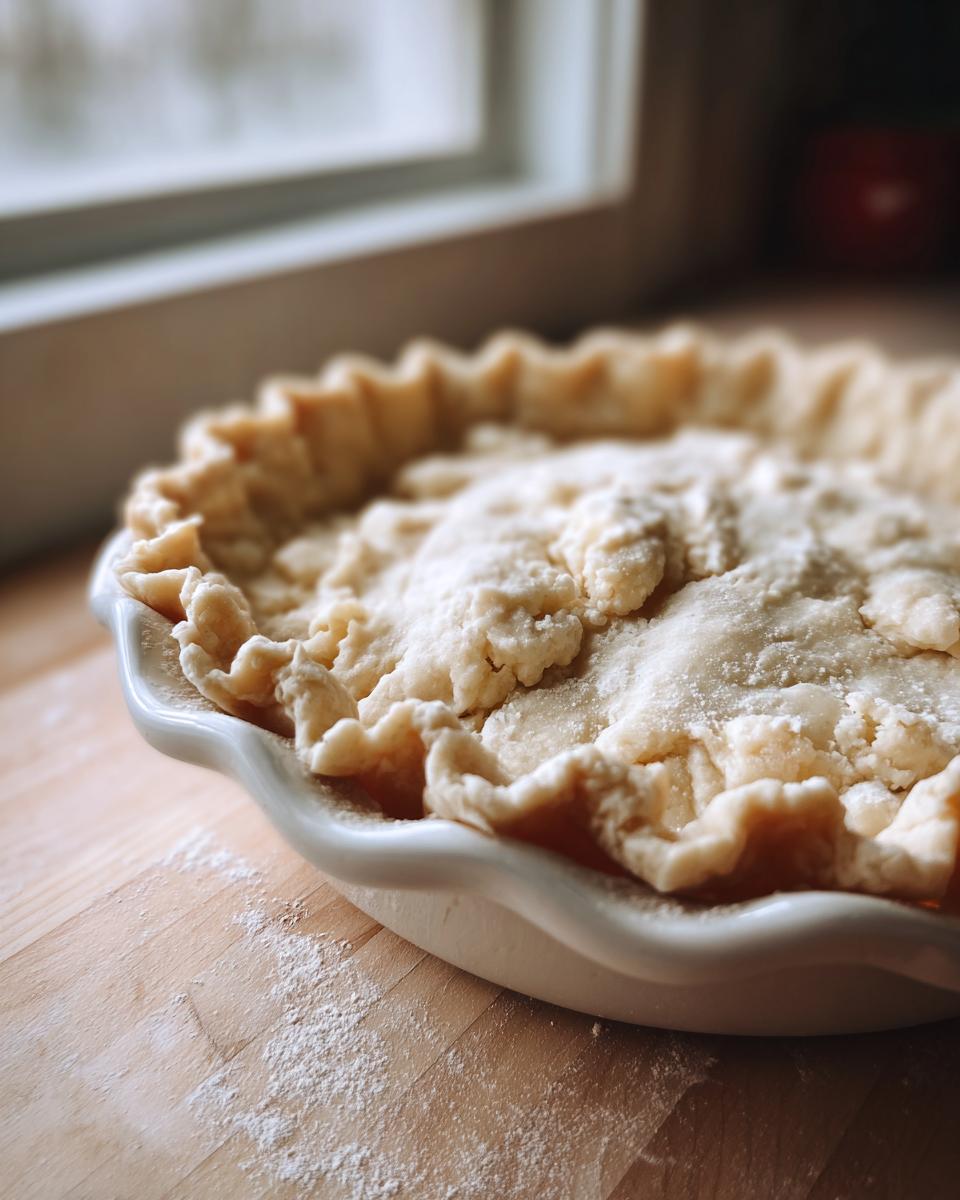
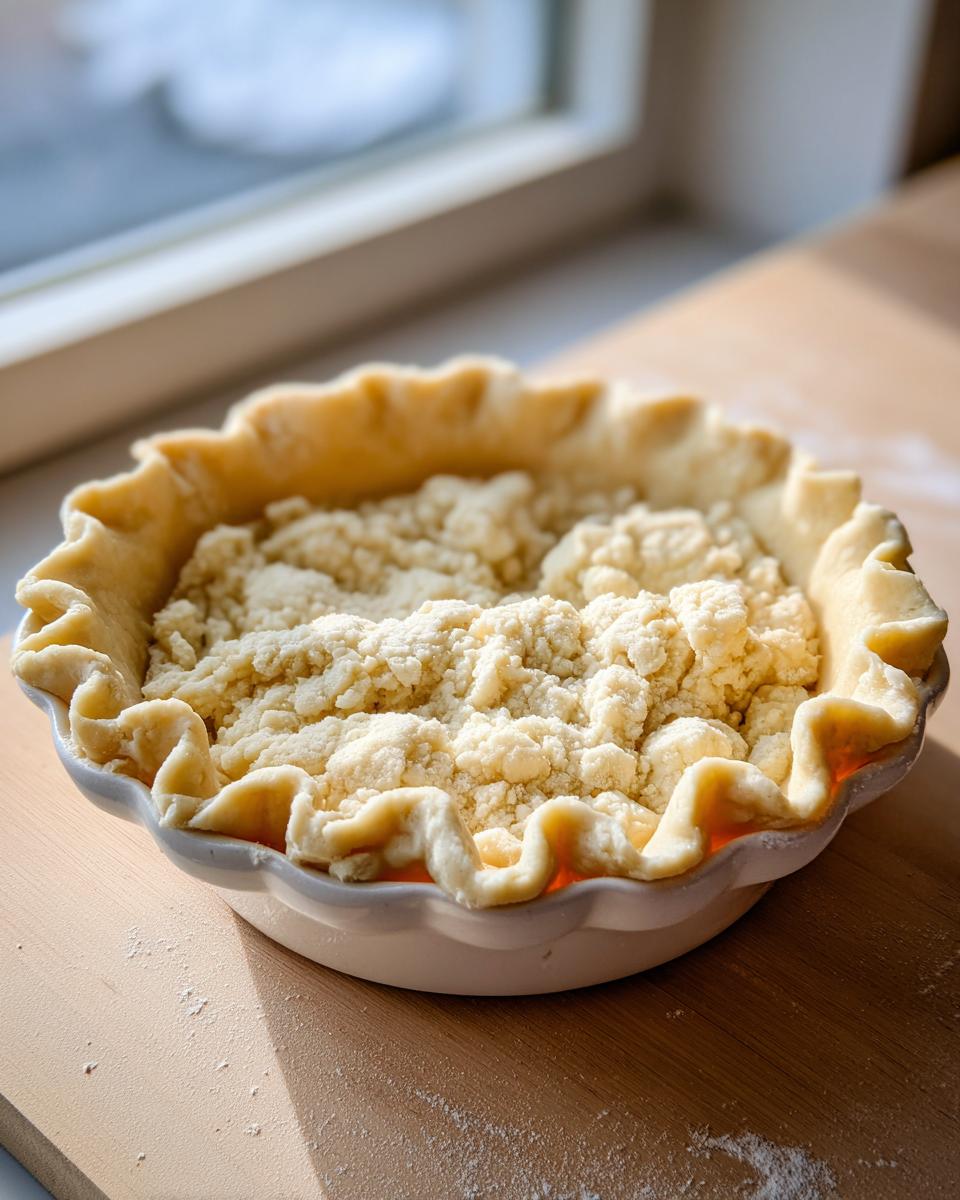
If you are working with a fruit filling that releases a lot of liquid, I sometimes flash-bake the bottom of the crust for about 10 minutes before adding the filling—that helps stop a soggy bottom. If you want to see my go-to technique for dealing with slippery eggs, check out my recipe for creamy garlic aioli; a little patience goes a long way there too!
When you need a crust ready for Thanksgiving week, luckily, this recipe holds up beautifully. Check out this other excellent recipe for comparison, but my method below is the most reliable for an all-butter base.
Make Ahead Pie Crust Storage Guide
This is a lifesaver! You made two amazing disks of pie crust dough, fantastic! Wrap those disks very tightly in plastic wrap, squeezing out all the air you can. They can live in the fridge for up to three days, which is perfect for planning ahead. If you won’t use them within that time, wrap them securely in foil after the plastic and toss them in the freezer. This make ahead pie crust freezes beautifully for up to three months!
Sweet Pie Crust Dough vs. Savory Pie Crust Recipe Applications
One of the things I love most about mastering this perfect pie crust is knowing it’s my one-and-done base for nearly everything! You don’t need a separate recipe for sweet versus savory pies, which is great for busy lives. For a lovely apple pie or a peach cobbler topping, I usually mix about a tablespoon or two of granulated sugar and a tiny dash of cinnamon right in with the flour and salt at the very first step. You can always check out this other great pie crust recipe for comparison, but I promise this one is robust!
But if you’re making a quiche or a savory chicken pot pie, skip the sugar. Instead, try adding a teaspoon of dried herbs like thyme or rosemary into the dry mix. It gives that pie crust dough such a wonderful background note that complements the richer fillings perfectly! This versatility is why I call this my master pie crust recipe—it’s adaptable, reliable, and always tastes better than anything store-bought.
If you want to see how delicious a sweet fruit filling can look when paired with an amazing base, check out my recipe for moist apple brownies—they sometimes need a perfectly crimped edge!
Estimated Nutritional Data for This Pie Crust
Now, I have to be totally honest here: since this homemade pie crust recipe uses such simple, whole ingredients, the nutrition is quite different depending on how much salt or butter you personally spread on your slice! The figures below are just my best estimates for one serving (1/8th of the crust) based on standard measurements, so take them with a grain of salt. It’s good to have a general idea, but remember, homemade quality beats perfection every time!
- Serving Size: 1/8 of crust
- Calories: 280
- Fat: 18g
- Carbohydrates: 26g
- Protein: 4g
Frequently Asked Questions About Your Homemade Pie Crust
I get so many questions once people start tackling their first batch of homemade pie crust recipe! It usually boils down to a few key areas where people worry they might mess up. Don’t stress; that’s why I tested this until it was truly foolproof. If you need some quick dinner inspiration while your dough chills, check out my easy weeknight dinners!
Can I use shortening instead of butter in this pie crust recipe?
You certainly can chemically, but I truly advise against it if you want the flavor in this recipe. Shortening will give you a very flaky texture, yes, but it’s flavorless compared to all that rich butter we put in! This recipe is specifically designed around that beautiful butter taste.
How long does the finished pie crust dough need to chill?
You must chill the dough for a minimum of two hours, sometimes longer! If you rush this step, the butter warms up, it squishes into the flour, and you end up with a tough, cracker-like pie crust instead of the flaky layers you want. Patience here pays off hugely!
What is the best way to blind bake this pie crust?
Blind baking is easy! Line your chilled shell with parchment paper and fill it completely with dried beans or ceramic pie weights. Make sure you prick the bottom of the dough all over with a fork—that’s called docking—so it doesn’t puff up oddly in the oven.
Share Your Perfect Pie Crust Creations
I truly hope this recipe lets you create the most amazing, flaky pie crust you’ve ever made. When you try it out—whether for a savory quiche or a sweet apple dessert—please come back and leave me a comment! Ratings and feedback really help other home bakers know this recipe is reliable. If you snap photos, send them over using the contact form; sharing our kitchen wins is the best part!
PrintThe Best Flaky All-Butter Pie Crust Recipe

Make a perfectly flaky and tender homemade pie crust using only butter. This easy, foolproof recipe works for sweet pies, quiches, and savory pot pies.
- Prep Time: 25 min
- Cook Time: 0 min
- Total Time: 2 hours 25 min
- Yield: One double crust (for a 9-inch pie)
- Category: Baking Essential
- Method: Mixing/Chilling
- Cuisine: American
- Diet: Vegetarian
Ingredients
- 2 1/2 cups all-purpose flour
- 1 teaspoon salt
- 1 cup (2 sticks) unsalted butter, very cold and cut into 1/2-inch cubes
- 1/2 cup ice water, plus 1-2 tablespoons more if needed
Instructions
- In a large bowl, whisk together the flour and salt.
- Add the cold butter cubes to the flour mixture. Use a pastry blender or your fingertips to cut the butter into the flour until the mixture resembles coarse crumbs with some pea-sized pieces of butter remaining. Do not overmix; visible chunks of butter are necessary for flakiness.
- Gradually add the ice water, one tablespoon at a time, mixing lightly with a fork until the dough just comes together. You may not need all the water. The dough should be moist enough to hold its shape when squeezed but not sticky.
- Divide the dough in half. Form each half into a flat disk, wrap tightly in plastic wrap, and refrigerate for at least 2 hours, or up to 3 days. This chilling time is essential for a tender pie crust.
- When ready to roll, let one disk sit at room temperature for 5 to 10 minutes to soften slightly. On a lightly floured surface, roll the dough from the center outward into a 12-inch circle.
- Carefully transfer the dough to your pie plate. Trim and crimp the edges as desired. If making a double crust pie, repeat the rolling process for the top crust.
- Chill the assembled pie shell for 30 minutes before baking.
Notes
- Keep all ingredients, especially the butter and water, very cold for the flakiest results.
- If you prefer using a food processor for mixing, pulse the dry ingredients first, then add the cold butter and pulse until coarse crumbs form. Add water slowly while pulsing until the dough just starts to come together.
- This all butter pie dough recipe is excellent for making ahead; freeze wrapped disks for up to 3 months.
Nutrition
- Serving Size: 1/8 of crust
- Calories: 280
- Sugar: 0.1
- Sodium: 210
- Fat: 18
- Saturated Fat: 11
- Unsaturated Fat: 7
- Trans Fat: 0.5
- Carbohydrates: 26
- Fiber: 1
- Protein: 4
- Cholesterol: 45