
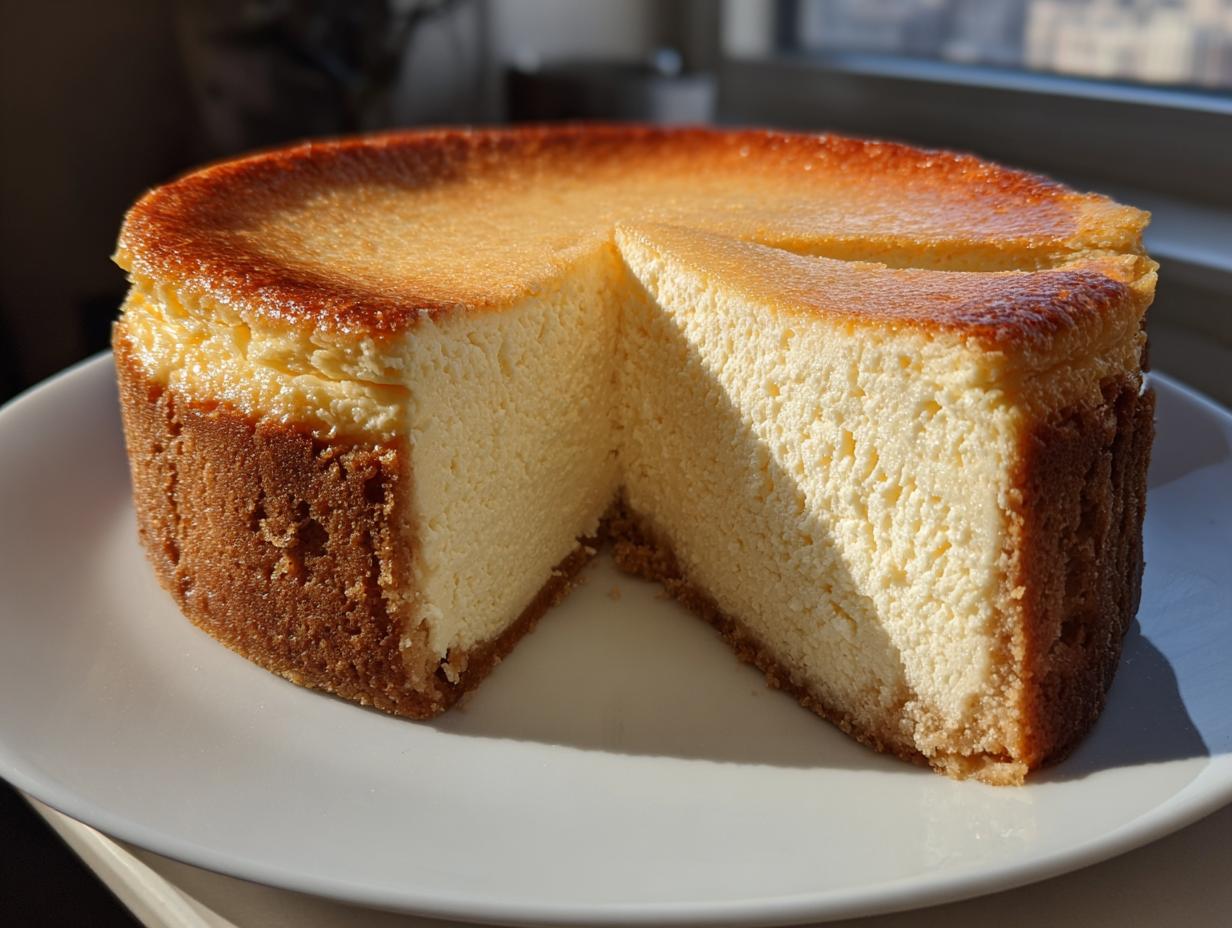
You know that feeling when you bite into a slice of truly perfect cheesecake? I mean the kind that’s deeply rich, unbelievably creamy, and just stands impossibly tall without a single crack on the top? That’s what we’re making today. Forget all those intimidating baking experiences you’ve heard about; this is my definitive, reliable new york cheesecake recipe guaranteed to deliver that classic indulgence. When I first started developing recipes, I knew the classics needed to be foolproof. Cooking for people you love shouldn’t cause stress. This recipe simplifies the science so you can focus on that perfect, velvety texture. You can learn a bit more about my philosophy and how I test these recipes over at my story page.
- Why This Is the Best New York Cheesecake Recipe You Will Ever Make
- Gathering Ingredients for a Classic Cheesecake
- Step-by-Step Instructions for Your Baked Cheesecake Recipe
- Tips for the Ultimate Cheesecake Guide to Perfection
- Making Your Homemade New York Style Cheesecake Ahead of Time
- Serving Suggestions for Your Rich Dessert
- Storing and Reheating Your New York Cheesecake
- Frequently Asked Questions About Classic Cheesecake Baking
- Nutritional Estimate for This Timeless Dessert Recipe
Why This Is the Best New York Cheesecake Recipe You Will Ever Make
Honestly, I’ve seen so many recipes promising the world only to end up with sunken centers or grainy fillings. That really stresses me out! What makes my New York Cheesecake recipe stand apart is that I focused heavily on the technique, not just the ingredients. We’re aiming for that iconic, dense, rich dessert texture that melts in your mouth without being too heavy or overly sweet. This isn’t a recipe you cross your fingers and hope for the best with; this is designed assurance! I learned over the years testing recipes in the kitchen that relying on a few key scientific steps is what separates a good dessert from the best cheesecake recipe.
The Secret to a Tall and Creamy Cheesecake Texture
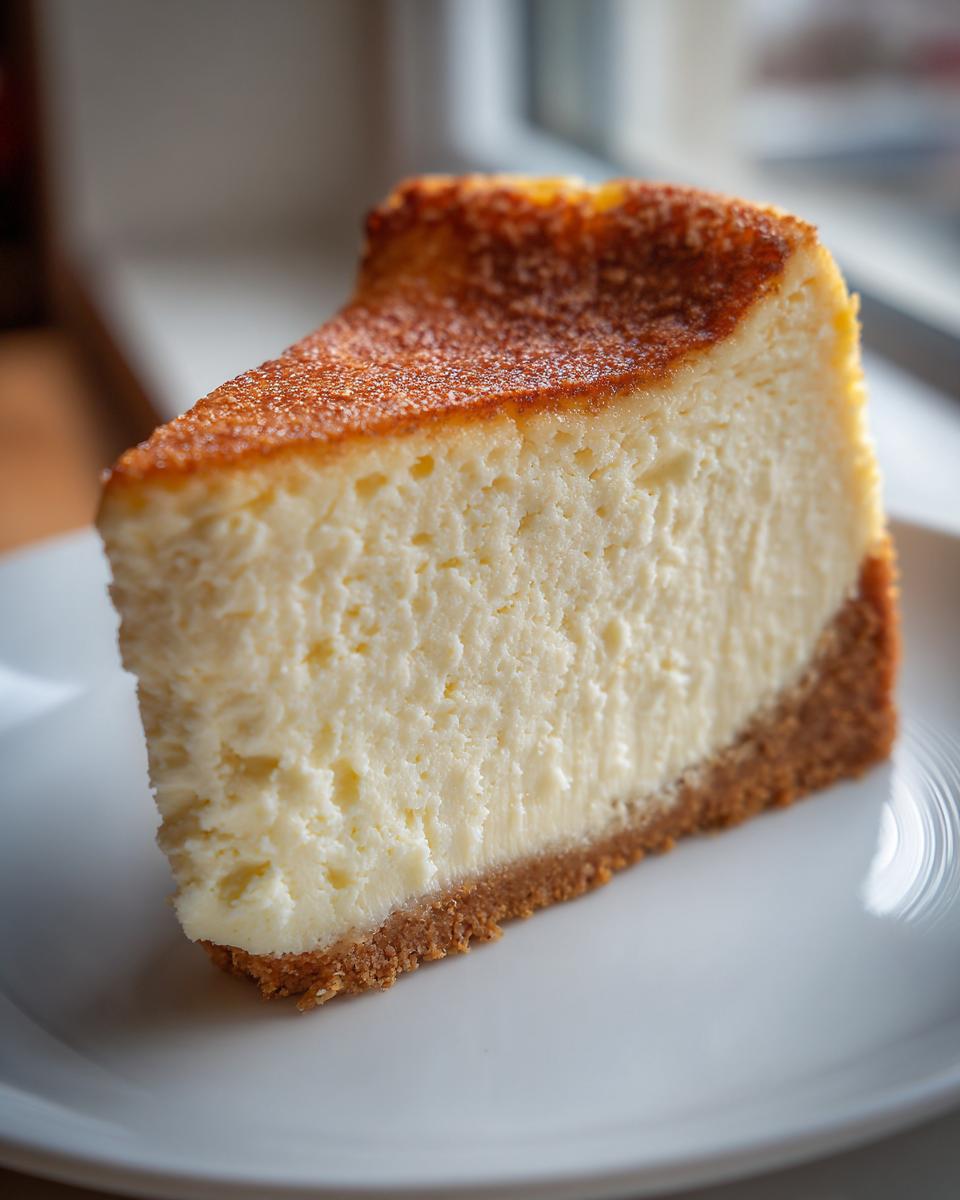
The first major reason this works so well is what goes into the bowl. You absolutely must use full-fat cream cheese, and it has to be room temperature—I mean truly soft! When everything is perfectly temperate, it beats up into that signature ultrasmooth consistency. We also add just a little bit of all-purpose flour. Don’t panic, it’s not enough to make it cakey! It acts as a stabilizer, helping you achieve that gorgeous, tall structure and that fantastic creamy cheesecake mouthfeel. If you’re ever curious about how to lighten things up without losing texture, you can check out some of my lighter recipes, like my protein cheesecake recipe.
Mastering the No Crack Cheesecake Technique
Cracking is the nemesis of every baker, but it’s usually caused by temperature shock. We fight this brutal enemy using two non-negotiable steps. First, the water bath, or bain-marie; it’s the key to gentle, even baking. Second is the slow cool-down. You can see the full details in the instructions, but trusting the process by leaving the cake inside the turned-off oven for an hour is essential. Follow these steps, and I promise you’ll have a perfect, smooth top every time. This is how we tackle the no crack cheesecake challenge!
Gathering Ingredients for a Classic Cheesecake
Okay, prepping ingredients is where a lot of people rush, but for a truly spectacular new york cheesecake, precision here makes all the difference! We need just a handful of things, but we need them ready to go. Remember, cold ingredients fight each other and give you lumps, so please, take the time to let everything warm up. Nothing less than full-fat cream cheese will do for that deep, luxurious flavor you expect from a classic cheesecake. If you’re whipping up other recipes this week, you should see how I use cream cheese for my savory cream cheese corn casserole—it’s a totally different vibe!
For the Buttery Graham Cracker Crust
This base has to be sturdy because it’s holding up a lot of rich filling. You’ll mix one and a half cups of graham cracker crumbs with a quarter cup of sugar and then drizzle in six tablespoons of melted unsalted butter until it looks like wet sand. Press this mixture *firmly* into the bottom of your springform pan. I mean push down hard enough that it feels ready to stand up to anything!
For the Rich Filling of Your New York Cheesecake
Here’s the list for that iconic filling. You’ll need four full 8-ounce packages of cream cheese—and yes, they need to be softened completely! We also use one and a half cups of granulated sugar, a quarter cup of flour (that’s our stabilizer!), a teaspoon of vanilla, and just a pinch of salt. The secret touch is half a cup of room-temperature sour cream to bring that signature slight tang. And those four large eggs? They must be at room temperature too. Don’t skip that step for your perfect New York Cheesecake!
Step-by-Step Instructions for Your Baked Cheesecake Recipe
Preparing and Pre-Baking the Crust
First things first, we need that golden base! Preheat your oven to 350°F. In a bowl, mix those graham cracker crumbs, the quarter cup of sugar you reserved, and the melted butter. Toss it until it looks like wet sand. Now, press that mixture really, really firmly into the bottom of your 9-inch springform pan. I mean push down hard! Pop it in the oven for exactly 10 minutes to set up. Once that’s done, pull it out, let it cool for a second, and then—this is important—slash that oven temperature down to 325°F for the filling bake. It needs a gentle start! If you’re looking for more straightforward, foolproof baking tips, I share tons over at my easy baking guide.
Assembling the Water Bath for a Dense Cheesecake
Now for the magic protector: the water bath! This step is what ensures that luxurious, dense cheesecake outcome. You need heavy-duty aluminum foil—the cheap stuff tears too easily, trust me. Wrap the outside bottom and sides of your springform pan super tight, like you’re wrapping a precious gift against water damage. Then, place that foil-wrapped beauty inside a larger roasting pan. We do this so when we add the hot water bath later, none of it sneaks in and makes your crust soggy.
Mixing the Filling: Avoiding Over-Aeration
This is where most people struggle, so pay close attention! Get your softened cream cheese into a big bowl and beat it until it’s just silky smooth—no lumps allowed. Scrape down the sides! Next, gently beat in the sugar, flour, vanilla, and salt until they just disappear into the mix. Here’s the E-E-A-T moment: Add your eggs one at a time, mixing on low speed after each addition only until you can’t see the yellow yolk anymore. I cannot stress this enough: do not overbeat once the eggs are in! Too much air trapped inside is the #1 reason for cracks later.
Baking and Slow Cooling for Your New York Cheesecake
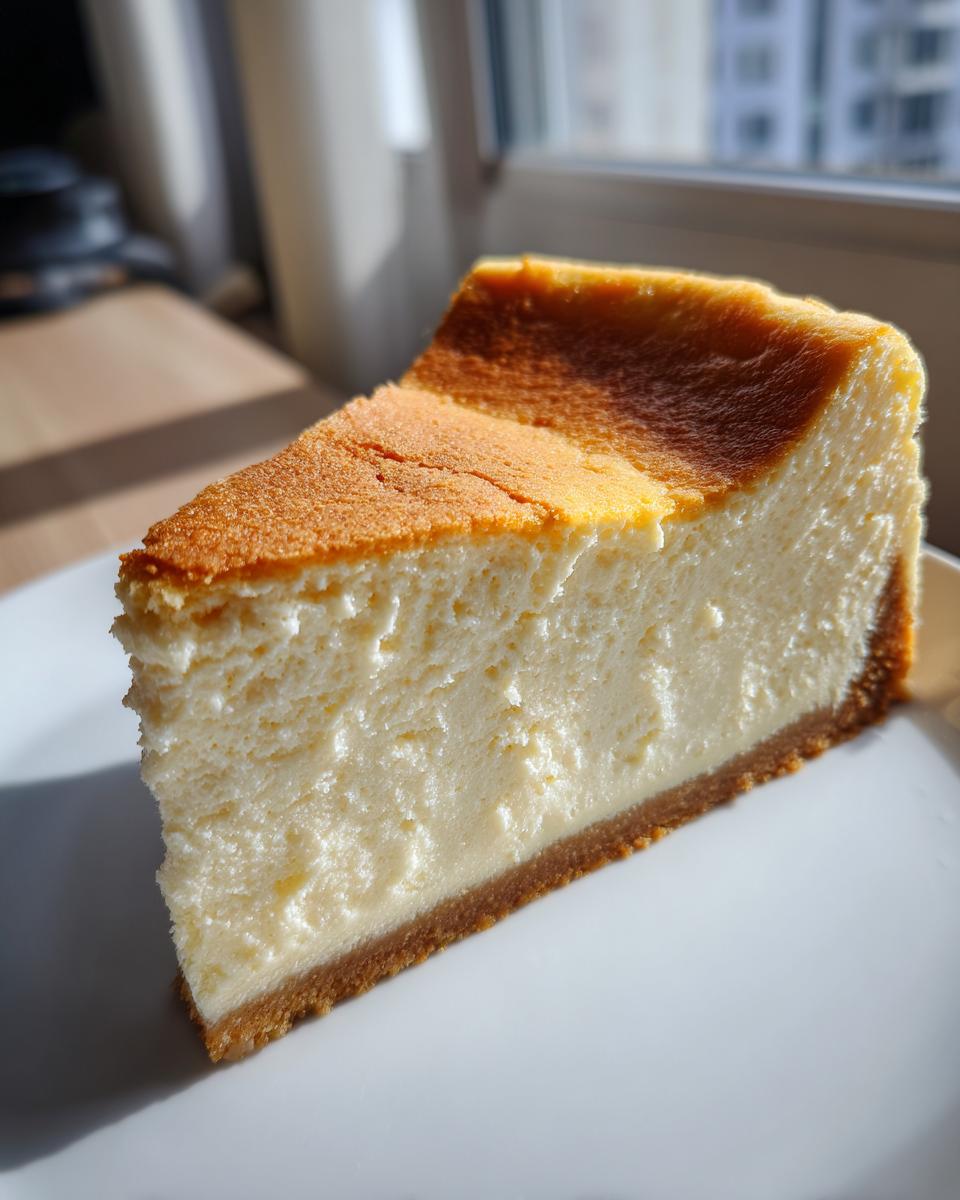
Pour that smooth batter right over your cooled crust. Carefully place the roasting pan into the oven and pour in hot water around the springform pan until it’s about halfway up the sides. Bake this beauty for 60 to 75 minutes. You’re looking for the edges to be set firm, but the center should still have a slight jiggle—like firm Jell-O in the very middle. Once the time is up, turn the oven OFF. Crack the door open just a touch and let it sit in that warm oven for a full hour. This slow temperature drop is my secret for a flawless top on your New York Cheesecake. Once it’s cooled down a bit more on the counter, you can chill it overnight!
Tips for the Ultimate Cheesecake Guide to Perfection
Now that you’ve followed the steps, I want to share a couple of last-minute crucial checks for your Homemade New York Style dessert. Even great recipes need a little tweaking based on your kitchen environment, right? These final pointers are from my professional test kitchen days—they help guarantee that perfect result every time you tackle this classic cheesecake. When I need a rich, incredibly smooth dip to serve alongside something savory while the cheesecake chills, I always rely on my easy creamy garlic aioli recipe!
Ingredient Temperature Matters for Creamy Cheesecake
I know I mentioned it before, but I’m going to say it again because it’s that important: Room temperature! If your cream cheese, eggs, or sour cream are even slightly cold, you are going to get lumps in your batter, period. Lumps mean you’ll over-mix trying to get rid of them, and over-mixing gives you cracks. Cold ingredients equal lumpy batter, which equals a less-than-perfectly creamy cheesecake texture. Let everything sit on the counter for at least an hour before you even think about turning the mixer on!
When to Stop Mixing
Once those eggs start going in, you are entering a very delicate phase. We add air during the creaming stage, but we don’t want to introduce a huge volume of air with the eggs. You mix eggs in just until the yellow disappears! If you keep beating it thinking you’re helping it combine, you’re actually pumping in air bubbles that have nowhere to escape during the long, slow bake. When the batter looks uniform, switch off that mixer. Seriously, put the spatula down. That’s when the magic of a truly dense cheesecake begins to take hold.
Making Your Homemade New York Style Cheesecake Ahead of Time
I wish I could tell you that you can bake this on a Tuesday night and serve it Wednesday afternoon, but for a truly spectacular new york cheesecake, patience is part of the process! This isn’t like bread; it actually gets better as it ages in the fridge, provided you wrap it right. You absolutely must chill this for a minimum of 6 hours, but honestly? Overnight is the way to go. The flavors of the vanilla and the slight tang from the sour cream really deepen into that perfect symphony you expect from a homemade new york style dessert. It’s worth the wait, trust me!
Once it’s completely cooled and wrapped well in plastic wrap inside that springform pan, it keeps beautifully in the fridge for four or five days. It’s the absolute best holiday dessert because you can get the hardest part done way ahead of time. If you’re making something creamy to snack on while you wait for the cheesecake to firm up, you might want to try my easy creamy smoked salmon dip!
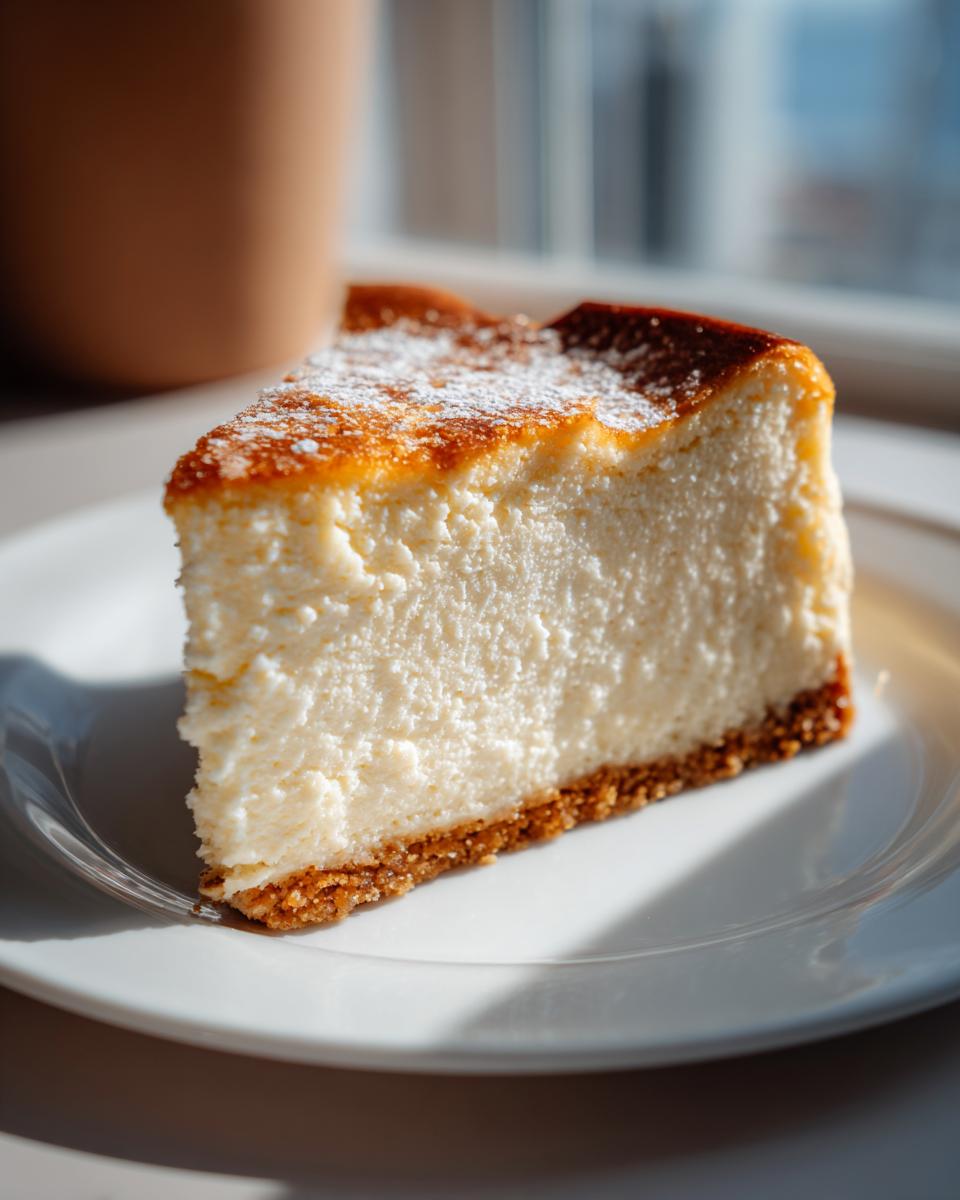
Serving Suggestions for Your Rich Dessert
We made this ultimate rich dessert masterpiece, and now we need to keep its elegance! Because this classic cheesecake is so decadent on its own, I always lean toward toppings that offer a nice textural contrast or a little sharpness. A simple spoonful of homemade fruit topping is my go-to suggestion. I adore using my easy raspberry jam recipe; the tartness cuts right through the richness beautifully. Don’t get fancy! A plain, perfectly chilled slice dusted with a little cocoa powder or served with fresh berries is usually the best way to let this amazing cheesecake shine.
Storing and Reheating Your New York Cheesecake
Getting this gorgeous New York Cheesecake chilled is just as important as baking it right! You absolutely have to let it cool completely on the counter first—don’t rush that part. Then, once it’s room temperature, wrap the springform pan carefully with plastic wrap to keep it fresh. It needs a minimum of six hours in the fridge to set properly, but I honestly recommend chilling it overnight. That’s when the texture firms up into that dense, classic slice we love.
If you have leftovers (which I doubt!), keep it tightly covered in the refrigerator. Honestly, cheesecake doesn’t usually reheat well, so skip the microwave all together. The best way to enjoy leftovers is letting a slice sit on the counter for about 20 minutes to take the chill off before diving in. Speaking of leftovers, if you need something sweet to snack on while the cheesecake is chilling, you might want to whip up a loaf of my chocolate banana bread!
Frequently Asked Questions About Classic Cheesecake Baking
I know you’ve got questions! Trying that first baked cheesecake recipe can feel like walking a tightrope, right? But that’s why I developed this recipe, to take the guesswork out of achieving that perfect texture. If you have a question about ingredient swaps, humidity, or how to get that classic look, chances are it’s answered right here. We’re going to make sure your Philadelphia cream cheese dessert turns out flawless!
Can I use light cream cheese in this New York Cheesecake Recipe?
Oh, please don’t try it! When it comes to a true New York Cheesecake Recipe, the full-fat stuff is non-negotiable. Using light or reduced-fat cream cheese changes the fat and moisture ratios completely. You end up with something that doesn’t set up correctly, often turning grainy or almost rubbery when baked. For that dense, rich outcome, you need the full fat content sticking together. Save the low-fat options for lighter treats!
What is the purpose of the water bath?
If you skip the water bath, you are almost guaranteeing a cracked top, and we certainly aren’t doing that here! The hot water surrounding the pan creates a humid environment in the oven. This gentle steam keeps the edges of your cheesecake from baking faster than the center. Think of it like insulating the outside so everything cooks evenly, preventing the top from drying out and splitting open during cooling.
How do I get the Tall and Creamy Cheesecake?
This is all about temperature control and gentle mixing! First, make sure those cream cheese, eggs, and sour cream are absolutely at room temperature. That lets them combine smoothly without lumps. Second, once the eggs go in, you can’t overmix! If you introduce too much air during that final mixing stage—especially after the eggs are in—that air tries to escape while baking, causing the top to puff up and then fall into a crack. It’s a delicate dance, and you can learn more about baking secrets from guides like the one I found useful over at Revealed Recipe.
If you ever need an example of a creamy spread that requires just as much attention to temperature and technique, you have to try my recipe for homemade mayonnaise—it’s surprisingly similar in its own way!
Nutritional Estimate for This Timeless Dessert Recipe
I always tell people that if you’re going to indulge in something truly divine like this incredible new york cheesecake, you should at least know what you’re working with! While I studied nutrition, this dessert definitely falls into the ‘special occasion treat’ category. The values below are just an estimate based on the ingredients listed in the recipe. Remember, if you use a different brand of cream cheese or swap out the sugar in the crust, these numbers will shift a little bit. So, take these as a general guide for your timeless dessert recipe!
- Serving Size: 1 slice
- Calories: 450
- Sugar: 35g
- Fat: 30g
- Saturated Fat: 18g
- Carbohydrates: 40g
- Protein: 8g
This is certainly a decadent bite, but it’s worth every single moment of the slow bake and the overnight chill time! If you’re looking for lighter meals to balance out your baking indulgence, I have tons of simple, tasty options over on my easy weeknight dinners page. Enjoy this slice responsibly!
PrintThe Best Classic New York Cheesecake Recipe: Rich, Creamy, and No-Crack Technique

Follow this reliable recipe to make a truly classic New York Cheesecake. You will achieve a rich, dense, and irresistibly creamy texture with a buttery graham cracker crust. We include simple steps for a smooth, no-crack finish.
- Prep Time: 30 min
- Cook Time: 75 min
- Total Time: 9 hours 45 min
- Yield: 12 servings 1x
- Category: Dessert
- Method: Baking
- Cuisine: American
- Diet: Vegetarian
Ingredients
- 1 1/2 cups graham cracker crumbs
- 1/4 cup granulated sugar (for crust)
- 6 tablespoons unsalted butter, melted
- 4 (8 ounce) packages full-fat cream cheese, softened to room temperature
- 1 1/2 cups granulated sugar (for filling)
- 1/4 cup all-purpose flour
- 1 teaspoon vanilla extract
- 1/4 teaspoon salt
- 4 large eggs, room temperature
- 1/2 cup sour cream, room temperature
Instructions
- Prepare the crust: Preheat your oven to 350°F (175°C). Mix graham cracker crumbs, 1/4 cup sugar, and melted butter. Press the mixture firmly into the bottom of a 9-inch springform pan. Bake for 10 minutes. Remove and let cool while you prepare the filling. Reduce oven temperature to 325°F (160°C).
- Prepare the water bath: Wrap the outside bottom and sides of the springform pan tightly with heavy-duty aluminum foil to prevent water from seeping in. Place the wrapped pan inside a larger roasting pan.
- Make the filling: In a large bowl, beat the softened cream cheese with an electric mixer until completely smooth. Scrape down the sides.
- Gradually beat in 1 1/2 cups sugar, flour, vanilla extract, and salt until just combined. Do not overmix.
- Add the eggs one at a time, mixing on low speed after each addition only until the yolk disappears. Mix in the sour cream last, mixing until the batter is uniform.
- Pour the filling over the cooled crust in the springform pan.
- Create the water bath: Carefully pour hot water into the roasting pan until the water reaches about halfway up the sides of the springform pan.
- Bake for 60 to 75 minutes. The edges should look set, but the center 2-3 inches should still jiggle slightly when the pan is gently nudged.
- Turn off the oven, crack the oven door open slightly, and let the cheesecake cool inside the oven for 1 hour. This slow cooling prevents cracking.
- Remove the cheesecake from the water bath and foil. Let it cool completely on a wire rack at room temperature.
- Once cool, cover the pan loosely with plastic wrap and chill in the refrigerator for at least 6 hours, or preferably overnight, before serving.
Notes
- Use room temperature ingredients for the filling; this prevents lumps and ensures a smooth texture.
- Do not overbeat the batter once the eggs are added; too much air causes cracks during cooling.
- The water bath (bain-marie) is key to achieving a creamy, dense texture and preventing the top from drying out or cracking.
Nutrition
- Serving Size: 1 slice
- Calories: 450
- Sugar: 35g
- Sodium: 300mg
- Fat: 30g
- Saturated Fat: 18g
- Unsaturated Fat: 12g
- Trans Fat: 0.5g
- Carbohydrates: 40g
- Fiber: 1g
- Protein: 8g
- Cholesterol: 120mg