
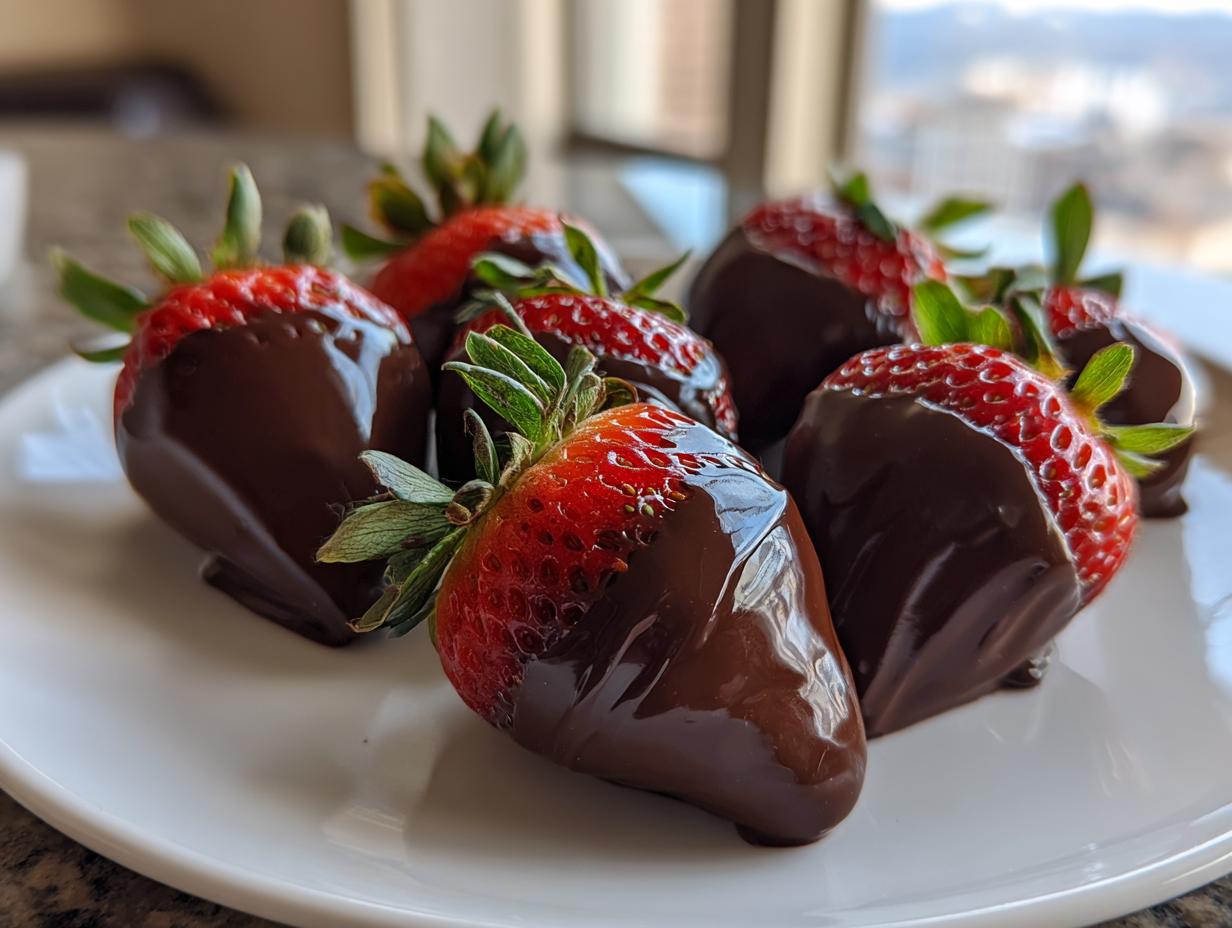
You know how sometimes you see those incredibly gorgeous, glossy chocolate covered strawberries in bakeries or on fancy dessert platters, and you just think, “I could never make those look that good at home”? Well, I’m here to change that thinking right now! That worry stops here, because I developed this method through tons of testing in my professional kitchen, and I promise, it’s practically foolproof. Making stunning chocolate covered strawberries is about knowing just a couple of simple tricks, not having professional skills. For me, Jade Carter, reliable recipes are everything. Cooking should bring you joy, not stress, and when a simple recipe works exactly as it should, that’s when the real fun begins!
- Why This Recipe Guarantees Perfect Chocolate Covered Strawberries
- Ingredients for Homemade Chocolate Strawberries
- How to Dip Strawberries in Chocolate: The Foolproof Technique
- Gourmet Chocolate Berries: Toppings and Decoration Ideas
- Tips for Success with Your Chocolate Covered Strawberries
- Storage and Serving Suggestions for Chocolate Dipped Fruit Desserts
- Frequently Asked Questions About Chocolate Covered Strawberries
- Nutritional Snapshot of This Easy Dipped Fruit Dessert
- Share Your Experience Making Chocolate Covered Strawberries
Why This Recipe Guarantees Perfect Chocolate Covered Strawberries
I know you want those bakery-quality chocolate covered strawberries, and that’s exactly what we deliver here. Forget the dull, clumpy chocolate you might have struggled with before! This recipe is designed around ease and stunning final results. We focus on making sure you succeed, whether it’s your first time dipping or your twentieth attempt.
- You get that incredible, mirror-like shine we all chase.
- It’s super fast—we’re talking minutes, not hours.
- The technique is simple enough for any beginner cook looking for an impressive dessert.
Achieving a Glossy Chocolate Coating Recipe
The secret to that beautiful, high-shine finish is twofold: using great quality chocolate and adding just a tiny bit of fat, like the optional coconut oil. Quality chocolate melts cleaner and sets harder. When you follow the melting instructions carefully, without overheating, you lock in that professional gloss that makes these treats look expensive!
Quick Chocolate Desserts Ready in Under 20 Minutes
When you need something special fast, this recipe is your secret weapon. Seriously, after minimal berry drying time, we’re moving fast! You can have these ready to chill in about 15 minutes flat. That makes these Quick Chocolate Desserts perfect for last-minute date nights or when unexpected guests drop by. Who doesn’t love instant gratification?
Ingredients for Homemade Chocolate Strawberries
Alright, let’s talk about what you need to assemble these gorgeous Homemade Chocolate Strawberries. You won’t need much, which is the beauty of it! We are keeping it simple so the flavor of that fresh berry really shines through. You’ll need about one pound of lovely, ripe strawberries for this batch. Then, grab 12 ounces of your favorite high-quality melting chocolate. And just one little optional helper for that perfect dip!
Ingredient Notes and Substitutions
Listen, the chocolate is the star here, so please don’t skimp! If you use standard chips, they sometimes don’t melt as beautifully. I’m using the best quality dark chocolate I can find—that’s how we guarantee a great coating. If you want that silky, glossy finish that looks like it came from a professional shop, add that tiny teaspoon of coconut oil or vegetable shortening. It thins the chocolate just enough so it sets smooth and shiny, not thick and dull. Seriously, don’t skip that little boost if you want gorgeous chocolate covered strawberries!
How to Dip Strawberries in Chocolate: The Foolproof Technique
This is where the magic, or the mess, happens! Getting those beautifully **chocolate covered strawberries** piped perfectly onto the tray can feel intimidating, but trust me, once you nail the prep and the dip, you’ll feel like a pastry chef. We’re walking through the steps now so you can achieve that smooth, professional look without any fuss. Remember, technique over everything! If you want to check out some of my other easy-to-master recipes, like my creamy sushi bake, I promise the same simple method applies.
Preparation: Drying Berries for Perfect Adhesion
If you take one thing away from this whole guide, let it be this: the berries HAVE to be bone dry. I mean DR-Y. Wash your strawberries gently, but then you need patience. If you rush this part, the chocolate will absolutely seize up or just slide right off later. You can let them air dry on a clean towel, or just gently pat every single berry dry with paper towels. I usually do this right before I start melting the chocolate and let them sit out while the chocolate heats up.
Melting Chocolate for a Smooth Coating Recipe
We have two ways to tackle the melting, depending on what equipment you have. I usually go for the microwave method because it’s faster for these **quick chocolate desserts**. Put your chocolate and that optional teaspoon of coconut oil into a bowl. Microwave in short bursts—30 seconds at a time—stirring vigorously between each burst. Stop when there are still a few small lumps, and just stir until those melt from the residual heat. Never overheat it, or your chocolate coating will be sad and dull! For more great dipping advice, check out this technique from grainfreetable.com.
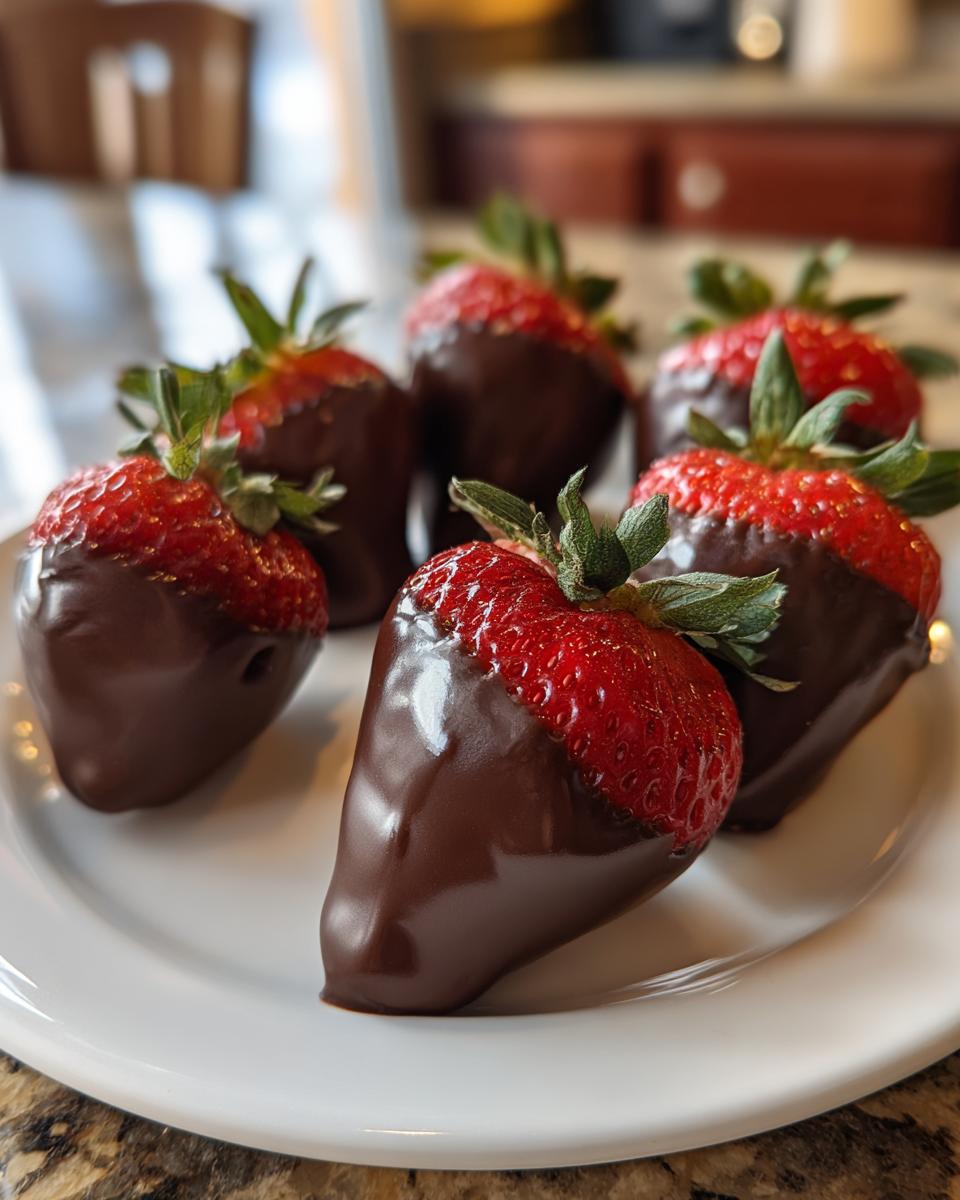
Dipping and Setting the Chocolate Covered Strawberries
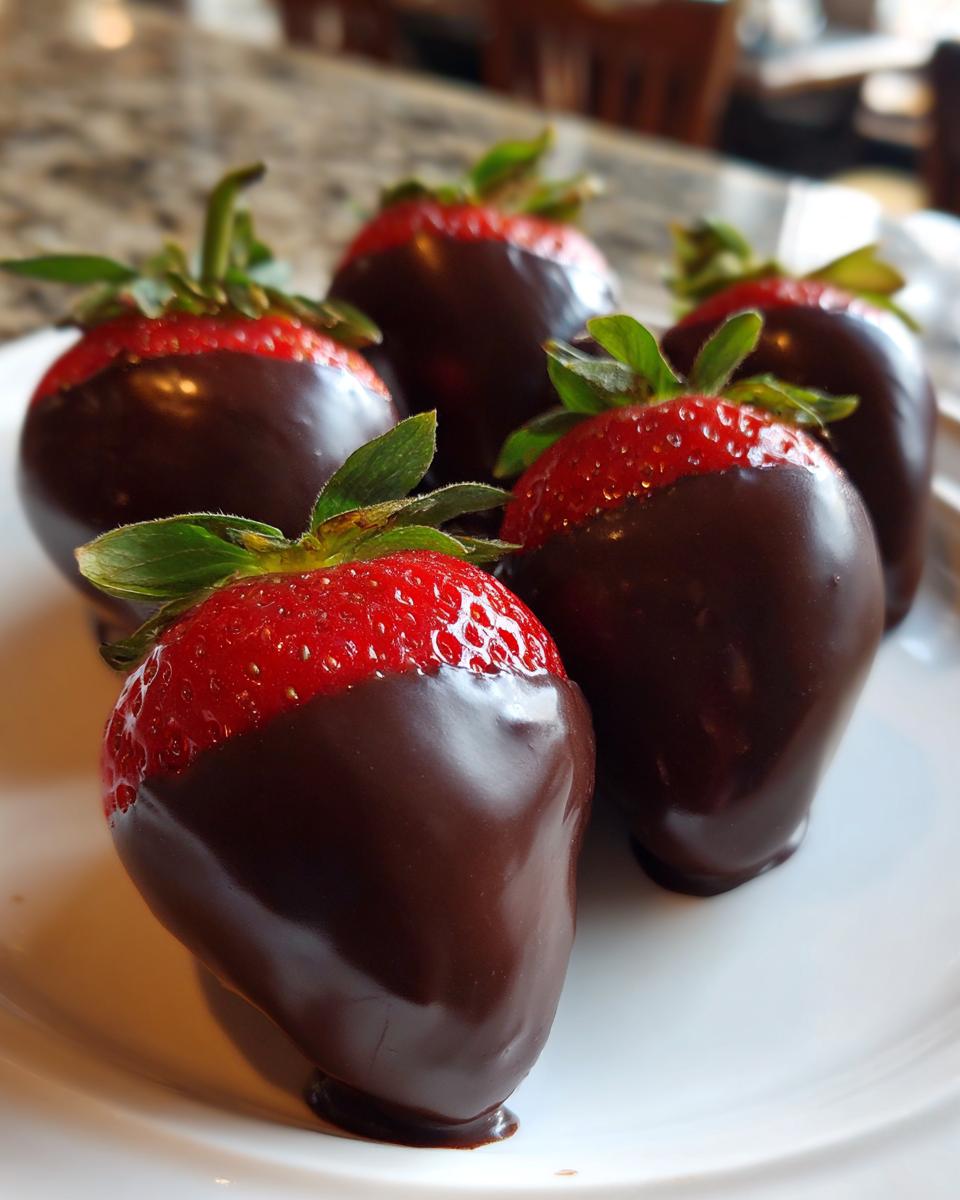
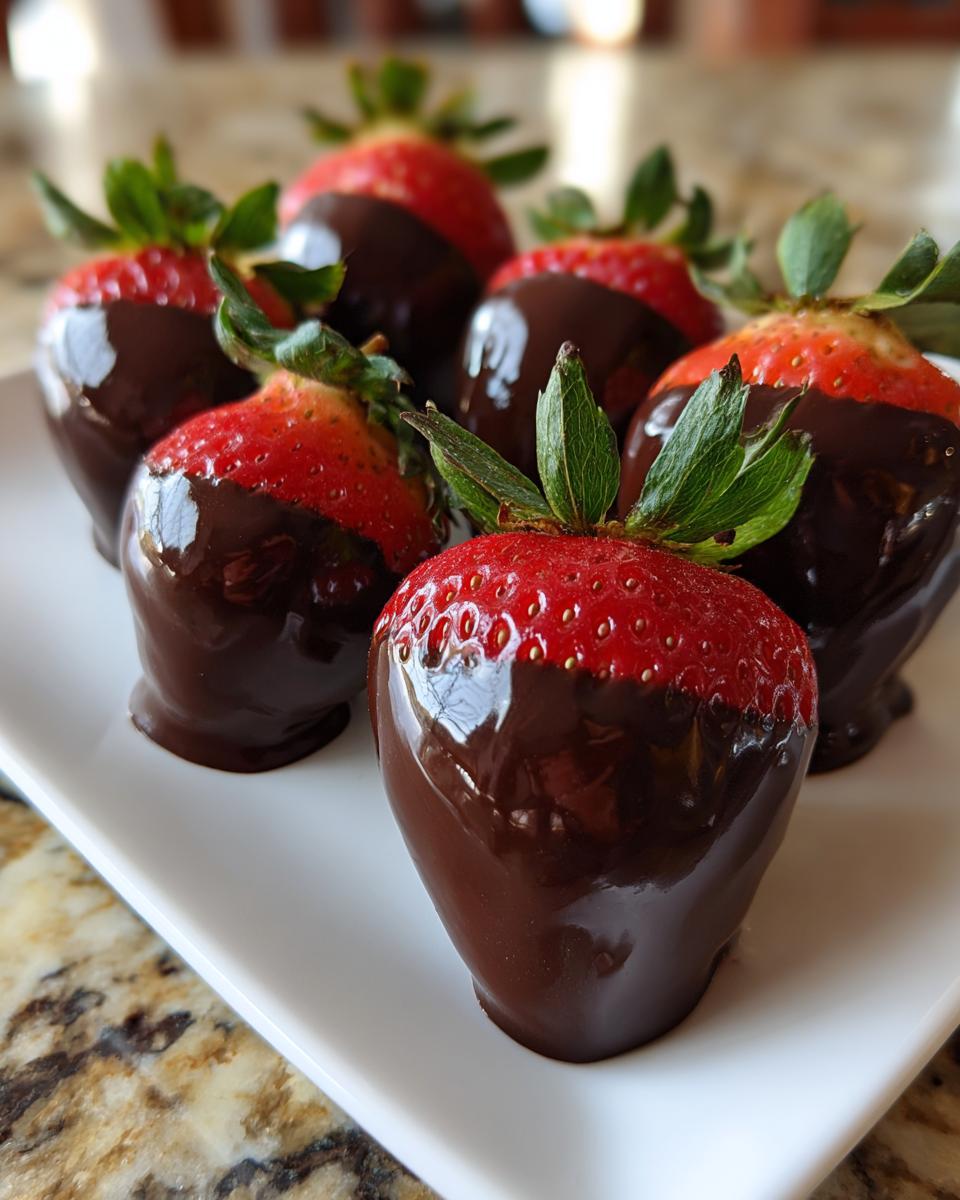
Now for the fun part! Hold the stem end—it’s your built-in handle. Tilt your bowl so you can dip that berry in deep, covering about three-quarters of the fruit. Lift it out and hold it over the bowl for just a second, rotating it slightly so that excess chocolate drips back down. I love that little puddle left right at the base—that’s how you know you have enough coating! Place the finished berry right onto your parchment paper. If you are adding sprinkles, do it instantly! Then, pop that tray into the fridge for about 15 to 20 minutes until the chocolate is firm. Voila! Professional-looking **chocolate covered strawberries**!
Gourmet Chocolate Berries: Toppings and Decoration Ideas
Okay, so you’ve mastered the dip—those berries are coated perfectly and look fantastic already! But if you really want to elevate these into **gourmet chocolate berries** worthy of a fancy platter, it’s all about the finishes. This is where you get to be creative and make them totally unique for your specific party or your sweetheart!
Remember, you have to add these toppings right after they come out of the warm chocolate bath, before it sets. If you wait even a minute too long, nothing will stick! Think about what you have in your pantry; you don’t need anything complicated to make them look high-end.
If you’re looking for other fantastic decoration ideas that look complex but are secretly easy, you have to check out my recipe for sugar cookie icing—the same principles of decorating apply here!
Here are my favorite ways to dress up these simple treats:
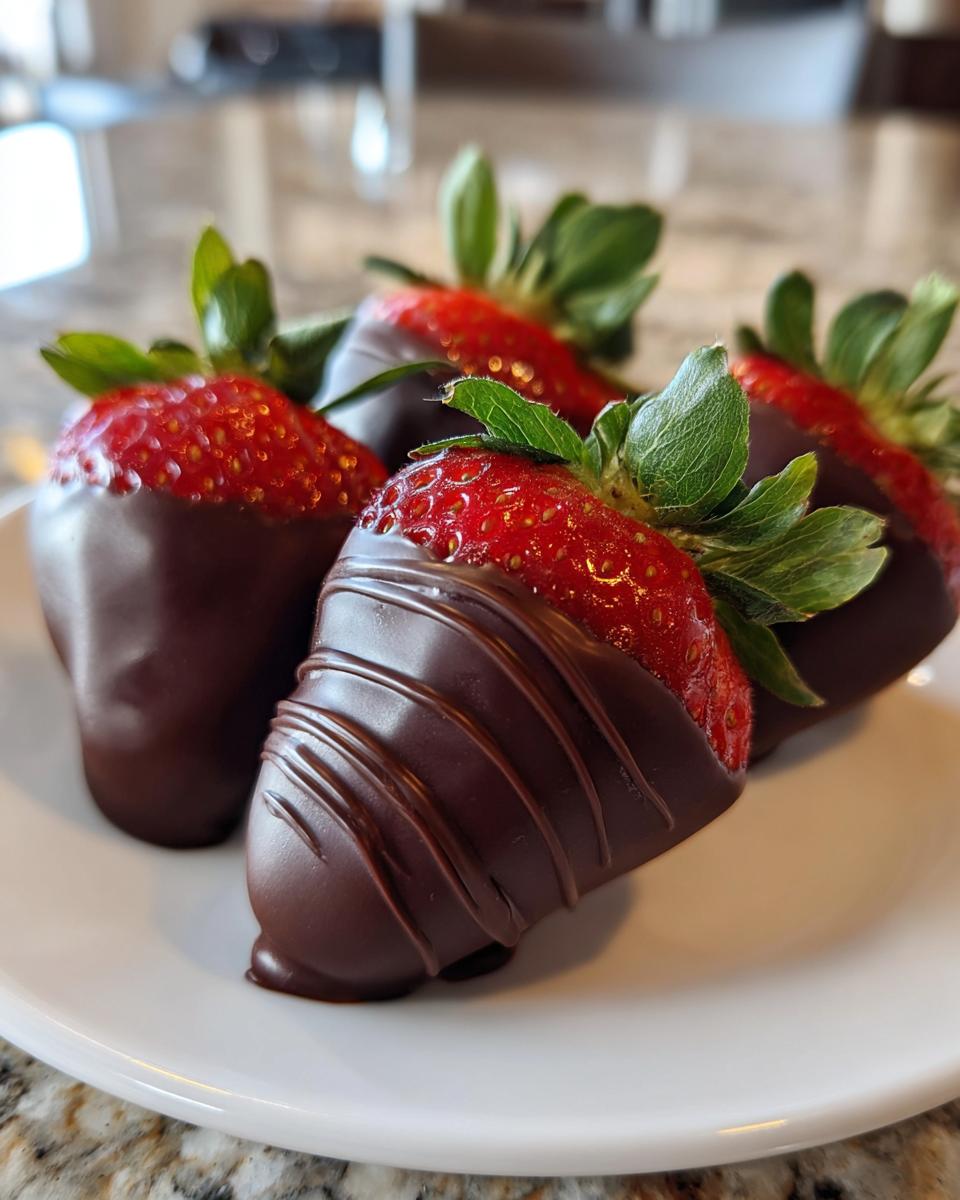
- The Contrasting Drizzle: This is the key to that professional, fancy look. Wait until your first layer (say, dark chocolate) is completely set in the fridge. Then, melt a small amount of white chocolate or milk chocolate separately. Pop that second chocolate into a Ziploc bag, snip the tiniest corner off, and just drizzle it back and forth over the set berries. It looks incredible! Speaking of vanilla, you can use the base from my fluffy vanilla buttercream if you ever need a dip that’s richer, though for strawberries, we stick to pure chocolate here.
- Nutty Crunch: For a bit of texture, finely chop some toasted peanuts, almonds, or even some candied pecans. While the chocolate is still wet, dip just the bottom third of the berry into the nuts, or gently sprinkle them over the top section.
- Sprinkle Overload: Honestly, sprinkles make everything feel celebratory! Colored sprinkles are gorgeous for parties, but for Valentine’s Day, tiny red or pink sanding sugar makes them sparkle beautifully. This technique is shared a lot because it works so well, just look at how elegant these are on other sites!
- Sea Salt Finish: If you’re using rich, dark chocolate, a tiny, tiny sprinkle of flaky sea salt right before they set will amplify the chocolate flavor like crazy. It’s subtle but so decadent.
Don’t be afraid to mix and match! Try dipping one in white chocolate, then drizzling dark chocolate over that. The possibilities for these **gourmet chocolate berries** are endless!
Tips for Success with Your Chocolate Covered Strawberries
So, you’ve dipped your beautiful berries, and you’re ready to put them away or show them off, right? Hold on just a second! Even with the best recipe for **chocolate covered strawberries**, sometimes things go a little sideways, and I want to give you the fixes right now. My goal is always to make cooking feel dependable, which means knowing what to do when the chocolate decides to be difficult!
Troubleshooting Common Issues
The biggest problem people run into, and it terrifies everyone, is chocolate seizing. If your melted chocolate suddenly looks thick, grainy, or clumpy, that means water got in there—even a tiny bit from a wet berry or a damp spoon. Don’t panic! If it’s just a little gritty, sometimes you can save it by stirring in another teaspoon of solid chocolate or a tiny bit of warm oil, but often it’s best to start over with clean, dry tools. Also, if your chocolate coating is way too thin and runs right off the berry, it means you dipped it too fast, or maybe it was still too hot. Let it cool down for a few extra minutes before your next batch! For more great advice on getting things just right, I always check out resources like Downshiftology when I’m testing new methods.
If you’re looking for some savory fixes for tougher kitchen problems, my recipe for garlic aioli has some similar quick-fix tips for emulsions that might help you think through textural issues!
Storage and Serving Suggestions for Chocolate Dipped Fruit Desserts
Okay, you’ve dipped, you’ve decorated, and maybe you even sneak-tasted one (or three!). Now you have to store these beauties, and this part is important because we want those berries to stay perfect, firm, and fresh. Unlike baked goods, these **chocolate dipped fruit desserts** are sensitive to temperature swings and moisture. They are definitely best enjoyed the day you make them, but you can absolutely get them ready ahead of time!
Here’s my protocol for keeping them pristine. First thing: you must get them into the refrigerator only after the chocolate has fully set—give them that solid 15 to 20 minutes on the counter or in the fridge beforehand. If you try to chill them while the chocolate is still soft, you’ll end up with a sticky, messy situation.
Once they are set, transfer your **chocolate dipped fruit desserts** to an airtight container. I find that lining the bottom of the container with a layer of parchment paper first prevents any sticking to the bottom layer. You can place them in a single layer, or if you need to stack them, put another sheet of parchment between the layers. They hold up really well in the fridge for about two days. But honestly? I’ve never had them last that long!
If you’re setting up a lovely platter for a special moment, they make the most incredible **romantic strawberry treats** when served alongside a strong espresso or a glass of sparkling wine. The tartness of the chilled berry and the rich chocolate just sing together.
When you are planning meals and want to incorporate fresh flavors outside of dessert, remember you can check out my ideas for healthy lunch ideas later in the week, but for now, enjoy these perfect little pops of chocolate!
Frequently Asked Questions About Chocolate Covered Strawberries
It happens every time! Once people see how easy and gorgeous these **chocolate covered strawberries** look, they always have a few last-minute questions to ensure their batch is perfect. I totally get it—we want that professional, glossy result, not a melted mess!
Here are the most common questions I get asked about making these **homemade chocolate strawberries** for parties or just for a sweet night in.
Can I just use standard chocolate chips instead of melting wafers?
You absolutely *can*, but you have to help them along! Standard baking chips (like semi-sweet) have stabilizers that make them set up thicker and a bit duller. If that’s all you have, make sure you add that mandatory teaspoon of coconut oil or shortening we talked about. It thins them out beautifully. If you want the absolute best results for your **gourmet chocolate berries**, look for high-quality bars or actual melting wafers—they just give you that shatter-crisp shell every time!
How far in advance can I make these romantic strawberry treats?
This is key for anyone planning for an event! Because fresh strawberries are involved, they don’t last forever. You really want to aim for serving them within 24 hours of making them. If you have to make them ahead, definitely chill them in an airtight container, but try not to wait past two days max. If you’re making them for a big event like Valentine’s Day, make them the morning of so they are super fresh!
Do I have to remove the green leafy tops (the hull)?
Nope! Honestly, most people leave them on, and I recommend it, especially if you are serving them as **party dessert ideas with berries**. Leaving the green tops on gives you that perfect little handle for dipping. It stops your fingers from getting messy and keeps the chocolate from coating the part of the berry you’d normally eat first. Just make sure the leaves are dry before you dip them!
If you’re looking for more quick recipes for those busy mornings when you can’t stop to decorate, check out my ideas for quick and easy breakfasts!
Nutritional Snapshot of This Easy Dipped Fruit Dessert
Look, I’m all about delicious food, but since I have that background in nutrition, I know you’re curious about what you’re enjoying here! These treats are truly simple—fruit wrapped in chocolate—so they aren’t scary, but they still pack a little punch of energy, especially from the chocolate.
I’ve broken down the estimated values for one single berry, based on using standard dark chocolate and fresh fruit. Remember, these numbers can change *a lot* depending on the brand of chocolate you choose, especially if you go super dark or use heavy toppings. These are just a guide to help you feel good about treating yourself!
If you’re interested in other balanced recipes that focus on protein without sacrificing flavor, you should definitely check out my low-calorie protein cheesecake recipe for dessert inspiration!
Here is the general breakdown for one perfect chocolate-dipped strawberry:
- Serving Size: 1 strawberry
- Calories: About 95
- Sugar: Around 10g (mostly from the natural fruit and the chocolate)
- Fat: Roughly 6g
- Protein: Just about 1g
- Carbohydrates: About 11g
This is why these **easy dipped fruit desserts** are such a great choice—you get the satisfaction of a decadent dessert but the base is pure, juicy fruit! Enjoy them knowing they are one of the simplest, most satisfying treats you can make that truly balances indulgence with freshness.
Share Your Experience Making Chocolate Covered Strawberries
I truly hope your **chocolate covered strawberries** turned out glossy and perfect! I’m dying to know how they tasted. If you tried this technique for the first time, please give this recipe a quick rating below. Drop me a note in the comments if you nailed that smooth coating or if you have any last-minute decorative ideas to share. I always love seeing everyone’s beautiful results! Don’t forget to reach out via my contact page if you have specific questions!
PrintThe Ultimate Easy Chocolate Covered Strawberries: Tips for a Perfect, Glossy Dip Every Time

Make professional-looking chocolate covered strawberries at home. This simple recipe guarantees a smooth, glossy chocolate coating on fresh berries, perfect for any special occasion or romantic treat.
- Prep Time: 15 min
- Cook Time: 5 min
- Total Time: 20 min
- Yield: About 20 strawberries 1x
- Category: Dessert
- Method: Dipping
- Cuisine: American
- Diet: Vegetarian
Ingredients
- 1 pound fresh strawberries, washed and completely dried
- 12 ounces high-quality melting chocolate (dark, milk, or white), chopped or chips
- 1 teaspoon coconut oil or vegetable shortening (optional, for smoother dip)
Instructions
- Prepare the strawberries: Wash the strawberries gently. Remove the green tops if desired, but leave the stems intact for easy dipping. Place the strawberries on a baking sheet lined with parchment paper. You must dry the berries completely; moisture prevents the chocolate from sticking. Allow them to air dry for at least 30 minutes or gently pat them dry with paper towels.
- Melt the chocolate: Place the chocolate in a microwave-safe bowl. Add the optional coconut oil or shortening. Microwave in 30-second intervals, stirring well after each interval, until the chocolate is mostly melted and smooth. Alternatively, melt the chocolate using a double boiler until completely smooth. Do not overheat the chocolate.
- Cool the chocolate slightly: Let the melted chocolate cool for about 5 minutes before dipping. This helps create a thicker, less runny coating.
- Dip the strawberries: Hold a strawberry by the stem end. Dip it into the melted chocolate, tilting the bowl slightly. Rotate the berry to coat about three-quarters of the surface. Lift the berry out, allowing excess chocolate to drip back into the bowl.
- Set the coating: Place the dipped strawberry back onto the parchment-lined baking sheet.
- Add toppings (optional): If you are adding sprinkles, crushed nuts, or a white chocolate drizzle, apply them immediately while the dark chocolate is still wet.
- Chill to set: Place the baking sheet in the refrigerator for 15 to 20 minutes, or until the chocolate is completely firm.
- Serve or store: Serve immediately or store in an airtight container in the refrigerator for up to two days.
Notes
- For the glossiest finish, use high-quality chocolate designed for melting or tempering. If using standard chocolate chips, adding a teaspoon of coconut oil helps achieve a smoother texture.
- The most important step for a perfect dip is ensuring the strawberries are completely dry. Any water residue will cause the chocolate to seize or separate.
- If you want a decorative drizzle, melt a small amount of contrasting chocolate (e.g., white chocolate over dark chocolate) and use a fork or piping bag to create thin lines across the set coating.
Nutrition
- Serving Size: 1 strawberry
- Calories: 95
- Sugar: 10g
- Sodium: 5mg
- Fat: 6g
- Saturated Fat: 3g
- Unsaturated Fat: 3g
- Trans Fat: 0g
- Carbohydrates: 11g
- Fiber: 1g
- Protein: 1g
- Cholesterol: 5mg