
Oh, that moment when you pull a loaf out of the oven! The sharp *crack* sound the crust makes as it cools is honestly one of the best noises you can hear in a kitchen. If you’ve ever walked past a bakery and just wished you could bottle that amazing, warm, yeasty smell, I’m here to tell you: you absolutely can, and you don’t need complicated kneading techniques to do it. This is my go-to recipe for truly **crusty italian bread** that looks like it came straight from an artisan oven, simply by using a Dutch oven. When I first started cooking lessons, I was totally intimidated by yeasted doughs, but this no-knead method is foolproof. It relies on time, not technique, and it’s how I make something spectacular with **simple pantry staple bread** ingredients every single time.
If you want to get familiar with the heart of my philosophy—that cooking should bring joy, not stress—please check out my page over at Cooking by Jade. This bread is proof of that belief!
- Why This No-Knead Recipe Delivers the Best Crusty Italian Bread
- Gathering Your Ingredients for Crusty Italian Bread
- Step-by-Step Guide to Making Your Crusty Italian Bread
- Tips for Success When Baking Crusty Italian Bread
- Serving Suggestions for Your Rustic Italian Loaf
- Storage and Reheating Instructions for Crusty Italian Bread
- Frequently Asked Questions About Making Crusty Italian Bread
- Nutritional Estimates for Homemade Italian Bread
- Share Your Experience Baking This Crusty Italian Bread
Why This No-Knead Recipe Delivers the Best Crusty Italian Bread
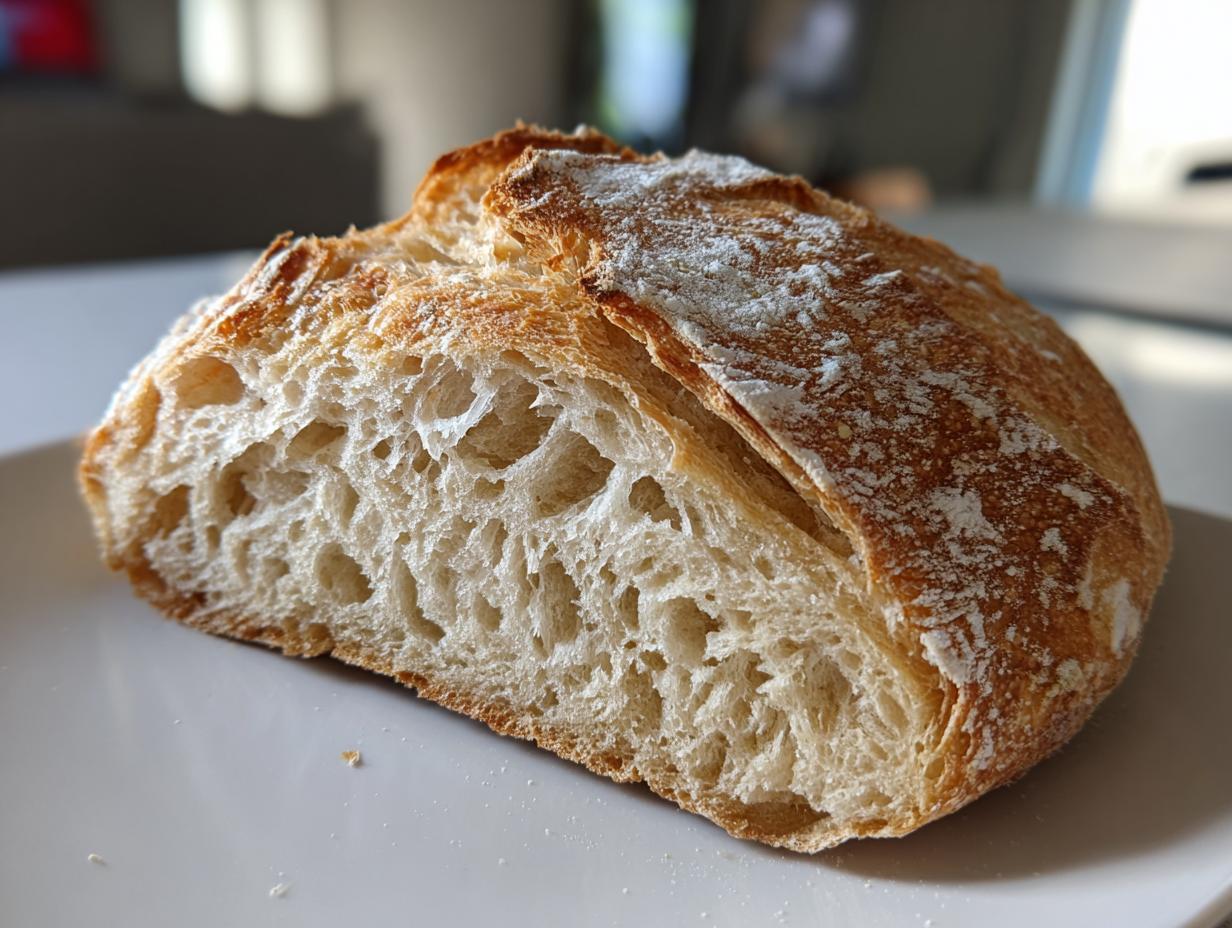
The secret weapon here isn’t complicated mixing; it’s time and trapped heat. That wonderfully **crispy exterior bread** we all crave comes directly from two main things: the long, slow fermentation and the super-hot steamy environment of the Dutch oven. That long rest builds flavor and structure without you lifting a finger! This makes what seems like an intimidating **artisan bread recipe easy** enough for anyone to master on their first try. You get that beautiful open crumb and deep flavor just by letting the simple ingredients hang out.
If you love making bread with minimal effort, perhaps you’ll enjoy my recipe for homemade dinner rolls too!
Achieving That Bakery Style Bread at Home
Think about those high-end bakeries—they bake bread in huge ovens with tons of steam injected right at the start. That steam keeps the surface of the dough soft for the first critical minutes, allowing the loaf to expand fully before the crust sets. The Dutch oven traps every bit of moisture released by the dough, creating that perfect tiny micro-climate right there in your home oven. Seriously, it’s magic!
Simple Pantry Staple Bread Ingredients
Honestly, this bread is proof that you don’t need a fancy sourdough starter or twelve different kinds of flour. We are achieving amazing results with flour, water, salt, and yeast. That’s it! Knowing you only need these basic, accessible items makes pulling this **crusty italian bread** together feel less like a project and more like a fun evening science experiment.
Gathering Your Ingredients for Crusty Italian Bread
Okay, so we talked about how simple the ingredients are, and I really mean it! Since this recipe relies heavily on time rather than technique, we need just the right combination of elements to get that amazing texture. Don’t worry, you probably have everything on hand right now. If you are curious about how I handle doughs that use wild yeast, you should check out my sourdough discard pizza dough recipe!
For this perfect **homemade italian bread**, you only need these four core ingredients. We’re not using any sugar or fats here—that keeps the flavor clean and allows the crust to really shine.
- 3 cups all-purpose flour (plain white flour works perfectly here), measure it gently!
- 1 1/2 teaspoons salt (don’t skip this; it controls the yeast and builds flavor).
- 1/4 teaspoon instant yeast (yes, that tiny amount is all we need for the long rest).
- 1 1/2 cups cool water (using cool water helps regulate that very long initial rise).
And just one little extra thing you’ll need for baking, which is absolutely crucial for that **golden crust bread** look: Semolina or cornmeal for a light dusting on the parchment paper. This stops the dough from sticking and gives the bottom of your loaf a beautiful dry texture.
Step-by-Step Guide to Making Your Crusty Italian Bread
This is where the magic happens, but trust me, it’s mostly waiting! Even though this is a **beginner bread recipe**, putting time into the steps makes all the difference. If you’re new to managing dough, you might worry about the stickiness, but don’t fret! You can see how I manage other stickier doughs in my homemade English muffins recipe, and the principle is similar: handle it gently!
Mixing and the Long Fermentation Rest for Your Homemade Italian Bread
First, get all your dry ingredients—flour, salt, and that teeny bit of instant yeast—mixed well in a big bowl. Pour in the cool water. Now, stop stirring the second you don’t see any pockets of dry flour left. It will look like a shaggy mess, completely sticky, and maybe a little discouraging. That’s exactly what we want! Cover that bowl super tightly with plastic wrap, like you’re sealing it for launch. Now, just let it sit on your counter for anywhere between 12 to 18 hours. This long, slow fermentation is what develops the amazing structure for a fantastic **rustic italian loaf**.
Shaping and Preheating for the Perfect Crusty Italian Bread
Once the time is up, the dough should have doubled and look bubbly. Lightly flour your clean counter, and gently scrape the dough out. We are not kneading here at all! Just gently fold the dough over itself a few times until you have a rough ball shape. Don’t punch the air out of it; we earned those bubbles! Cover the dough ball with a clean cloth and let it relax for just 30 minutes. While it rests, put your Dutch oven, lid and all, into the oven and preheat everything to 450 degrees Fahrenheit (232 Celsius). You need that pot piping hot!
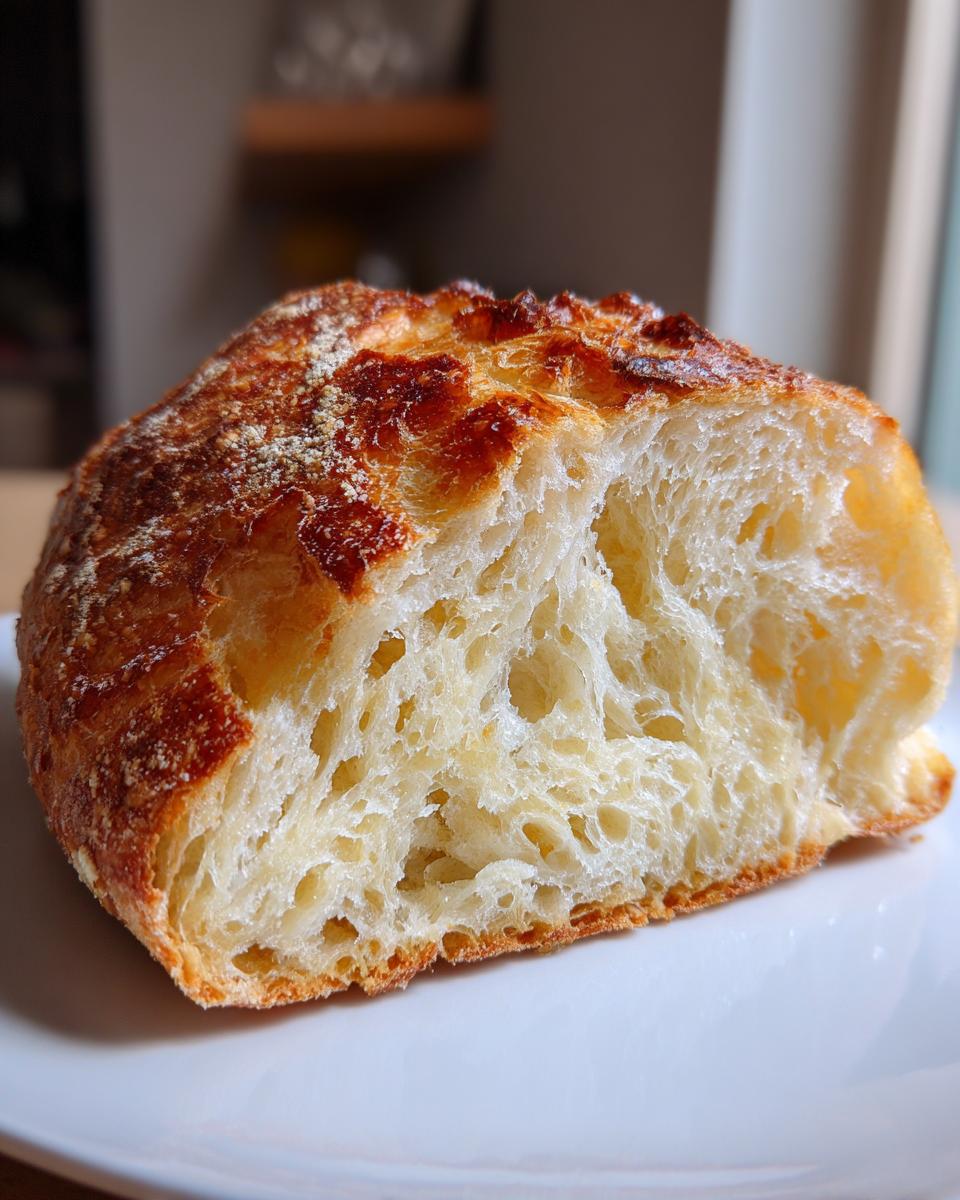
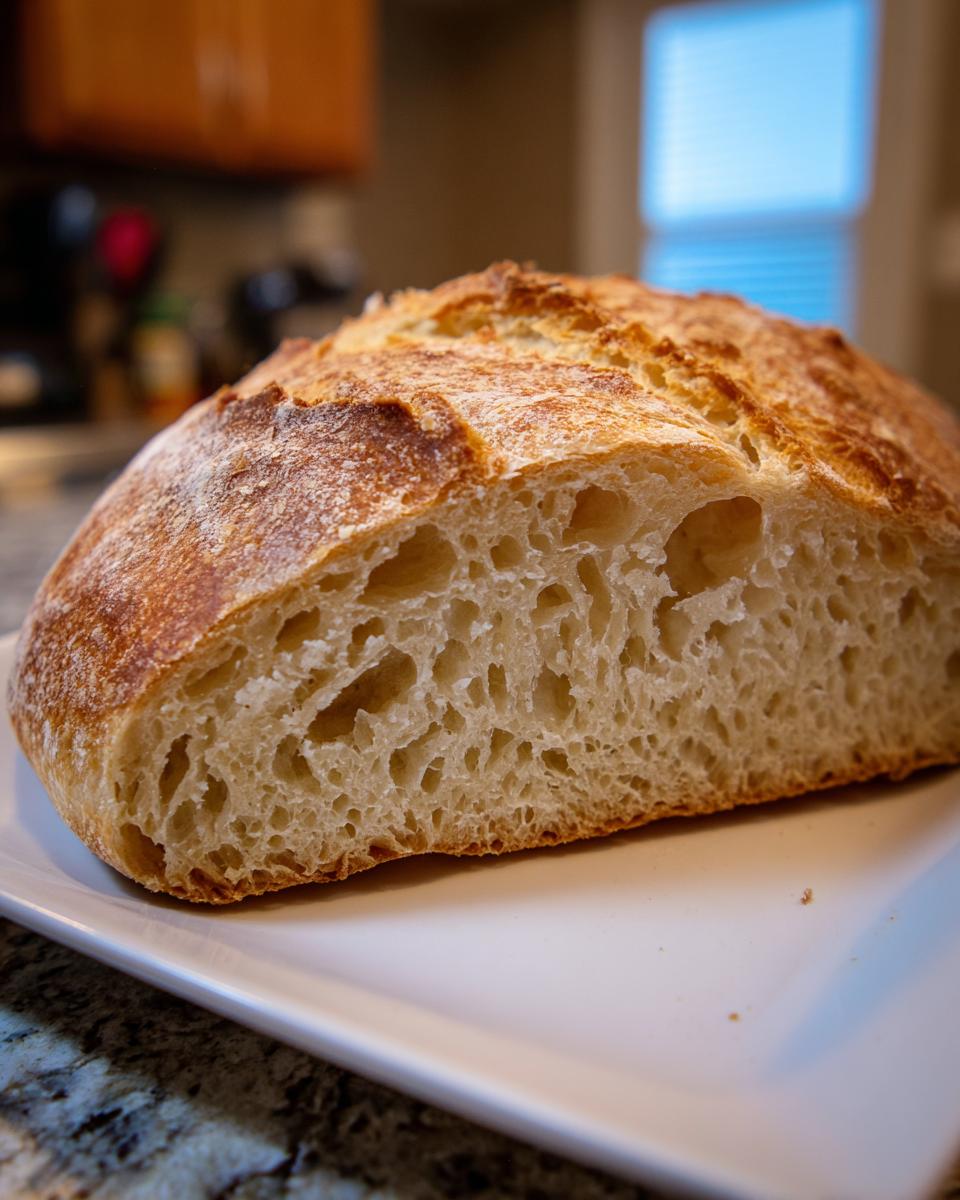
Baking Covered and Uncovered for Golden Crust Bread
This part requires a quick, careful move. Take out that extremely hot Dutch oven, pop the lid off, and gently lower your dough ball inside—using parchment paper underneath is a lifesaver for clean transfers. Put the lid back on right away and bake it covered for 30 minutes. This traps the steam for that incredible interior. Then, take the lid off! Let it continue baking for another 15 to 20 minutes until you hit that deep, beautiful mahogany brown. Remember, resist cutting it for at least an hour, or the moisture escapes and you lose that satisfying **golden crust bread** crunch.
Tips for Success When Baking Crusty Italian Bread
Look, I know not everyone has a heavy Dutch oven just sitting around, but I promise you can still achieve fantastic results when learning **how to make crusty bread**. The key is steam, and we can fake that professionally-made environment without any special gear!
And listen closely, because this saves so many ruined loaves: no matter how tempting that aroma is when it comes out, you absolutely must let this **crusty italian bread** cool completely on a wire rack—I wait at least an hour. Slicing too soon releases that trapped moisture, and you end up with gummy bread instead of that perfect, airy crumb!
Alternative Steaming Methods for How to Make Crusty Bread
If you’re baking this on a standard baking stone or sheet pan instead of inside a pot, you need moisture. Right before you put the dough in the oven, carefully place an empty, shallow metal pan (like a broiler pan) on the bottom rack. Once your bread is in the oven, pour about a cup of boiling hot water into that empty pan. That blast of steam mimics the bakery environment for those critical first 20 minutes, helping you get that lovely, crackly exterior. If you love mastering an excellent crust, you should check out my technique for getting tall, flaky biscuits; it’s all about temperature control there too, just like with this buttermilk biscuit recipe!
Serving Suggestions for Your Rustic Italian Loaf
Now that you have this absolutely perfect **crusty italian bread**, the real fun begins! This loaf is too good to just sit there, so you have to use it immediately. For me, the absolute best thing to do is slice it thick and use it as an **italian loaf for soup dipping**. The crunchy exterior holds up beautifully against tomato soup or a hearty stew, while the inside soaks up all those rich flavors. It’s also the perfect foundation for the **best sandwich bread recipe** you can imagine—think thick layers of prosciutto and fresh mozzarella!
If you’re looking for a great pairing, I often serve this alongside my classic chicken noodle soup. And if you want to use it up fast, making a quick pasta dish like my one-pot enchilada pasta means you have the perfect tool to mop the sauce right off the plate!
Storage and Reheating Instructions for Crusty Italian Bread
I know you want to devour this whole **crusty italian bread** right now, but if there’s any left over, you need to store it correctly to keep that crust from turning sad and soft. Never put this bread in the refrigerator! Cold air dries it out fast. Just leave it cut-side down on the counter for a day or two max. If you’re saving it longer, wrap it tightly in plastic wrap before tucking it in a cool spot.
To bring that amazing crunch back—and trust me, you need to—just pop the loaf (or even a slice!) back into a 350-degree oven for about five minutes. That flash of heat re-crisps the exterior beautifully while keeping the crumb inside perfectly soft. It tastes just as good warmed up!
Frequently Asked Questions About Making Crusty Italian Bread
It’s totally normal to have questions when diving into a new bread recipe, especially one that asks you to wait 18 hours! Don’t feel shy about asking; the goal here is to give you all the confidence you need to bake amazing loaves. If you’ve mastered this, maybe your next adventure can be some quick meals like the ones I share on my easy weeknight dinners page!
Can I use active dry yeast instead of instant yeast for this no knead bread?
That’s a great question about yeast substitutions in **no knead bread**! You absolutely can, but you need to wake it up first. Instant yeast can just be mixed in dry, but if you’re using active dry yeast, you need to proof it. Mix the yeast with about half a cup of the recipe’s water measurement (make that water slightly warm—around 105°F) and a tiny pinch of sugar, and let it sit for about 5 to 10 minutes until it gets foamy. Once it’s foamy, treat it exactly like the cool water in the main recipe mix. Because you’re waking up the yeast slightly, the dough might start bubbling a little sooner, but stick to the 12-hour minimum rest, just in case.
My dough isn’t rising much after 18 hours; is this normal for this simple yeast bread?
This is often the scariest part for new bakers working with **simple yeast bread** recipes like this one! The long, slow fermentation relies on your kitchen temperature. If your kitchen is cool—say, below 70°F—the yeast works very slowly. If after 18 hours it still looks underwhelming, don’t panic. Give it another couple of hours, or, if you’re sure it’s just sluggish, you can move it to a slightly warmer (but not hot!) spot, like inside an oven you’ve turned off but briefly warmed up with the light on. Remember, this dough develops flavor over time, not huge volume like a fast yeast dough.
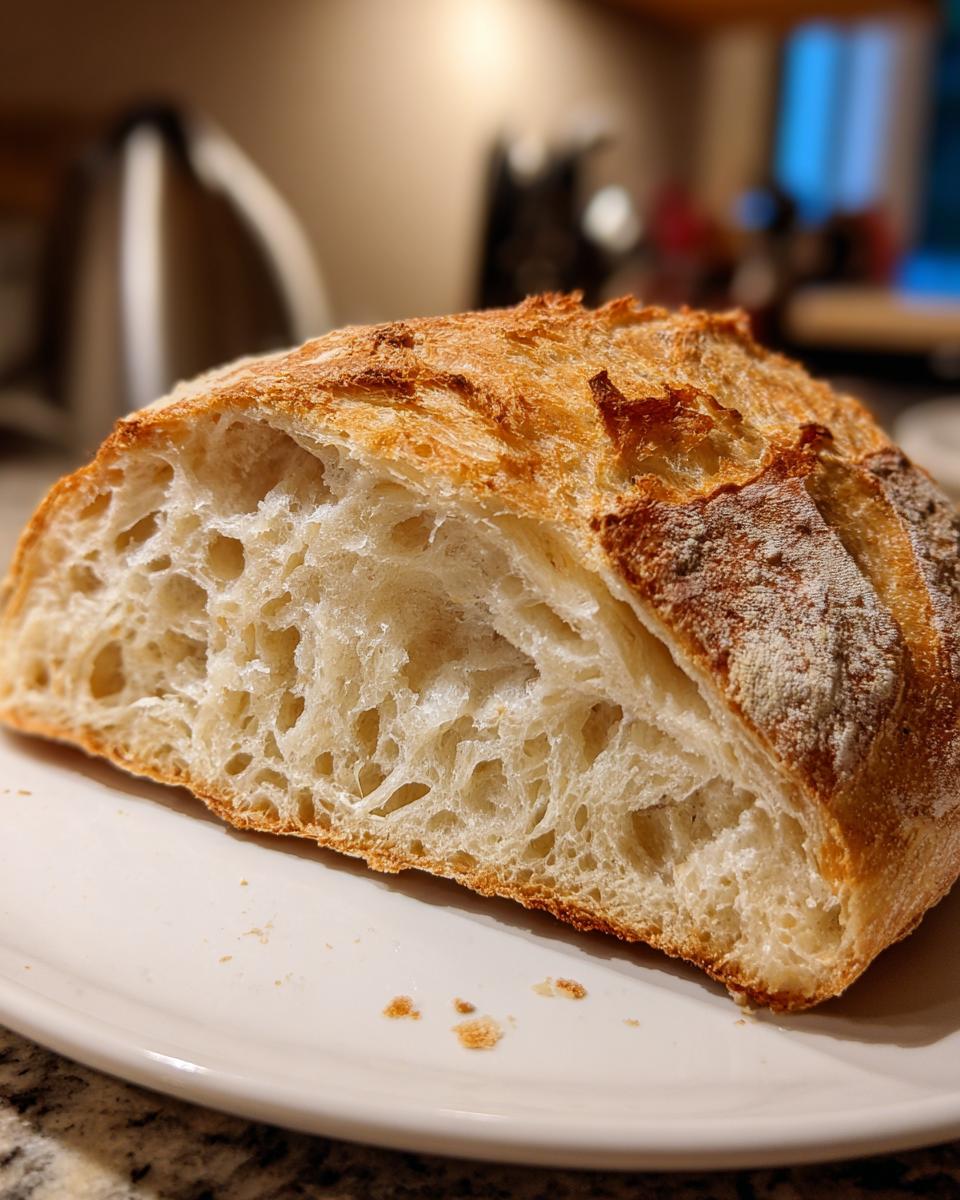
How do I ensure the interior is a chewy interior bread and not dense?
Achieving that perfect **chewy interior bread** texture comes down to two major things we covered in our steps. First, don’t punch the dough down aggressively when you shape it; you need to preserve those big air bubbles created during that long, slow rest. Think of shaping as treating the dough gently! Second, make sure you are baking it covered for the full 30 minutes in the Dutch oven. That initial blast of steam keeps the exterior pliable so the dough can puff up to its maximum potential. If the crust sets too early, the inside can’t expand fully, leading to a denser crumb.
We want that wonderful contrast of crackly outside and springy inside!
Nutritional Estimates for Homemade Italian Bread
Okay, let’s talk about the good stuff, even though honestly, bread like this is meant to be savored, not strictly measured! Since this recipe is made with such fundamental ingredients—flour, water, salt, and yeast—it’s surprisingly light compared to breads loaded with butter or sugar. This is a simple, honest loaf, but remember that these numbers are just estimates based on my testing, so the nutrition can change a little depending on the brand of flour you end up using.
When you look at these numbers for a single slice, it’s pretty fantastic for something that gives you such an amazing **crusty italian bread** experience. It’s a treat that fits right into a balanced meal!
- Serving Size: 1 slice
- Calories: 180
- Fat: 0.5g
- Carbohydrates: 38g
- Protein: 6g
- Sugar: 0.5g
See? Very low on the sugar front, which is why we get that beautiful, honest bread flavor instead of a dessert taste. I always say that a slice of this **homemade italian bread** paired with some fresh vegetables is a perfect, balanced bite. Don’t stress too much about the exact numbers, though—just focus on how wonderful that **fresh baked bread aroma** is while it’s cooling!
Share Your Experience Baking This Crusty Italian Bread
Now that you’ve gone through the steps for making this fantastic, **crusty italian bread**, I truly want to hear all about it! Baking is always better when it’s shared. Did you manage that amazing, loud crackle when you took it out of the pot? Did the **fresh baked bread aroma** fill your entire house like I promised it would?
Please, please leave a star rating right below this section so other bakers can feel confident trying this **easy homemade bread baking** technique out. I read every single comment because your feedback helps me make sure this recipe is perfect for everyone.
And if you snapped a picture of your beautiful golden loaf—especially if you achieved that deeply **crispy exterior bread** look—I would absolutely love to see it! Tag me on social media or if you want to send me a note directly about how it went, you can reach out through my contact page. Happy baking, friends. I hope this simple loaf brings as much comfort to your table as it brings to mine!
PrintEasy No-Knead Crusty Italian Bread with Dutch Oven
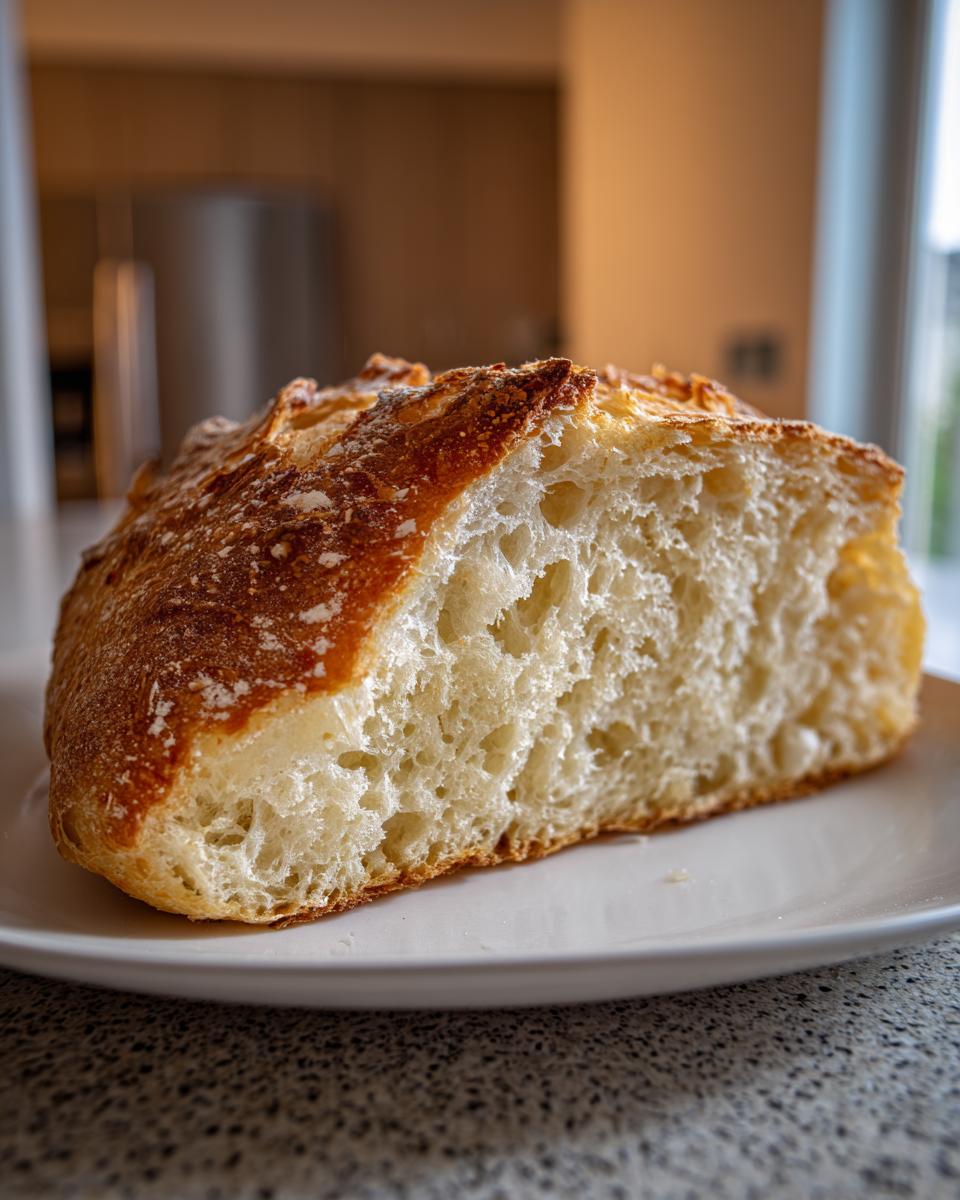
Bake bakery-style crusty Italian bread at home using a simple no-knead method. This recipe yields a loaf with a perfectly golden, crisp exterior and a soft, airy interior, ideal for dipping or sandwiches.
- Prep Time: 10 min
- Cook Time: 50 min
- Total Time: 13 hours 0 min
- Yield: 1 loaf 1x
- Category: Baking
- Method: No-Knead Baking
- Cuisine: Italian
- Diet: Vegetarian
Ingredients
- 3 cups all-purpose flour
- 1 1/2 teaspoons salt
- 1/4 teaspoon instant yeast
- 1 1/2 cups cool water
- Semolina or cornmeal for dusting
Instructions
- Combine the flour, salt, and instant yeast in a large bowl. Mix them together with a spoon.
- Pour in the cool water. Mix with the spoon until just combined and no dry flour remains. The dough will be very sticky.
- Cover the bowl tightly with plastic wrap. Let the dough rest at room temperature for 12 to 18 hours. This is the long fermentation period.
- After the long rest, lightly flour a work surface. Scrape the sticky dough out of the bowl onto the flour.
- Fold the dough over itself a few times to form a rough ball. Do not knead it aggressively.
- Lightly flour the top of the dough ball. Cover it with a clean kitchen towel and let it rest for 30 minutes.
- About 20 minutes before baking, place a Dutch oven with the lid inside your oven. Preheat the oven to 450 degrees Fahrenheit (232 degrees Celsius).
- Carefully remove the hot Dutch oven from the oven. Remove the lid.
- Gently lift the dough and place it directly into the hot Dutch oven. You can use parchment paper underneath the dough for easier transfer if you prefer.
- Place the lid back on the Dutch oven and return it to the oven.
- Bake covered for 30 minutes.
- Remove the lid. Continue baking for another 15 to 20 minutes, or until the crust is deep golden brown and crisp.
- Carefully remove the bread from the Dutch oven and let it cool completely on a wire rack before slicing.
Notes
- For the best crust, do not slice the bread until it has cooled for at least one hour.
- If you do not have a Dutch oven, you can bake the bread directly on a baking stone or sheet pan, placing a shallow pan of hot water on the bottom rack to create steam for the first 20 minutes of baking.
- This recipe makes one large loaf. Double the ingredients to make two loaves, using two separate Dutch ovens or baking them sequentially.
Nutrition
- Serving Size: 1 slice
- Calories: 180
- Sugar: 0.5
- Sodium: 380
- Fat: 0.5
- Saturated Fat: 0.1
- Unsaturated Fat: 0.4
- Trans Fat: 0
- Carbohydrates: 38
- Fiber: 1.5
- Protein: 6
- Cholesterol: 0