
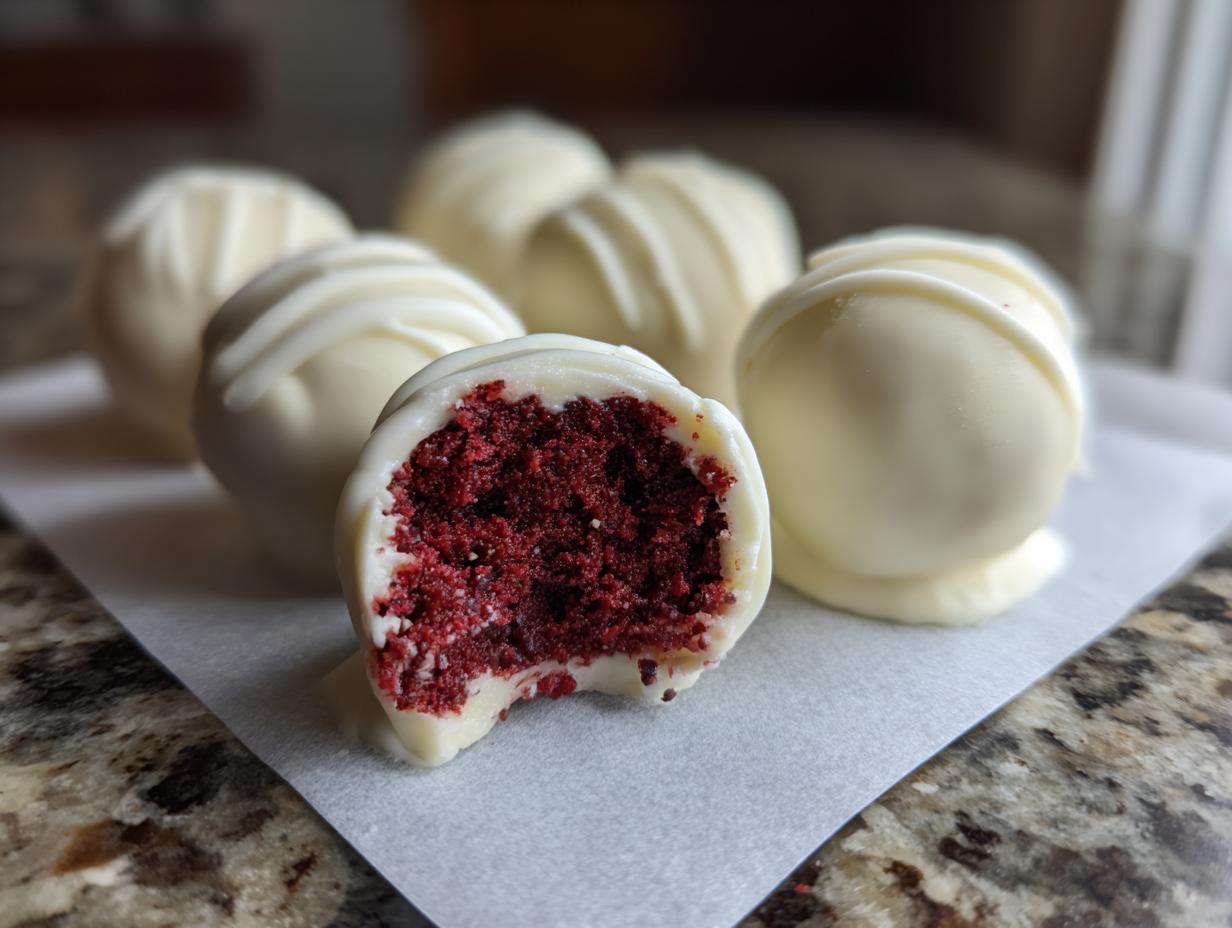
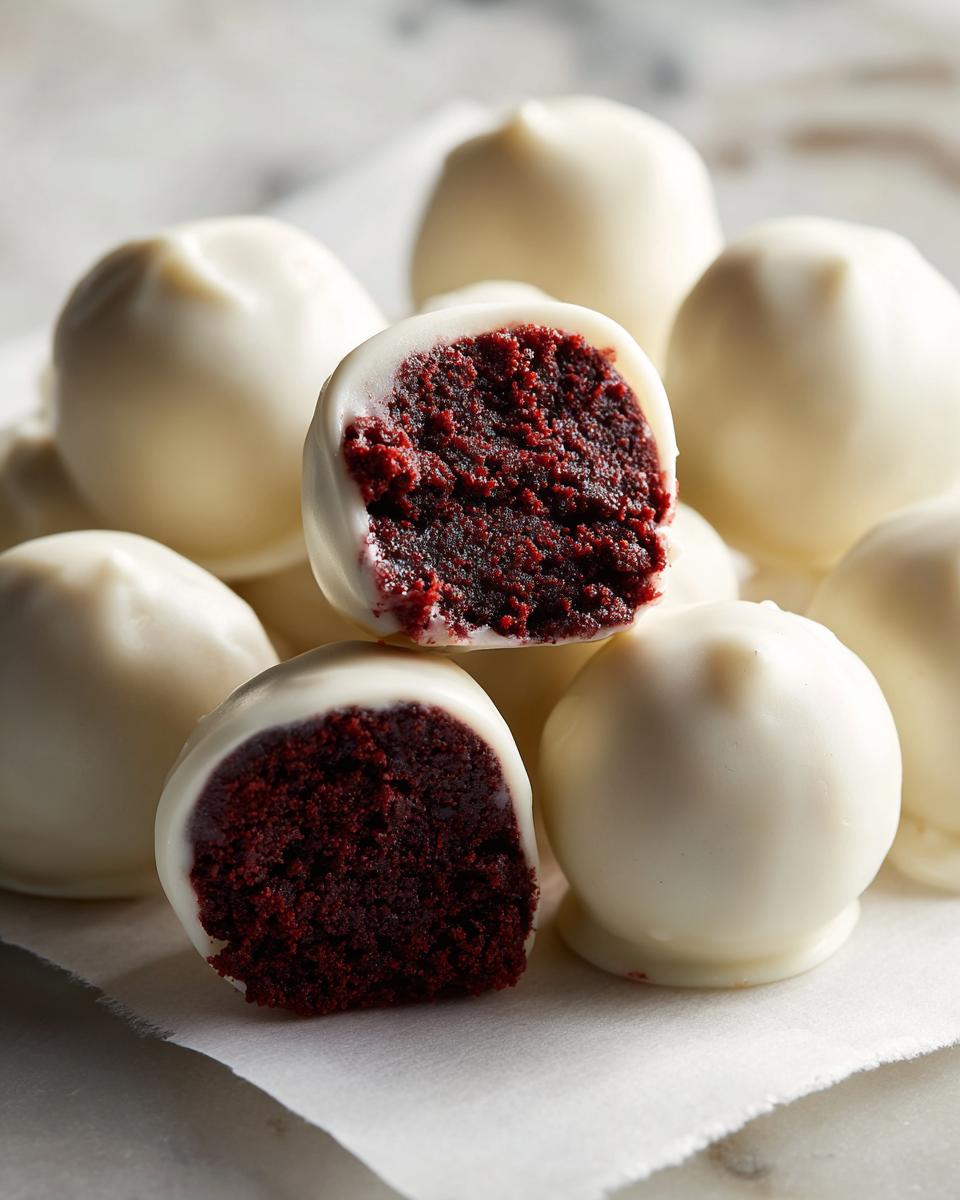
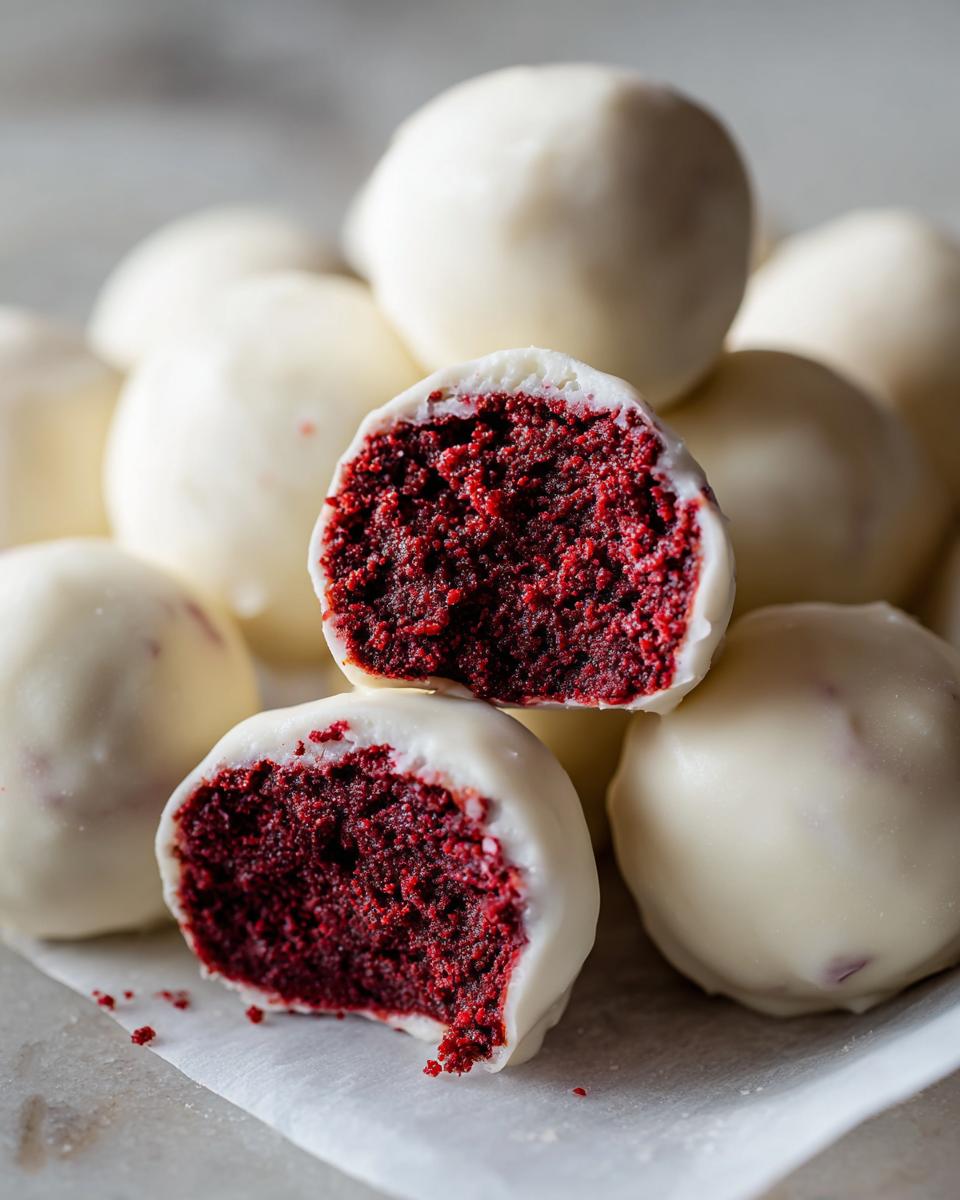
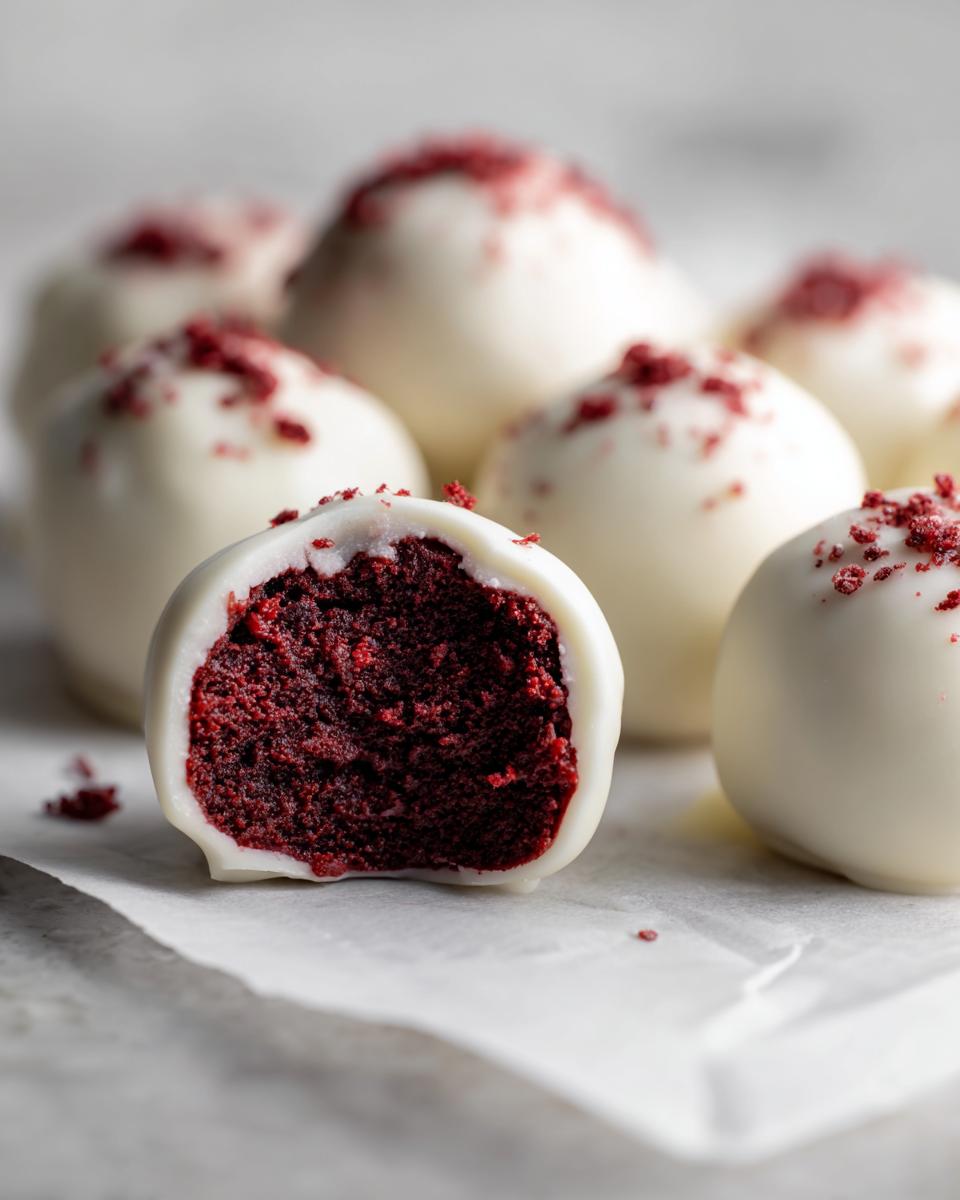
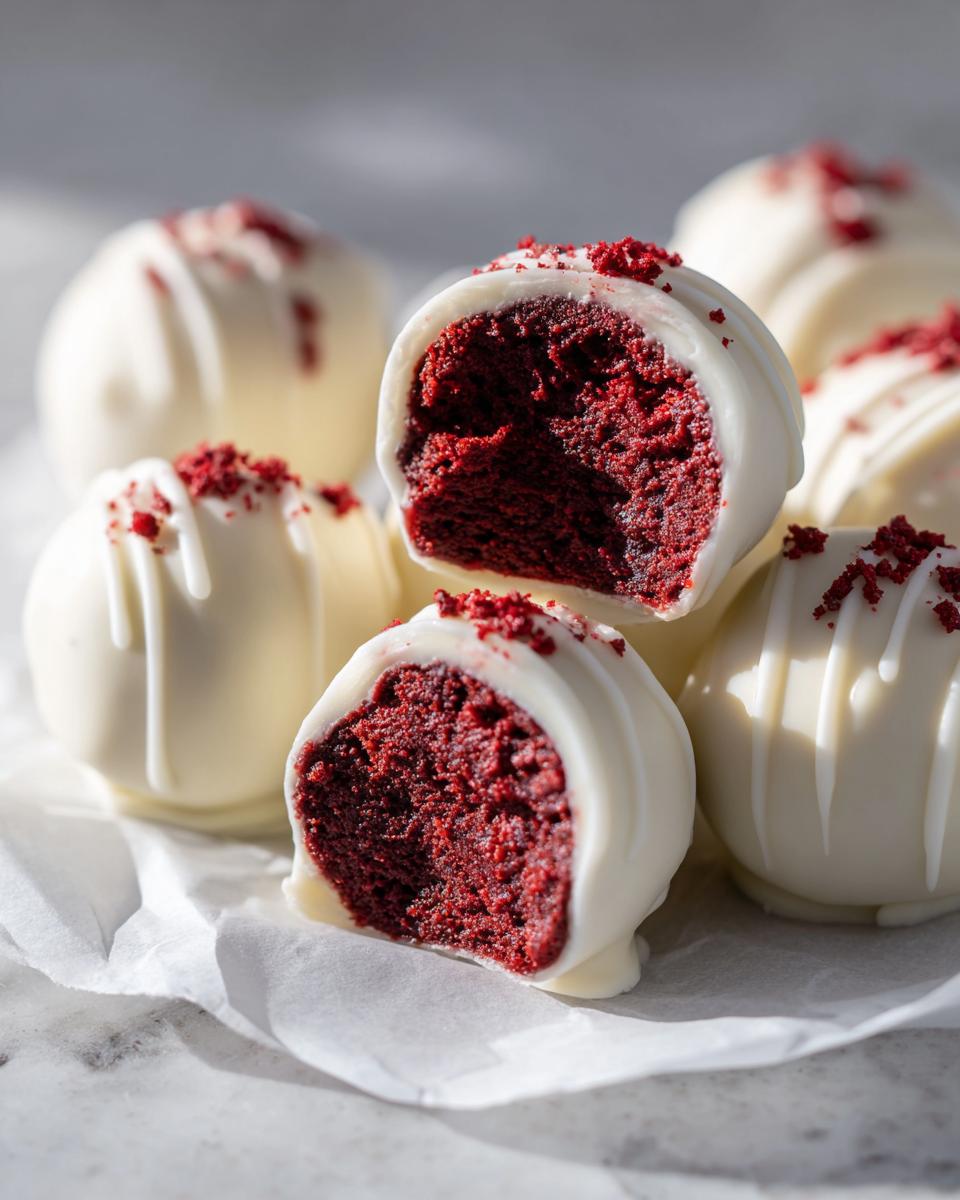
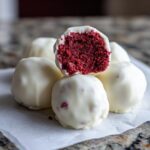
There is just something magical about a perfectly decadent, bite-sized dessert, isn’t there? They disappear almost instantly at any gathering! If you are looking for an absolute show-stopper that takes zero oven fuss, you have come to the right place. These easy no-bake red velvet cake balls are my go-to solution when I need a reliable, fast, and deeply satisfying treat for holiday tables or just spontaneous weekend baking. In my kitchen, we focus on joy, not stress, and this recipe proves that you can achieve incredible flavor without needing complicated techniques. These little bites truly deliver that rich red velvet punch!
As you get comfortable with this recipe, you can browse all my other go-to dessert recipes for your next adventure.
- Why You Will Love These Easy Red Velvet Cake Balls
- Essential Ingredients for Perfect Red Velvet Cake Balls
- Expert Tips for Making Cream Cheese Frosting Balls
- Step-by-Step Instructions: How to Make Red Velvet Cake Balls
- Making Red Velvet Cake Balls Perfect for Parties
- Storage and Make-Ahead Tips for Your Red Velvet Cake Balls
- FAQ About These Simple Sweet Snacks
- Estimated Nutritional Data for Red Velvet Cake Balls
- Share Your Homemade Red Velvet Cake Balls Creations
Why You Will Love These Easy Red Velvet Cake Balls
Honestly, these are some of my pantry favorites because they just make life easier! Baking the cake is the longest part, and then it’s pure assembly. If you’re looking for quick dessert recipes that look fancy but aren’t, these are perfect.
- They are completely no-bake after the initial cake bake—just mix, roll, and chill!
- They create stunning, deeply flavorful bite sized treats.
- The combination of dense cake and tangy cream cheese frosting is just divine.
- They are the ultimate prep-ahead dessert for parties!
Essential Ingredients for Perfect Red Velvet Cake Balls
To make these little miracles happen, you need ingredients that are already reliable, which is why I love using a boxed cake mix for this particular treat. It saves so much fuss! Remember, the goal here is reliability for your party dessert ideas. Here is exactly what you need. I promise, keeping these items on hand means you can whip these up anytime a craving hits!
For the inside “dough,” you will need:
- One standard box (it’s usually 15.25 ounces) of red velvet cake mix.
- One full container (16 ounces) of cream cheese frosting. Yes, store-bought is absolutely fine here! If you prefer making your own though, you can check out my guide for the best cream cheese frosting recipe.
And for the beautiful chocolate shell, you’ll gather:
- About 12 ounces of white chocolate melting wafers or good quality chips. Quality matters here—if the wafers are good, the coating sets smoothly without cracking terribly later.
- I always toss in one tiny tablespoon of vegetable shortening if I’m using chips instead of true wafers. This isn’t mandatory, but it really helps thin the chocolate out so you get that beautiful, thin coating on your red velvet cake balls.
- A little pop of red sprinkles or colored drizzle if you’re feeling fancy!
Expert Tips for Making Cream Cheese Frosting Balls
This is where we turn humble cake crumbs into those decadent little cream cheese frosting balls! Once your cake is completely cool and crumbled fine—and I mean fine, no big chunks allowed—it’s time to bring in the frosting. The goal is a thick, moldable dough that feels almost like playdough, not sticky frosting leftover. That beautiful texture is what keeps your finished product such a wonderfully moist red velvet bite!
After mixing, you absolutely must chill these balls. Even if you think they look firm enough, a good 30 minutes in the fridge makes dipping about a million times easier. If you try to dip warm dough, it’s going to crumble right off its chocolate shell!
Achieving the Perfect Dough Consistency for Red Velvet Cake Balls
When you combine the crumbs and the frosting, start mixing slowly. You want everything incorporated evenly. If it looks too dry and crumbly—like it won’t squeeze together when you press it—you need just a tiny splash of milk, maybe a teaspoon at a time, until it clings. If, however, you added too much frosting and the dough is goopy and sticking everywhere, don’t panic! You can save it by crumbling in an extra spoonful or two of leftover cake crumbs until it firms up.
Aim for a consistency where you can roll a ball between your palms without leaving much residue on your skin. Once rolled into uniform balls, they go straight into the cold; this waiting period is crucial for success.
Step-by-Step Instructions: How to Make Red Velvet Cake Balls
If you follow these steps closely, you’ll get picture-perfect red velvet cake balls every time. We need to manage our time properly, especially waiting for cooling and chilling, but honestly, the active time here is minimal. This is where we transform the cake into those perfect bite sized treats! Now that you have your ingredients ready, let’s talk about mixing them, which is the fun part. If you’re looking for easy weeknight dinners, sometimes you need a quick win like this to balance the week!
Baking and Crushing the Cake Base
First things first, you have to bake that red velvet mix! Follow the box directions for a 9×13 inch cake, but make sure you bake it completely through. We want zero gooey centers here. Once it comes out, you must let it cool completely—I mean stone cold—on a wire rack. Don’t rush this! Once cool, crumble that entire thing into fine crumbs. I use my hands for this, but if you have a food processor, run it a few times until you see mostly fine dust. Those big chunks just won’t roll nicely later, trust me.
Rolling and Firming Up the Red Velvet Cake Balls
Now mix in that entire tub of cream cheese frosting right into your crumbs. Mix it up until it becomes a uniform, thick dough. Seriously work it until it’s all combined. Then, grab a small cookie scoop or just use your clean hands and roll them into balls about one inch wide. Uniformity looks so much better when they are finished! Once they are all shaped, line them up on parchment paper and send them straight into the refrigerator for at least 30 minutes. This chilling step is non-negotiable; it stops those soft balls from melting into puddles when they hit the hot chocolate coating.
Mastering the Chocolate Covered Cake Balls Dip
While they are chilling, melt your white chocolate wafers according to the package instructions. If you are using chips instead of true wafers, stir in that optional tablespoon of vegetable shortening right after melting to help them stay smooth. We are aiming for a thin, flowing consistency that makes dipping easy. When the balls are firm, take them out and coat them one by one. Use your dipping tool or two forks—get that little one totally submerged! Lift it out and gently tap the fork against the side of the bowl so all that excess chocolate drips back in—we want a thin shell, not a heavy lump. If you want to decorate them immediately with sprinkles or a drizzle, do it right here before the coating sets hard. You can always pop them back in the fridge for 10–15 minutes to lock that shine in! You can see some wonderful chocolate dipping tips over at Basics with Bails, and remember my advice on getting fudgy chocolate cookies is helpful here too.
Making Red Velvet Cake Balls Perfect for Parties
These are truly the ultimate holiday dessert bites, but they shine year-round! Making them look special is so easy, and it’s all about customizing that chocolate shell. For Valentine’s Day, try using pink or red sprinkles right after dipping, or grab some festive colors for Easter or Halloween. If you skip the sprinkles, you can always drizzle them with a contrasting chocolate—maybe melted dark chocolate over the white coating for a sharp, stunning look.
When you arrange these on a platter, try mixing in some simple elements, like placing them on decorative cupcake liners or nestling them in shredded coconut to mimic snow if it’s winter. For amazing drizzle inspiration, sometimes I steal ideas from my royal icing guide even though we aren’t using icing here! Remember that link for festive Valentine’s sprinkles? That’s exactly the vibe we are going for!
Storage and Make-Ahead Tips for Your Red Velvet Cake Balls
One of the biggest selling points for these red velvet cake balls is that you can totally make them ahead of time! Planning is key for holiday entertaining, and these are fantastic helpers. You don’t want to stress on party day, so let these chill out until you need them. Room temperature is fine if the frosting is a good quality shelf-stable one, but only for a day or so, especially if your kitchen is warm.
For longer storage, the fridge is perfect; they’ll stay great for up to a week zipped up in an airtight container. But here’s my favorite trick: these freeze beautifully! The recipe notes mentioned that they freeze for up to three months, and that is absolutely true. Keep them separated by parchment sheets in a sealed container before freezing. Thaw them overnight in the fridge before you plan to serve them, and they taste just as fresh as the day you dipped them.
FAQ About These Simple Sweet Snacks
It’s normal to have questions when you’re making a new treat, especially when you want them to come out perfectly shaped and delicious. These no bake dessert truffles are quite simple, but here are the things folks ask me about most often when they bring these simple sweet snacks home!
Can I skip baking the cake entirely and just use crumbled store-bought cake?
Oh, I know the temptation when you’re trying to go truly no-bake! While you *can* use unfrosted, crumbled store-bought cake (like pound cake or angel food cake), the texture just isn’t the same. Boxed red velvet cake baked and then crumbled absorbs the frosting better and gives you that signature moist density. If you use pre-made cake, you might need to adjust the amount of frosting needed because pre-made cakes can dry out quickly!
Is it okay if I use dark or milk chocolate instead of white chocolate?
Absolutely! I highly recommend trying different coatings. White chocolate is the classic pairing because it lets that beautiful red color peek through, but dark chocolate coating is richer and absolutely wonderful if that’s what you prefer. Just remember if you use darker chocolate, it can sometimes firm up harder than creamy white chocolate, so relying on that optional shortening is even more important for a smooth dip!
How long will these cake balls stay fresh if I don’t freeze them?
For the best quality, I still recommend the quick 30-minute chill before dipping, and then storing them in the fridge afterward. In an airtight container, they should remain perfectly moist and delicious for about five to seven days. If you’ve followed my tips on quick and easy breakfasts for busy mornings, these are a great grab-and-go snack for the next day too!
My chocolate coating is lumpy. What did I do wrong?
Lumpy chocolate usually means one of two things happened: moisture crept in, or you overheated the chocolate. Even one tiny drop of water or steam can cause chocolate to seize up instantly! If it seizes, try stirring in that little bit of shortening or a teaspoon of flavorless oil, but if it’s already hard and grainy, it’s best to start a fresh batch of melted coating for dipping.
Estimated Nutritional Data for Red Velvet Cake Balls
I always get asked about the nutrition when I post photos of these little gorgeous bites. While I focus on bringing you flavor and simplicity, I also believe in being transparent about what goes into our favorite homemade treats. It’s important to note that since we are using a boxed mix and store-bought frosting, these numbers are estimates based on the standard ingredients used in my test kitchen. These are designed to be indulgence, not a health food, so enjoy them guilt-free! Here’s a breakdown of the estimated data per cake ball serving.
- Serving Size: 1 ball
- Calories: 220
- Sugar: 22g
- Sodium: 150mg
- Fat: 14g
- Saturated Fat: 8g
- Carbohydrates: 23g
- Protein: 2g
- Cholesterol: 25mg
This information should just be used as a general guideline for your simple sweet snacks planning. If you use homemade frosting or different chocolate coatings, of course, those values will shift slightly, but this gives you a good baseline for these rich, moist red velvet bites!
Share Your Homemade Red Velvet Cake Balls Creations
Well, that’s it! You’ve done the work, you’ve made those gorgeous, rich red velvet cake balls, and now it’s time to enjoy them. But wait—don’t stop there! I truly love hearing from you when you try one of my streamlined recipes. Did you use dark chocolate? Did you add a fancy extra drizzle?
Please, take a picture of your finished treats and share them on social media! Tag me so I can see them. And if this easy cake balls recipe saved your party planning or satisfied a major craving, please pop down to the comments section and leave a rating. Your feedback helps me know that I’m bringing you reliable, joyful recipes that work every single time.
If you have any sticking points or questions that I didn’t cover in the FAQ, don’t hesitate to reach out via my contact page. Happy baking—or, well, happy *no-baking*!
PrintEasy No-Bake Red Velvet Cake Balls with Cream Cheese Frosting
Make these simple, bite-sized red velvet cake balls using a boxed cake mix and cream cheese frosting. They require no baking and are coated in smooth chocolate for a perfect party dessert.
- Prep Time: 25 min
- Cook Time: 30 min
- Total Time: 1 hour 55 min
- Yield: 24 servings 1x
- Category: Dessert
- Method: No Bake (after initial cake baking)
- Cuisine: American
- Diet: Vegetarian
Ingredients
- 1 box (15.25 oz) red velvet cake mix
- 1 container (16 oz) cream cheese frosting (store-bought is fine)
- 12 oz white chocolate melting wafers or chips
- 1 tablespoon vegetable shortening (optional, for smoother coating)
- Red sprinkles or decorative drizzle (optional)
Instructions
- Prepare the red velvet cake according to the package directions, but use the ingredients listed on the box for a standard 9×13 inch cake. Bake the cake completely.
- Let the baked cake cool completely on a wire rack.
- Once cool, crumble the entire cake into fine crumbs into a large bowl. You can use your hands or a food processor for this step.
- Add the entire container of cream cheese frosting to the cake crumbs. Mix thoroughly until a thick, uniform dough forms.
- Roll the dough into small, uniform balls, about 1 inch in diameter. Place the rolled balls on a baking sheet lined with parchment paper.
- Chill the cake balls in the refrigerator for at least 30 minutes. This step helps them firm up before dipping.
- Melt the white chocolate wafers according to package directions. If using shortening, stir it into the melted chocolate for a thinner consistency.
- Dip each chilled cake ball into the melted chocolate, ensuring it is fully coated. You can use a dipping tool or two forks. Gently tap the fork on the side of the bowl to allow excess chocolate to drip off.
- Place the coated balls back onto the parchment-lined baking sheet.
- If desired, immediately add red sprinkles or drizzle with extra melted chocolate before the coating sets.
- Allow the chocolate coating to set completely at room temperature, or speed up the process by chilling them for another 10-15 minutes.
Notes
- For a richer flavor, you can use homemade cream cheese frosting instead of store-bought.
- If you want a darker red color, add 1 teaspoon of red gel food coloring to the cake batter before baking.
- These **homemade cake truffles** freeze well. Store them in an airtight container in the freezer for up to three months.
Nutrition
- Serving Size: 1 ball
- Calories: 220
- Sugar: 22
- Sodium: 150
- Fat: 14
- Saturated Fat: 8
- Unsaturated Fat: 6
- Trans Fat: 0.5
- Carbohydrates: 23
- Fiber: 0.5
- Protein: 2
- Cholesterol: 25