
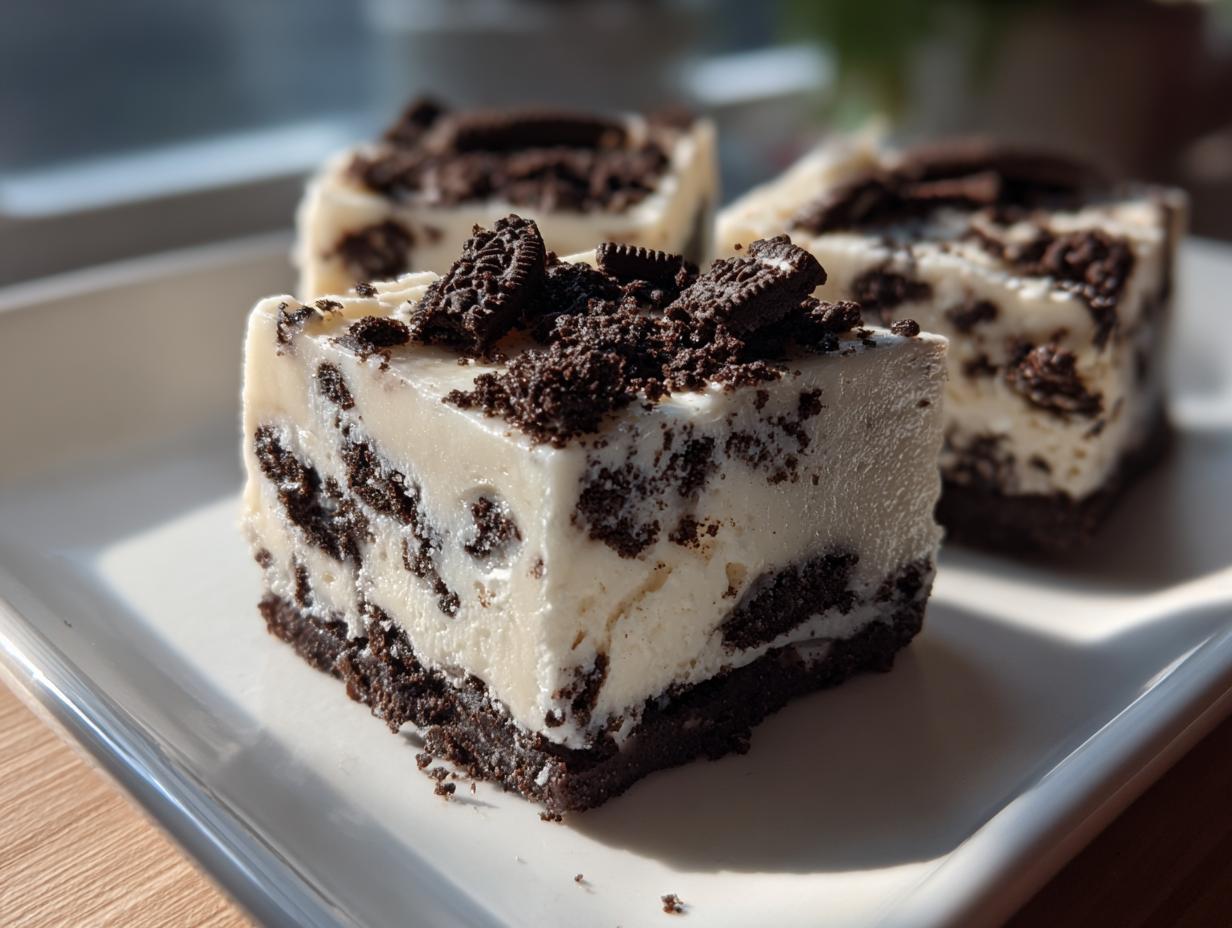
When you need something deeply indulgent but haven’t got an hour to fuss around a hot stove, I have the answer for you. Forget complicated candy thermometers; we’re jumping straight to the decadent payoff. This **oreo fudge** is what I whip up when I need that intense cookies and cream flavor in a hurry. Honestly, back when I was honing my skills, I realized that cooking shouldn’t intimidate people—it should connect us! That’s why, even though I’ve worked in a test kitchen, my favorite recipes are always the foolproof ones. This particular fudge recipe delivers serious flavor with almost zero effort, creating those happy moments around the dessert plate I remember from childhood, just like when I’m making my chocolate crinkle cookies.
- Why This 3-Ingredient Oreo Fudge Recipe Works So Well
- Gathering Ingredients for Your Oreo Fudge
- Step-by-Step Instructions for Easy Oreo Fudge
- Tips for Perfect Homemade Oreo Candy Slicing
- Storage and Make Ahead Desserts for Your Oreo Fudge
- Variations on the Simple Fudge Recipe
- Frequently Asked Questions About Oreo Fudge
- Estimated Nutritional Data for Decadent Fudge Squares
- Share Your Creamy Oreo Candy Creations
Why This 3-Ingredient Oreo Fudge Recipe Works So Well
When people hear ‘fudge,’ they often picture tedious stirring over a hot pot, hoping they hit the exact right temperature. Not with this Easy Oreo Fudge! This is exactly the kind of dessert I developed while busy outside the test kitchen; it needed to be reliable and fast. You get that luxurious, creamy texture you crave in a **No Bake Fudge** without any of the guesswork or worry about crystallization. Trust me, it’s almost unbelievable how simple the outcome is.
The Secret to Quick Oreo Fudge Success
The magic here is swapping out the whole chore of cooking sugar and milk. We skip all that! Instead, we rely on the perfect ratio of sweetened condensed milk and white chocolate chips. That combination melts down into a gorgeously thick, stable base all by itself. You melt it, stir in the Oreos, and that’s done. The science is sound, which means you get results that are consistently fantastic every single time you make it. It’s truly foolproof.
Perfect for Holiday Fudge Gifts and Parties
Because this recipe sets up so neatly and slices cleanly—once chilled, of course—it’s my absolute go-to for last-minute needs. If you’re scrambling before a party or need quick fudgy brownies alternatives, this is it. It looks impressive packed into cute little cellophane bags as Holiday Fudge Gifts, and it travels well, too. It’s the definition of a decadent treat that requires minimal actual time investment.
Gathering Ingredients for Your Oreo Fudge
Okay, let’s talk shopping because this is where the “easy” part really shines. When I say this is a **3 Ingredient Fudge** recipe, I mean it! We aren’t doing a complicated grocery run. You only need three things, and pantry staples are what make this wonderful recipe so accessible. If you’ve got these three items on hand, you can have this **oreo fudge** ready to chill in about ten minutes flat.
- 1 (14 ounce) can sweetened condensed milk
- 2 cups white chocolate chips
- 2 cups crushed Oreo cookies (that’s about 24 cookies, give or take!)
See? Told you! Barely a shopping list. Now, don’t try to argue with me on these amounts because they are precisely balanced to give you that perfect, creamy texture. If you try to sneak in evaporated milk or something similar, you’ll end up with sweet, gritty soup, not fudge. We stick to what the recipe calls for!
Ingredient Notes and Substitutions for Cookies and Cream Fudge
Even in a three-ingredient recipe, quality matters, and preparation matters even more, especially when we are dealing with melting chocolate. For the best results in your **Cookies and Cream Fudge**, pay attention to these details.
First, the Oreos: You need them crushed, but not pulverized into dust. I usually pulse mine in the food processor just a couple of times—you want a mix of fine crumbs and some smaller chunks. This gives you that fantastic textural contrast later on. If you crush them too fine, it’s just a uniform mass. If you leave the chunks too big, they might slide out when you slice the fudge.
Second, the white chocolate chips. Use standard baking chips, not white chocolate wafers or melting discs, unless you really know what you are doing. High-quality white chocolate chips melt smoothly and carry the sweetness needed for that gorgeous base. Don’t try to go low-fat here; the fat content in the chips is crucial for keeping this **creamy Oreo candy** smooth and shiny rather than waxy once it sets.
Step-by-Step Instructions for Easy Oreo Fudge
This is where we turn a few ingredients into an amazing **oreo fudge**! Don’t worry if you’re new to candy making; these steps are so straightforward you’ll feel like a seasoned professional. Remember, precision in timing the chocolate melting is key here. We are aiming for smooth, not scorched! You’ll want to have your pan ready before you even reach for the microwave, so it’s all systems go once that chocolate is liquid gold. If you need a quick savory side while this sets up, check out my recipe for easy 5-minute creamy garlic aioli.
Preparing the Pan and Melting the Base
First things first, grab that 8×8 inch pan. I always line mine with parchment paper, making sure I leave a nice overhang—think handles—on two sides. This little trick saves your life later when you need to lift the whole block out for slicing! Give the paper a light grease, just to be safe.
Next up, the white chocolate chips. Pour those 2 cups into a microwave-safe bowl. Now, listen closely: you melt these in short bursts. I heat mine for 30 seconds, stir vigorously, then another 30 seconds, and repeat. Don’t be impatient! If you overheat the white chocolate chips, they seize up and turn grainy, and then that beautiful **No Bake Fudge** base is ruined. Keep stirring until it’s silky smooth, even if it means doing five or six little microwaving sessions. It’s worth the extra minute of stirring to avoid disaster.
Mixing and Setting the Creamy Oreo Candy
Once your chocolate is perfect, pour in that can of sweetened condensed milk. Stir that together gently until it’s one unified, thick mixture. It should look glossy and completely blended. This amalgamation is what gives us that addictive texture!
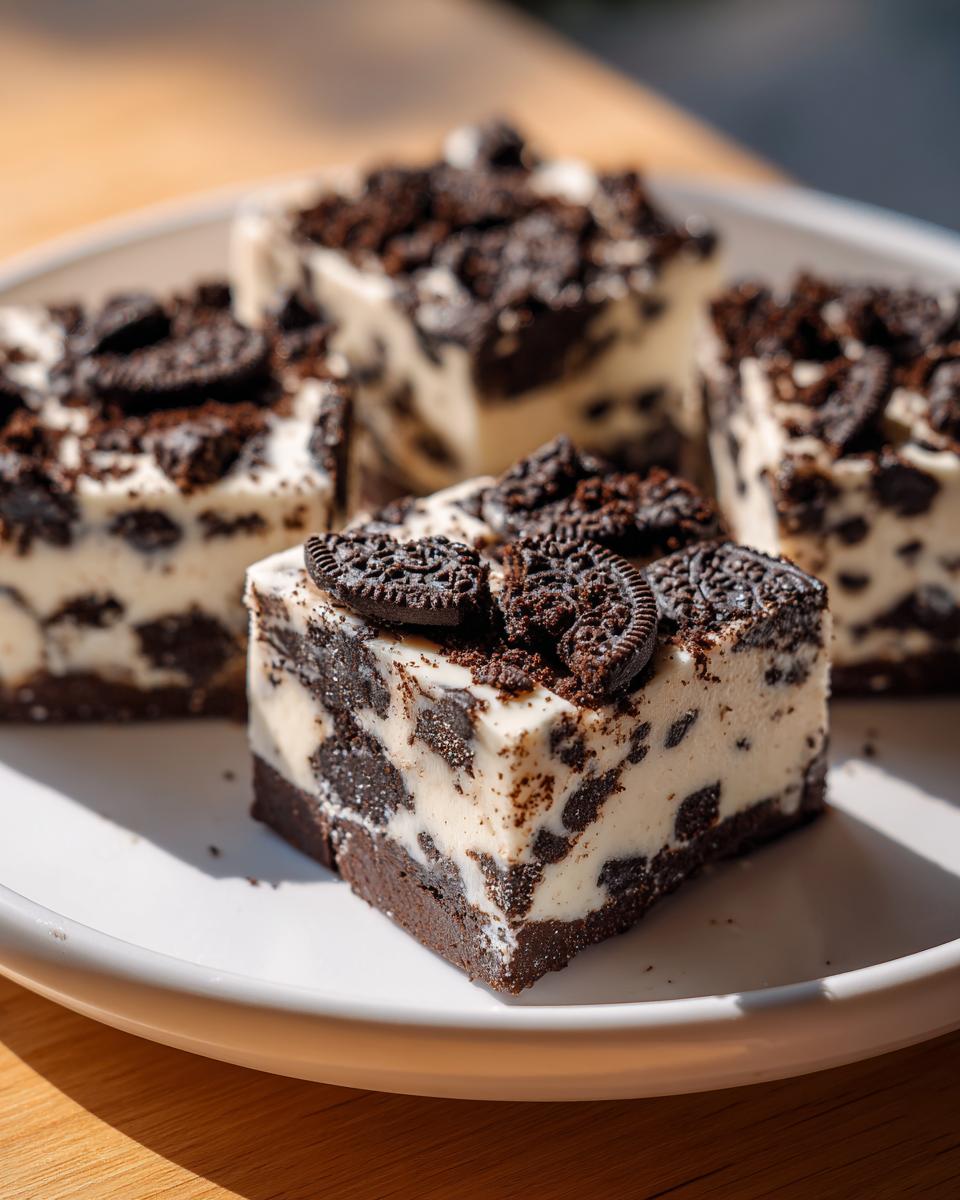
Now for the party: fold in those 2 cups of crushed Oreos. You want to use a spatula here, not a whisk or mixer. Just fold them until the dark cookie crumbs are evenly spread throughout the white mixture. You don’t want streaks, but you also don’t want to overmix and break down those creamy filling bits too much. When it’s ready, press the whole sticky batch evenly into your prepared pan. Smooth the top out with the back of a spatula or a piece of wax paper.
This **Creamy Oreo Candy** needs structure! Place the pan in the refrigerator. You must let it chill for a minimum of 2 hours until it’s really firm. If you can resist—and this is important—let it chill for 4 hours while you’re busy doing other things. This longer chill time makes cutting into perfect squares so much easier later!
Tips for Perfect Homemade Oreo Candy Slicing
I always warn people, slicing homemade fudge is where the magic ends and the real test of patience begins! If you rush this part, you might end up with messy, jagged squares that look less like a homemade treat and more like something a toddler wrestled with. But don’t worry, this is where an experienced hand—even mine, after years of making these **oreo fudge** batches—comes in handy. Achieving those beautiful, professional-looking squares is all about temperature and the right tool.
The absolute best tip I can give you involves patience. Seriously, if you think two hours in the fridge is enough time, chill it for one more hour, or better yet, until the next morning if you can stand it! A firmer fudge doesn’t smear when the knife hits it. If you absolutely cannot wait, my secret for a *quicker* clean cut is surprisingly simple: pop the whole tray into the freezer for about 20 to 30 minutes before slicing. It firms it up just enough to get those crisp edges.
When you are ready to cut, use a very large, very sharp chef’s knife. Don’t try to use a regular butter knife; it’ll just drag through the ingredients. Wipe the blade clean with a warm, damp cloth between every single cut. This little step prevents crumbs and melted chocolate from smearing the next slice. You want clean, defined edges on your **Homemade Oreo Candy**, and a clean knife blade guarantees that.
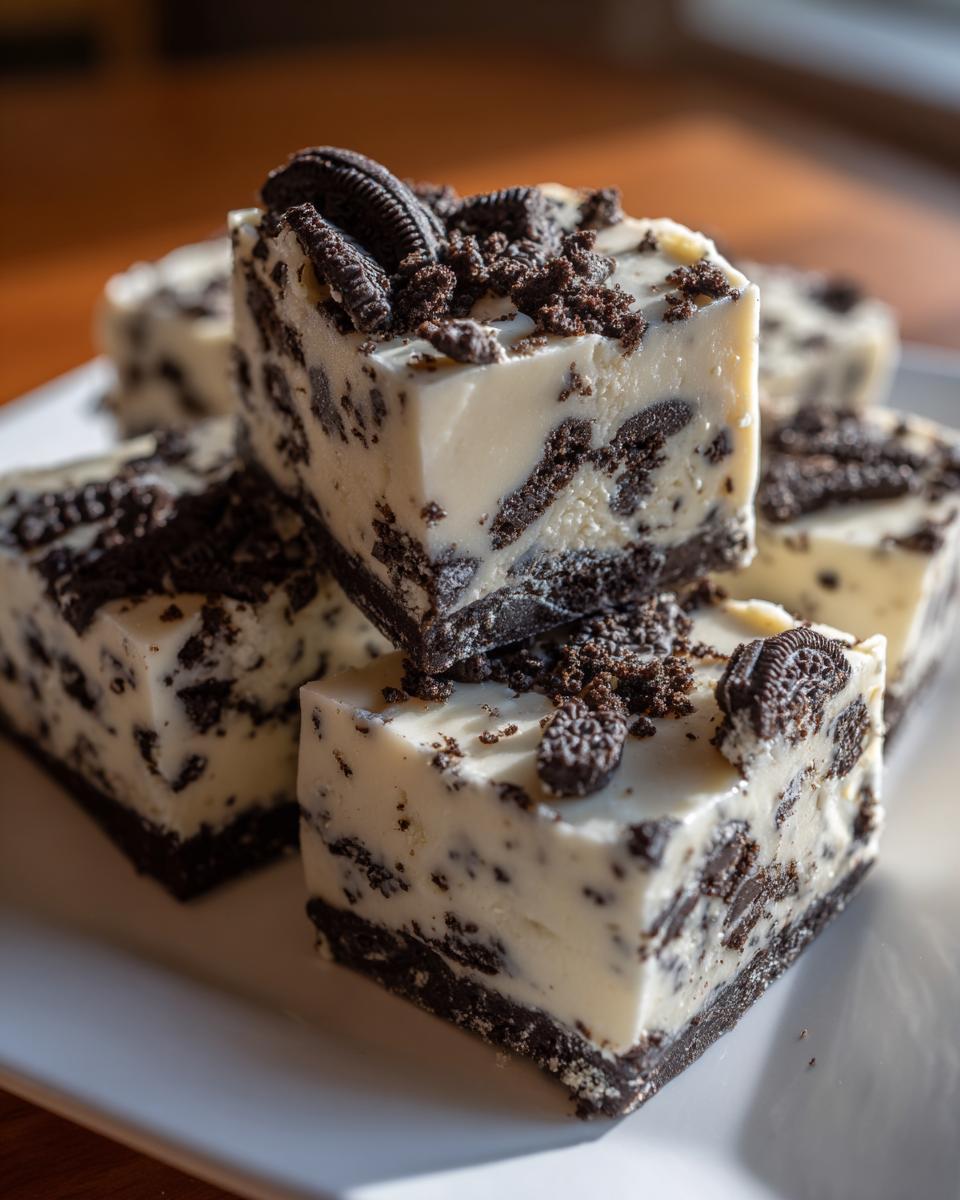
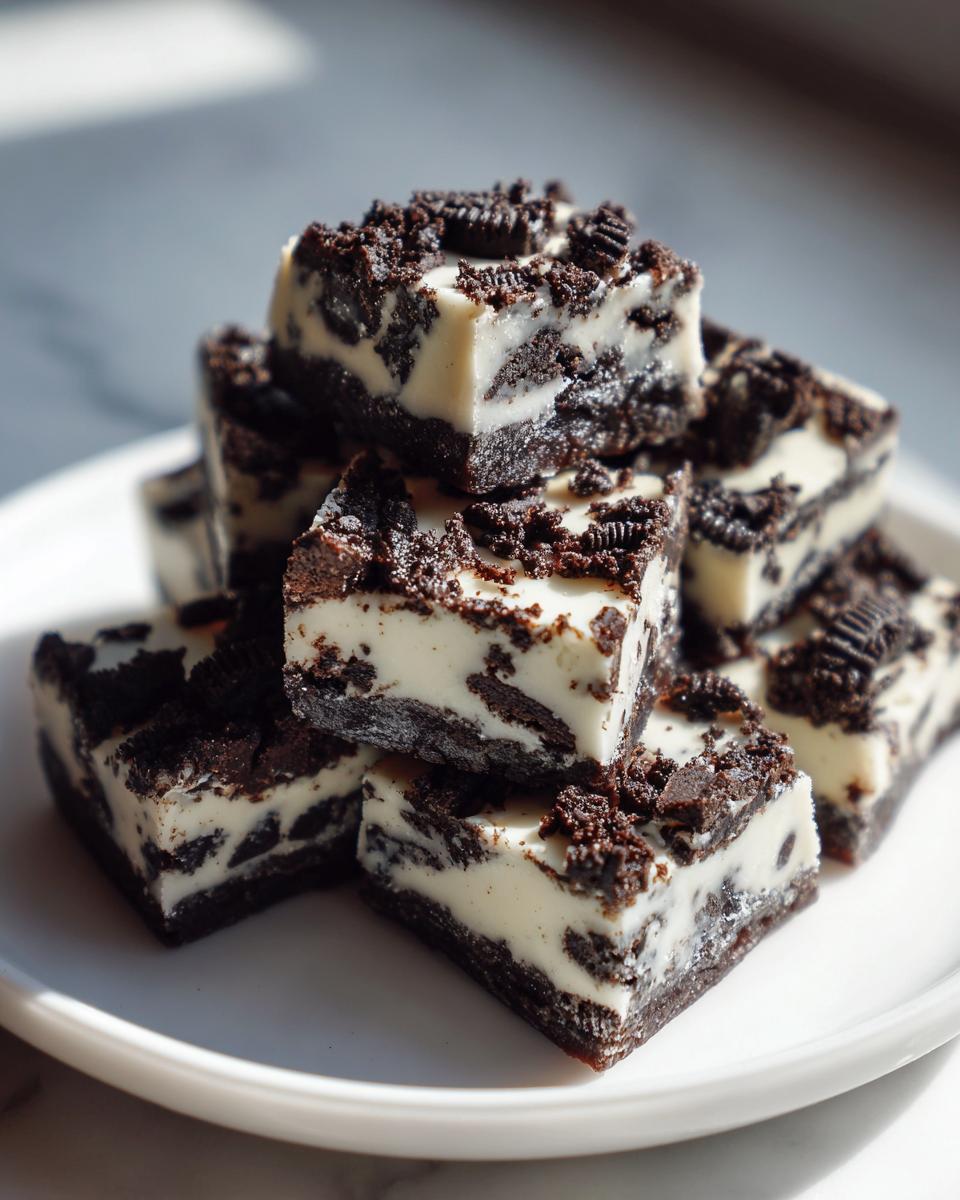
Also, remember those parchment “handles” you left sticking out? Grab those! Lift the entire block of fudge out of the pan onto a clean cutting board. Cutting on a board gives you better leverage and allows you to manage the slab as one piece. You’ll be amazed at how easily these turn into perfect little bites fit for sharing—or for hoarding all to yourself, I won’t judge! We don’t want any sad, saggy pieces; we want perfect **decadent fudge squares**!
If you struggle to get the chocolate melted just right, check out my guide on easy creamy sushi bake recipe—it has a few tricks for handling melting chocolate that can apply here, too!
Storage and Make Ahead Desserts for Your Oreo Fudge
One of the best things about this spectacularly easy **oreo fudge** is that it’s truly designed for real life—meaning it’s fantastic for making ahead! I often find myself needing a quick dessert option when I know the week is going to be hectic, and this fits the bill perfectly. Because there are no fresh dairy products that spoil quickly or eggs involved, this is one of my favorite true Make Ahead Desserts.
You have a couple of options for storing your delicious candy squares, depending on how long they need to last. Since this fudge sets up using white chocolate and condensed milk, it firmens up nicely at room temperature, but the fridge is usually best for longevity and texture consistency, especially in a warmer kitchen.
To store them, place the completely cooled and cut fudge squares into an airtight container. Layering them is fine, but make sure you place a sheet of parchment paper or wax paper between each layer. This stops them from sticking together into one giant, delicious brick! If you are keeping them in the pantry at room temperature, they should look good for about five days. Just make sure the room isn’t too warm, or they might get a little soft.
However, if you want them to stay super firm and hold their sharp edges, keep them in the refrigerator. In an airtight container in the fridge, this **oreo fudge** stays perfect for nearly two weeks. Honestly, mine never last that long, but the science says it holds up beautifully! This makes it perfect to prepare a big batch right after you make your shopping run so you always have a sweet treat ready to go when unexpected guests drop by.
Variations on the Simple Fudge Recipe
While I absolutely adore this three-ingredient base—it’s my reliable hero recipe for **oreo fudge**—I know how much fun it is to tweak things a bit once you’ve mastered the original! When you have a simple foundation like this, it’s begging for a little personality injection. Changing just one element can completely transform this **Simple Fudge Recipe** into something brand new, perfect for holidays or just when your sweet tooth gets bored.
Don’t feel like you have to stick exclusively to the classic cookies and cream! I’ve played around with this ratios dozens of times in my kitchen, and these little twists are worth trying out when you’re ready for version 2.0.
Switching Up the Chocolate Base
The recipe calls for white chocolate chips because they pair so perfectly with the dark cookie crumbs, giving you that iconic cookies and cream look. But what if you’re craving something richer? You can definitely swap that out!
Try using semi-sweet or milk chocolate chips instead. If you do this, you are moving away from the classic **White Chocolate Fudge with Oreos** flavor profile and into something much more deeply, intensely chocolatey. When you use darker chocolate, the fudge turns a gorgeous, rich brown color. I highly recommend using a quality semi-sweet chip here. It cuts the sweetness of the condensed milk just enough to still be utterly decadent, but with a stronger cocoa punch! For a deep dive into more chocolate goodness, you should check out my recipe for chocolate banana bread—it has that same cozy vibe.
Accessorizing with Extra Crunch and Color
This is where we add visual flair, especially if you are making this **Homemade Oreo Candy** to serve at a gathering or give as gifts. Since the base is already sweet and structurally sound, we can toss in extras! If you’re making this for Christmas, you *have* to try adding crushed peppermint candies or candy canes along with the Oreo crumbs.
Another fun move is to use different sandwich cookies entirely! Have you ever tried this with peanut butter sandwich cookies? Or maybe those chocolate wafers with the mint filling? Once you fold them in, you get a whole new flavor profile while still benefiting from that incredible creamy texture. Just make sure whatever you add is dry and crumbled well so it doesn’t introduce extra moisture that could affect the set time of your **Quick Fudge Dessert**.
A Zest of Citrus for Balance
This idea might sound a little wild, but hear me out! White chocolate loves citrus. If you want a recipe that feels surprisingly sophisticated for being three ingredients, before you press the mixture into the pan, stir in the zest of one whole orange. Just the zest, not the pith! It adds this bright, aromatic lift that cuts through the richness of the white chocolate and the heavy sweetness of the condensed milk. It brightens up the whole experience in the best way possible. It’s a little secret for elevating any simple chocolate treat!
Frequently Asked Questions About Oreo Fudge
I get so many messages after people make this **oreo fudge**! It’s such a popular **Quick Fudge Dessert**, and everyone wants to know the nitty-gritty safety zones and substitution options. I honestly love hearing from you all once you see how easy these instructions are! Trying to hack a three-ingredient recipe can sometimes lead to trouble, so let me clear up some of the most common questions I get about making this candy. If you’re looking for some fast, savory snacks to tide you over while this sets up, check out my tips on quick, easy breakfasts—sometimes I need a snack while waiting for dessert to chill!
Can I use regular milk instead of sweetened condensed milk in this Oreo Fudge Recipe?
Oh, please don’t try this! This is the one area where you absolutely have to stick to the recipe if you want true fudge. Regular milk is mostly water, and sweetened condensed milk is thick because it’s had about 60% of its water removed and a ton of sugar added. That high sugar content and low water volume are what allow the chocolate to set up into that firm, dense block we all love for our **Oreo Fudge Recipe**. If you use regular milk, you’ll just get warm, sweet chocolate sauce. It won’t firm up properly at all, no matter how long you chill it. It’s a non-negotiable ingredient for this style of fudge!
Is this considered a White Chocolate Fudge with Oreos?
Yes, absolutely! Because the main binder that gives us the creamy structure is the white chocolate chips, this is fundamentally a **White Chocolate Fudge with Oreos**. The white chocolate melts down, blends perfectly with the condensed milk, and creates that pale, sweet canvas that really lets the dark Oreo cookies stand out, both in flavor and visually. If you swapped the white chocolate for dark chocolate, it would taste incredible—much more intense and dark—but it wouldn’t be the classic ‘cookies and cream’ look we are going for in this specific recipe, right?
How long will this fudge last if I make it ahead?
This is the best part about a **Simple Fudge Recipe** like this one—it keeps so well! Since there’s no baking involved and nothing that spoils quickly, you can store your cut squares in an airtight container. They honestly taste great for about a week at room temperature, provided your kitchen isn’t super hot. For the *best* texture and to keep them super firm for slicing or gifting, store them in the fridge. In the airtight container in the fridge, this **oreo fudge** stays perfect for nearly two weeks. Honestly, mine never last that long, but the science says it holds up beautifully!
Do I have to use the exact brand of Oreo cookies?
Not at all! While I usually reach for the classic Nabisco Oreos because they are reliable, you can certainly use any similar chocolate sandwich cookie you like. It’s all about that chocolate cookie wafer and the creme filling. If you have a favorite sandwich cookie that tastes better to you, go for it! It’s still going to work perfectly in this **Easy Oreo Fudge** recipe. The core binding power comes from the chocolate and the condensed milk, not the specific cookie brand.
Can I skip crushing the cookies since it’s a no-bake recipe?
You could try, but I wouldn’t advise it, friend! If you toss whole cookies in there, the fudge won’t hold together properly when you slice it. The crushed cookies actually help distribute the fat and sugar base evenly as it chills, giving you structure and crunch. Think of the cookie crumbs as a subtle scaffolding holding the richness together. It’s worth the five minutes it takes to crush them up, whether you use a food processor or a sturdy rolling pin inside a Ziploc bag. This quick step prevents your **Indulgent Chocolate Treats** from falling apart!
Estimated Nutritional Data for Decadent Fudge Squares
I always like to share the numbers because, look, even though this is a treat, I believe in being transparent about what we’re eating! I’m trained to understand the science of food, and that means knowing what goes into these delicious **Decadent Fudge Squares**. This information is super helpful if you’re tracking macros or just want a general idea of what you’re enjoying. Of course, because we’re dealing with homemade ingredients and specific brand choices, these are educated estimates based on the standard calculation for this recipe.
I always advise folks to check their own ingredient labels if they have strict goals, but this gives you a fantastic general baseline for one small piece. If you’re looking for lighter fare after enjoying this fudge, you might want to check out some of my other ideas for healthy lunch ideas!
Here is the breakdown per serving (assuming you cut the batch into 36 small squares):
- Serving Size: 1 square
- Calories: 180
- Sugar: 18g
- Sodium: 85mg
- Fat: 10g
- Saturated Fat: 6g
- Unsaturated Fat: 4g
- Trans Fat: 0g
- Carbohydrates: 22g
- Fiber: 0.5g
- Protein: 2g
- Cholesterol: 10mg
Notice that 18g of sugar—that’s where the delight is coming from, right? But because we’re using the white chocolate and condensed milk as our foundation, a small square really satisfies that craving! It’s all about balance, even with your **oreo fudge**!
Share Your Creamy Oreo Candy Creations
Now that your kitchen smells heavenly and you have a tray full of glorious, rich **oreo fudge**, I really want to know what you thought! This recipe is one of my go-to feel-good bakes, and hearing about your success stories truly makes my day. Did it set up perfectly on the first try? Did you manage to resist eating the whole batch before it got cut? Tell me everything!
Please leave a star rating right below this section—it helps so many other home cooks decide if this **Homemade Oreo Candy** is the right treat for them. And if you snap a picture of those perfect squares, tag me on social media! I absolutely love seeing little slices of my recipes showing up on your tables. Tagging me is the best way to share the joy this simple **Cookies and Cream Fudge** helped you create.
If you run into any snags or have suggestions for a new variation—maybe next time I should try a dark chocolate version?—don’t hesitate to reach out through the contact page. Happy fudging, and I can’t wait to see your incredible results!
PrintEasiest Ever 3-Ingredient Oreo Fudge

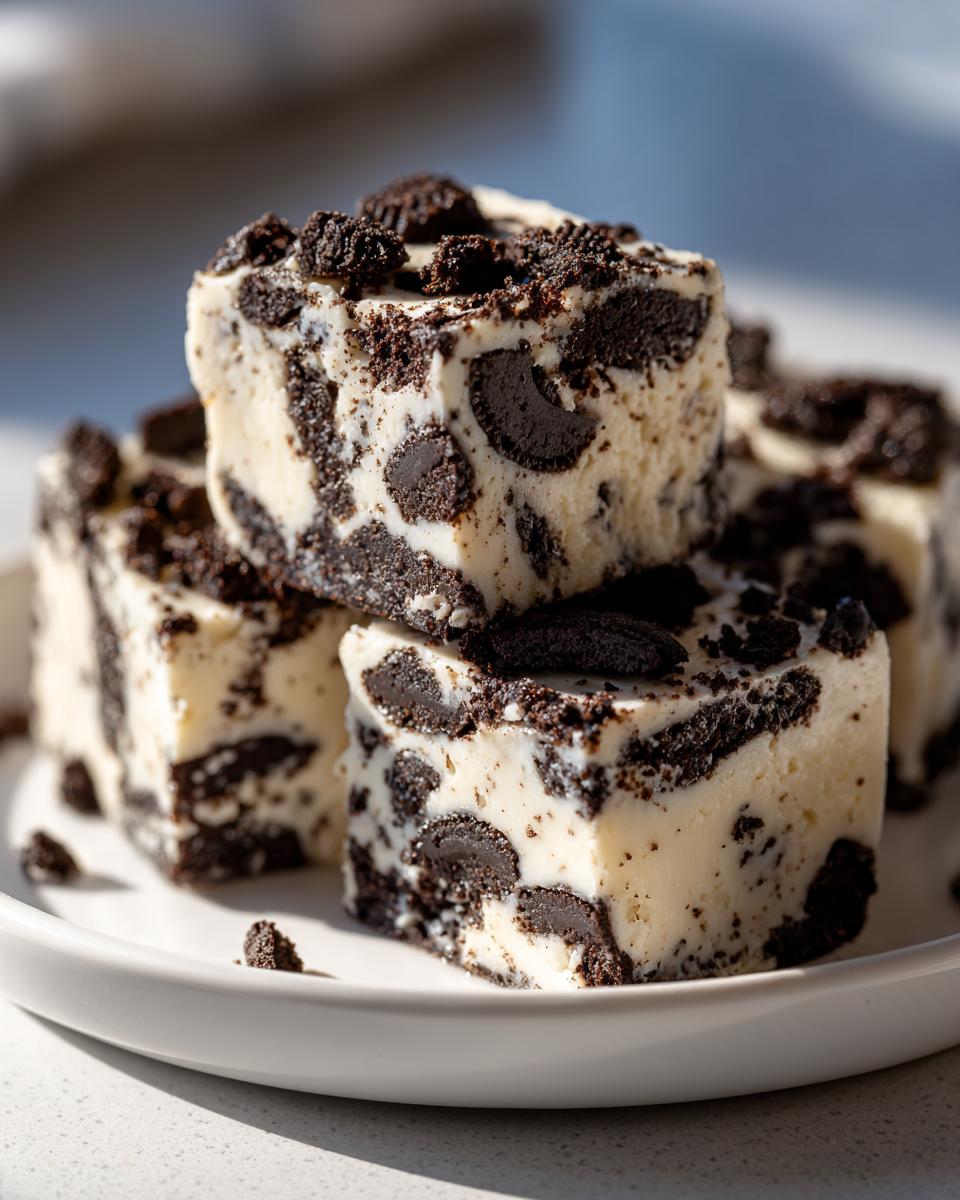
Make this creamy, rich Oreo Fudge using only three simple ingredients. This no-bake recipe is quick to prepare and perfect for satisfying your sweet tooth or making homemade candy gifts.
- Prep Time: 10 min
- Cook Time: 0 min
- Total Time: 2 hr 10 min
- Yield: 36 small squares 1x
- Category: Dessert
- Method: No-Bake
- Cuisine: American
- Diet: Vegetarian
Ingredients
- 1 (14 ounce) can sweetened condensed milk
- 2 cups white chocolate chips
- 2 cups crushed Oreo cookies (about 24 cookies)
Instructions
- Line an 8×8 inch baking pan with parchment paper, leaving an overhang on the sides for easy removal. Lightly grease the paper.
- Place the white chocolate chips in a microwave-safe bowl. Microwave in 30-second intervals, stirring well after each interval, until the chocolate is completely smooth. Do not overheat.
- Stir the sweetened condensed milk into the melted white chocolate until fully combined.
- Fold in the crushed Oreo cookies until they are evenly distributed throughout the mixture.
- Press the fudge mixture evenly into the prepared baking pan.
- Refrigerate for at least 2 hours, or until the fudge is firm enough to slice.
- Use the parchment paper overhang to lift the fudge from the pan. Cut into small squares before serving.
Notes
- For a cleaner cut, chill the fudge for at least 4 hours or freeze for 30 minutes before slicing.
- You can substitute dark chocolate chips for white chocolate chips for a different flavor profile, though the color will change.
- Crush the Oreos in a food processor or by placing them in a sealed bag and crushing them with a rolling pin.
Nutrition
- Serving Size: 1 square
- Calories: 180
- Sugar: 18g
- Sodium: 85mg
- Fat: 10g
- Saturated Fat: 6g
- Unsaturated Fat: 4g
- Trans Fat: 0g
- Carbohydrates: 22g
- Fiber: 0.5g
- Protein: 2g
- Cholesterol: 10mg