
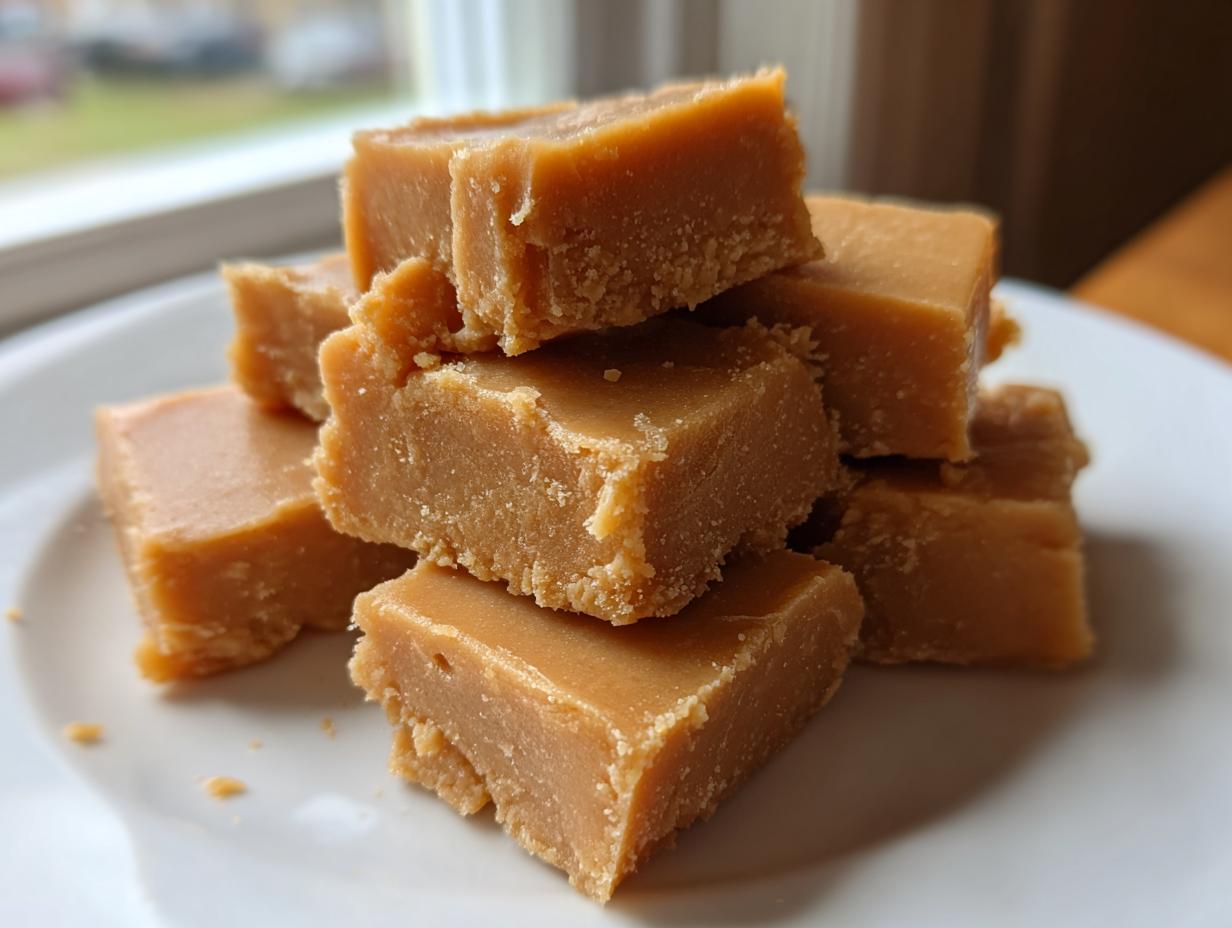
Remember those old-fashioned candies Dad would bring home from church bazaars? The ones that weren’t chocolate, but had that deep, buttery caramel flavor that just melted the second it hit your tongue? That, my friends, is the magic of Penuche. For years, I searched for a truly reliable way to make this **penuche fudge** without ending up with a gritty mess. When I developed this recipe, I went back to the core principles I live by: simple, quality ingredients handled with precision. This isn’t just any recipe; it’s my definitive guide to achieving that perfect, creamy **brown sugar fudge**, every single time, just like the classic stovetop candies we all grew up loving. You can read more about my kitchen philosophy over at Cooking by Jade, where reliability comes first!
- Why This Old-Fashioned Penuche Fudge Recipe Stands Out
- Gathering Ingredients for Perfect Penuche Fudge
- Step-by-Step Instructions for Creamy Penuche Fudge
- Tips for Success When Making Penuche Fudge
- Storage and Keeping Your Penuche Fudge Fresh
- Serving Suggestions for This Classic Candy Recipe
- Frequently Asked Questions About Penuche Fudge Recipe
- Nutritional Estimate for Penuche Fudge Squares
- Share Your Homemade Penuche Fudge Creations
Why This Old-Fashioned Penuche Fudge Recipe Stands Out
You’ve probably seen a hundred recipes for fudge, but Penuche is different. It’s all about that rich, deep **caramel fudge flavor** you get just from cooking down brown sugar, butter, and cream. My goal here was simple: create a foolproof **penuche fudge recipe** that delivers that classic taste without any sugar crystallization. Trust me, I’ve learned a few things developing recipes, and I’ve cracked the code on texture.
- We skip the chocolate entirely for that beautifully pure **butter brown sugar candy** taste.
- This method focuses on temperature control, which is the key when you’re making any **old fashioned fudge**.
- It guarantees that tender, **melt in your mouth candy** finish instead of something tough or grainy.
If you’re interested in another reliable, creamy treat, check out my mango sticky rice—it shares that same focus on achieving perfect texture!
Achieving That Melt in Your Mouth Candy Texture
The difference between great **creamy fudge recipe** and grainy fudge comes down to science, specifically the soft-ball stage, which we hit exactly at 234°F. That temperature tells your sugar syrup that it has just the right amount of moisture left to set soft. But here’s the piece most people skip: you must let it cool undisturbed down to 110°F *before* you even think about stirring it.
Resist the urge to touch it! Cooling it slowly to that magic 110°F allows the sugar crystals to remain suspended. When you finally beat it gently, you develop the creamy structure without forcing the sugar to seize up. That’s the secret handshake for smooth candy, every time!
Gathering Ingredients for Perfect Penuche Fudge
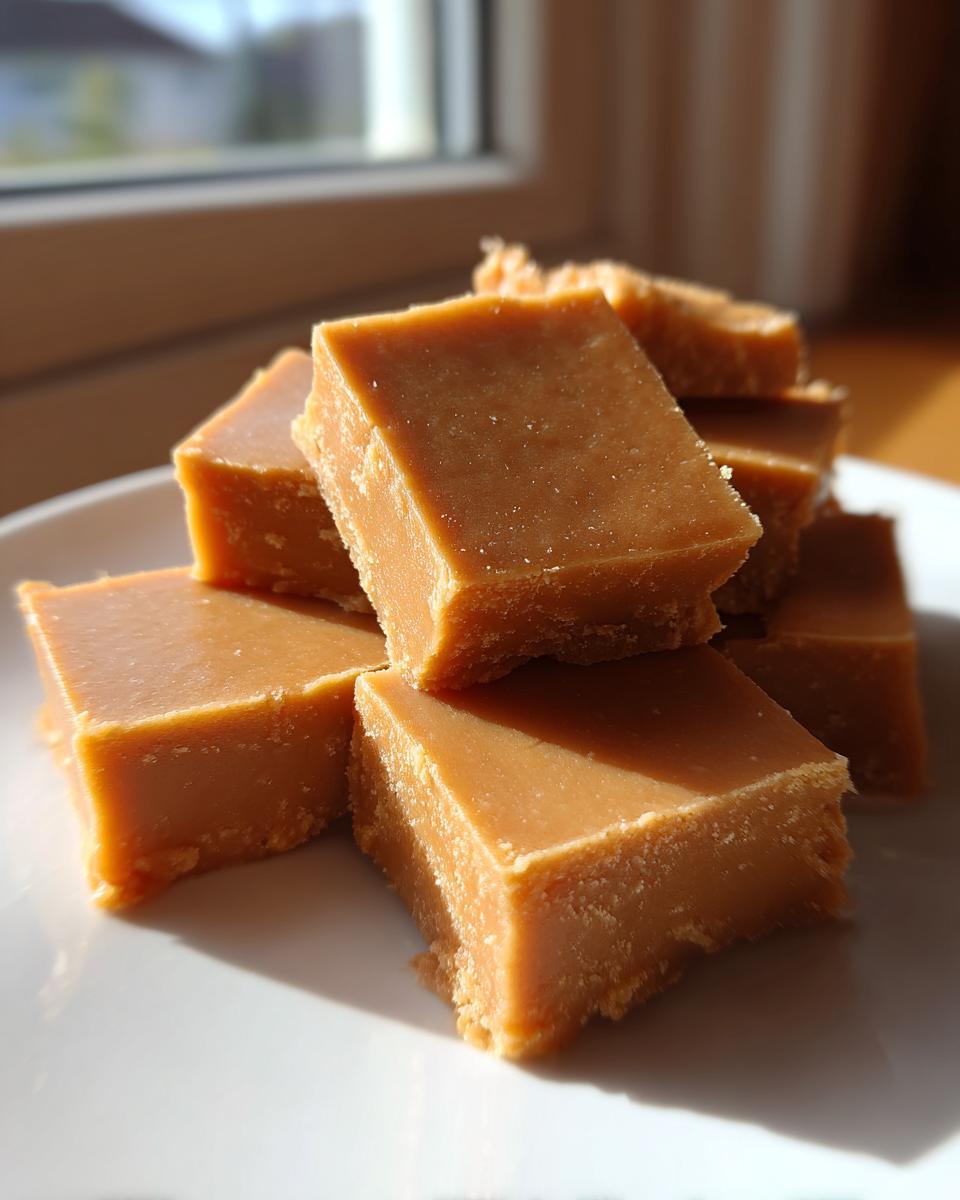
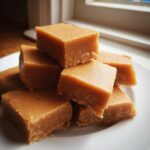
The beauty of this **no chocolate fudge** recipe is how simple the ingredient list is! We are focusing only on the essentials to get that fantastic **vanilla fudge recipe** flavor. It’s classic **old fashioned candy making** at its purest. You’ll be amazed how much flavor two sugars can pack. Remember, you need an 8×8 inch pan for this amount of beautiful **sweet dessert squares**.
- 2 cups granulated sugar
- 1 cup packed light brown sugar
- 1 cup heavy cream
- 1 tablespoon butter
- 1 teaspoon vanilla extract
- 1 pinch salt
Ingredient Notes and Substitutions for Brown Sugar Fudge
Listen, for the absolute best **creamy fudge recipe**, you need heavy cream. Don’t try swapping it for milk or half-and-half; the fat content is what helps stabilize everything during that critical cooking phase. I insist on using light brown sugar here because dark brown sugar has too much molasses—it completely overpowers the delicate flavor we’re going for and turns it into something closer to a soft toffee. Stick to the light stuff if you want that true, classic **caramel fudge flavor**!
Step-by-Step Instructions for Creamy Penuche Fudge
Okay, now we get down to the business of making this incredible old-fashioned candy. Since this is a stovetop **penuche fudge**, precision is key, but don’t let that stress you out! We’re going to take it slow, just like the recipe calls for, and you’ll end up with the best **easy homemade fudge** you’ve ever tasted. First things first, grab that 8×8 pan and line it with parchment paper, making sure you leave some overhang. That overhang is our best friend when taking the set candy out later!
In a heavy-bottomed saucepan, combine both sugars and the heavy cream. Heat this over medium heat while stirring gently until you see all those sugar granules disappear. Once they’re dissolved—and only then—attach your candy thermometer. Now, stop stirring completely once it starts boiling steadily. We need patience here!
The Crucial Candy Making Stages for Penuche Fudge
This is where you need your eyes on the thermometer. We cook this mixture completely undisturbed until it hits exactly 234°F. That’s your soft-ball stage, and it’s vital for keeping your **penuche fudge** smooth. As soon as it hits that mark, yank the whole pan off the heat immediately! Stir in your butter, that splash of vanilla extract, and a tiny pinch of salt until the butter is totally melted. Now for the hardest part! You must let this hot mixture sit on the counter, untouched, until it cools right down to 110°F. If you start stirring when it’s too hot, you’re going to get crystals, and that ruins the whole dream of a **creamy fudge recipe**. If you want another recipe that nails that melt-in-your-mouth feel, check out my best butter cookies!
Beating and Setting Your Old Fashioned Fudge
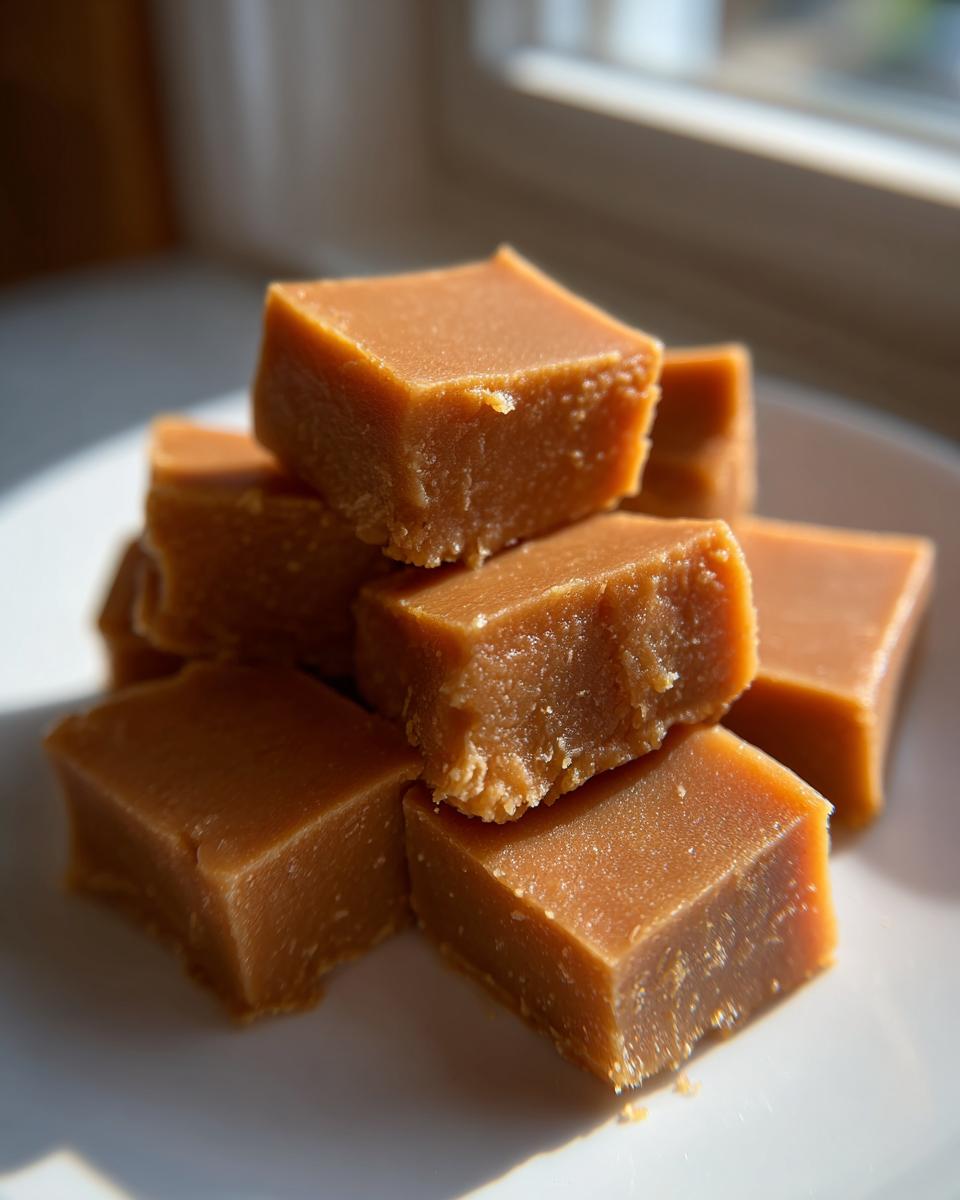
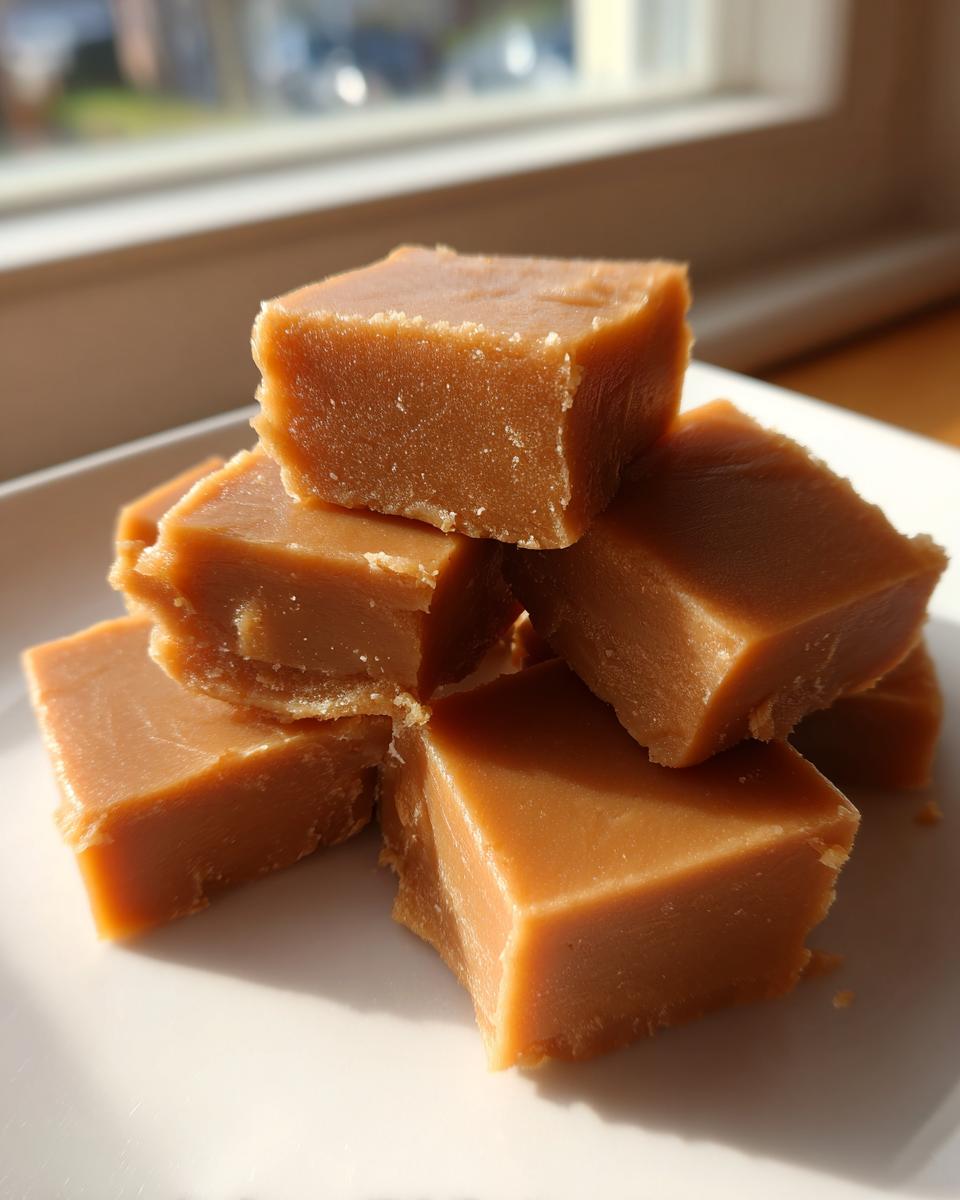
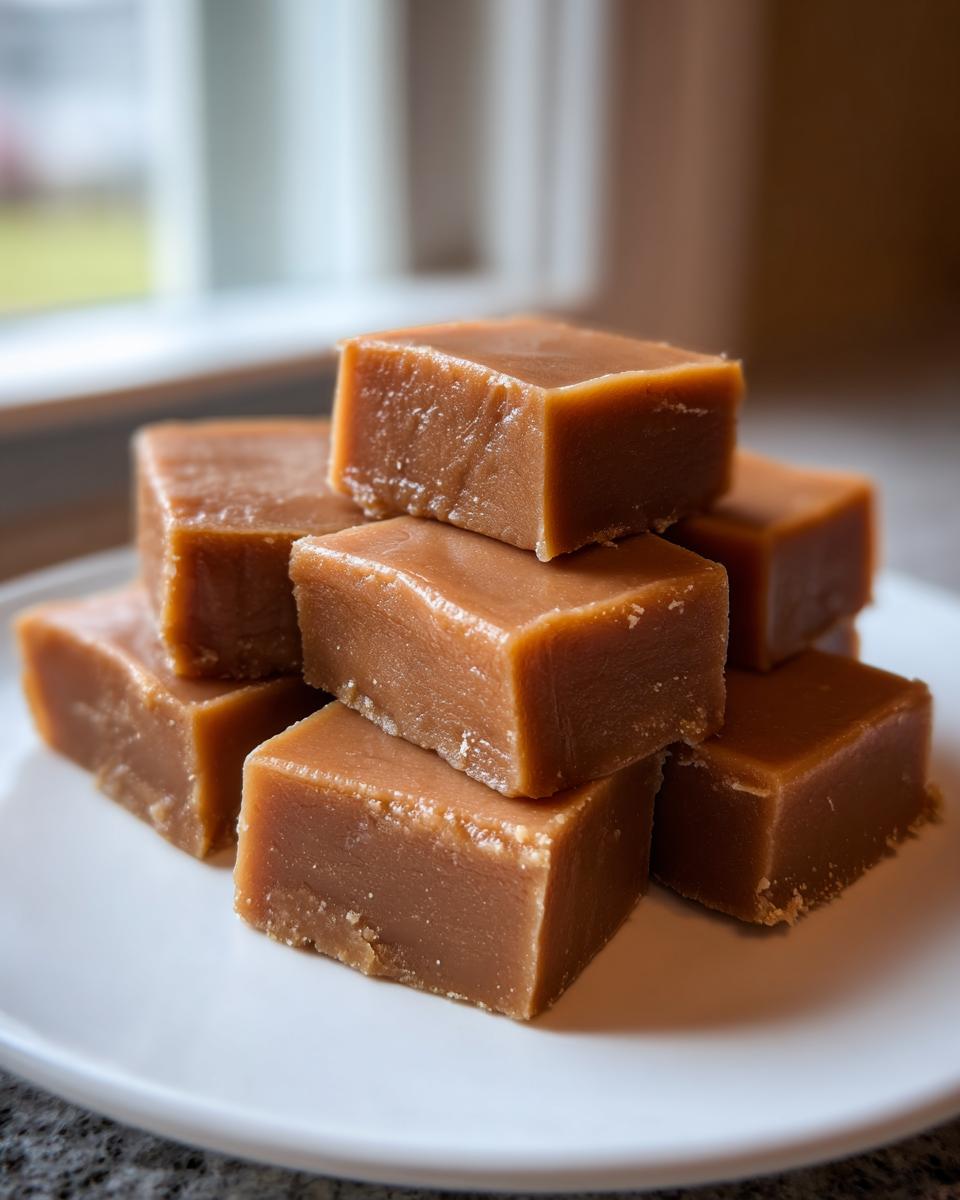
Once it hits 110°F, grab your wooden spoon and start stirring slowly, but continuously. You’ll notice a huge change in texture—it goes from glossy liquid to this dull, thick substance that looks almost like creamy peanut butter. Once it looks dull and won’t flow easily, that’s your signal! Quickly pour all that lovely **old fashioned fudge** into your prepared pan. And I mean, *all* of it. But, and this is important, don’t go back in with a spatula to scrape the sides! Those bits get crystalized and can ruin your smooth batch. Just let it settle, and then let it sit at room temperature for at least two hours until it’s completely firm. Honestly, trying to rush this cooling step is the number one mistake people make when they attempt **classic candy recipes**!
Tips for Success When Making Penuche Fudge
Look, candy making can feel intimidating, right? It’s all about temperature and chemistry. But since we are sticking to this reliable process, I’ve got a few extra bits of wisdom to make sure you have the best batch of **easy homemade fudge** possible. Pay attention to these details, and you won’t have to worry about ruining that perfect **brown sugar fudge** batch!
First up: humidity is your enemy! Seriously, if it’s pouring rain outside or your kitchen is super damp, the heat won’t cook out the water fast enough, and you might end up with runny fudge. If you notice the weather is humid, you might need to cook your syrup an extra degree or two higher than normal, but honestly, if you can wait for a drier day, do it. It just keeps things simple for us home cooks.
Next, trust your thermometer, but know its quirks. If you’ve made other candy recipes, you know that thermometers can sometimes lie! Calibrate yours before you start by putting it in boiling water—it should read 212°F (100°C) at sea level. If it reads higher or lower, adjust your target temperature (234°F) up or down accordingly. When you place it in the syrup, make sure the tip isn’t touching the bottom of the pan; that will give you a falsely high reading!
When it comes time to beat the cooled mixture, keep that stirring steady. Don’t stop and start rapidly. Think of it like kneading dough, but much gentler. You’re building structure. Once that glorious color starts changing from shiny caramel to dull, matte brown—that’s your sign! If you need a refresher on getting smooth results in other recipes, my guide to homemade mayonnaise talks a lot about emulsion and steady mixing, which helps build that non-grainy confidence!
Storage and Keeping Your Penuche Fudge Fresh
Once you’ve wrestled your glorious, creamy **butter brown sugar candy** out of the pan, the next big question is: how do I keep this perfect **old fashioned fudge** from going bad?
Good news! Because this is a classic cooked candy made with sugar and cream, it’s actually pretty stable compared to, say, soft caramels. I always keep my **penuche fudge** in an airtight container right on the counter at room temperature. I find that if you refrigerate it, sometimes the texture can get a little too firm or slightly “weepy” when it comes back to room temp. Room temperature is best for keeping that beautiful, soft, melt-in-your-mouth quality.
If you’ve made a huge batch—and really, who can blame you?—you can absolutely freeze it. Cut your **sweet dessert squares** first, then layer them between sheets of parchment paper in a heavy-duty freezer bag. It keeps perfectly well frozen for about three months. When you want a piece later, just pop a square in the fridge for a few hours to thaw, and then let it sit on the counter for about 20 minutes before enjoying it. No need to reheat or microwave at all; we want to protect that delicate texture we worked so hard for!
Serving Suggestions for This Classic Candy Recipe
Now that you have perfected this glorious **penuche fudge**, how should you serve it? Honestly, popping a piece in your mouth while hiding the container from the rest of the house counts as a serving suggestion! But seriously, this rich **butter brown sugar candy** is amazing on its own, especially with a strong cup of black coffee. It really pulls out the deep caramel notes.
It sits beautifully alongside other **classic candy recipes** on a holiday platter. Since these are perfect, neat **sweet dessert squares**, they also wrap up beautifully for gifting during the holidays. If you’re making brunch or breakfast, a small square pairs wonderfully next to something tart, like the flavors in my cranberry orange scones. It’s just pure, comforting sweetness!
Frequently Asked Questions About Penuche Fudge Recipe
I know when you’re trying something new, especially something like **old fashioned candy making**, you always have a few questions floating around! I put together the ones I get asked most often about getting this **vanilla fudge recipe** just right. If you want to know more about my background and why I test recipes this hard, you can check out my info page right here: About Cooking by Jade.
Can I make this Penuche Fudge without a candy thermometer?
Oh, I totally get it—not everyone has a candy thermometer hanging around! Look, for the absolute most reliable outcome for your **penuche fudge**, I strongly recommend one. Heating sugar is tricky business, and those high-precision temperatures are the only way to guarantee that smooth, **melt in your mouth candy** texture.
If you absolutely must wing it, you can try the cold water test. Once the mixture starts boiling rapidly, carefully drop about a teaspoon of the syrup into a glass of ice-cold water. If it forms a soft, pliable ball that flattens slightly when you pick it up (that’s the soft-ball stage!), pull it off the heat. If it falls apart, it needs more cooking time. If it turns hard right away, you’ve gone too far! It’s much easier to trust the thermometer, though, trust me on that one!
What makes this different from regular chocolate fudge?
That’s the easiest question to answer! The main difference is that this is a **no chocolate fudge** recipe, which is why it’s such a wonderful variation. Regular fudge gets its deep, dark color and flavor from melted cocoa solids or chocolate chips.
Penuche, on the other hand, gets its entire personality—that rich, buttery, almost caramel taste—from the heavy cooking of brown sugar. When you cook brown sugar down properly, the molasses in it caramelizes, giving this **butter brown sugar candy** its signature color and flavor profile. It’s sunshine and caramel in square form!
How long does it take to cool before I can start beating the fudge?
This is probably the most important step to prevent crystals! You must let the mixture cool completely, undisturbed, until it reaches 110°F (43°C). If you start beating it while it’s still hot, the sugar molecules will reorganize into sharp crystals, and you’ll end up with grainy fudge instead of that velvety smooth **creamy fudge recipe**.
Is it okay if my mixture looks shiny when I start beating it?
Nope! That shininess means it’s still too warm, or you haven’t beaten it long enough. You are looking for that moment when the fudge loses its glossy appearance and becomes dull. It thickens up at this stage, looking a bit like soft peanut butter or a thick paste. When it dulls out, that’s when you know the structure is setting correctly for the perfect **old fashioned fudge**.
Can I add nuts or other mix-ins to this Penuche Fudge?
Absolutely! This recipe is a wonderful base for fun additions. If you want to add chopped walnuts or pecans, wait until that critical stirring phase—right around the 110°F mark when you start beating it. Gently fold them in just before you pour it into the pan. You don’t want to add them while it’s still boiling hot, or they can sink straight to the bottom during the setting process.
Nutritional Estimate for Penuche Fudge Squares
You know I’m passionate about delicious food, but because I studied nutrition, I also believe in transparency about what we’re eating! Since this **penuche fudge** is made from pure sugar, butter, and cream, it’s definitely a treat, not an everyday snack. But hey, everything in moderation, right?
Here is the breakdown for one of those gorgeous, velvety smooth squares based on the ingredients listed in our **creamy fudge recipe**. Please keep in mind that these numbers are just estimates—your brand of butter or how tightly you pack that brown sugar can change things a little bit!
- Serving Size: 1 square
- Calories: 145
- Sugar: 25g
- Sodium: 25mg
- Fat: 4g
- Saturated Fat: 2.5g
- Unsaturated Fat: 1.5g
- Trans Fat: 0g
- Carbohydrates: 27g
- Fiber: 0g
- Protein: 0.5g
- Cholesterol: 15mg
See? A little bit of indulgence goes a long way! Enjoy these **sweet dessert squares** knowing exactly what’s in them. They are pure, old-fashioned goodness!
Share Your Homemade Penuche Fudge Creations
Alright, now that you’ve mastered the thermometer and achieved that spectacular texture—I want to know about it! Did your **penuche fudge** set up perfectly smooth and creamy? Did you love that rich **caramel fudge flavor**?
Please leave a rating and tell me in the comments how your batch turned out. I love seeing your successes when tackling these **classic candy recipes**! If you snapped a picture of those beautiful squares, tag me on social media. I can’t wait to see your results! Get in touch anytime over at my contact page!
PrintOld-Fashioned Creamy Penuche Fudge (Brown Sugar Candy)
Make this classic, old-fashioned Penuche Fudge. This recipe uses simple ingredients like brown sugar and butter to create a rich, caramel-like candy that melts in your mouth. It is a reliable, non-grainy confection.
- Prep Time: 15 min
- Cook Time: 15 min
- Total Time: 2 hours 30 min
- Yield: 36 squares 1x
- Category: Dessert
- Method: Stovetop Cooking
- Cuisine: American
- Diet: Vegetarian
Ingredients
- 2 cups granulated sugar
- 1 cup packed light brown sugar
- 1 cup heavy cream
- 1 tablespoon butter
- 1 teaspoon vanilla extract
- 1 pinch salt
Instructions
- Line an 8×8 inch baking pan with parchment paper, leaving an overhang on the sides for easy removal. Lightly grease the paper.
- Combine the granulated sugar, brown sugar, and heavy cream in a heavy-bottomed saucepan.
- Stir the mixture over medium heat until the sugars dissolve completely. Do not let the mixture boil yet.
- Attach a candy thermometer to the side of the pan, making sure the tip is submerged but not touching the bottom.
- Stop stirring once the mixture begins to boil. Allow the mixture to cook undisturbed until it reaches exactly 234°F (112°C) on the candy thermometer. This is the soft-ball stage.
- Immediately remove the pan from the heat. Stir in the butter, vanilla extract, and salt until the butter melts completely.
- Do not beat or stir vigorously. Allow the mixture to cool undisturbed on the counter until it reaches 110°F (43°C). This cooling step is crucial for creamy texture.
- Once cooled to 110°F, begin stirring the mixture slowly and steadily with a wooden spoon or spatula. Continue stirring until the fudge loses its glossy appearance and becomes thick and dull, resembling peanut butter in consistency. This usually takes several minutes.
- Quickly pour the thickened fudge into the prepared pan. Do not scrape the sides of the pan.
- Let the fudge set completely at room temperature for at least 2 hours before cutting into squares.
Notes
- For the best melt-in-your-mouth candy texture, monitor your candy thermometer closely. Cooling to 110°F before beating prevents graininess.
- If you prefer a slightly different flavor, you can substitute the vanilla extract with 1/2 teaspoon of maple extract.
- This recipe makes a classic brown sugar fudge; it contains no chocolate.
Nutrition
- Serving Size: 1 square
- Calories: 145
- Sugar: 25g
- Sodium: 25mg
- Fat: 4g
- Saturated Fat: 2.5g
- Unsaturated Fat: 1.5g
- Trans Fat: 0g
- Carbohydrates: 27g
- Fiber: 0g
- Protein: 0.5g
- Cholesterol: 15mg